Weighted Walking for Midlife Women: A Beginner’s Guide
Full disclosure: Some links in this article are affiliate links. We may earn a small commission at no extra cost to you if you make a purchase through them. Our recommendations are based on what real users report, not on commission size.

Why Load Your Walk After 40?
Weighted walking is about as unglamorous as fitness gets, and that is part of why it works. You strap on a vest, usually somewhere between 5 and 20 pounds, and you take your normal walk. Same route, same shoes, same pace for the first couple of weeks. The only real change is that your hips, spine, and legs now handle more force than body weight alone delivers.
Walking is already weight-bearing. Every step sends ground-reaction force up through your foot, shin, knee, and hip, and that force is part of what signals bone tissue to hold onto its density. Add a vest and you simply make the signal bigger. Bone keeps what you ask it to keep and lets go of what you don’t.
That ask matters more in midlife. The menopause transition is when many women lose bone density and lean muscle faster than they did in their thirties. Estrogen plays a role in bone remodeling, and when it drops, the balance tips toward breakdown. Loaded movement is one of the simpler tools clinicians reach for, partly because it is easier on the joints than running and most women actually stick with it.
It has gone mainstream, too. A Women’s Health article published October 5, 2026 framed a PT-approved weighted walking routine as a beginner’s guide for midlife women. This is not a fringe experiment anymore.
What weighted walking is not
A vest is not a magic piece of equipment, so before you spend anything:
- It is not a replacement for lifting weights. A vest loads your legs and spine. It does nothing meaningful for your upper body, and it won’t build the progressive strength a well-designed resistance program will. Treat weighted walking as one strong piece of the puzzle, not the whole puzzle.
- It is not a pass on your doctor’s visit. If you have diagnosed osteoporosis, a joint replacement, unresolved pelvic floor symptoms, or balance and heart issues, get cleared before you add load. A vest changes how your body absorbs force, and some conditions need a different plan.
- It is not a pace or distance contest. The vest is the variable. Keep your walk normal and let the extra pounds do the work.
What to expect, and when
Endurance, posture, and glute and hip strength can improve within a few weeks. You notice it in small ways first. Hills feel less brutal. You stand taller at the end of a walk instead of slumping. Your glutes feel awake rather than just tired.
Bone runs on a much slower clock. We are talking months and years of consistent loading, not days. If you expect a bone scan to move in six weeks, you will be disappointed and probably quit right before the good part. The women who see results are the ones who keep the walks boringly consistent and nudge the weight up slowly.
Vest Fit, Starting Weight, and Safety Screening
The vest doesn’t make the walk harder. The weight does. But if that weight bounces around or drags on your shoulders, you’ll resent every step, and your joints will feel it by week two. A well-fitted vest should feel like a snug backpack that stays put. Get this part right and everything else in this plan gets easier.
How a weighted vest should sit
A properly fitted vest sits high and close to your torso. The weight should rest over your upper back and across the collarbone area, not on your lower back or waist. Tighten the straps until the pressure feels even across your chest and shoulders, with no single spot digging in.
Here’s the test I run with clients. Put the vest on, cinch it down, then jump up and down twice. If it bounces, slides toward your neck, or shifts side to side, it’s too loose. If it hangs at your waist like a fanny pack, the vest is too big or the wrong shape for your frame. Some women do better with a shorter vest that stops above the ribs. Others need one with adjustable side panels they can cinch down a little at a time. If you can slide a flat hand under the shoulder straps, that’s usually about right: snug, not choking.
Pay attention to your ribs, too. If the vest presses into them or slides down onto them mid-walk, it’s either too loose or the wrong shape. You should be able to take a full breath without fighting the vest.
Start lighter than you think you need
Five to ten pounds is a reasonable first load for most beginners. If you want a number to work from, about 5 percent of your body weight is a useful rule of thumb for week one, not a hard ceiling. A 150-pound woman starting at 8 pounds lands right in that range. At 130 pounds, 6 or 7 pounds is plenty. If you’re closer to 200 pounds, 10 pounds is still a fine starting point. Don’t jump to 15 just because you weigh more.
I know a 20-pound vest is tempting. You want to feel like you’re doing something. Hold off. The first couple of weeks are about letting your joints, pelvic floor, and postural muscles adapt to carrying extra load, and that adaptation doesn’t speed up because you loaded heavy on day one. You can add weight later. Undoing a flare-up takes far longer than building up slowly.
For the first month, keep the load under roughly 10 percent of your body weight. That’s the same range the four-week plan works within, so there’s no reason to push past it early.
Once you’ve walked at the same weight for two to three weeks with no joint aches, no pelvic heaviness, and no leaking, add 1 to 2 pounds. Small jumps are how you build bone and muscle without irritating tendons, your low back, or your pelvic floor. Doubling up because you felt great on a Tuesday is how most women end up sidelined for a month.
Shoes matter more once you’re carrying weight
Your everyday walking shoes might be fine for an unweighted stroll, but they behave differently with 8 pounds on your back. Look for a stable, cushioned walking or running shoe with a wide base. A wider platform helps you feel planted, especially on sidewalks, cambered roads, or gravel paths where your feet are constantly making small corrections.
Replace anything that has lost its midsole cushioning. Quick check: if you can twist the shoe in half like a towel, or you press your thumb into the midsole and it feels rock hard rather than springy, it’s done. You don’t need to spend a fortune, but a fresh, supportive shoe makes weighted walking feel far smoother and takes some of the edge off your knees and hips.
Get medical clearance first if any of these apply
Before you strap on a vest, talk to a clinician if you have any of the following:
- Osteoporosis or osteopenia with a prior fracture
- A hip or knee replacement
- Uncontrolled blood pressure
- Symptoms of pelvic organ prolapse, such as heaviness, pressure, or a bulging sensation in the vagina
None of these means weighted walking is off the table forever. They mean you need personalized input on load, surface, and pace before you start. The October 2026 Women’s Health guide on weighted walking for midlife women is built around routines reviewed by physical therapists, which is a reasonable reminder that some women do need a professional to adjust the details. If you don’t already have one, ask your primary care provider for a referral to a physical therapist or a pelvic floor physical therapist.
Stop signs to respect during and after your walk
Your body will let you know when the load is too much. Treat these as stop signs:
- Pelvic heaviness or pressure, during or after the walk
- Urine leakage
- Low back ache that lingers into the next day
- New knee or hip pain
If any of those show up, drop the vest and get assessed. Don’t push through and hope it settles. I’ve watched women ignore a little leaking for three weeks and end up with a pelvic floor issue that took months to settle down. A short pause now beats a long break later. Once you’re cleared, you can usually restart at a lighter weight, on flatter ground, or with a different walking strategy.
Fit, load, and shoes are the three things you control before you take a single step. Nail those and the loading part of this habit becomes pleasantly uneventful.
Your First Four Weeks: A Weighted Walking Progression
You have the vest. The straps sit snug against your back without riding up. Now you are standing in your driveway on a Monday morning wondering how much is too much, and the honest answer is less than you think.
I have walked a lot of midlife women through this exact transition, and the ones still wearing a vest a year later are the ones who treated month one as an introduction rather than a test. A Women’s Health beginner’s guide to weighted walking for midlife women, published in October 2026, makes the same point from a physical therapist’s angle: the early weeks are about adaptation, not exhaustion.
Here is the whole four weeks, spelled out.
Weeks 1 and 2: Short Walks, Partial Load
Fifteen to twenty minutes, two or three days a week. The vest stays off for the first five minutes while your gait and heart rate find an easy rhythm, goes on for the middle 10 to 15 minutes, and comes off for the final five. Around 10 minutes of loaded walking is a real dose for a beginner. It does not feel like much, and that is the point.
Keep the effort conversational the entire time. If you cannot say a full sentence out loud, slow down. If you could sing, hold the line anyway. You have two full weeks to get through before anything changes.
Start with a vest in the 5 to 10 pound range. Lighter is almost always the right call for week one, and you can add a pound or two in month two if you want. Bone in your hips and spine responds to load applied repeatedly over months, not to one heroic Saturday walk.
Weeks 3 and 4: Longer Walks, Same Weight
Now stretch the time. Walk 25 to 35 minutes, three days a week, with the vest on for the whole thing, minus those five vest-free minutes at each end.
Hold the weight exactly where it was. Duration comes first, pounds come later, and I mean that literally: you will not touch the load until month two at the earliest, even if the walk starts feeling easy in week three. Your feet, tendons, and postural muscles adapt on a slower clock than your lungs do.
Those bookend minutes matter more than they look. Your stride changes the moment weight goes onto your shoulders, and it changes again when the weight comes off. Five easy minutes on either side gives your gait and heart rate a chance to settle at both ends.
Change One Variable a Week
You have four dials to turn: load, duration, pace, and hills. Turn one per week. Bumping your speed and adding two pounds in the same seven days is how beginners end up with shin splints, a cranky hip, or a lower back that complains for a month. I have watched it happen plenty of times.
So if week three is about reaching 30 minutes, leave weight and pace alone. If week four adds a gentle hill, keep duration and load steady. One clear challenge at a time is what your body adapts to best.
A Sample Week to Copy
This is what a balanced week looks like once you are into weeks three and four.
- Monday: Weighted walk, 25 minutes. Five vest-free minutes, then the loaded walk, then five more vest-free.
- Tuesday: Strength session, 15 to 20 minutes.
- Wednesday: Bodyweight walk, 30 minutes, no vest. Push the pace enough that you are breathing harder but can still talk in short sentences.
- Thursday: Strength session, 15 to 20 minutes.
- Friday: Rest, or a slow 10-minute stroll if you feel like moving.
- Saturday: Weighted walk, 30 minutes on gentle hills. No hills nearby? A slight treadmill incline or a route with a few mild slopes works fine.
- Sunday: Rest.
For the strength work, keep it simple and slow. Two sets of each movement, resting 45 to 60 seconds between sets:
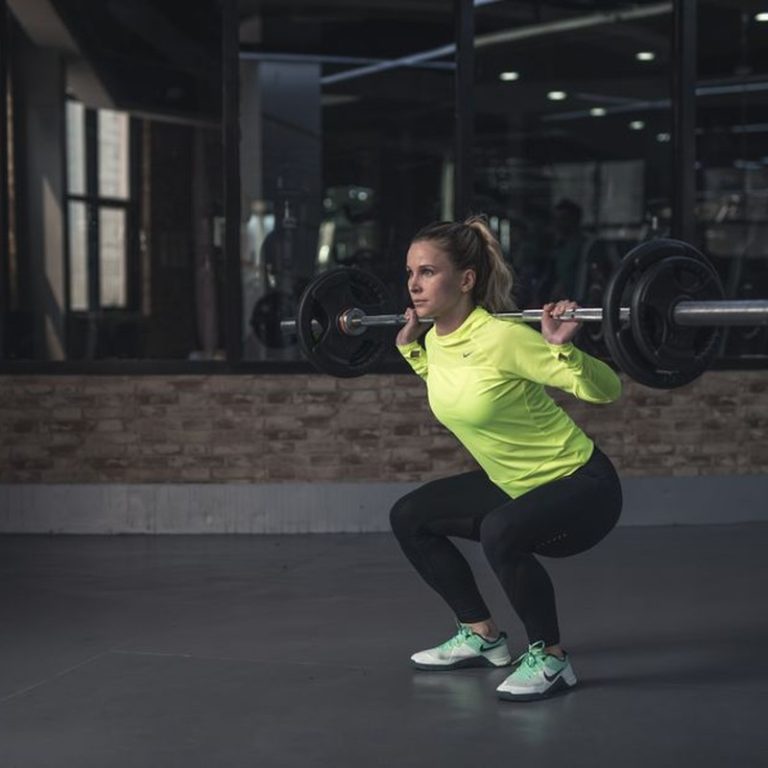
- Squats: 2 sets of 8 to 12. Lower for a slow three-count, stand up on a one-count. Bodyweight is plenty at first; hold a dumbbell at your chest once that gets easy.
- Glute bridges: 2 sets of 10 to 12. Drive your hips up, squeeze hard for two seconds at the top, then lower with control.
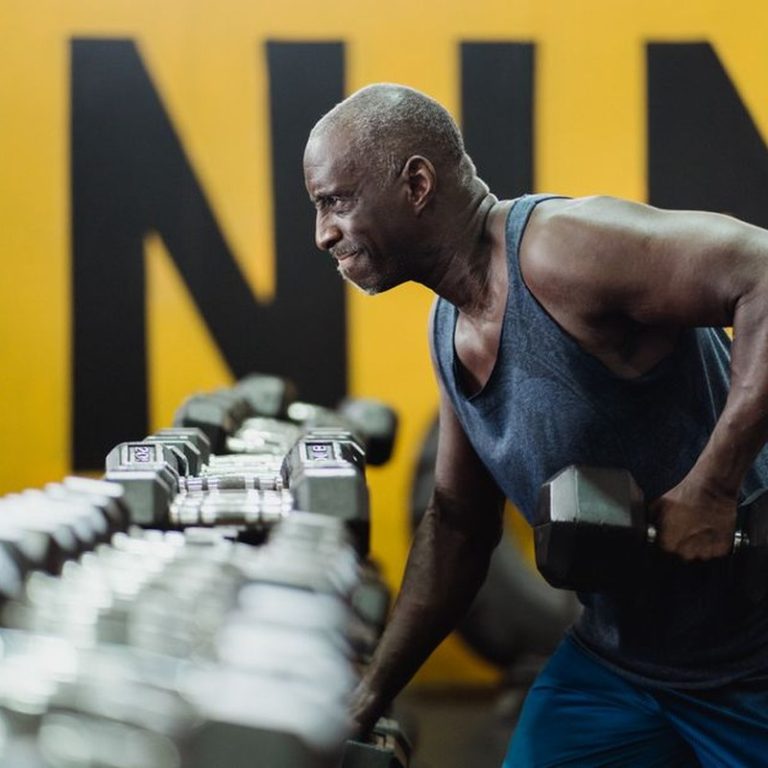
- Single-arm dumbbell rows: 2 sets of 8 to 10 per side. Pull the weight toward your hip and lower it over two full seconds.
- Dead bugs: 2 sets of 6 to 8 per side. Move slowly enough that your lower back never lifts off the floor.
The slow lowering phase is the part most people rush, and it is where a lot of the strength and tendon work actually happens.
Notice the weighted walks are spaced out with recovery days between them. Wednesday’s faster walk gives your shoulders and spine a break from the load while keeping your cardio moving.
If You Miss a Week
Travel, a cold, a brutal stretch at work. It happens. Do not pick up where you left off. Back up one step in duration instead. If you were doing 30-minute weighted walks, come back at 20 to 25 minutes and rebuild from there. Bone and tendon tolerance fades faster than your lung capacity does, and a little patience now beats a stress reaction that costs you six weeks.
Four weeks of this and the vest stops feeling like equipment. It just becomes part of the walk. If you have already run through this progression, drop your experience in the comments: what you started with, when you added weight, and what you would tell someone on day one.
Form Cues and the Mistakes That Derail Beginners
A weighted vest changes your walk more than most people expect. The load sits high on your torso, so your posture, breathing, and stride all have to adjust together. Get the four cues below right and the vest starts to feel like part of your body. Get them wrong and you will blame the vest for aches that actually came from the way you moved under it.
Stand tall with your ribs stacked over your pelvis and your ears over your shoulders. Picture a string lifting the crown of your head toward the ceiling. Look 15 to 20 feet ahead of you instead of down at the pavement. Looking down pulls your head forward and rounds your upper back, which parks the weight on your neck and shoulders and makes ten pounds feel like twenty. I catch myself doing this on the last block of a walk every time, and a quick chin lift fixes it.
Let your arms swing from the shoulder. If the vest makes you shrug, lock your elbows, or pin your arms stiff against your sides, the load is too heavy or the shoulder straps are cranked too tight. Loosen the straps first. If your shoulders still creep up toward your ears after a minute of walking, drop five pounds. Your arms should move the way they do on a normal walk, just with more awareness of where they are.
Keep each footstrike under your hips. Overstriding with a vest sends braking force straight up through your shin and knee, and that is a common source of new aches in the first month. Shorten your step. Aim for a quiet landing directly beneath you rather than reaching out in front.
Quiet feet, quiet walk. That is the whole idea.
Breathe in through the nose, out through the mouth. Keep a steady rhythm that matches your stride. If you cannot speak a full sentence without gasping, slow your pace before you lighten the vest. Pace is the easier dial to turn, and you can add the speed back next week.
Now the mistakes. I have watched beginners derail their first month with the same five errors, and every one of them is avoidable.
- Jumping from zero to 20 pounds. Start at 5 to 10 pounds, or even a loaded backpack, and give your body two weeks before you add anything.
- Wearing the vest on your hardest hill or speed day. That is when form unravels fastest. Use it on flat, easy walks first and save hard efforts for unweighted days.
- Wearing it on every walk of the week. Bones and muscles need recovery time. Two or three weighted walks per week is plenty early on. Fill the rest with regular walks, strength work, or rest.
- Ignoring hip flexor or low back tightness that lasts past the day. Soreness that lingers into tomorrow is a signal to back off. Take a rest day or walk without the vest. If it keeps happening, get it looked at by a physical therapist.
- Buying a vest before testing a loaded backpack or a dumbbell walk. I have watched women order a vest, use it twice, and leave it in the closet. Try the free version first and see how your body responds before you spend a dime.
The strength side of this equation, meaning the sets and reps of squats, hinges, and calf raises that actually build muscle, belongs in its own slot in your week. Keep it there. Weighted walking is your bone-loading and conditioning layer, so do not try to turn a walk into a strength session by piling on more pounds. If you do add a short strength block on your non-vest days, two or three sets of eight to twelve controlled reps is a reasonable starting point.
One last reframe. If your form falls apart in the final five minutes of a walk, that is a duration problem, not a discipline problem. Cut the walk short and rebuild next time. Finishing strong beats grinding out sloppy minutes, and your bones and muscles respond to the quality of the work you give them.
Recovery, Progress Signals, and What to Do Next
Loaded walking is training, not transportation. That distinction shows up most on the days you leave the vest hanging on the hook.
For your first month, keep at least one full rest day between weighted walks. Muscle bounces back quickly, but bone and connective tissue remodel on a slower clock, and that mismatch is how beginners end up with cranky shins, sore arches, and a heel that hurts before the coffee is even ready. Two or three weighted walks a week is plenty at the start. Fill the other days with unloaded walking, stretching, or a light strength session if you already have one going.
A few habits carry the recovery side:
- Protein at every meal. A palm-sized portion of eggs, Greek yogurt, chicken, fish, tofu, or beans. Extra load raises the repair bill on your muscles, and skimping on protein quietly cancels out the strength you are walking for.
- Seven to nine hours of sleep. This is the window where tissue actually gets rebuilt. Shortchange it and every walk feels heavier than the number on the vest suggests.
- Water and a real meal after longer walks. If you pushed to 45 minutes with weight, eat within an hour or so instead of waiting until dinner.
- Feet first. Blisters, hot spots, and tight calves are early warnings. Fix the footwear and stretch the calves before you add another pound.
Here is the pattern I see in women in their fifties who train with me: the soreness that shows up two days after a walk, not the day of, is the one that stacks up when you ignore it. If your knees or hips are grumbling on the second morning, drop the weight before you drop the walking. Keep the habit, shrink the load.
How you know it is working. Progress with a vest is quieter than progress with a barbell. Watch for these instead of the scale:
- Your usual route feels easier, or you finish it with breath to spare.
- Stairs are less of a grind.
- You are standing taller at hour eight of the workday instead of slumping into your shoulders.
- The vest stops feeling like a backpack full of groceries and starts feeling like clothing.
Notice that these signs are also your green light. When the current weight has felt easy for a full week and nothing aches the next morning, add 1 to 2 pounds, no more. Those two conditions go together: easy route plus quiet joints is permission to progress. A grumpy knee on day two is a signal to hold where you are a little longer.
For most beginners that first increase lands somewhere around weeks four to six, and there is no prize for getting there sooner. If a new weight feels hard on the very first walk, you moved too fast. Step back down, give it another week, and try again.
When you want variety, swap in a hillier route, push one walk out to 45 minutes, alternate a heavier vest on short walks with a lighter one on long ones, or bring a friend along so the time passes faster. Two or three laps around the neighborhood with someone who talks the whole way beats a solo hour you dread. Mixing it up also spreads the stress around instead of hammering the same joints the same way five days a week.
Before you buy, check current prices on Amazon so you are not overpaying for a vest you will outgrow in two months. Then come back and tell us your starting weight and how your first week went. Real numbers from real women beat any spec sheet, and the next reader starting at 6 pounds will learn more from your experience than from anything I can write here.