Hamstring Strain Recovery: How to Heal and Prevent Future Pulls
Full disclosure: Some links in this article are affiliate links. We may earn a small commission at no extra cost to you if you make a purchase through them. Our recommendations are based on what real users report, not on commission size.
What Happened? Understanding Hamstring Strains
If you’re reading this with a sore back of the thigh, you know the feeling. Maybe you sprinted for a bus, reached for a tennis shot, or stepped off a curb wrong. One second you felt fine. The next, a sharp grab pulled you up short.
What actually happened? A muscle tear. Not a cramp, not a knot — a genuine tear in one or more of the three muscles running down the back of your thigh: the biceps femoris, semitendinosus, and semimembranosus. These muscles bend your knee and extend your hip, and when they’re forced beyond their limit, they give out.
Calling it a “pull” makes it sound minor, but a pulled hamstring is the same injury as a strain. And strains come in three grades. Knowing which one you have is the difference between planning for a week of easy walking and a month of careful rehab.
The Three Grades
Grade 1 (mild): A few muscle fibers overstretch or tear. You feel tightness or a slight twinge in the back of the thigh, but you can usually walk without a limp. Sprinting, kicking, or bending forward with a straight leg will hurt. Swelling is often minimal, and you might only notice discomfort when you straighten your leg fully.
Grade 2 (moderate): A larger chunk of fibers tears. You’ll feel a sudden, sharp pain, sometimes a pop. Walking hurts, the leg feels weak, and you may favor it without thinking. Bruising often appears within a day or two as blood seeps into the surrounding tissue, and straightening the knee fully becomes difficult.
Grade 3 (severe): The muscle tears completely, or in some cases pulls away from the bone. Pain is immediate and intense. Swelling and deep bruising are significant, and walking is barely possible. Full ruptures sometimes need surgery, so this grade requires prompt medical attention.
If you can’t put weight on the leg, if you see a dent or bulge where the muscle used to sit, or if the pain feels like something is seriously wrong, don’t wait it out. Most hamstring tears are grade 1 or 2 and heal fine with the right care, but grade 3 injuries need professional eyes quickly.
Why Hamstrings Tear
Three patterns show up constantly in PT clinics:
- Sudden acceleration. Sprinting from a standstill, jumping into a run, or cutting hard mid-stride loads the hamstring faster than it can produce force. The muscle is caught mid-contraction and gives out.
- Excessive stretching. High kicks, deep lunges, or stumbling can over-lengthen the muscle beyond its capacity. This is especially likely when the muscle is cold or already fatigued.
- Muscle imbalances. When your quads are significantly stronger than your hamstrings — common in runners and soccer players — the hamstrings are left to fight a stronger opponent. Add weak glutes or a stiff lower back, and the risk climbs further.
None of these causes care how strong you think you are. I coached a fit guy who tore his hamstring during a light warm-up jog because his quads had been doing all the work for years while his hamstrings never caught up.
A Tear Is Not a Cramp
Cramps hurt, but they don’t damage tissue. A strain is structural — actual fibers torn apart. That’s why a day of rest fixes a cramp, but a week of rest barely touches a strain. The body has to lay down new tissue and remodel it, and that takes time and the right loading.
This is also why “just stretch it out” is terrible advice for a fresh injury. Stretching a torn muscle pulls on already-injured fibers and can worsen a fresh tear. Early recovery is about protecting tissue, not pushing it.
So before you treat anything, know your grade. Grade 1 and 2 tears are frustrating but very recoverable. Grade 3 requires medical attention. Once you know that, the next step is managing the first few days without making things worse — and then gradually loading the hamstring so it comes back stronger.
The First 72 Hours: What to Do Right After a Pull
That sudden grab in the back of your thigh is hard to miss. One second you’re sprinting, the next you’re leaning against a wall wondering if you can make it to the car. Before you spiral, take a breath. The first three days after a hamstring pull set the tone for your entire recovery, and a few smart choices now can save you weeks of frustration.
If the injury was severe, or you aren’t sure how bad it is, get checked by a doctor or physical therapist before trying to manage this on your own. Moderate and severe strains need professional guidance. For mild pulls, the steps below are your best starting point.
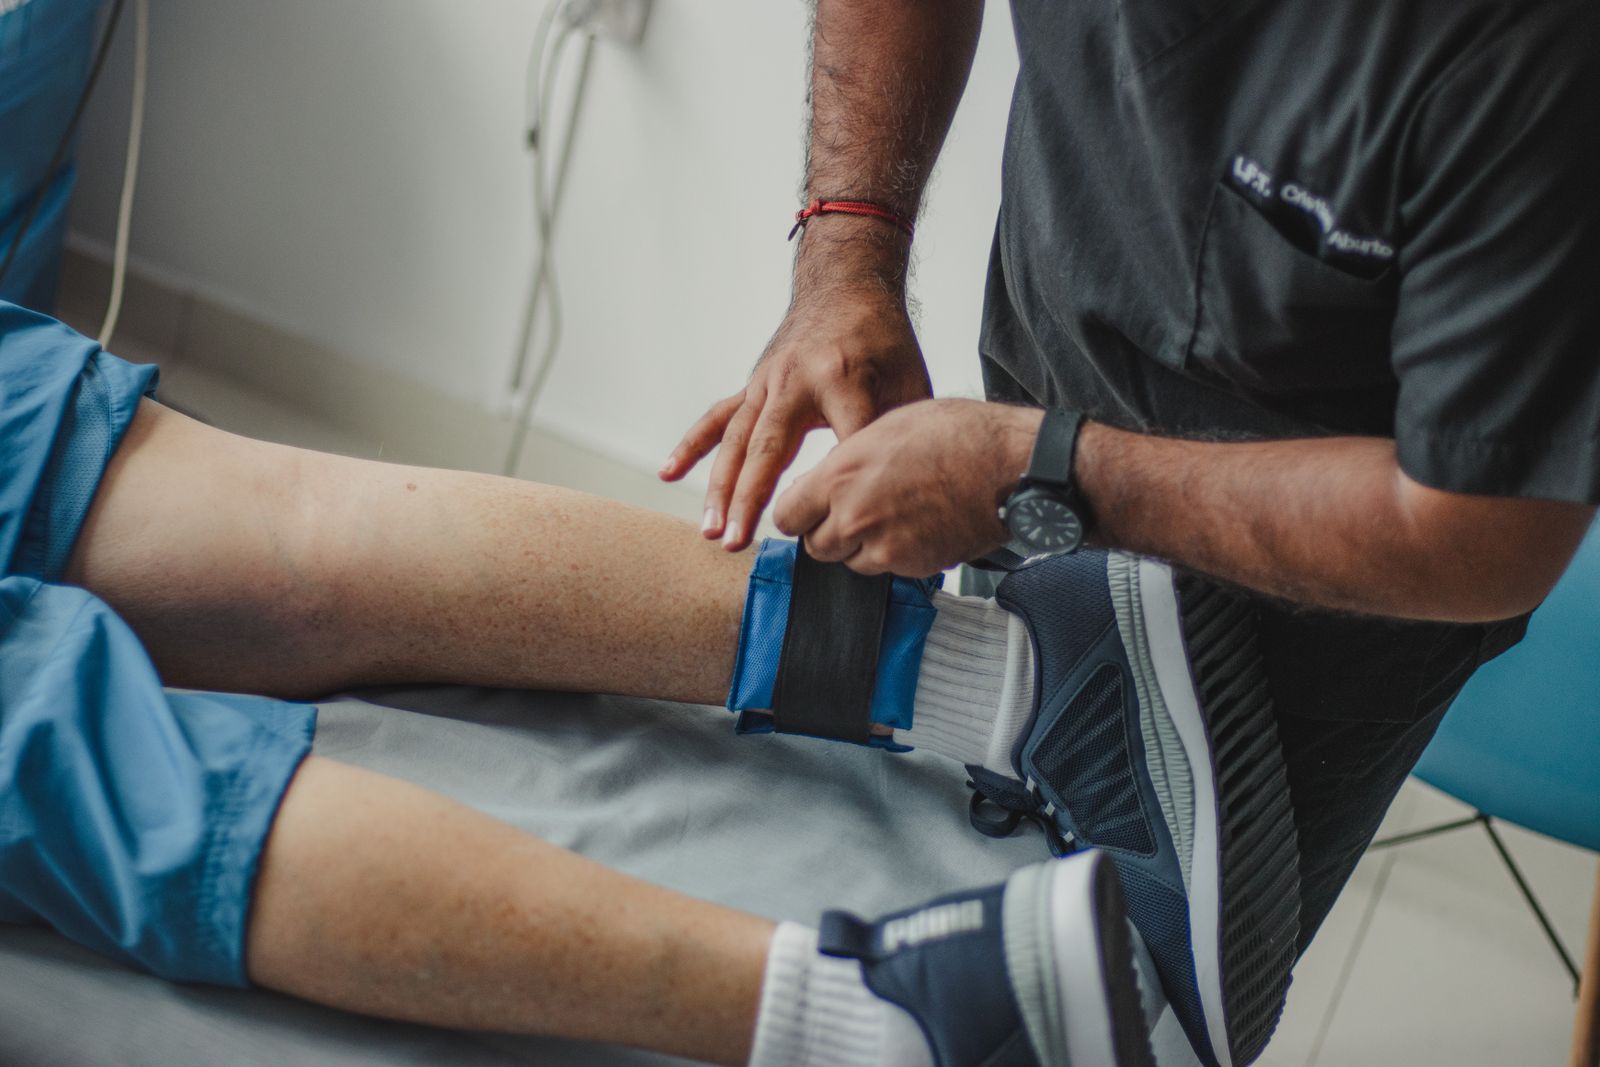
The old RICE formula – rest, ice, compression, elevation – still provides a solid framework. Sports researchers have tweaked it over the years, so you don’t need a rigid checklist. You need to protect the muscle while keeping some blood flow moving.
Rest: You Won’t Lose Fitness in 72 Hours
This is the part most active people struggle with. You’ve built a routine, you’re making progress, and suddenly you’re sidelined. Three days off will not undo months of work. It will, however, give your hamstring a real chance to repair damaged fibers.
Rest doesn’t mean bed rest all day. It means avoiding anything that stretches or loads the hamstring. Walking short distances is fine if you can do it without limping. And by short, I mean shuffling around the house, not walking the dog for two miles. If your gait changes even slightly, slow down.
You know you’ve done too much if you feel that grab again. The muscle will tell you. Listen.
Ice: 15 to 20 Minutes, Every Two to Three Hours
For a fresh muscle injury, ice is one of the simplest tools you have. It reduces pain and acute swelling and helps calm the area. How you use it matters more than how much you use it.
Stick to 15 to 20 minutes every two to three hours during the day. That’s roughly four to five sessions in 24 hours. Set a timer. Leaving an ice pack on for 45 minutes keeps blood away from the area for too long and can slow healing. A bag of frozen peas in a dish towel works better than most gel packs because it drapes over the hamstring. Use any ice pack that molds to your thigh.
After 72 hours, you can drop the ice to twice a day, or stop altogether if swelling is under control.
Compression and Elevation
A compression wrap or sleeve limits swelling by supporting the area and helping fluid drain. It doesn’t hold the muscle together; that’s not how it works. But it does provide gentle support while you move around.
You want it snug but not tight enough to cut off circulation. If your toes tingle or turn blue, loosen it. A simple thigh sleeve worn during the day is enough.
Elevation is the step people skip because it’s awkward. Lying down and propping your leg on a couple of pillows keeps fluid from pooling in the muscle. It matters less for a hamstring than for an ankle, but it helps in the first 48 hours. Twenty minutes a few times a day is plenty.
Three Mistakes That Will Haunt You Later
Every active person makes mistakes when they’re hurt and frustrated. I’ve made a few myself. Here are the ones I see most often.
Stretching too early. That hamstring feels tight, and your instinct says to stretch it out. Don’t. The muscle fibers are trying to knit back together, and a stretch pulls them apart. Wait at least five to seven days before gentle stretching, and even then start with a light length hold, not a deep forward fold.
Heat therapy in the first three days. A heating pad feels great, but heat dilates blood vessels and increases swelling in tissue that is already inflamed. Save the heat for later in recovery, when stiffness replaces pain. In these first 72 hours, stick with ice exclusively.
Jumping back into training. This is the one that leads to the dreaded re-injury. Your brain will feel ready because the pain fades, but the tissue needs far longer to rebuild strength. Returning to sprinting or heavy leg work before the muscle can tolerate it is the fastest route to a second, worse pull.
When to See a Professional
Most mild hamstring strains resolve without a doctor visit. But some injuries need a proper diagnosis and a structured rehab plan. Seek medical attention if:
- You can’t walk more than a few steps without severe pain
- A large bruise appears and spreads toward your knee or calf
- You felt or heard a pop when the injury happened
- There’s a visible dip or bulge in the back of your thigh
- Pain hasn’t started improving after five days
That bruising is the big red flag. It means the muscle has bled significantly, which usually points to a partial or complete tear. In that case, a doctor or physical therapist will guide you through a proper rehab plan, and possibly prescribe crutches or a brace.
A Day-by-Day Outline for the First 72 Hours
If you like structure, here’s roughly what your first three days should look like.
Day 1: Ice every two to three hours for 15 to 20 minutes. Use compression during the day. Move only for meals and bathroom breaks. Elevate your leg for 20 minutes a few times.
Day 2: Same icing schedule. Try walking a little around the house if you can do it pain-free. If it hurts, dial it back. Keep the compression wrap on during waking hours.
Day 3: Reduce ice to three sessions. Add very light movement, like gentle knee bends while seated, as long as there’s no pain. No stretching, no foam rolling, no lunges.
One more note on anti-inflammatory meds: ibuprofen can help with pain and reduce swelling, but taking it for more than a few days without a doctor’s advice isn’t wise, because it can interfere with the tissue’s natural healing response. Use it for the first 48 to 72 hours if you need it, then let your body take over.
Every hamstring pull is a little different, and there’s no way to fast-forward the early phase. But protect the muscle now and avoid the common mistakes, and you give yourself the best shot at a full recovery. The workouts will still be there when you’re ready. If you need an ice pack or compression sleeve, checking current prices on Amazon is a quick way to see your options. And if you’ve been through a hamstring recovery, share in the comments what helped you.
Rebuilding Strength: A Safe Return to Movement
You know the feeling: that pop, then the slow realization that your hamstring is going to be a problem for a while. Once walking is pain-free and you can bend your knee through a full range of motion, it’s time to start loading the muscle again. This section walks you through a gradual plan that respects healing tissue.
Phase 1: Start with supine heel digs
Isometric contractions are the safest possible starting point after a strain. The muscle produces force, but the joint doesn’t move — no lengthening, no shortening, just tension. That lets you rebuild confidence in the tissue without much risk.
Begin with supine heel digs on the floor. Lie on your back with one knee bent and your heel pressed into the floor. Try to drag your heel toward your glute while a towel or a partner holds it in place. Your hamstring contracts hard, but nothing actually moves. Hold each contraction for 10 seconds, relax, and repeat 8 to 10 times per leg.
Do these for the first few days of rehab. Your target is simple: no sharp pain during the contractions and no extra soreness the next morning. Stay at or below a 3 out of 10 on the pain scale during exercise. If your pain spikes higher, back off the intensity and shorten the hold time.
You’re ready to advance when you can walk pain-free, bend your knee through its full range, and have completed at least three or four sessions of pain-free heel digs.
Phase 2: Add the Nordic hold later
Once you meet those criteria, you can progress to the Nordic hold. This is not the full Nordic curl where you lower all the way to the floor. It’s a controlled descent in the early range only.
Kneel on a padded surface with your ankles secured under a couch or held by a partner. Slowly lower your torso forward with your hips extended, resisting the fall with your hamstrings. You don’t need to descend far — 20 to 30 degrees is plenty in the early stage. Hold for 5 to 10 seconds, then pull yourself back. Do 3 sets of 5 reps.
Phase 3: Eccentric band work after isometrics feel solid
Once isometrics feel comfortable, it’s time to introduce eccentric loading. Eccentric contractions lengthen the muscle under tension, which is the most effective way to prepare a healing hamstring for the demands of running. But don’t rush this. Only start band work when you’ve had several consecutive pain-free days of isometrics and Nordic holds.
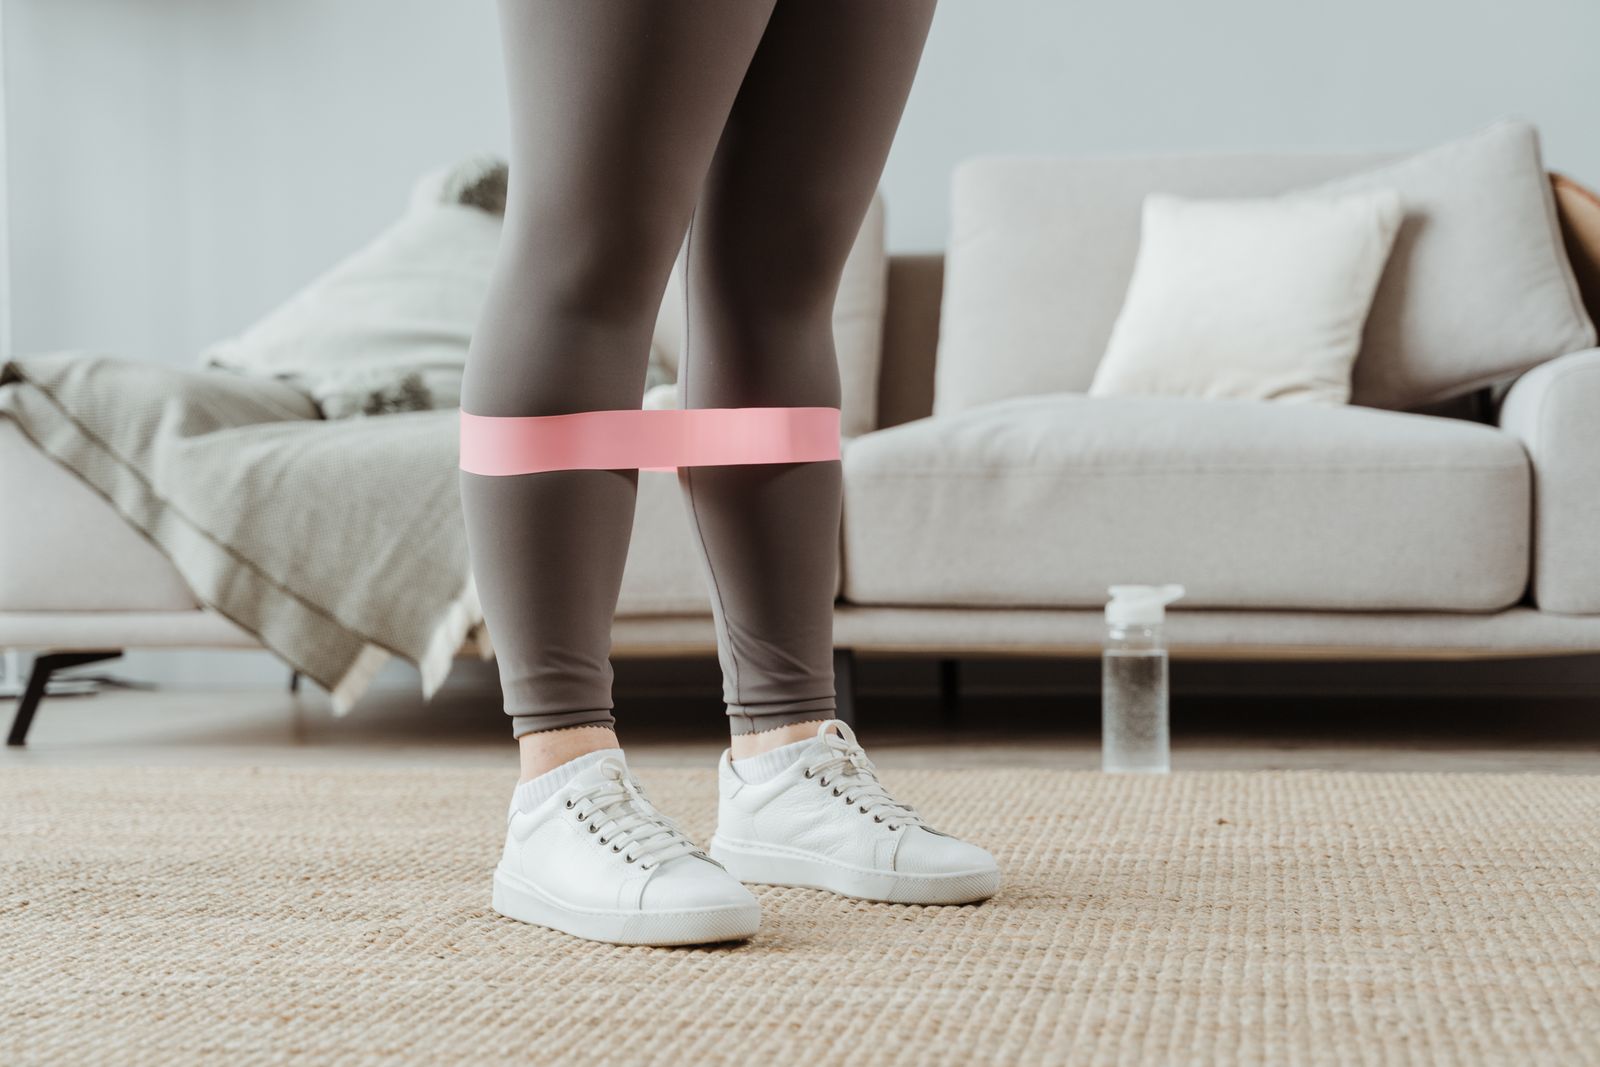
Seated leg curls with a resistance band are the first exercise I’d add. Sit on a chair and loop a band around your ankle, anchoring it to a table leg or having a partner hold it. Bend your knee to pull your heel toward the chair, then spend 3 seconds slowly returning to the start. The slow return is where the muscle rebuilds. Aim for 3 sets of 12 to 15 reps per leg.
Standing hip extensions work the hamstring and glute together. Anchor a band low and loop it around your ankle. Face the anchor, keep your torso tall, and drive your leg backward with a slightly bent knee. Avoid leaning forward to gain leverage — you want hip extension, not a squat. Do 3 sets of 10 to 12 per leg.
Lateral band walks target the glute medius, which works alongside the hamstring to keep the hip stable. When the hip abductors are weak, the hamstring has to compensate during sprinting and cutting — and that’s exactly when strains happen. Loop a light band around your thighs or ankles, drop into a quarter squat, and take 10 steps sideways in each direction. Do 2 to 3 sets.
I tore my hamstring playing pickup basketball years ago and made the classic mistake of jumping straight to weighted leg curls. It felt fine for a week, then I re-tweaked it on a sprint. The band-based approach with slow eccentrics and hip stability work is what finally got me back on the court without fear. That mistake is why I now tell everyone to spend at least a week on isometrics before touching a band.
Phase 4: Know when your hamstring is actually ready
Returning to running or sport too early is the single biggest predictor of re-injury. Use these criteria before you lace up your shoes:
- Pain-free range of motion. You can touch your toes, or get close to your pre-injury baseline, without discomfort.
- Strength symmetry. Your injured hamstring tests within 10 percent of the uninjured side.
- No next-day soreness. If you wake up stiff and painful after a session, you did too much.
- Submaximal sprint test. You can run at 80 percent of your top speed without hesitation or pain. This is the last box to check, not the first.
- Sport-specific movements. Cutting, jumping, and deceleration feel normal for at least a week before full competition.
Here’s a simple strength test you can do at home. Lie on your stomach with both knees bent at 90 degrees. Have a partner push your heels down toward the floor while you resist. Compare both sides. If the injured side gives out noticeably earlier, your hamstring isn’t ready for running yet.
Take your time with this phase. Hamstring re-injury rates run around 30 percent within the first year, and most of those happen because people rush the final return. The exercises are simple, but consistency beats intensity every time.
Staying Injury-Free: How to Prevent Hamstring Strains For Good
If you’ve pulled your hamstring once, you know the nagging worry that follows. Every sprint, every deep stretch, every sudden movement makes you wonder if it’s about to happen again. That caution is smart—repeat strains are common. A previous hamstring injury is one of the strongest predictors of a future one. But you’re not doomed to repeat the cycle.
The prevention strategies that work are well studied, straightforward, and don’t require fancy equipment. You just need consistency.
Make Eccentric Strength Non-Negotiable
The single most effective thing you can do to prevent hamstring strains is strengthen the muscle as it lengthens. That’s eccentric training. Running, jumping, and quick direction changes all load the hamstring while it’s stretching under force. If you only strengthen with exercises like leg curls, where the muscle shortens, you leave the riskiest part of the movement unaddressed.
The Nordic hamstring curl is the gold standard here. It’s a difficult bodyweight exercise that needs no special equipment, though a partner or a sturdy couch helps anchor your ankles.
- Kneel on a padded surface with your body tall and your ankles secured under a heavy bench, couch, or a partner’s hands.
- Keeping your hips extended and your core braced, slowly lower your torso toward the floor. Resist with your hamstrings as long as you can.
- When you can’t control the descent anymore, catch yourself with your hands, push back up, and repeat.
One important caveat: if you’ve just recovered from a hamstring strain, don’t start Nordic curls the moment you can walk pain-free. Your hamstring needs to complete a full rehab program first—restoring strength, range of motion, and movement confidence. Once a physio or a well-designed return-to-run plan has cleared you, add Nordic curls as a prevention tool.
Start with three sets of three to five reps, twice a week. If that feels easy, slow the lowering phase down to three or four seconds. When you can complete three sets of eight clean reps, hold a light dumbbell across your chest for added load.
I’ve trained people who were skeptical about Nordic curls because they could barely lower a few inches in week one. By week six, they report real confidence when sprinting or changing direction. That confidence is earned.
Warm Up Like You Mean It
Static stretching before exercise has fallen out of favor for good reason. Holding a long, stationary stretch temporarily reduces muscle output and doesn’t prepare your hamstring for movement. Dynamic warm-ups—moving drills that build range of motion—are what you want before any run, lift, or sport.
Pick three or four of these before activity:
- Leg swings forward and side-to-side, holding a wall or post
- Walking lunges with an upright torso
- Hip circles and deep squat holds
- Butt kicks and high knees at a gentle pace
- Backward lunges with a slight torso rotation
Spend five to ten minutes. You should finish with your heart rate up and your hips feeling loose—not tired, just ready.
Save static stretching for after your workout or in the evening. Hold each hamstring stretch for 20 to 30 seconds per side at mild tension, not pain. The goal is restoring length, not forcing it.
I use a simple rule in my own training: if I’m about to run or lift, I start with movement. If I’m finishing a session, I stretch. Small shift, real difference.
Manage Your Load Before It Manages You
Most hamstring strains don’t come out of nowhere. They happen when training volume or intensity jumps too fast, leaving the muscle unprepared for the new demand. If you’ve just recovered from a strain, your tissue is healed but still adapting.
Don’t jump back into your old training plan as if nothing changed. If you were running 20 miles before the injury, start around 10 miles—50 percent of your previous mileage—then add no more than 10 percent per week. The same goes for lifting: take a working weight you could manage before the injury, cut it in half, and add small increments weekly. Keep the focus on form and pain-free movement.
Watch for warning signs. A little soreness is expected. Sharp pain during an exercise, or pain that lingers the next day, means you’re pushing too hard. Back off, rest an extra day, and resume slightly lighter.
Your hamstrings also depend on the muscles around them. Weak glutes force the hamstrings to pick up the slack, and that increases strain risk. This is especially common for people who sit most of the day. Hip thrusts, glute bridges, and single-leg bridges are simple fixes that pay off. Core strength matters too—a stable pelvis gives your hamstrings a solid base to pull from. Add planks, side planks, and dead bugs two or three times a week. All of these are equipment-free.
Your Weekly Prevention Routine
Here’s a practical weekly template once your hamstring feels healthy:
- Monday: Dynamic warm-up, then strength: Nordic curls, hip thrusts, planks.
- Tuesday: Easy run or low-impact cardio after a dynamic warm-up.
- Wednesday: Rest, light walk, or static stretching.
- Thursday: Dynamic warm-up, then strength: Romanian deadlifts or single-leg bridges, side planks, glute medius work.
- Friday: Run or cardio with some faster intervals, if your plan supports it.
- Saturday: Recovery work—foam rolling, static stretching, or gentle yoga.
- Sunday: Full rest.
Notice the eccentric work appears twice a week. That consistency is what builds resilience. One meta-analysis of prevention programs found that two sessions of Nordic curls per week for three months reduced hamstring injuries by roughly 50 percent. That’s the kind of payoff you’d work hard for in any other training goal.
The hardest part isn’t knowing what to do. It’s staying consistent once the pain fades. When you’re feeling good for a few weeks, skipping prevention work gets tempting. I’ve been there, and I’ve paid for it. Build these habits now while you’re motivated, and you won’t become a repeat customer at the physical therapist’s office.
Your hamstring can get stronger than it was before—if you put in the work. That’s the goal, and it’s within reach.
If you want some practical tools for your recovery kit, check current prices on Amazon for a simple resistance band set, a massage gun, or a foam roller. And if you’ve recovered from a hamstring strain yourself, share what worked for you in the comments. Your experience could be exactly what someone else needs to hear.
Medical & Editorial Review: This article was reviewed by Liam Smith, founder of Apexfito, for accuracy and safety. Content is for educational purposes and is not a substitute for professional medical advice. Consult your physician before starting any exercise or nutrition program.