How to Do a Perfect Plank: 10 Variations for a Stronger Core
Full disclosure: Some links in this article are affiliate links. We may earn a small commission at no extra cost to you if you make a purchase through them. Our recommendations are based on what real users report, not on commission size.
Why the Plank Is Worth Mastering
A plank looks simple. Then you get down on the floor and hold the position for 30 seconds, and your arms are shaking while your lower back starts to sink. That moment is exactly where the work happens.
Planks train your whole core, including the deepest layer that standard crunches miss. Your rectus abdominis — the muscle that runs down the front of your belly — gets some work, but the real payoff comes from the transverse abdominis. That deep muscle wraps around your torso like a natural belt. It doesn’t flex your spine the way crunches do. Instead, it does essential work here: it tightens to keep your torso stable, protects your lower back, and gives you a strong base for almost everything else you do.
You also don’t need equipment or much space. No dumbbells, no resistance bands, no gym membership. Just a little area of floor and your own bodyweight. That alone makes the plank one of the most home-workout-friendly exercises around.
Now the part I always tell beginners: don’t be fooled by the clock. A 20-second perfect plank beats a wobbly 60-second hold every single time. If your back is arched or your butt is up in the air, you’re just balancing in a position, not strengthening your core. Quality is the whole point.
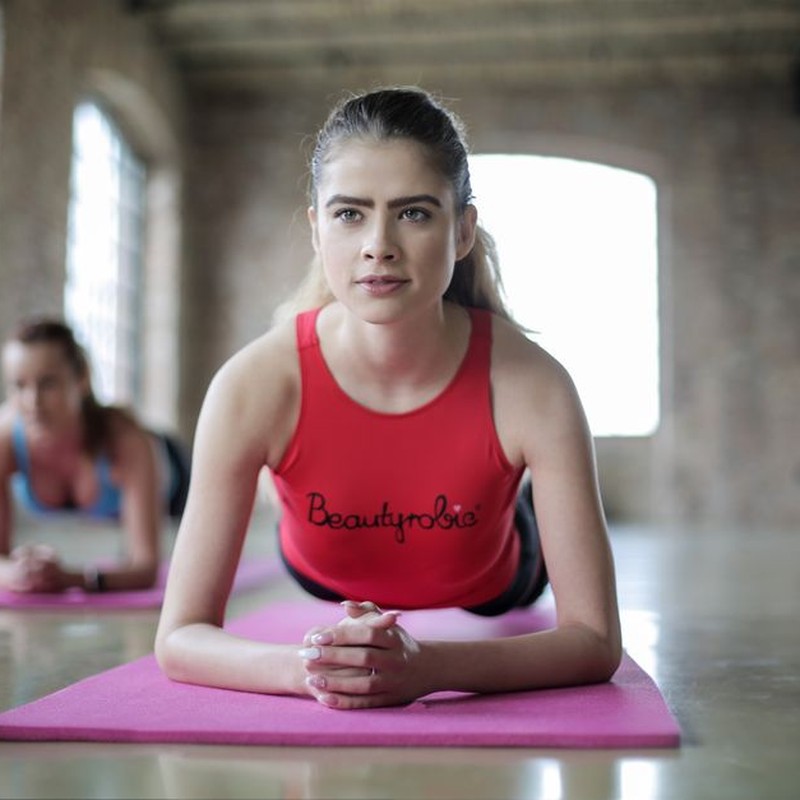
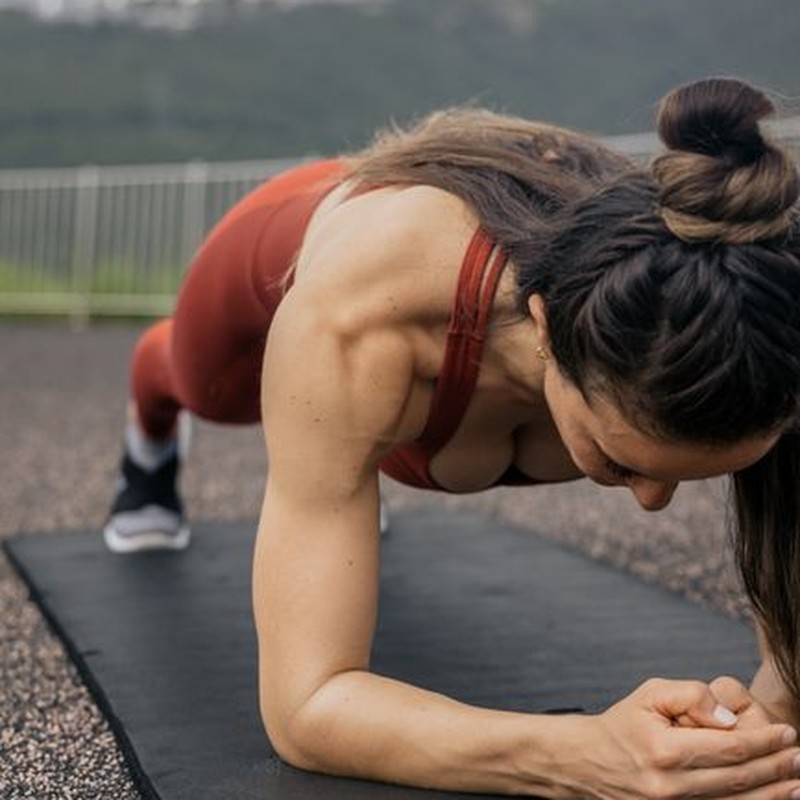
Here’s a simple way to tell if you’re doing it right: your body should feel like one long, straight line from your head to your heels. Your shoulders stay stacked over your elbows, your glutes are squeezed, and your abs are pulled in as if you were about to take a light punch to the stomach.
When you’re new, start with two or three sets of 15 to 30 seconds with that straight-line form. Rest as long as you need between sets, then add a few seconds each session. That gradual build is how you make progress without turning the plank into a test of willpower.
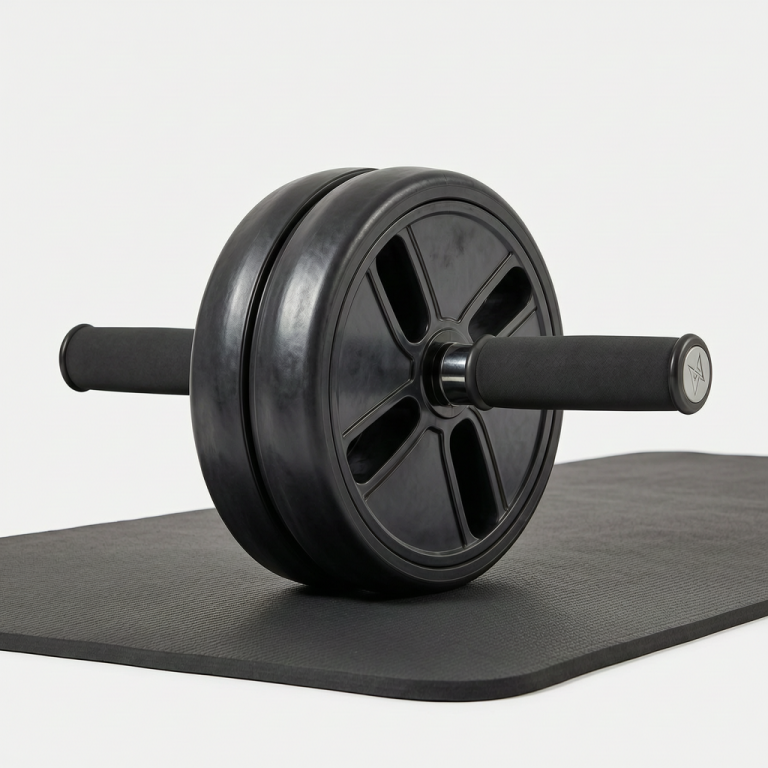
If a hard floor makes your elbows sore, a yoga mat or folded towel fixes that right away. If you’re shopping for one, it’s a good idea to check current prices on Amazon before you order. And when you give the plank a try, tell me in the comments how your first 20-second hold felt. The struggle is normal, but it’s worth it.
How to Set Up a Perfect Plank
Before you try side planks or shoulder taps, get comfortable with the basic elbow plank. I’ve coached plenty of beginners who could hold a plank for a minute, but their hips sagged and their shoulders crept up to their ears. That’s not core work — it’s a fast track to a sore lower back. Here’s the setup I use with every new client, and the one I fall back on at home.
- Set your elbows. Start on all fours with your elbows directly under your shoulders and your forearms parallel on the floor. Don’t let your elbows flare out. Keep your forearms running straight ahead so your upper arms are vertical. Your hands can be flat or lightly clasped, whatever feels natural. If your shoulders feel pinched, adjust your forearms a bit closer together or make sure your elbows aren’t drifting forward.
- Step back. Step your feet back one at a time. This part is usually rushed, but it matters. Once you’re up on your toes, squeeze your glutes and tuck your pelvis slightly. The goal is a neutral spine — a long line from your head to your heels, not an exaggerated posterior tilt. Imagine pulling your belly button toward your spine, but keep it subtle. You want to brace, not suck in and stop breathing.
- Set your neck and breathe. Keep your neck neutral by looking at a spot on the floor about a foot past your hands. If you look straight down, your neck flexes too much. If you peek up toward the front of the room, your neck extends and your lower back often follows. The spot on the floor keeps your whole spine in a cleaner position. This is also your reminder to breathe. You can’t hold a strong plank while holding your breath. Breathe steadily through your nose or mouth, whichever lets you keep tension in your core.
Here are the common setup issues I see and how to fix them:
- Elbows slide forward. This happens when you get tired and your shoulders drift ahead of your elbows. It shifts tension into your shoulders and away from your core. Reset and press your elbows into the floor.
- Hips too high. If your butt is up in the air, you’re basically in a folded position and your abs aren’t doing much. Lower your hips until your head, shoulders, hips, and heels are in a straight line.
- Hips sagging. Squeeze your glutes hard and brace your abs. If your lower back starts to ache, that’s a sign you’ve lost the position. Drop your knees, reset, and try again rather than pushing through pain.
- Feet too wide or narrow. Hip-width apart is a good starting point. Wider feet give you more balance, but too wide makes the plank easier and lets your hips sink. Narrow feet make you work harder, so start here and add difficulty later.
Another cue that helps: set your shoulders away from your ears. I know it sounds odd, but think about sliding your shoulder blades away from your neck before you step back. It gives your upper back a stable platform instead of leaving your neck to carry tension. You should feel your entire body engage, not just your abs.
Once the setup feels right, a 20-second plank should feel controlled, not shaky. If your elbows are sensitive on a hard floor, a basic exercise mat or elbow pads can make a big difference — no need to overthink it. Try this setup at home and let me know in the comments how it felt. Were you sagging without knowing it? Did squeezing your glutes change the exercise? Tell me what you noticed.
Plank Mistakes That Sabotage Your Core Work
You can hold a plank for two minutes and still not see the core strength you want if your body has drifted out of line. I’ve seen it happen in my own workouts plenty of times. The plank looks simple enough, but small errors can shift tension from your abs to your lower back, shoulders, or hip flexors.
Before you try any variations, take a few minutes to check your setup. These three mistakes are the usual culprits, and each has a straightforward fix.
1. Letting your hips sag
When fatigue sets in, your lower back often arches first. Your hips drop, and your belly hangs toward the floor. That position puts extra pressure on your lumbar spine and makes your abs stop working as effectively.
Fix it: pull your navel toward your spine, tuck your pelvis slightly, and squeeze your glutes. The goal is a straight line from your head to your heels. If you’re not sure, film yourself from the side. I still do this every few weeks, because what feels like a straight line to me is often a soft curve on camera.
2. Hiking your hips up into a pike
Too much fatigue can also send your hips toward the ceiling. This is usually a survival move, because a pike takes tension off your core. But it also makes the plank feel like a resting pose, and you lose most of the ab work.
Fix it: lower your hips with control until your torso and legs form one line. Don’t go so far that your back sags. Your body should feel long, not folded. If you can’t keep your hips up in a straight line, end the set and come back after a short rest.
3. Holding your breath
Planks can make you want to hold your breath, especially when you’re bracing hard. That builds pressure, but it doesn’t train your core to work the way it does during everyday movement.
Fix it: breathe while you brace. Inhale through your nose, and as you exhale through your mouth, gently pull your ribs toward your hips and draw your navel in. Use the exhale to brace more deeply. That rhythmic breathing keeps your core active without turning the plank into a breath-holding contest.
Quick form checklist for every plank
- Shoulders are stacked over your elbows or wrists.
- Neck is long and neutral; look at a spot on the floor in front of you.
- Ribs are pulled down, not flaring.
- Abs are braced like you’re about to take a light punch.
- Glutes and legs are active, with feet together or hip-width apart for more balance.
Before you start adding variations, give this checklist a test run. Pick one correction at a time. If your hips sag, focus on the glute squeeze. If your back aches, tuck your pelvis earlier. Once you feel a straight, solid line, you’re ready for variations that actually challenge your core.
If you need a mat, check current prices on Amazon, and after your next few plank sets, share which mistake you fixed first in the comments.
10 Plank Variations for a Stronger Core
You don’t need a single piece of equipment to build a solid core. Just your body, a patch of floor, and a little patience. I’ve coached plenty of beginners who thought planks were only about holding still until your arms shake. That’s part of it, but once you learn a few variations, you get a full core workout that hits your abs, obliques, lower back, and even your glutes.
Here are ten plank variations I like to run as a circuit. Start with the first one, do it for 20 to 30 seconds, then take a 10-second reset before the next. After you finish all ten, rest for 60 to 90 seconds and repeat two or three times. If you’re just starting out, pick four or five of these and leave the rest for next time.
Here’s a quick reference sheet. It doesn’t replace the coaching cues below, but it will help you scan the whole workout before you start.
| Move | Work Interval | Rep Goal | Form Focus |
|---|---|---|---|
| 1. Forearm Plank | 20-30 sec | Hold steady | Straight line from head to heels |
| 2. High Plank | 20-30 sec | Hold steady | Wrists under shoulders, push floor away |
| 3. Side Plank | 20-30 sec per side | 1 hold per side | Hips lifted, don’t let them drop |
| 4. Reverse Plank | 20-30 sec | Hold steady | Long line from shoulders to ankles |
| 5. Plank Shoulder Taps | 20-30 sec | 8-12 taps per side | Hips still |
| 6. Hip Dips | 20-30 sec | 10 slow dips per side | Small controlled range |
| 7. Mountain Climbers | 20-30 sec | 10 per side | Hips level |
| 8. Spiderman Plank | 20-30 sec | 8 per side | Knee toward elbow |
| 9. Plank Arm Reach | 20-30 sec | 6-8 reaches per arm | Reach forward, hips square |
| 10. Bird-Dog Plank | 20-30 sec | 5-6 per side | Balanced on two points |
Use the rep goals as a guide. If you’re moving with clean form, you may hit slightly more or fewer reps within the work interval. For the side-focused moves, do both sides within the 20 to 30 seconds. For the alternating moves, count one rep as both sides.
1. Forearm Plank
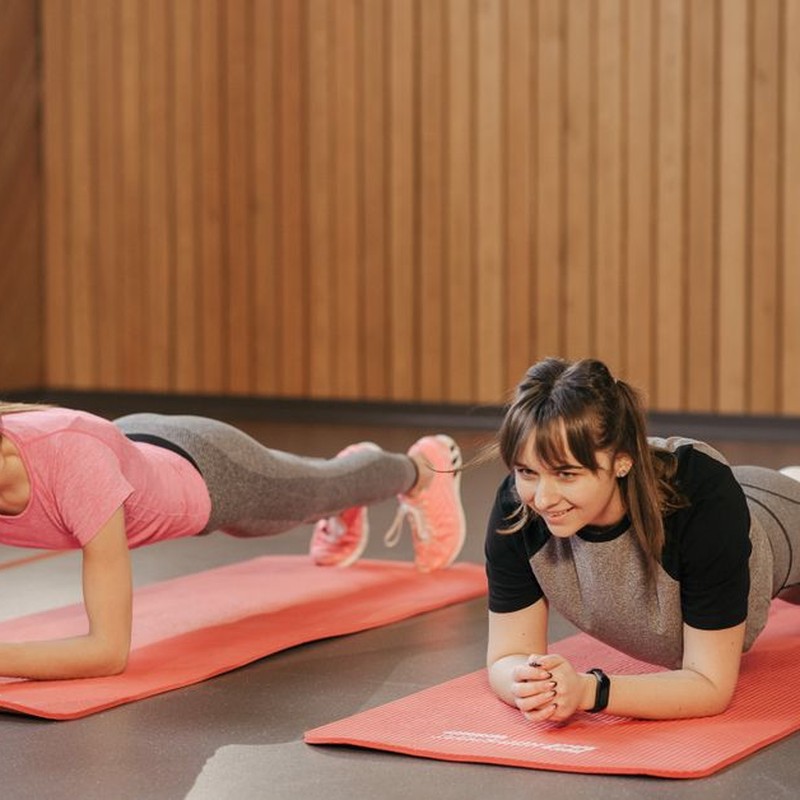
This is your anchor. Get on the floor, place your forearms down, elbows directly under your shoulders. Your feet should be hip-width apart, and your body should form one straight line from your head to your heels. Squeeze your glutes and brace your abs like you’re about to take a light punch. Look at the floor, not ahead, so your neck stays neutral.
Breathe steadily. Don’t hold your breath. A common mistake is letting your hips sag or pike upward. I tell people to pull their belly button toward their spine, but not so hard that it changes your rib position. If 20 seconds feels tough, that’s fine. Build up over a couple of weeks.
2. High Plank
From the forearm plank, press up onto your hands. Your wrists should be stacked under your shoulders, fingers spread wide for stability. This version lets your shoulders and chest work a bit more while your core stays locked in.
Keep your legs straight and active. Push the floor away from you so your upper back doesn’t round. Your ears, shoulders, hips, and ankles should all be in a line. If you feel pain in your wrists, support yourself on your fists or use push-up handles if you have them. I’ve used a pair of dumbbells at home to elevate the hands, and that takes the strain off.
3. Side Plank
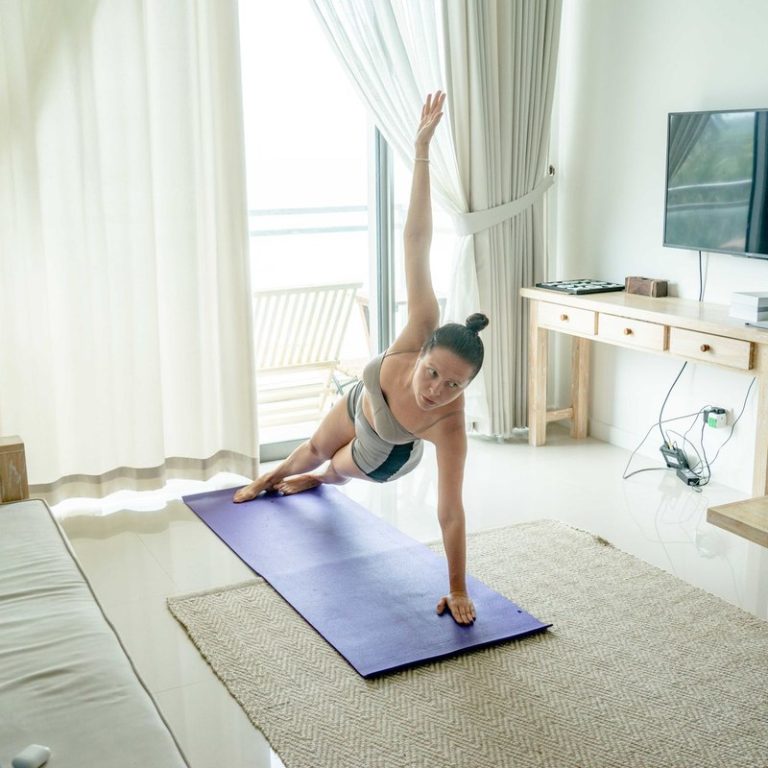
Lie on your right side, prop yourself up on your right forearm, and stack your feet. Lift your hips so your body is straight. Your elbow is under your shoulder, and your forearm points away from your body. Hold here without letting your hips drop.
Your obliques do most of the work. If stacking your feet is too hard, cross your top leg in front of the bottom leg for more stability. Don’t let your head drift forward. Keep your top hand on your hip or reach it toward the ceiling for an extra challenge. Switch sides after your hold and match the time.
4. Reverse Plank
Flip over. Sit with your legs straight in front of you, palms on the floor behind your hips, fingers pointing forward. Press into your palms and lift your hips until your body forms a straight line from your shoulders to your ankles, like a tabletop. Point your toes or flex your feet — either works, but keep your legs strong.
This one hits your lower back and glutes instead of just the front of your body. If your hamstrings feel tight, bend your knees a bit at first. I’ve seen people let their head drop forward here, so keep your chin tucked and look up toward the ceiling slightly. Hold for 20 to 30 seconds.
5. Plank Shoulder Taps
Start in a high plank position. Keep your hips as still as possible. Lift your right hand and tap your left shoulder, then place it down. Lift your left hand and tap your right shoulder. That’s one rep.
The challenge is not to rock your body side to side. I like to put small markers or water bottles just outside each hand on the floor. If your foot moves or your hip swings, you’re rushing. Slow it down. Do 8 to 12 taps per side with control. You should feel this in your obliques and the muscles that stabilize your shoulders.
6. Hip Dips
Start in a forearm plank. Slowly rotate your hips to the right and lower them toward the floor without touching it. Come back to center, then rotate to the left. That’s one rep. Keep your forearms grounded and your shoulders stacked over your elbows.
This is a small movement, not a big swing. I tell beginners to keep it as smooth as a slow windshield wiper. Your obliques should feel the burn long before your arms. Do 10 slow dips per side. If you feel your lower back start to arch, shrink the range of motion.
7. Mountain Climbers
Move into a high plank. Bring your right knee toward your chest, then step it back as you bring your left knee forward. Alternate quickly or slowly — speed isn’t the goal unless you’re comfortable. Keep your hips level and your shoulders over your hands.
Most people lose their form when they speed up. I’ve done them too fast and watched my hips rise and my back round. Instead, try a controlled pace: two seconds to bring the knee in, two seconds to send it back. Do 10 per side. This adds a cardio element to the plank circuit, so you might start to breathe harder. That’s okay.
8. Spiderman Plank
Get into a high plank. As you bring your right knee forward, aim it toward your right elbow, lifting that foot off the floor slightly. Then step it back to plank. Do the same with your left knee toward your left elbow. That’s one rep.
I like this variation because it opens up your hips and works your obliques at the same time. Don’t worry if your knee doesn’t quite reach your elbow. Just get it as close as you can while keeping your hips low. If you have to pause at the top to keep from tipping, that’s fine. Go for 8 reps per side.
9. Plank Arm Reach
Start in a high plank. Keeping your hips square to the floor, lift your right arm and reach it forward, as if you’re trying to touch the wall in front of you. Hold for a moment, then lower it and do the same with your left arm. That’s one rep.
This one is all about balance and control. Your core has to work hard to stop your body from twisting. I’ve found that looking down, not lifting my head, makes it much easier. Reach only as far as you can without losing the neutral line. Aim for 6 to 8 reaches per arm. If you feel your shoulder hiking up to your ear, relax it and reach lower.
10. Bird-Dog Plank
<
How to Put Together a Plank Workout and Track Progress
The biggest mistake I see with plank training is treating it like a test of pain tolerance. You don’t need to hold a shaking plank for three minutes. What builds strength is repeating short, solid holds with enough rest between sets. I found this out after trying to chase a five-minute plank and ending up with a sore lower back and zero improvement in my core.
Here’s a simple progression plan you can run at home. The rule is simple: add a little time each week, but only if your form holds up.
- Start with 2 to 3 sets of 20 to 30 second holds. If planks are new to you, do 2 sets of 20 seconds. If you’ve been doing them for a while, start with 3 sets of 30 seconds.
- Rest twice as long as each set. After a 25-second hold, rest for 50 seconds. That rest lets your hips stay level and your glutes stay squeezed on the next set.
- Add 5 seconds to your longest hold each week. If week one felt controlled at 20 seconds, aim for 25 seconds in week two. Keep that pattern until you reach 45 seconds.
- Only move to harder variations after your form is solid. Solid means your hips stay level, your glutes are engaged, and your shoulders aren’t hunched up by your ears. At 45 seconds with that form, try one of the advanced variations from this article.
Here’s what the first two weeks might look like. Do this after your regular workout or as a quick morning finisher, three times a week with at least one day off between sessions.
| Week | Exercise | Sets and Time | Rest |
| 1 | Forearm plank | 2 x 20 seconds | 40 seconds between sets |
| 2 | Forearm plank | 3 x 25 seconds | 50 seconds between sets |
Tracking doesn’t have to be fancy. On your phone, write the date, the variation, the seconds for each set, and one note about your form. For example: Mar 14 – Forearm plank – 30, 28, 25 – hips dropped on last set. That note tells you to rest a little longer next time or stop a bit earlier. I’ve kept a log like this in my phone’s Notes app for years, and it works better than any fancy training journal.
Listen to your body too. Your lower back should not feel strained during or after planks. If it does, take an extra rest day before your next session, and film yourself for a quick form check. It’s better to back off for a day than to push through a cranky back and lose a week to pain.
If you’re on a hard floor, check current prices on Amazon for a comfortable exercise mat so you can focus on your form instead of achy elbows. After your next plank session, come back and share which plank variation felt toughest in the comments. That feedback helps other readers know what to expect.