How to Do a Perfect Plank:
Why the Plank Deserves a Spot in Your Routine
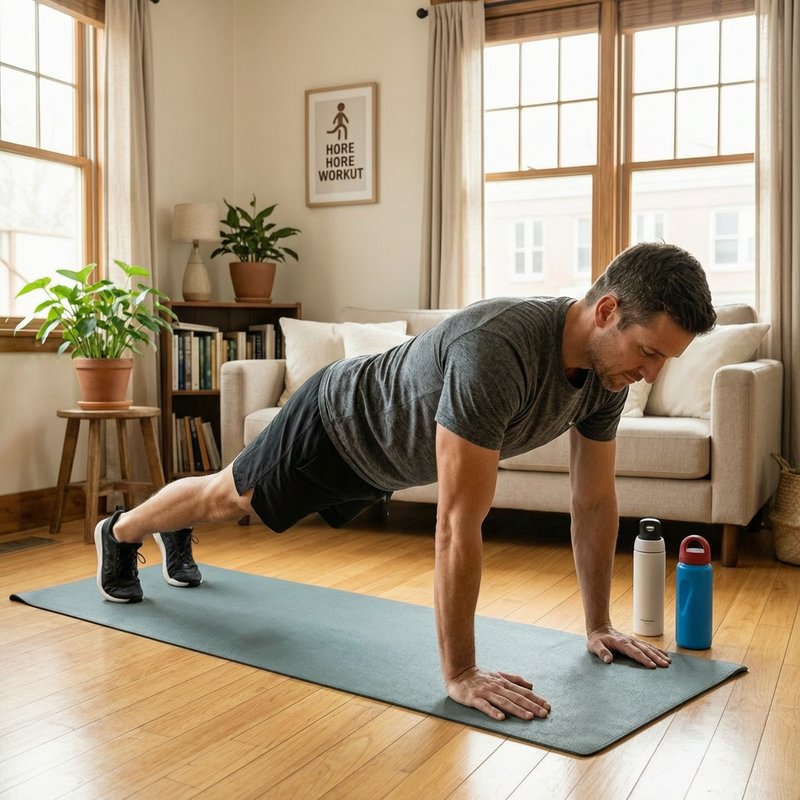
You’ve seen people holding planks in the gym, on living room floors, and in park workouts. It looks simple—just hold your body in a straight line. But the plank is one of the most effective exercises for building real core stability, and it does a lot more than just give you visible abs.
Your core isn’t just your six-pack muscles. It’s a complex system that includes your transverse abdominis (the deepest abdominal layer), obliques, lower back, glutes, and even your shoulders. When you hold a plank correctly, you’re training all of these muscles to work together as a unit. That’s something crunches can’t do—they mostly target the rectus abdominis and can put strain on your neck and lower back.
I’ve coached dozens of beginners who started with crunches and ended up with back pain. Switching them to planks changed everything. Their posture improved, their lower back felt stronger, and they could finally do other exercises like push-ups and rows without collapsing in the middle.
The plank also protects your lower back. A strong core acts like a natural weight belt, keeping your spine stable during daily movements—lifting groceries, playing with kids, or sitting at a desk. If you’ve ever had lower back tightness after a long day, a consistent plank practice can help.
This tutorial breaks down every detail of the plank: exact setup, form cues, common mistakes, and progressions. You’ll know exactly how to start safely, even if you’ve never held a plank for more than 10 seconds. And as you get stronger, you’ll have clear steps to keep challenging yourself.
By the end of this guide, you’ll have a rock-solid plank and a deeper understanding of core training. If you’re ready to build real strength that carries over to everything else you do, let’s get started.
Have you tried planks before? Share your experience in the comments—I’d love to hear what worked for you.
Setting Up for Success: Your Starting Position
Getting into a plank isn’t just about dropping to the floor and holding yourself up. The setup determines whether you build real core stability or just strain your lower back. I’ve seen too many beginners rush this part and end up frustrated. Let’s walk through it step by step.
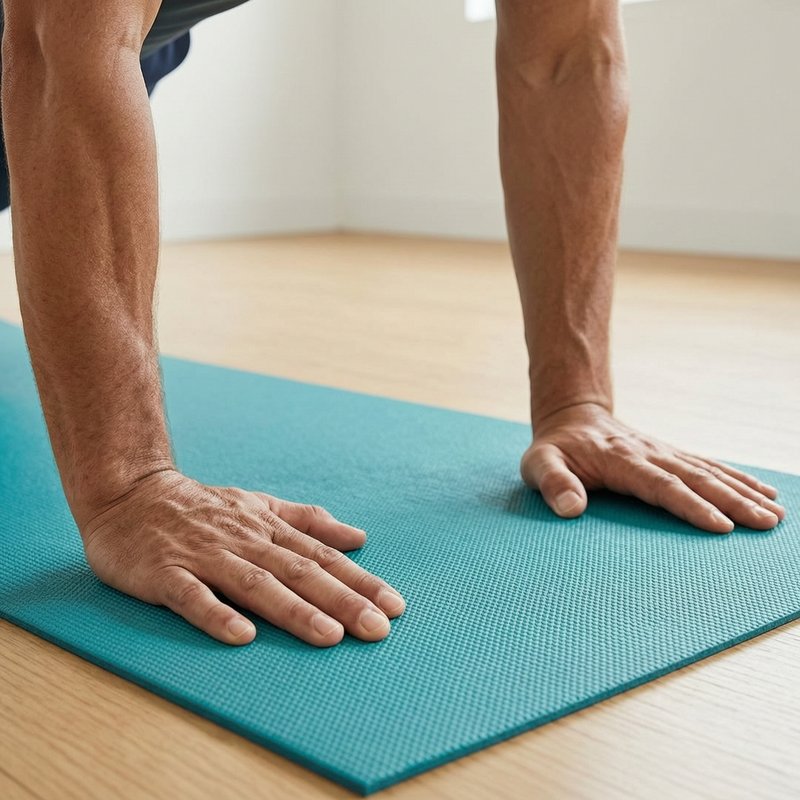
Start on all fours on a mat or carpet. Place your wrists directly under your shoulders—think of your arms as vertical pillars. Your knees should be directly under your hips. This is your neutral starting point. Spread your fingers wide and press your palms into the floor. This engages your shoulders and creates a stable base.
Now, walk your feet back one at a time. Keep your legs fully extended, toes tucked under. Your feet should be about hip-width apart, not together. I find that a slightly wider stance helps beginners feel more balanced. Your body should form a straight line from the crown of your head to your heels. Imagine a laser beam running along your spine—no sagging in the middle, no butt piking up like a V.
Here’s a quick checklist before you hold the position:
- Wrists are directly under shoulders, not forward or back.
- Feet are hip-width apart, toes curled under.
- Neck is neutral—look at a spot about six inches in front of your hands.
- Abs are braced like someone’s about to poke you in the gut.
- Glutes are squeezed gently to keep your hips from dropping.
I once coached a friend who kept dropping into a saggy plank. We fixed it by having her press her palms into the floor and actively pull her belly button toward her spine. That cue alone turned her plank from painful to powerful. Try it yourself—it works.
If you’re not sure about your alignment, snap a quick video from the side. Compare it to the straight line I described. Adjust until it looks right. Once you have this setup dialed in, you’re ready to hold the plank with confidence.
Step-by-Step Form Cues for a Rock-Solid Plank
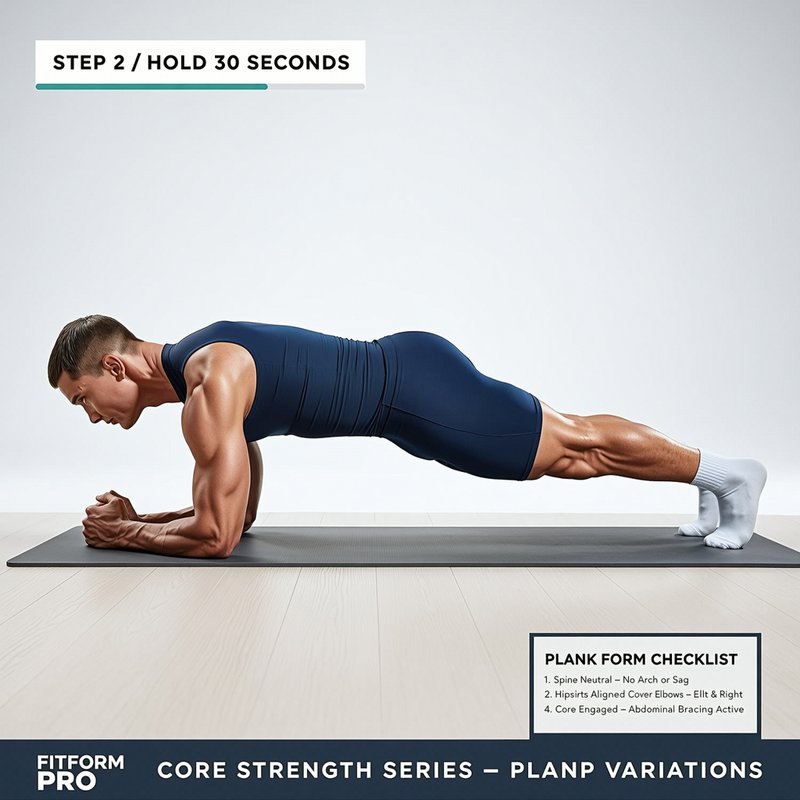
Getting into a plank is easy. Holding one with perfect form? That takes a little know-how. I’ve watched dozens of beginners collapse into a saggy mess within 10 seconds — and I’ve been there myself. Here’s how to hold a plank that actually builds core stability.
1. Squeeze Your Glutes and Quads — Hard
This is the secret most people miss. Actively squeeze your glutes and tighten your quadriceps. This locks your legs straight and takes the pressure off your lower back. I tell my clients to imagine they’re holding a $100 bill between their butt cheeks. That level of squeeze. Your legs should feel engaged, not dead weight.
2. Draw Your Belly Button Toward Your Spine
Without holding your breath, gently pull your navel in toward your spine. This activates your deep core muscles — the transverse abdominis — which act like a natural weight belt. Keep breathing normally. If you find yourself holding your breath, you’re bracing too hard. Ease off just enough to breathe.
3. Set Your Neck and Gaze
Keep your neck in a neutral position by looking at a spot on the floor about 12 inches past your hands. Don’t look up at the wall — that cranks your neck back. Don’t drop your head either. Your spine should be one straight line from the crown of your head to your tailbone.
4. Brace Like You’re About to Get Punched
Imagine you’re bracing for a light punch to the gut. That tension — not a full-body freak-out, but a firm, stable hold — is your core working. Your shoulders should be slightly rounded forward, not pinched back. Your elbows are directly under your shoulders if you’re on your forearms, or your wrists are stacked under your shoulders if you’re on your hands.
Hold this position for 20 to 30 seconds to start. If you feel your hips sag or your back arch, drop to your knees and rest. Quality over duration every time. Once you can hold 30 seconds with perfect form, aim for 45, then 60. I’ve seen people who couldn’t hold 10 seconds build up to 2 minutes in a few weeks by focusing on these cues.
Try it now. Set a timer for 20 seconds, run through these steps, and see how it feels. If your lower back starts aching, you’re probably not squeezing your glutes enough. Fix that, and the plank becomes a whole different exercise.
Have you tried these cues? Drop a comment below and let me know how it went.
Common Plank Mistakes That Sabotage Your Core Work
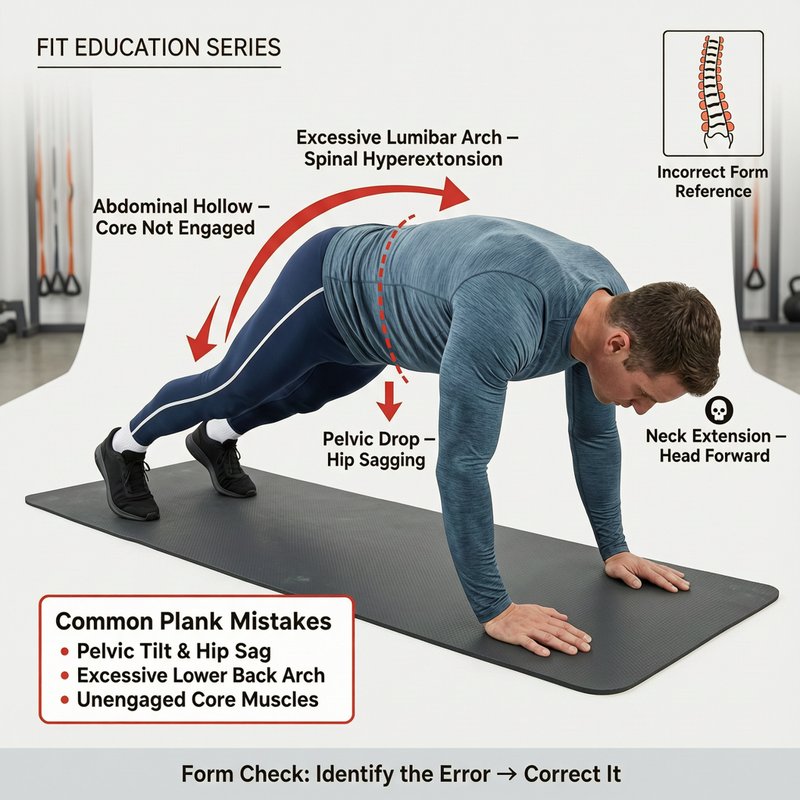
You’re on the floor, shaking after 30 seconds, but something feels off. Maybe your lower back aches, or your shoulders are screaming. Chances are, you’re making one of these common mistakes. Let’s fix them so you actually build core stability instead of just surviving the timer.
Mistake #1: Dropping Your Hips (Sagging)
This is the most frequent error I see. Your hips sink toward the floor, and your lower back takes the brunt of the load. Instead of working your abs, you’re compressing your lumbar spine. Not good.
How to fix it: Squeeze your glutes and quadriceps as if you’re trying to hold a coin between your butt cheeks. This action lifts your hips and aligns your body. Imagine a straight line from your ears to your ankles. If you feel your lower back relaxing, re-engage those glutes immediately.
Mistake #2: Piking Your Hips Up (Upside-Down V)
On the flip side, some people push their hips too high, creating an inverted V shape. This reduces core engagement and turns the plank into a weird downward dog variation. Your abs get a break, and your shoulders take extra strain.
How to fix it: Lower your hips until your spine is straight. Think of your body as a stiff board. If you’re unsure, film yourself from the side. Your torso and legs should form a straight line, not a mountain peak.
Mistake #3: Holding Your Breath or Craning Your Neck
I’ve done this myself. You tense up, hold your breath, and crane your neck to look at the mirror or the clock. This leads to tension headaches and early fatigue. Your core needs oxygen to work, and your neck shouldn’t be part of the exercise.
How to fix it: Keep your neck long by gazing at a spot about 12 inches past your hands. Breathe steadily—inhale through your nose, exhale through your mouth. Count your breaths instead of seconds. For example, aim for 5 slow, controlled breaths per set.
I once coached a beginner who dropped her hips every time. After one session of squeezing her glutes and lowering her neck, she held a proper plank for 45 seconds without pain. Small fixes make a huge difference.
Now that you know what to avoid, share your experience in the comments—what mistake did you fix today?
Progressions and Variations to Keep Challenging Your Core
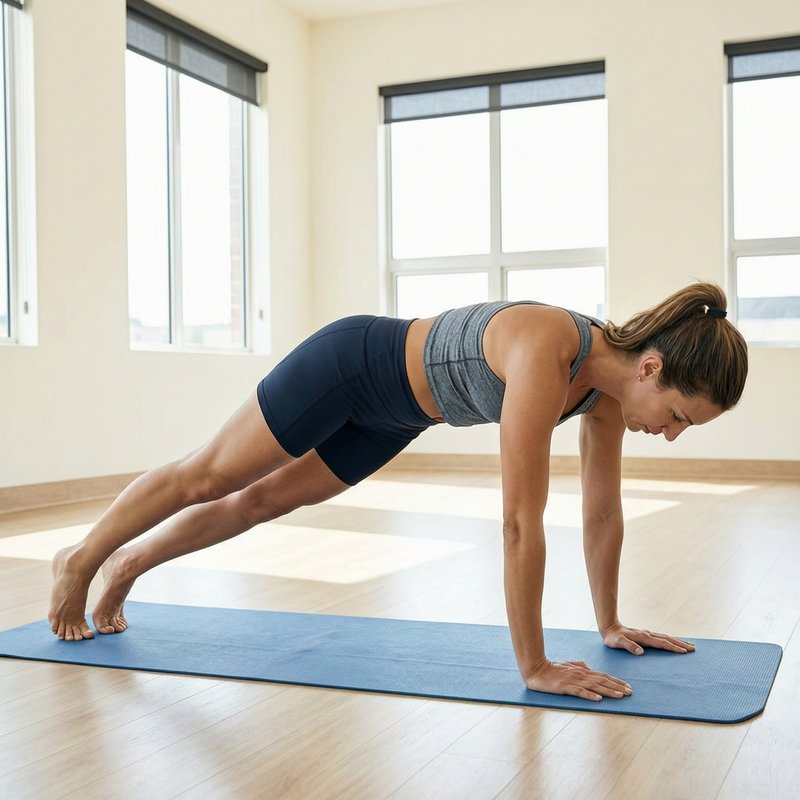
Once you can hold a basic plank for 60 seconds with perfect form, it’s time to level up. Here’s how to progress safely and keep your core guessing.
How to Progress the Basic Plank
Start with a 20-second hold. Add 5 seconds each session. Aim for 60 seconds with perfect form before trying anything harder. I’ve seen people rush into advanced moves too soon and end up with a sore lower back. Slow and steady wins here. Also, give your core a break — take at least one rest day between plank sessions to let your muscles recover and rebuild.
Try the Forearm Plank
Place your elbows directly under your shoulders, forearms flat on the floor, hands relaxed. This variation shifts the angle slightly and can be easier on your wrists. It’s a great option if you spend a lot of time typing or have wrist issues.
Single-Leg Plank
From a basic plank, lift one foot an inch off the ground. Keep your hips level — don’t let them drop. Hold for 2-3 seconds, then switch legs. This small change fires up your glutes and lower back muscles. I like to do 5-6 reps per side.
Shoulder Taps
Only try this if you can hold perfect form for 30 seconds first. From a high plank (hands under shoulders), lift one hand and tap the opposite shoulder. Keep your hips still — no rocking. If you wobble, go back to the basic plank until you’re steadier.
Slow Leg Lifts
This one is tougher than it looks. From a forearm plank, lift one leg slowly — about 3 seconds up, 3 seconds down. Keep your core tight and don’t let your back arch. Start with 3 lifts per leg and build up.
Remember: form always beats duration. If you feel your back sagging or your hips hiking up, drop back to an easier variation. Your core will get stronger faster with good form than with sloppy reps. And listen to your body — if something feels off, take an extra rest day or try a gentler move.
Ready to upgrade your home gym? Check current prices on Amazon for a quality yoga mat or timer — and share your favorite plank variation in the comments below!
Medical & Editorial Review: This article was reviewed by Liam Smith, founder of Apexfito, for accuracy and safety. Content is for educational purposes and is not a substitute for professional medical advice. Consult your physician before starting any exercise or nutrition program.