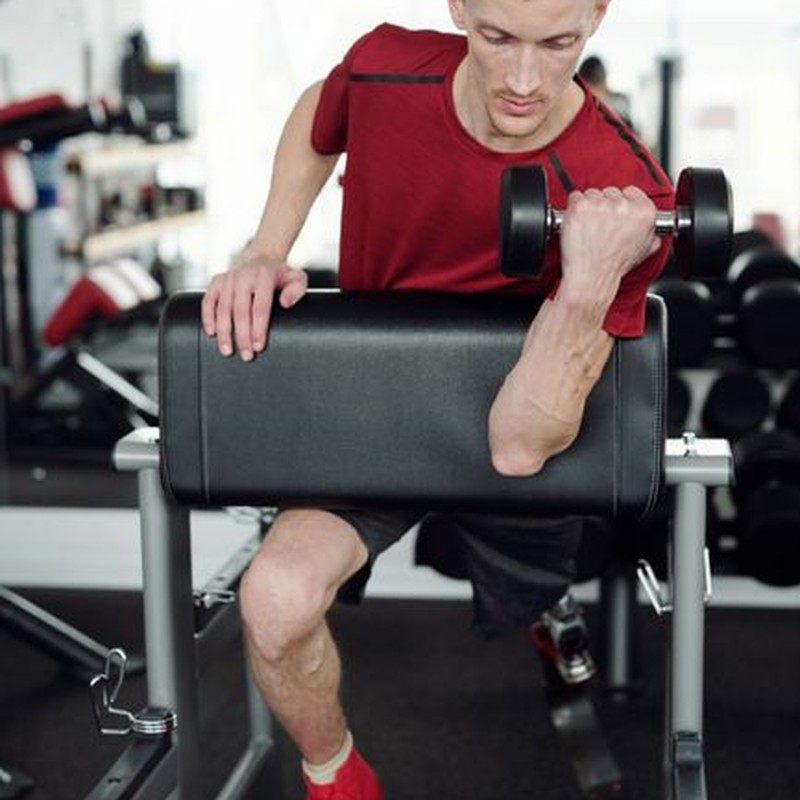
How to Build Bigger Arms at Home: Biceps and Triceps Do’s and Don’ts
Full disclosure: Some links in this article are affiliate links. We may earn a small commission at no extra cost to you if you make a purchase through them. Our recommendations are based on what real users report, not on commission size.
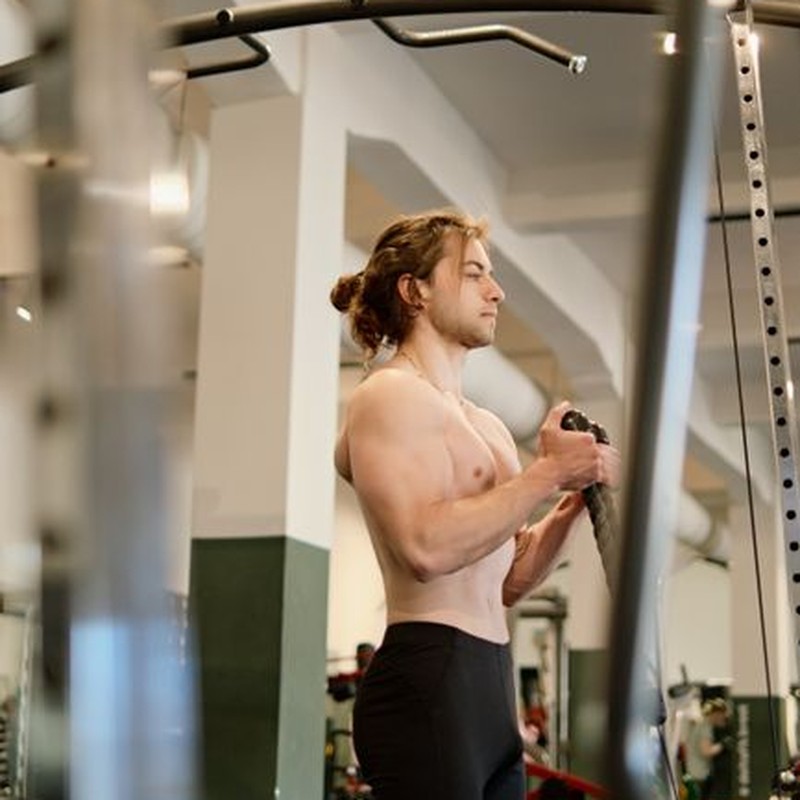
How Arm Muscle Actually Grows at Home
Your biceps don’t know whether the tension came from a rack of dumbbells or a band hooked to a door anchor. They register load, range of motion, and whether you asked them to handle a little more than last time. That’s the whole engine behind arm growth, and it’s why someone training in a spare bedroom with two bands can still add visible size.
The driver is progressive tension over time. Bands deliver that fine, as long as one of these keeps climbing:
- A thicker band, or two stacked together
- Standing further from the anchor so the band is already stretched at the start of the rep
- A slower lowering phase — three to four seconds down instead of a quick drop
- A one-second squeeze at the top of each curl or extension
- One more rep, or one more set, than last week
Pick one lever per session and push it. Chasing all five at once is how beginners end up sore for a week and back on the couch.
Here’s the part almost everyone skips: write it down. Band color, handle position, reps, and how hard the last two reps felt. I tracked my own band work in a notes app after six weeks of guessing, and the difference was ridiculous — I’d been using the same light band for a month without noticing. Without numbers, you have no idea when to move up. A line like “green band, stood 2 feet back, 12/12/10, last rep grindy” gives you something to beat next time.
Frequency matters as much as effort. Two arm sessions per week, spaced 48 to 72 hours apart, is plenty for a beginner. Three is the ceiling, and only if your sleep and food are genuinely dialed in. Arms are a small muscle group that already gets hammered by every push-up, row, and pull-up you do, so stacking four arm days on top of that is a fast track to cranky elbows.
For weekly volume, land around 10 to 20 hard sets combined across biceps and triceps, split between those two sessions. Hard means the last two or three reps are a real fight. If you can coast through 20 reps without your face changing, that set was a warm-up, not a stimulus.
A September 2026 Yahoo Creators roundup of trainer advice on building bigger, stronger arms landed on the same three fundamentals: full range of motion, a controlled lowering phase, and enough recovery between sessions. No special machine required. Good gut-check for anyone wondering whether home training is somehow second-rate. It isn’t, provided those boxes get checked.
You’re in crowded company, too. Google Trends data from the past year shows US search interest for “bicep workout” running slightly above its 12-month average, with the most recent 30-day stretch sitting a touch higher than the yearly baseline. Plenty of other people are chasing the same goal from their living rooms right now.
As for speed: most beginners see their first honest arm changes somewhere in the 6-to-10-week range. Not shirt-sleeve-splitting changes, but real ones. Photos in the same lighting, same time of day, plus a tape measure around the flexed upper arm, will tell you far more than the bathroom mirror will. The mirror lies depending on how you slept, what you ate, and how the light hits the room.
One equipment note. Bands run out of room at the heavy end — you can only stretch a light one so far before the tension curve gets weird and the top of the rep turns into a shoulder shrug. When your light band stops feeling like anything, either double it up or step into a heavier set, like the Serious Steel Heavy Resistance Bands Set or the WODFitters Resistance Band Set, which gives you a few color-coded levels to climb through as you get stronger.
Check current prices on Amazon before you commit. And if you’ve already been running band or dumbbell arm work at home, drop your setup and rep scheme in the comments — other readers learn faster from real numbers than from any article.
Gear, Setup, and a Five-Minute Warm-Up
I have run full arm sessions in a living room roughly the size of a walk-in closet, so take it from me: no rack, no bench, no gym membership required. You need a patch of floor, something to pull against, and five honest minutes before your first hard set.
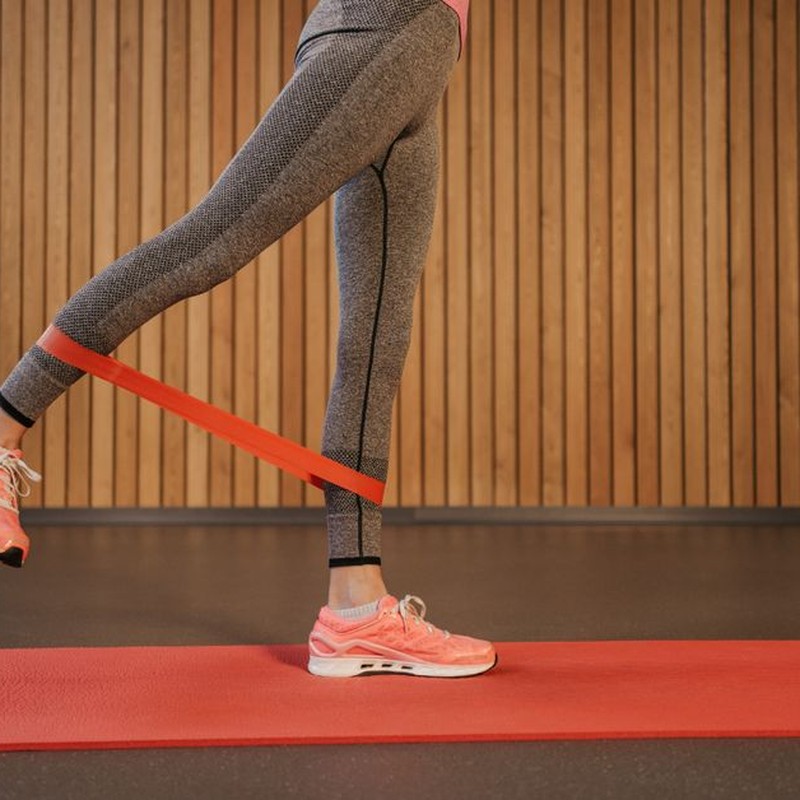
What you actually need
- A 6-by-6-foot patch of clear floor. You will be lying down, kneeling, and standing on bands, so give yourself room to move without clipping furniture. A yoga mat saves your knees but is not mandatory.
- A door anchor or a solid anchor at chest height. A band anchored in a closed door is the standard home setup. Put it on the hinge side of the door and give it one hard tug before you trust it with a working set.
- A sturdy chair. This covers triceps dips, close-grip push-up variations, and seated curls for when your lower back wants a break.
Two band types cover almost everything
Short loop bands, the flat continuous circles, handle pull-aparts, lateral work, and light finishers. Long tube bands with handles carry the real load: curls, pressdowns, overhead extensions, face pulls. Buy tubes with a range of tension levels first, then add loops for warm-ups and higher-rep pump work.
A few sets come up constantly when readers ask where to start. The WODFitters Resistance Band Set gives you several tension levels in one pack, which makes progression dead simple. When a curl starts feeling easy, you grab the next band instead of padding out reps you do not need. For light, high-rep triceps and shoulder work, the Fit Simplify Resistance Loop Bands Set costs about what lunch does and stores in a drawer.
If your elbows complain easily, the TheraBand CLX Resistance Band Set uses clip-on handles, so you swap tension between sets in a couple of seconds instead of untying and re-anchoring. That quick-change design matters more than people expect when your elbows are the limiting factor. Stronger lifters who need heavier pulling tension for close-grip push-ups and rowing supersets have a better fit in the Serious Steel Heavy Resistance Bands Set. Check current price on Amazon before you commit, since the heavier stuff is where the price jumps.
Two all-in-one kits are worth knowing about. The Whatafit Resistance Bands Set 20-100LB is a stackable tube system, so you clip bands together to dial in load. The INNSTAR Resistance Bands Set takes a similar adjustable-clip approach. Both work fine for a beginner who wants room to grow.
Check your bands before every session
Ten seconds of inspection saves you from a band snapping at eye level. Hold it up to a window and look for nicks, thin spots, or a chalky white surface. That chalky texture is dry rot, and a dried-out band fails without warning. Retire it. Also anchor low and step on the band rather than wrapping it around a door handle or any sharp edge. Doors and metal corners are the two most common ways people wreck bands, and occasionally skin along with them.
The five-minute warm-up
Cold elbows and cold shoulders are behind a lot of the soreness beginners blame on the exercises themselves. Trainers quoted in recent arm-training coverage say the same thing: prep the joints before you load them. Run this in order, no rest between moves.
- 60 seconds of arm circles, each direction. Start small, grow to big. Forward, then back.
- 15 band pull-aparts. Lightest loop band you own, squeeze your shoulder blades together at the end of every rep.
- 10 slow bodyweight triceps extensions. No resistance, just the pattern. Feel your elbows travel through the full range.
- One easy set of your first exercise at half your working tension. This is the one that actually primes you. Do not rush it.
That is the whole prep, about the length of one song. Do it every session, not just on the days you feel stiff. When your first working set feels smooth instead of creaky, the warm-up did its job. Grab your bands, check current prices on Amazon, and if you already have a home setup that is working, drop it in the comments so other readers can steal it.
Biceps: Exercises, Form Cues, and Rep Schemes
The biceps do two jobs: bend your elbow, and rotate your forearm so your palm turns up. Every curl you’ve ever seen is a different way of loading those two jobs. So you don’t need a rack of equipment to grow them. You need three or four movements done with real tension and honest form.
Trainers quoted in a September 2026 Yahoo Creators piece on building bigger arms made a similar point. The do’s and don’ts of arm training come down to controlling the lowering phase and keeping tension where it belongs, not stacking more exercises on top. Here’s the order I’d run at home, with the cues that actually change how the movement feels.
1. Standing Band Curl
Step on the middle of a long resistance band with your feet about hip-width apart, one handle in each hand, palms facing forward. Now pin your elbows against your ribs like you’re holding a newspaper under each armpit. That pin is the whole exercise.
Curl until your forearms nearly touch your upper arms. Squeeze for one count, then take three full seconds to lower the handles. The lowering phase is where most of your growth lives, and rushing it is the mistake I see most often in home training.
One don’t: let your elbows drift forward at the top. The second they travel in front of your body, the curl becomes a front raise and the tension slides off your biceps exactly where it matters most. Creeping elbows almost always mean your band is too heavy.
For a starter setup, the WODFitters Resistance Band Set gives you several resistance levels in one bag, which makes the progression at the end of this section easy to follow. The Whatafit Resistance Bands Set 20-100LB is another stackable option if you want finer jumps between levels.
2. Hammer Curl
Same stance, same elbow pin, but now your palms face each other like you’re holding two hammers. Curl up, squeeze, lower for a three-count.
Why bother with a variation that looks almost identical? Because the neutral grip shifts work onto the brachialis and brachioradialis. Those muscles sit under and alongside the biceps, and when they grow they push the whole arm outward. That’s the thickness people notice in a t-shirt. Plenty of guys chase a biceps peak for months, skip these two muscles, and wonder why their arms still look narrow.
Keep your wrists straight and stacked over your forearms. If your shoulders start shrugging up toward your ears, you’re pulling with your traps instead of your arms.
3. Behind-the-Body Curl
This is my favorite for the long head of the biceps, the part that creates the peak. Pass one handle of a long band behind your back at roughly hip height, grip it, and let your arm hang slightly behind your torso instead of at your side. Curl from there.
Because your arm starts behind your body, the biceps is already stretched before you move a inch. That stretched position is what the long head responds to, and you’ll feel the difference within a few reps. Go lighter here than you think you need. This isn’t a strength lift, it’s a tension lift.
Bands with clips make the setup much quicker because you can set handle length without fighting the band. The TheraBand CLX Resistance Band Set uses clip-on handles that work well here, and the INNSTAR Resistance Bands Set is a similar clip-based setup. Work one arm at a time and keep the non-working arm relaxed but still.
4. Dumbbell Version: Alternating Curls
If you have dumbbells, swap these in for the standing band curl. Stand tall, curl one arm at a time, and let the other arm hang completely still. I tried this at home with light dumbbells and caught myself swinging the free arm for momentum without noticing. It’s that automatic, and that swing turns a strict curl into a full-body heave that steals reps from the working arm.
Alternate arms, or curl both at once if you prefer. Either way the free arm stays quiet, the elbows stay pinned, and you lower under control for a three-count.
The Rep Scheme to Run on Day One
Three sets of 10 to 15 reps per exercise, with 60 to 90 seconds of rest between sets. On your last two reps of a set, the movement should slow you down, but it should never break your form. If rep 14 turns into a shrug and a swing, the set is over.
Progression is simple, and it’s where most of your size gains come from:
- Hit 15 clean reps on your heaviest band, then move up a color or stack two bands together.
- If 15 reps feels shaky at rep 12, stay at that level one more week.
- Hold your rest to 60 seconds on the curls and 90 on anything that leaves you winded.
That one decision, moving up when 15 reps get easy, is the difference between arms that adapt and arms that look the same in six months. When you’re ready for heavier resistance, the Serious Steel Heavy Resistance Bands Set covers the heavy end, and the Fit Simplify Resistance Loop Bands Set is handy for warm-ups and lighter accessory work.
Pricing on these sets moves around, so check current prices on Amazon before you buy. And if you’ve already been running curls at home, drop a comment with what’s working for you. I read every one.
Triceps: Exercises, Form Cues, and Rep Schemes
If your arms look good from the front and thin from the side, the triceps are usually what’s missing. They make up roughly two-thirds of your upper arm mass, so skipping them is like building a house and forgetting the back wall. A September 2026 Yahoo Creators roundup of trainer advice landed on the same point: people chase curls, ignore the muscles behind the arm, and then wonder why growth stalls.
I built my first decent set of triceps at home with one band and a door anchor. What mattered was training all three heads, controlling the stretch, and ending the set the moment form broke. Here’s how to do that with the gear you already own.
Overhead Band Extension (The Long Head Builder)
The long head crosses the shoulder joint, which means it only gets a full stretch when your arm is overhead. That makes this the one triceps exercise most home trainees never do properly.
- Anchor the band low behind you, around a door hinge or a sturdy table leg.
- Grab a handle with both hands and bring it overhead, elbows pointing forward.
- Lower behind your head until you feel a deep stretch in the back of the arm.
- Keep your ribs down and your lower back neutral. If your back arches, you’ve lost the tension.
- Press back up until your arms are straight, then repeat.
Don’t let your elbows flare wide to the sides. If they do, use a lighter band. The Whatafit Resistance Bands Set works well here because the stackable tubes let you start light and add tension as your elbows adapt.
Band Pressdown
Most people already know this one. The details are what make it work.
- Anchor the band high, around chest or head height.
- Tuck your elbows tight to your sides. They should not drift forward.
- Press down until your arms are completely straight.
- Hold the bottom for two seconds. That pause is where the work happens.
- End the set the moment your elbows start travelling forward. Cheating here just moves the tension to your shoulders.
Short loop bands give a different tension curve than tube bands, which is why I keep one Fit Simplify Resistance Loop Bands Set band tied permanently to a high anchor in my garage. It’s a quicker setup than stringing up tubes every session.
Kickbacks
Kickbacks get a bad rap because people load them too heavy. Done light and strict, they’re a good finisher for the lateral head.
- Hinge forward at the hips until your torso is close to parallel with the floor.
- Keep your upper arm tight against your torso, parallel to the ground.
- Straighten the elbow without letting the shoulder move.
- Squeeze at the top, then return with control.
Go light here. This is a small movement, and a heavy band just pulls you out of position. One light tube from the WODFitters Resistance Band Set is plenty.
Close-Grip and Diamond Push-Ups
Zero equipment, and still the most underrated triceps builder you can do at home. Hand placement is everything.
- Place your hands under your sternum, not up by your face.
- Let your elbows track back at roughly 45 degrees. Flaring them out to 90 degrees is a shoulder impingement waiting to happen.
- Lower until your chest is an inch off the floor, then press up hard.
Diamond push-ups, with your thumbs and index fingers touching, shift even more load onto the triceps. Once bodyweight feels easy, loop a band across your upper back and pin the ends under your palms. The Whatafit set’s stackable tubes are handy for this because you can add just a few pounds of resistance at a time.
Bench Dips Between Two Stable Chairs
You need two chairs of equal height that won’t slide. Set them shoulder-width apart, sit on one, and place your hands on the edge beside your hips.
- Keep your hips close to the chair, not drifting forward.
- Lower only until your elbows reach about 90 degrees. Stop there.
- Press back up without shrugging your shoulders toward your ears.
If your shoulders pinch at the bottom, switch to the floor version: same motion, hands behind you on the ground, knees bent. Less range, far less shoulder stress.
Rep Scheme and Rest
Triceps handle higher reps well, and the elbows usually tolerate them better than heavy low-rep work. For each exercise above, aim for:
- 3 sets of 12 to 20 reps
- 45 to 75 seconds of rest between sets
- Two to three triceps sessions per week, with at least one full rest day between them
Pick two or three exercises per session, not all five. A simple rotation: overhead extensions, pressdowns, and close-grip push-ups on day one, then kickbacks, bench dips, and diamond push-ups on day two. Add a rep or step up to a heavier band every week or two. If your elbows feel cranky, drop the resistance and slow the lowering phase to three seconds.
As you get stronger, heavier bands help for pressdowns and overhead work. The Serious Steel Heavy Resistance Bands Set gives a big jump in tension without a rack of dumbbells. Check current prices on Amazon before you buy, since these sets drift in and out of stock and the deals change weekly.
Run this consistently for a month and you’ll feel the difference in every pressing movement long before you see it in the mirror. Then come back and tell me in the comments which exercise wrecked you the most. My money’s on the overhead extensions.
The Do’s, the Don’ts, and Your Weekly Arm Plan
Google Trends data showed searches for “bicep workout” running above their twelve-month average over the past month. A September 2026 Yahoo Creators roundup of trainer advice made the same point from the coaching side: arms that grow and arms that stall are usually separated by a handful of habits, not by which curl variation you picked.
Here is the short version of everything above, plus a weekly template you can start on Monday.
The Do’s
Do train arms after your larger muscle groups, or give them their own day. Ten sets of curls before push-ups means neither movement gets trained well. Your arms are already cooked, so your push-ups turn into a chest and shoulder drill with dead weight hanging off you. If arms are the priority, put them first in the session or give them a dedicated day and leave the rest of the week for the big stuff.
Do keep the lowering phase slow. This is the cue I repeat more than any other. Bands give you the most free tension on the way back down, because the band is still stretched while your muscle lengthens under load. A three-second lower turns a mediocre set into a hard one without adding a single band. Most beginners rush the way down and then wonder why the set felt easy.
Do eat enough, and put a real protein source in every meal. You cannot build arm tissue out of nothing. A good workout is a signal, not a material. If your calories are flat and protein is an afterthought, no band setup on the market will out-train that.
Do write down your band level, your reps, and how the last two reps felt. Progressive overload at home is mostly a bookkeeping problem. If you cannot remember whether last week was the green band or the black band, you are guessing, and guessing plateaus.
The Don’ts
Don’t train arms every day. Soreness is not a scoreboard. Daily curls with no recovery is the fastest route to elbow tendon pain I see in people who train at home. Two or three quality sessions a week beat seven sloppy ones every time.
Don’t let the band snap back to the start. Releasing tension in the stretched position skips the hardest part of the rep. Control the handle all the way in, then reset. If the band is yanking your hand back, it is too heavy for that exercise.
Don’t skip shoulders, back, and grip work. Bigger arms sit on a frame that can support them. Band rows, pull-ups, and dead hangs build the forearms and elbow stability that let you curl more later. Skip them and your curls sit at the same resistance for months.
Don’t ignore joint pain. A dull muscle burn is fine. Sharp elbow or shoulder pain is not. Stop the set, drop the resistance, and check where your elbow is on the next session. Plenty of elbow complaints come from letting the elbow drift forward on curls so the forearm works at a bad angle.
Your Weekly Arm Plan
Start with the two-day template. Each session runs about 40 minutes.
- Day 1: three bicep exercises plus three tricep exercises. Standard curls, hammer curls, and a supinated anchor curl for biceps. Pressdowns, overhead extensions, and close-grip push-ups for triceps. Two to three sets each, 10 to 15 reps, with the last two reps genuinely hard.
- Day 2, three days later: same structure, different movements. Swap standard curls for hammer curls and pressdowns for overhead extensions. Changing the angle keeps your joints happier and hits the long head of the triceps, the part most home lifters shortchange.
Want a third day? Make Monday and Friday dedicated arm days with the full six-exercise block, and use Wednesday for a full-body session built around push-ups, band rows, and squats. That leaves 48 to 72 hours between arm sessions, roughly where beginners recover best.
Every fourth week, cut your sets in half and keep the tempo controlled. Do not add resistance that week. Then start the next block one band heavier or one notch tighter on your anchor. This is the step people skip, and it is usually why month three feels worse than month one.
Pick Your Bands and Get Started
The set you buy should match how you actually train. If you want one kit that covers curls, pressdowns, rows, and pull-up assistance, the WODFitters Resistance Band Set is the one I would hand a beginner first. If you prefer handle-based work and want adjustable tension for pressdowns, the TheraBand CLX Resistance Band Set is worth a look. For heavier pulling and pull-up assistance as you get stronger, the Serious Steel Heavy Resistance Bands Set holds up. And if you want a stackable tube kit with clips so you can fine-tune resistance rep by rep, the Whatafit Resistance Bands Set 20-100LB does that job. The Fit Simplify Resistance Loop Bands Set is cheap enough to keep around for warm-up work and lateral band walks, and the INNSTAR Resistance Bands Set gets you handles and ankle straps in one box.
Check current prices on Amazon before you buy, because they move around, and grab the kit that matches the way you already train rather than the one with the biggest number on the box.
Then run the plan for four weeks and report back. Which arm exercise gave you the hardest time? Drop it in the comments. For me it was always the overhead extension, and I suspect I am not alone.