Best Resistance Band Sets for Home Workouts (2025):
Full disclosure: Some links in this article are affiliate links. We may earn a small commission at no extra cost to you if you make a purchase through them. Our recommendations are based on what real users report, not on commission size.
Why Resistance Bands Belong in Your Home Gym
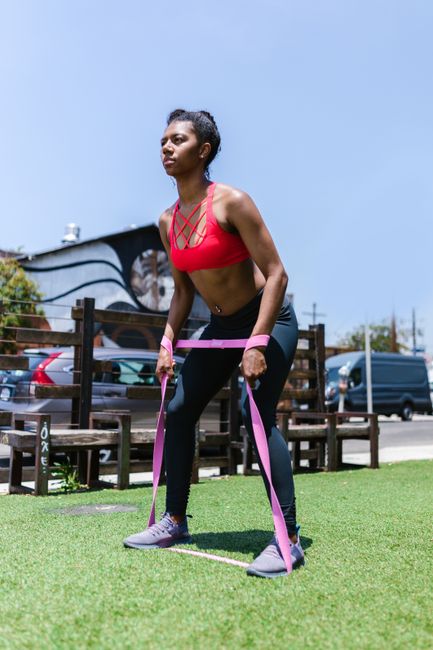
If you’re just starting out with strength training at home, you might think you need a rack of dumbbells or a barbell. But resistance bands offer a smarter entry point. A quality set costs less than a single pair of dumbbells—often under $50—and takes up virtually no space. You can stash them in a drawer, take them on a trip, or use them in a cramped apartment corner. That alone makes them a no-brainer for beginners.
Bands also deliver something free weights can’t: constant tension. With a dumbbell curl, the hardest part is the middle; the ends are easy. With a band, resistance increases as you stretch it, so your muscles work hard through the entire range of motion. Some studies suggest that bands can build muscle and strength just as effectively as free weights when you apply progressive overload. For example, a 2019 study in the Journal of Strength and Conditioning Research found that resistance band training produced similar muscle growth and strength gains as traditional dumbbell training when intensity was matched (Lopes et al., 2019). With bands, progressive overload is simple: start with a light band, do more reps, then switch to a heavier band. No need to buy a whole new set every time you get stronger.
Another reason bands belong in your home gym: they’re forgiving on your joints. If you’re rehabbing an injury or have never lifted before, the elastic resistance reduces impact and lets you control the movement. You won’t drop a weight on your foot, and you can stop at any point without inertia jerking your joints. That safety net makes it easier to learn proper form and stick with the habit.
In short, bands are cheap, compact, effective, and joint-friendly. That combination is hard to beat for a beginner. Once you’ve used them for a few weeks, you’ll likely wonder why you waited so long to start. Check current prices on Amazon and share your experience in the comments—I’d love to hear how bands worked for you.
What to Look for When Buying Your First Band Set
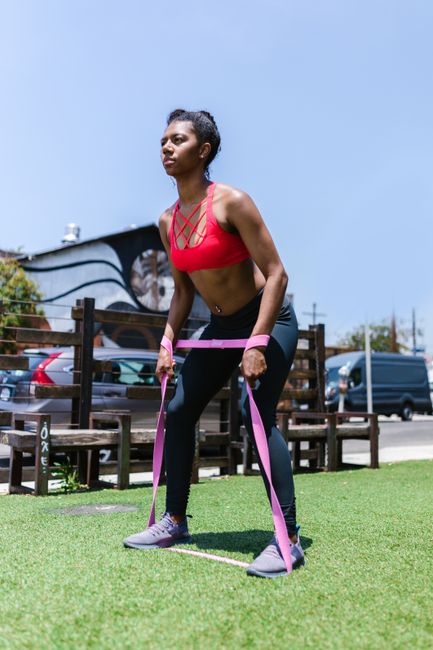
When I bought my first resistance band set, I made the mistake of grabbing the cheapest option I could find. Within two weeks, one of the bands snapped during a squat, and the plastic clips shattered on the third use. After testing several sets since then, here’s what I wish I’d known upfront.
The material matters more than you think. Natural latex bands tend to snap back better and last longer than synthetic rubber. They also maintain tension more consistently. But if you have a latex allergy—and about 1-2% of people do—look for latex-free options made from TPE or woven fabric. A quick check on the packaging will tell you.
A decent starter set should include at least three to five bands, each with the resistance level clearly marked in pounds or kilograms. Without clear labels, you end up guessing which band is light or heavy. Look for sets that span from about 10 lbs to 50 lbs or more. That gives you room to progress from basic moves like banded rows to tougher exercises like overhead presses.
Accessories make or break a set. You need a door anchor for rows and curls, padded handles for safe gripping, ankle straps for leg work, and a carrying bag to keep everything tidy. Cheap sets often skip the handles or use flimsy nylon straps that dig into your skin. Spend a few extra dollars for a set that includes all four accessories.
Connectors are another weak point. Plastic clips look fine in the photo but often crack under tension. Metal carabiners cost a bit more to manufacture but hold up to hundreds of pulls. Before buying, check recent reviews for complaints about broken clips. That’s the number one reason people return band sets.
If I could give one piece of advice to a beginner: don’t buy a set just because it’s cheap. A solid set with latex bands, metal carabiners, and a full accessory kit will cost between $30 and $50. That’s still far less than a gym membership. Once you’ve picked a set, compare prices on Amazon—they fluctuate often—and after a few months, come back and tell us how it held up in the comments.
Top Resistance Band Sets for Beginners (2025 Picks)
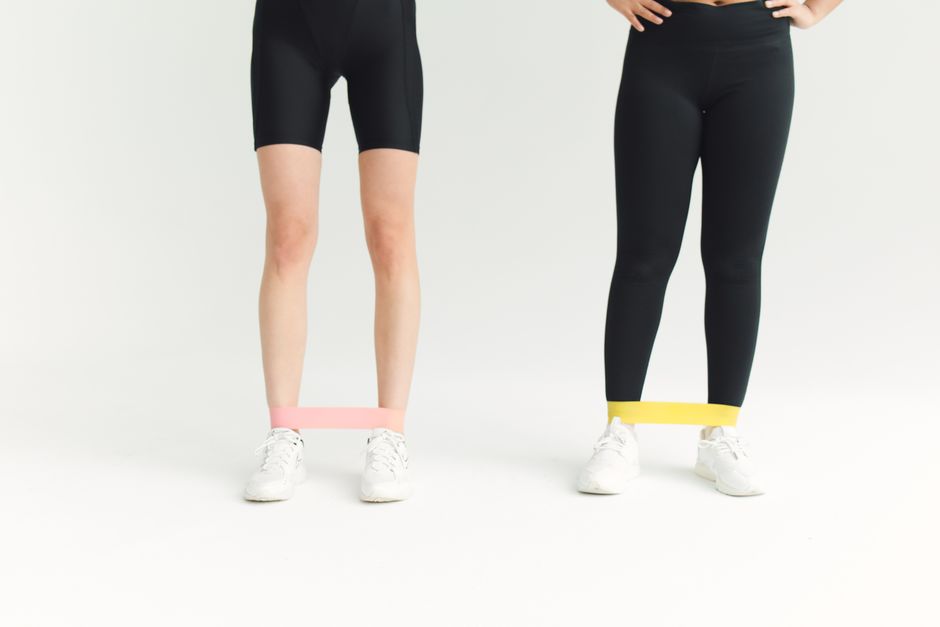
I tested several budget-friendly band sets at home, and these three options consistently delivered solid performance for beginners. Here’s what worked, what didn’t, and why you should skip the no-brand junk.
Fit Simplify Loop Band Set
This is the set I’d recommend to anyone starting out. You get five loop bands ranging from extra light to extra heavy, plus a carry bag and a one-page exercise guide. Under $30, and the bands are thick enough that they don’t roll up into thin strings when you squat. The bag zips shut, so it’s easy to toss in a closet or pack for travel.
- Pros: Affordable, five resistance levels, durable material, portable bag included.
- Cons: Top band is only about 50 lbs – not enough for heavy glute bridges or deadlifts if you’re already strong. The bag is thin plastic and won’t survive a drop.
Undersun Fitness Stackable Tube Band System
If you want serious resistance for lower-body work without buying a barbell, the Undersun system lets you stack up to four bands on a single set of handles. I clipped two bands together and got roughly 80 lbs for hip thrusts – it felt stable and the handles don’t slip. The package comes with two handles, two ankle straps, a door anchor, and a mesh bag. Total tension can reach 150+ lbs when you use all four bands together. That’s enough for most lifters for a year or more.
- Pros: Stackable bands give huge range (30–150+ lbs), grippy handles, includes ankle straps for leg work.
- Cons: Pricier – around $70–80. Bands can twist if not aligned properly. No loop bands for warm-ups.
WODFitters Power Band Set
This is the best value for an all-in-one kit. You get 12 bands: 6 loops and 6 tubes, plus two foam handles, two ankle straps, a door anchor, and a carrying bag. Under $50. The loop bands are solid for stretch exercises and pull-ups (loop over a pull-up bar to assist). The tubes let you do rows, presses, and curls. I used the door anchor for triceps pushdowns – it held without slipping. The only downside is the foam handles start to compress after a few months, but they’re still usable.
- Pros: Massive versatility, 12 pieces, good door anchor, low price.
- Cons: Foam handles wear quicker than plastic ones. The bag is small for all the pieces – tight fit.
What to Avoid
I ordered a $15 no-name set from a random brand last year. The fabric loops frayed after four uses, and one snapped during a squat – the recoil was loud and scary. Those ultra-thin bands feel stretchy at first, but they degrade fast. Stick with the brands above. Your safety is worth the extra ten bucks.
Quick verdict
If you’re on a tight budget, get the Fit Simplify set. If you want heavy legs and glutes, go Undersun. If you want a complete starter gym, buy the WODFitters. Prices are approximate and fluctuate – check the current prices on Amazon before buying. And once you try any of these, drop a comment below with which set worked best for you.
How to Start Training Safely and Effectively with Bands
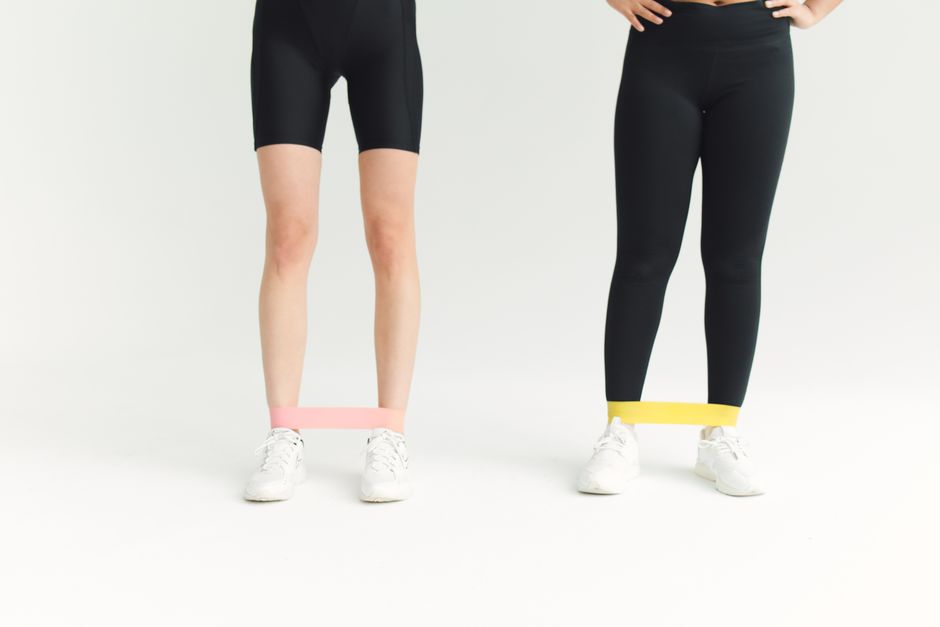
Before you start any new exercise program, check with a doctor—especially if you’ve been sedentary, have an injury, or have any health concerns. That’s not a disclaimer to scroll past; it’s how you make sure your body is ready for the work ahead. Once you get the green light, here’s how to use those bands without getting hurt—and how to keep making progress so you don’t drop the routine after two weeks.
Warm Up Every Session
Spend five minutes warming up with light band pull-aparts and glute bridges. This serves two purposes: it gets blood moving to the muscles you’re about to work, and it gives you a chance to inspect the band for any tears or weak spots. I once had a band snap mid-row because I skipped the warm-up—it stung, and it made me nervous about bands for a month. Check the band before each use. If you see any fraying or nicks, replace it.
Your Full-Body Routine (2–3 Times a Week)
You don’t need a long list of exercises. Just hit the main movement patterns:
- Squats – Stand on the band with feet shoulder-width apart. Loop it over your shoulders or hold it at shoulder height. Squat down, keeping tension in the band.
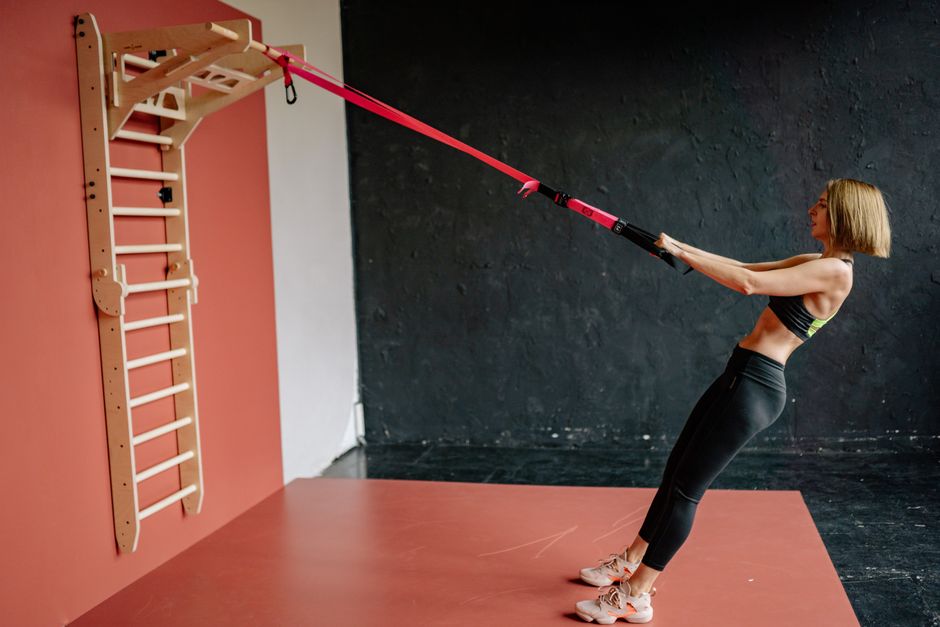
- Rows – Anchor the band around a sturdy post or door anchor. Grab each end, step back until there’s tension, and pull the band toward your chest. Squeeze your shoulder blades together.
- Presses – Anchor the band behind you at chest height. Push straight forward like a standing bench press.
- Pull-throughs – Facing away from the anchor, hold the band between your legs and pull it through to stand upright. This hits your glutes and hamstrings.
Do three sets of 10–15 reps for each. Rest 60 seconds between sets. This routine covers pushing, pulling, squatting, and hinging—everything a full-body program needs.
Control the Tempo
Unlike dumbbells, bands provide more resistance at the end of the movement. To maximize muscle growth, slow down the lowering phase (the eccentric). Count two seconds up, three seconds down. That increased time under tension is what makes bands surprisingly effective for strength.
How to Progress
When 15 reps stop feeling hard, you need to change something. You have four options:
- Move to a heavier band
- Increase reps to 20–25
- Slow the tempo even more (4–5 seconds on the eccentric)
- Reduce rest between sets to 45 seconds
Pick one variable at a time. Track your workouts in a notebook or a simple app—write down the band color, rep count, and how the set felt. That way you know exactly when to bump up the resistance. Most starter band sets come with three or four resistance levels, so you’ve got room to grow without buying new gear.
If you want to see which sets I recommend, check current prices on Amazon and grab one that fits your budget. And after you’ve used them for a few weeks, come back and share your experience in the comments—I’d love to hear what worked (or what didn’t).
Medical & Editorial Review: This article was reviewed by Liam Smith, founder of Apexfito, for accuracy and safety. Content is for educational purposes and is not a substitute for professional medical advice. Consult your physician before starting any exercise or nutrition program.