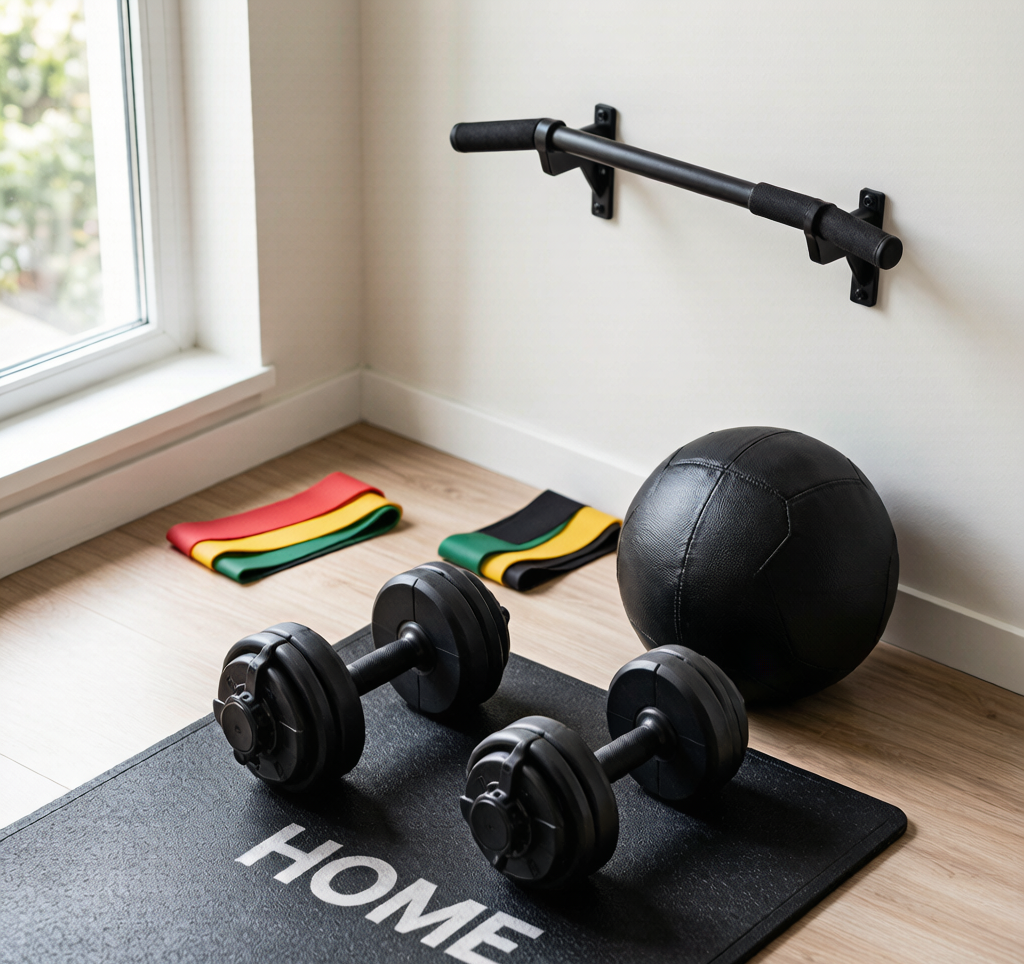
The Minimalist Home Gym:
Full disclosure: Some links in this article are affiliate links. We may earn a small commission at no extra cost to you if you make a purchase through them. Our recommendations are based on what real users report, not on commission size.
1. Why a Minimalist Home Gym Works Better Than You Think
Walk into any commercial gym and you’ll find machines that isolate one muscle at a time. Leg press works quads and glutes, bicep curl machine works biceps. But real movements—picking up a box, pushing a car, carrying groceries—engage multiple muscle groups at once. That’s why free weights and bodyweight tools are more effective. They force your stabilizer muscles to fire, improve coordination, and build functional strength you can actually use.
I’ve seen people pack on muscle with just five pieces of gear: a pair of adjustable dumbbells, a pull-up bar, resistance bands, an adjustable bench, and a kettlebell. That’s it. With a simple three-day-a-week full-body split, you can hit chest, back, shoulders, arms, legs, and core—no crowded gym required. The real limitation isn’t equipment; it’s consistency. A minimalist setup removes the mental barrier of “I don’t have time to drive to the gym.” Your workout is always ready.
This setup also saves space and money. No monthly fees, no gas wasted, no waiting for a rack. Everything fits in under 100 square feet, and the total cost is a fraction of a gym membership over a year.
You don’t need a detailed program right now—we’ll get into that later in this guide. For now, just know that these five tools are enough to build strength, improve endurance, and change your body. Start gathering your gear. You’ll be surprised how much you can accomplish in a small corner of your home.
2. The Five Pieces That Cover Everything
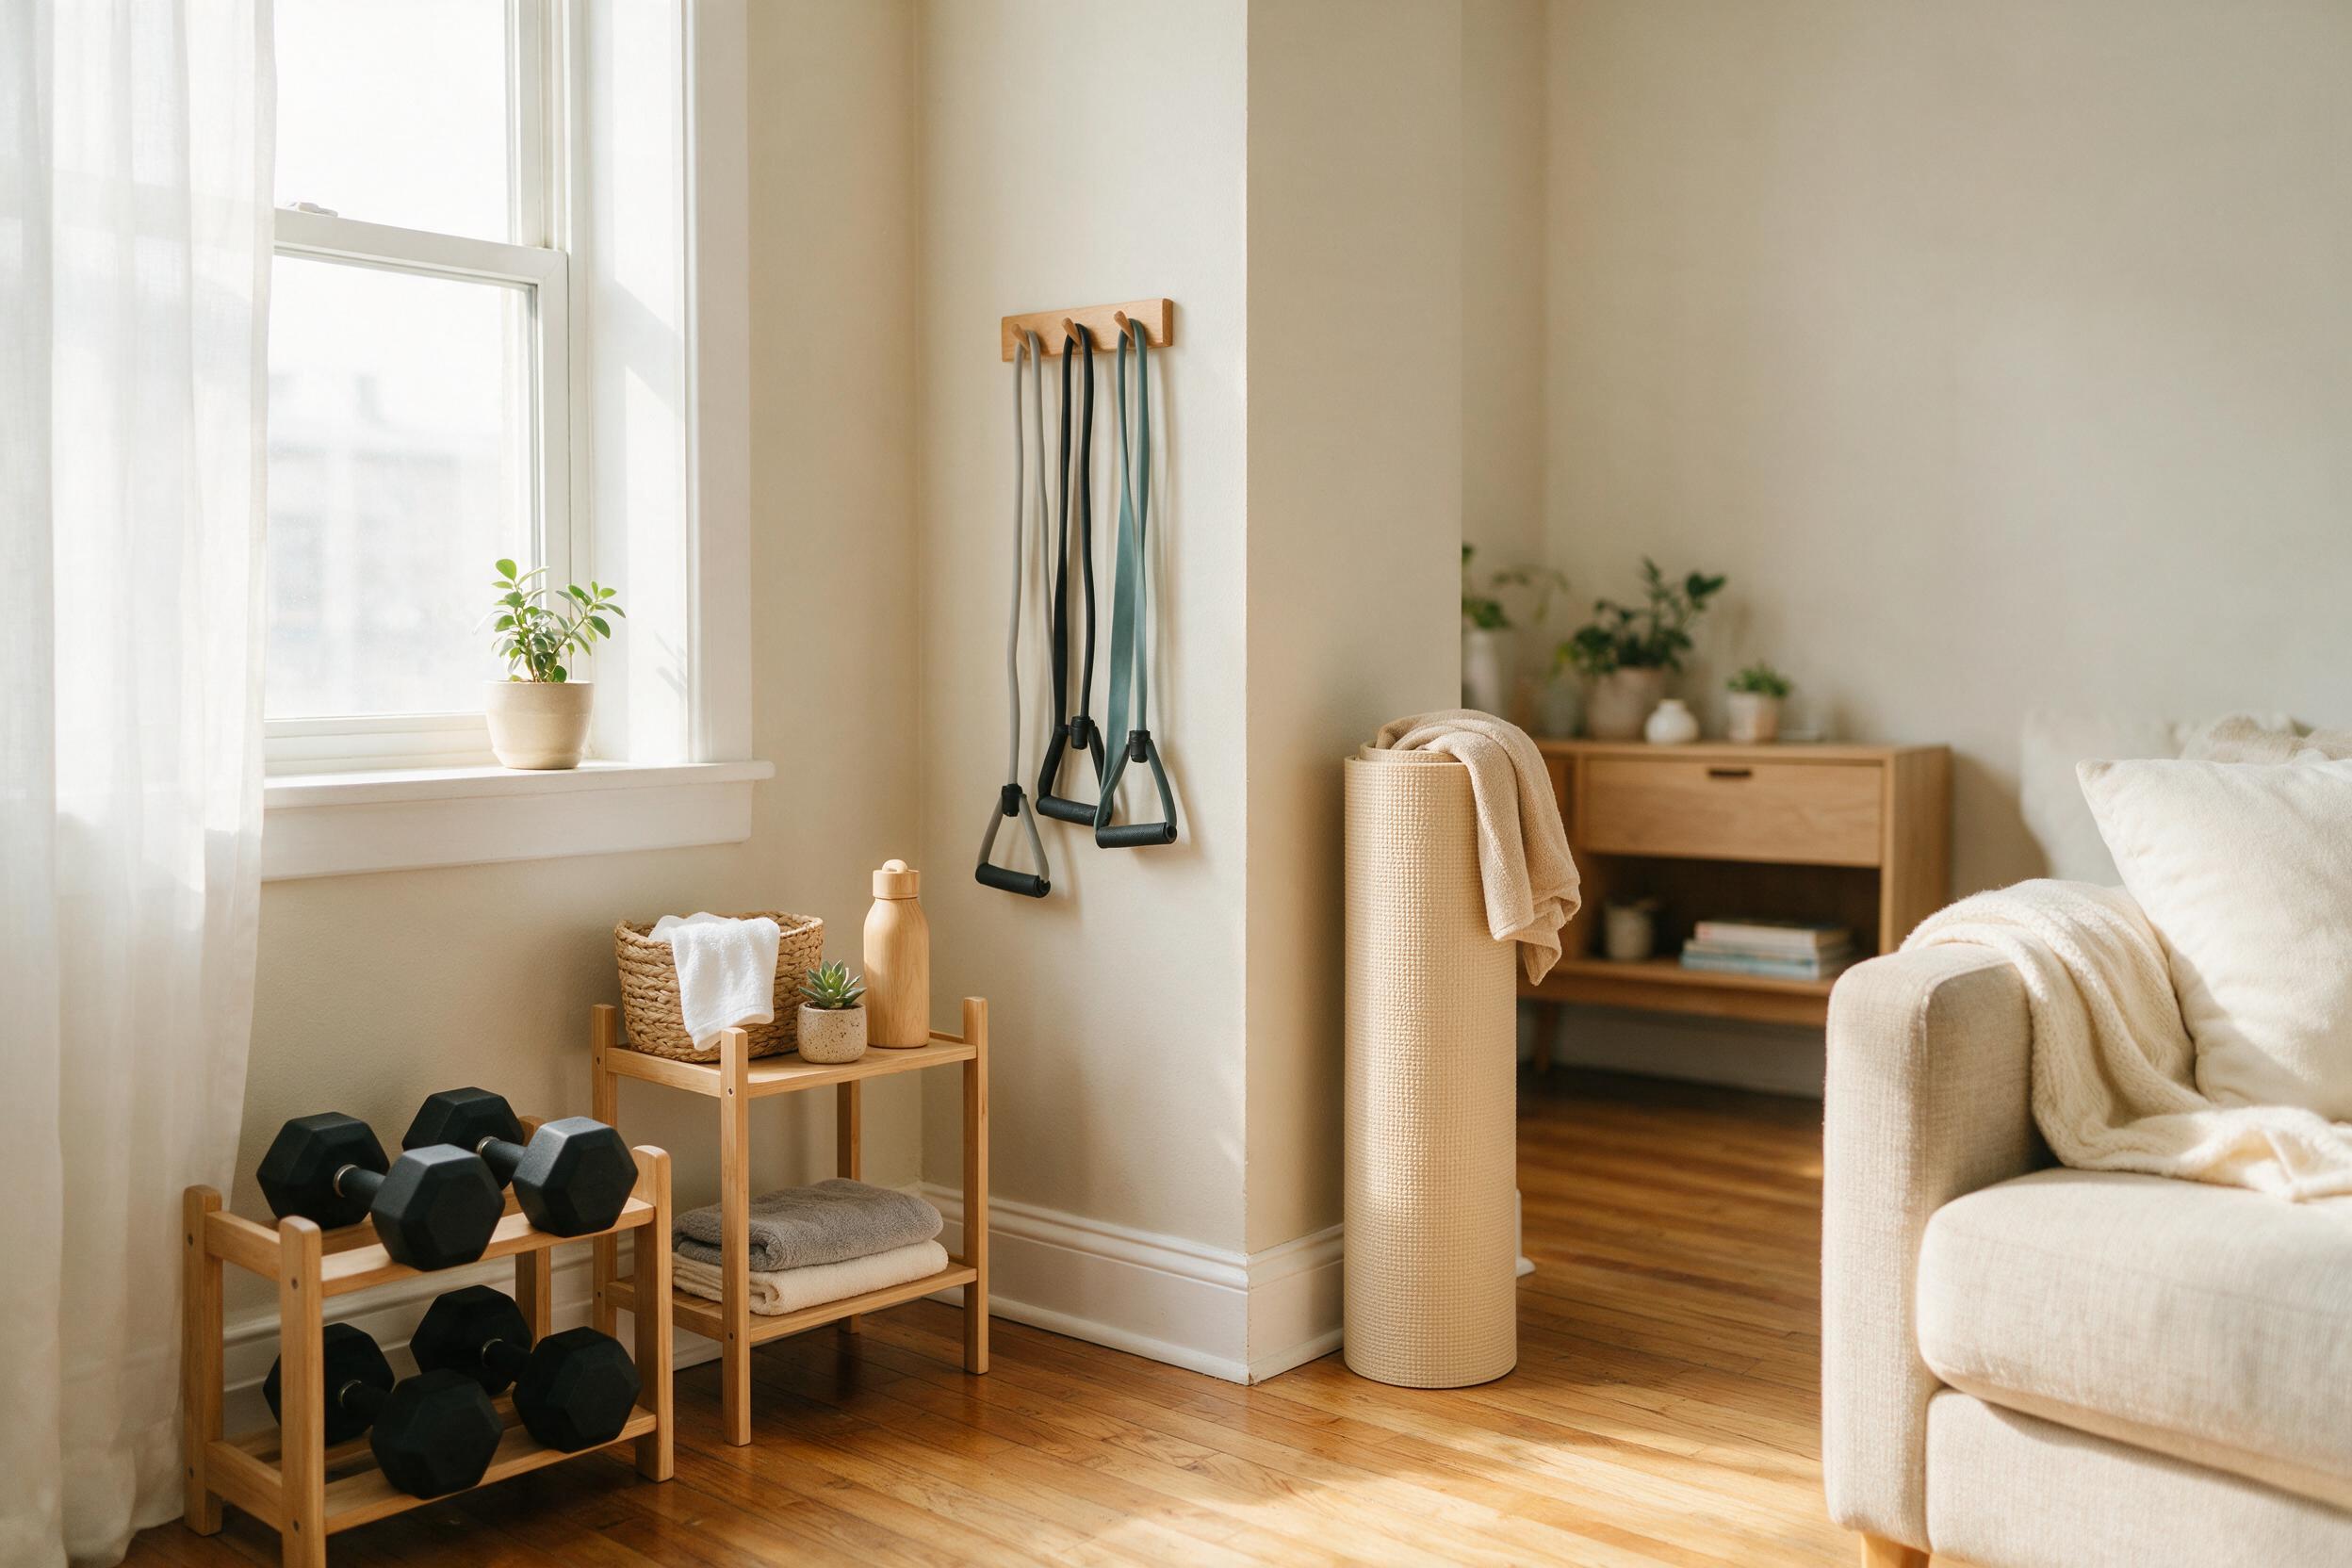
When I downsized from a full garage gym to a corner of my apartment, I had to get brutal about what stayed. These five pieces made the cut because they do double duty—sometimes triple. Here’s why each one earns its square foot.
Adjustable dumbbells (like PowerBlock or Bowflex) replace an entire rack of fixed weights. One set fits on a shelf or under a bench, yet gives you everything from 5 to 50 pounds (or more). I use mine for goblet squats, rows, chest presses, and curls. Make sure you choose a pair that lets you change weight quickly—under 5 seconds, or you’ll skip it. If you’re on a tight budget, look for used sets on Craigslist; people sell them when they move.
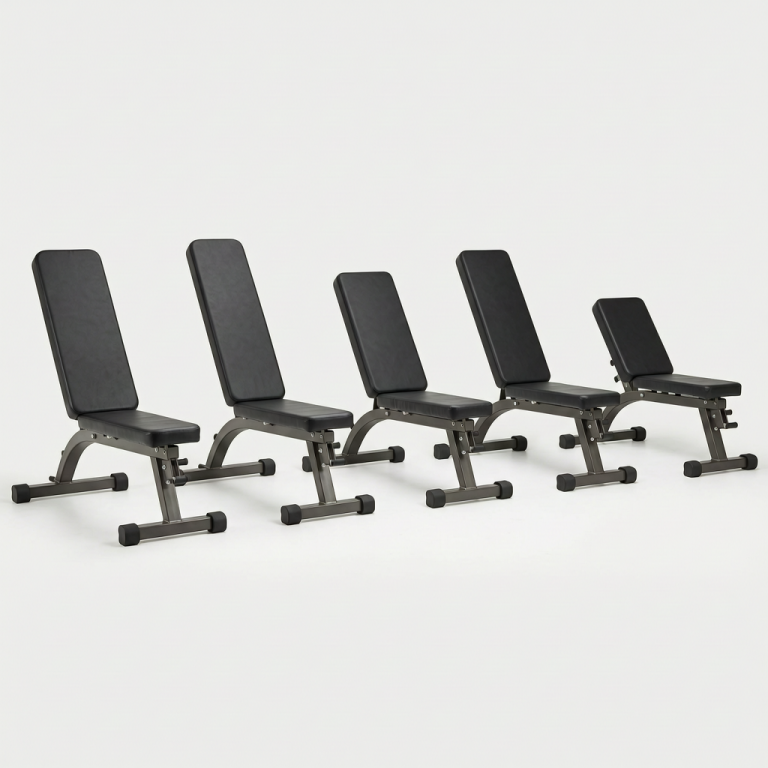
A flat-adjustable bench is the MVP of space-saving. A flat bench is one-trick; an adjustable bench gives you incline presses, seated shoulder work, step-ups, and decline situps. I’ve had the same cheap adjustable bench for four years and it still holds up. Pro tip: make sure the back pad goes almost upright (80 degrees) so you can use it for seated overhead press without straining your lower back.
A pull-up bar that mounts in a doorway costs about $25 and unlocks vertical pulling. You can do dead hangs for grip, pull-ups (bands help if you’re building strength), leg raises for abs, and even inverted rows if you get low enough. I also wrap a loop band around the bar to anchor it for face pulls. That’s three exercises from one hunk of metal.
Resistance bands (loop and tube with handles) add variable resistance that dumbbells can’t match. Loop bands are great for glute bridges, hip thrusts, and banded squats. Tube bands let you do press downs, rows, and banded push-ups. I keep a set of light, medium, heavy loops in a shoebox. They’re perfect for finishing off a set with extra reps or adding volume while watching TV.
A slam ball or heavy medicine ball (10–20 lbs) is the wildcard. I chose a slam ball over kettlebells or plates because it’s cheaper, won’t dent the floor, and covers rotational core work that nothing else here does. Use it for goblet squats, Russian twists, overhead slams, and even as a counterweight for Bulgarian split squats. I bought a 14-lb ball for $25 and it’s probably the most used item in my corner. Always warm up with some light band work or bodyweight moves before starting your main lifts.
Five pieces. Under 100 square feet. Every major movement pattern covered: push, pull, squat, hinge, core rotation. That’s the whole gym. Check current prices on Amazon for any of these items and drop your setup in the comments—I’d love to see how you piece yours together.
3. Setting Up Your Small Space Gym
When I first crammed a bench, dumbbells, and a pull-up bar into my 10×10 spare bedroom, I quickly learned that how you arrange your gear matters just as much as what you buy. A cluttered room kills motivation and makes workouts feel like an obstacle course. Here’s how to make even a tight corner feel like a real gym.
Zone your floor. Pick one area for your bench and dumbbells—this is your lifting zone. Keep a clear mat for floor work like planks, glute bridges, and core moves. Mount your pull-up bar on a wall or doorframe that gets good airflow; you’ll be glad for the breeze during sets. If your space has a window, set up near it for natural light—it helps with mood and visibility. Store bands and smaller gear on a hook near the bar so everything has a home.
Invest in a thick mat. I use ¾-inch interlocking foam tiles. They protect hardwood or carpet from dents and keep drop noise low—making your setup apartment-friendly if you have neighbors below. Plus, they give you a non-slip surface for floor exercises. Skip the cheap ¼-inch yoga mats; they won’t cushion a dropped dumbbell or a burpee landing.
Mount your pull-up bar with clearance in mind. Before you buy, measure your ceiling. You need at least six inches of space above your head so you can fully extend without hitting the ceiling. A doorway works well, but make sure it’s wide enough to swing your legs for kipping if you do that. Keep the door open while training, or point a fan at yourself to avoid stale air—especially important in a small apartment without windows.
Store dumbbells under the bench. A small rack or even a low shelf keeps them off the floor and out of your walking path. If your bench has a storage slot, use it. Keeping the floor clear makes a small space feel bigger and safer. No tripping over a 25-pounder when you’re stepping off the mat.
One more tip: Test your setup with one full workout before organizing everything. Do a goblet squat, a bench press, a pull-up, and a floor core circuit. If you keep bumping into furniture or reaching too far for the next weight, move things around. Your space should flow—not fight you.
4. Your First 4‑Week Full‑Body Workout Plan
You have the gear. Now here’s a straightforward schedule to put it to work. This plan runs Monday, Wednesday, Friday — three non‑consecutive days so your body recovers between sessions. Each week you’ll rotate between three different workouts (A, B, C) to keep your muscles guessing and to spread the workload across all movement patterns.
Before each workout, spend 5 minutes doing light cardio like jumping jacks or band pulls to get blood flowing. Then follow with some dynamic stretches: leg swings, arm circles, and torso twists. This primes your joints and cuts down on injury risk.
Start with these rep ranges. If you can complete every set at the top of the range with good form, add 2.5–5 lbs the next week or add one more rep per set. The goal is steady progress, not perfection.
Workout A
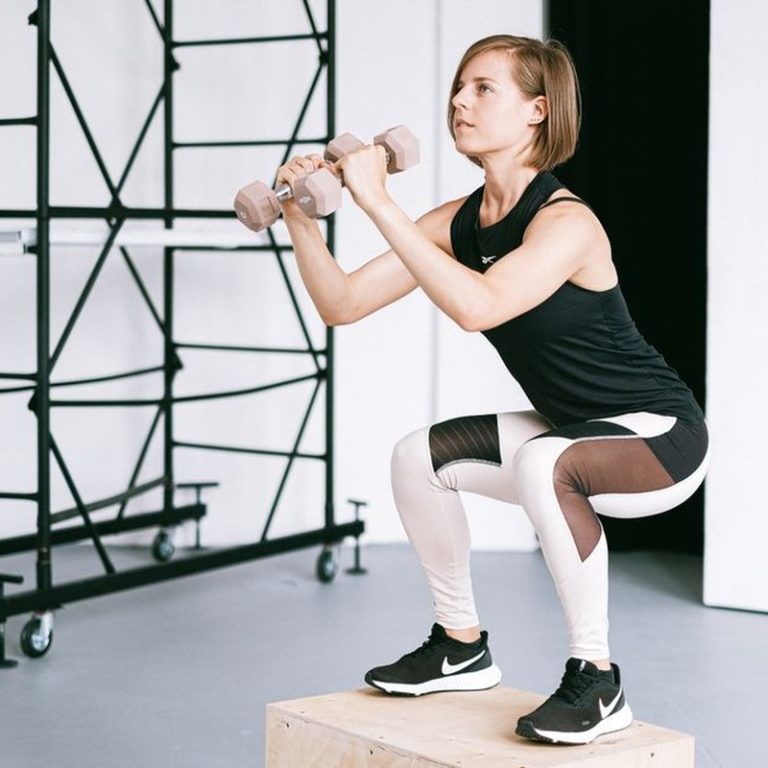
- Goblet squat: 3 sets of 8–10 reps
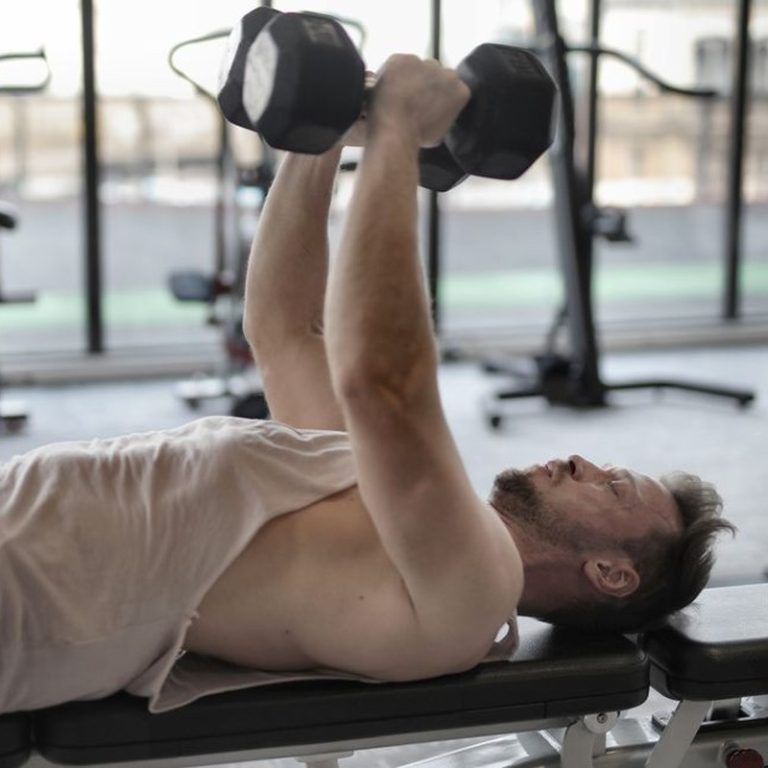
- Dumbbell bench press: 3 sets of 8–10
- Bent‑over row: 3 sets of 8–10
- Plank: 3 sets of 30 seconds
- Finish with 15 ball slams (or slam an old pillow if you’re tight on space)
Workout B
- Pull‑ups (or band‑assisted pull‑ups): 3 sets to failure. If you don’t have a pull‑up bar, substitute with dumbbell rows (3 sets of 10–12) or inverted rows under a sturdy table.
- Dumbbell Romanian deadlift: 3 sets of 10–12
- Dumbbell overhead press: 3 sets of 8–10
- Side planks: 3 sets of 20 seconds per side
Workout C
- Step‑ups: 3 sets of 10 per leg
- Push‑ups: 3 sets, as many as possible (AMRAP)
- Banded glute bridge: 3 sets of 15
- Hollow body hold: 3 sets of 20 seconds
I’ve been running this rotation for months now with just a pair of adjustable dumbbells, a pull‑up bar, and a resistance band. The biggest surprise? How fast those step‑ups will humble you. Stick with it, and by week four you’ll be reaching for the next weight increment without hesitation.
After each session, take 3–5 minutes to cool down with static stretches — focus on the muscles you worked. A quick hamstring stretch, quad stretch, and chest opener will do the trick. It helps with recovery and keeps you flexible.
If you’re ordering equipment, check current prices on Amazon — prices change often. And when you finish your first four weeks, drop a comment to let us know how it went. I read every one.
5. Staying Consistent and Building from Here
You’ve got the gear, your corner gym is set up, and maybe you’ve already started a few workouts. The challenge now is consistency—the thing that separates real results from a pile of dust-collecting equipment. Beginners often bounce around, trying a different exercise every session. Don’t. For the first four weeks, stick with the same 10 to 15 movements. Do them every workout. This repetition builds a baseline: your nervous system learns the patterns, your joints adapt, and you can start adding weight or reps in a measurable way. I did this myself when I first set up a tiny corner gym. After a month I could do five more push-ups and hold a plank 30 seconds longer. Simple tracking.
Cardio doesn’t need extra gear. Three days a week, do 20 minutes of intervals. Pick one of these, rotate as you like:
- Jump rope – 30 seconds fast, 30 seconds rest.
- Bodyweight burpees – 20 seconds on, 10 seconds off (Tabata style).
- Ball slams – if you got a slam ball, 30 seconds hard, 30 seconds easy.
That’s it. No treadmill, no bike. Your minimal gym already works for conditioning.
After eight weeks of consistent training, you may find your pull-ups and dips feel easy and you’re not making gains. That’s when you should think about adding a second pair of heavier resistance bands or a dip belt. Don’t rush it—eight weeks is enough time to build a solid foundation. The mistake I see most often is people buying a dip belt in week two and wondering why they stall. If you’re using bands, progression is simple: move up to a heavier band (say from 15–20 lbs to 30–40 lbs) or increase reps. Bands also let you micro-load easily—grip higher on the band for more tension, or lower for less. That way you can keep making progress without buying new stuff every week.
Track your numbers. Write down reps, sets, and weights after every session. Use a notebook, a note on your phone, whatever works. When you stop improving for two weeks—same reps at the same weight—it’s time to adjust. Increase volume (more sets or reps) or intensity (more weight or shorter rest). That’s progressive overload in a tiny space. If you feel run down or your joints start aching, take a deload week: cut volume by about 50% but keep the same exercises. Come back stronger.
Your setup is yours. Share it in the comments below—what equipment you chose, what workouts are clicking. And before you go, check current prices on Amazon for any piece that fits your budget today. Prices change often, and the right tool at the right price makes all the difference.
Medical & Editorial Review: This article was reviewed by Liam Smith, founder of Apexfito, for accuracy and safety. Content is for educational purposes and is not a substitute for professional medical advice. Consult your physician before starting any exercise or nutrition program.