Best Exercise Bikes Under $500
Why You Don’t Need to Spend $1,000 on a Home Exercise Bike
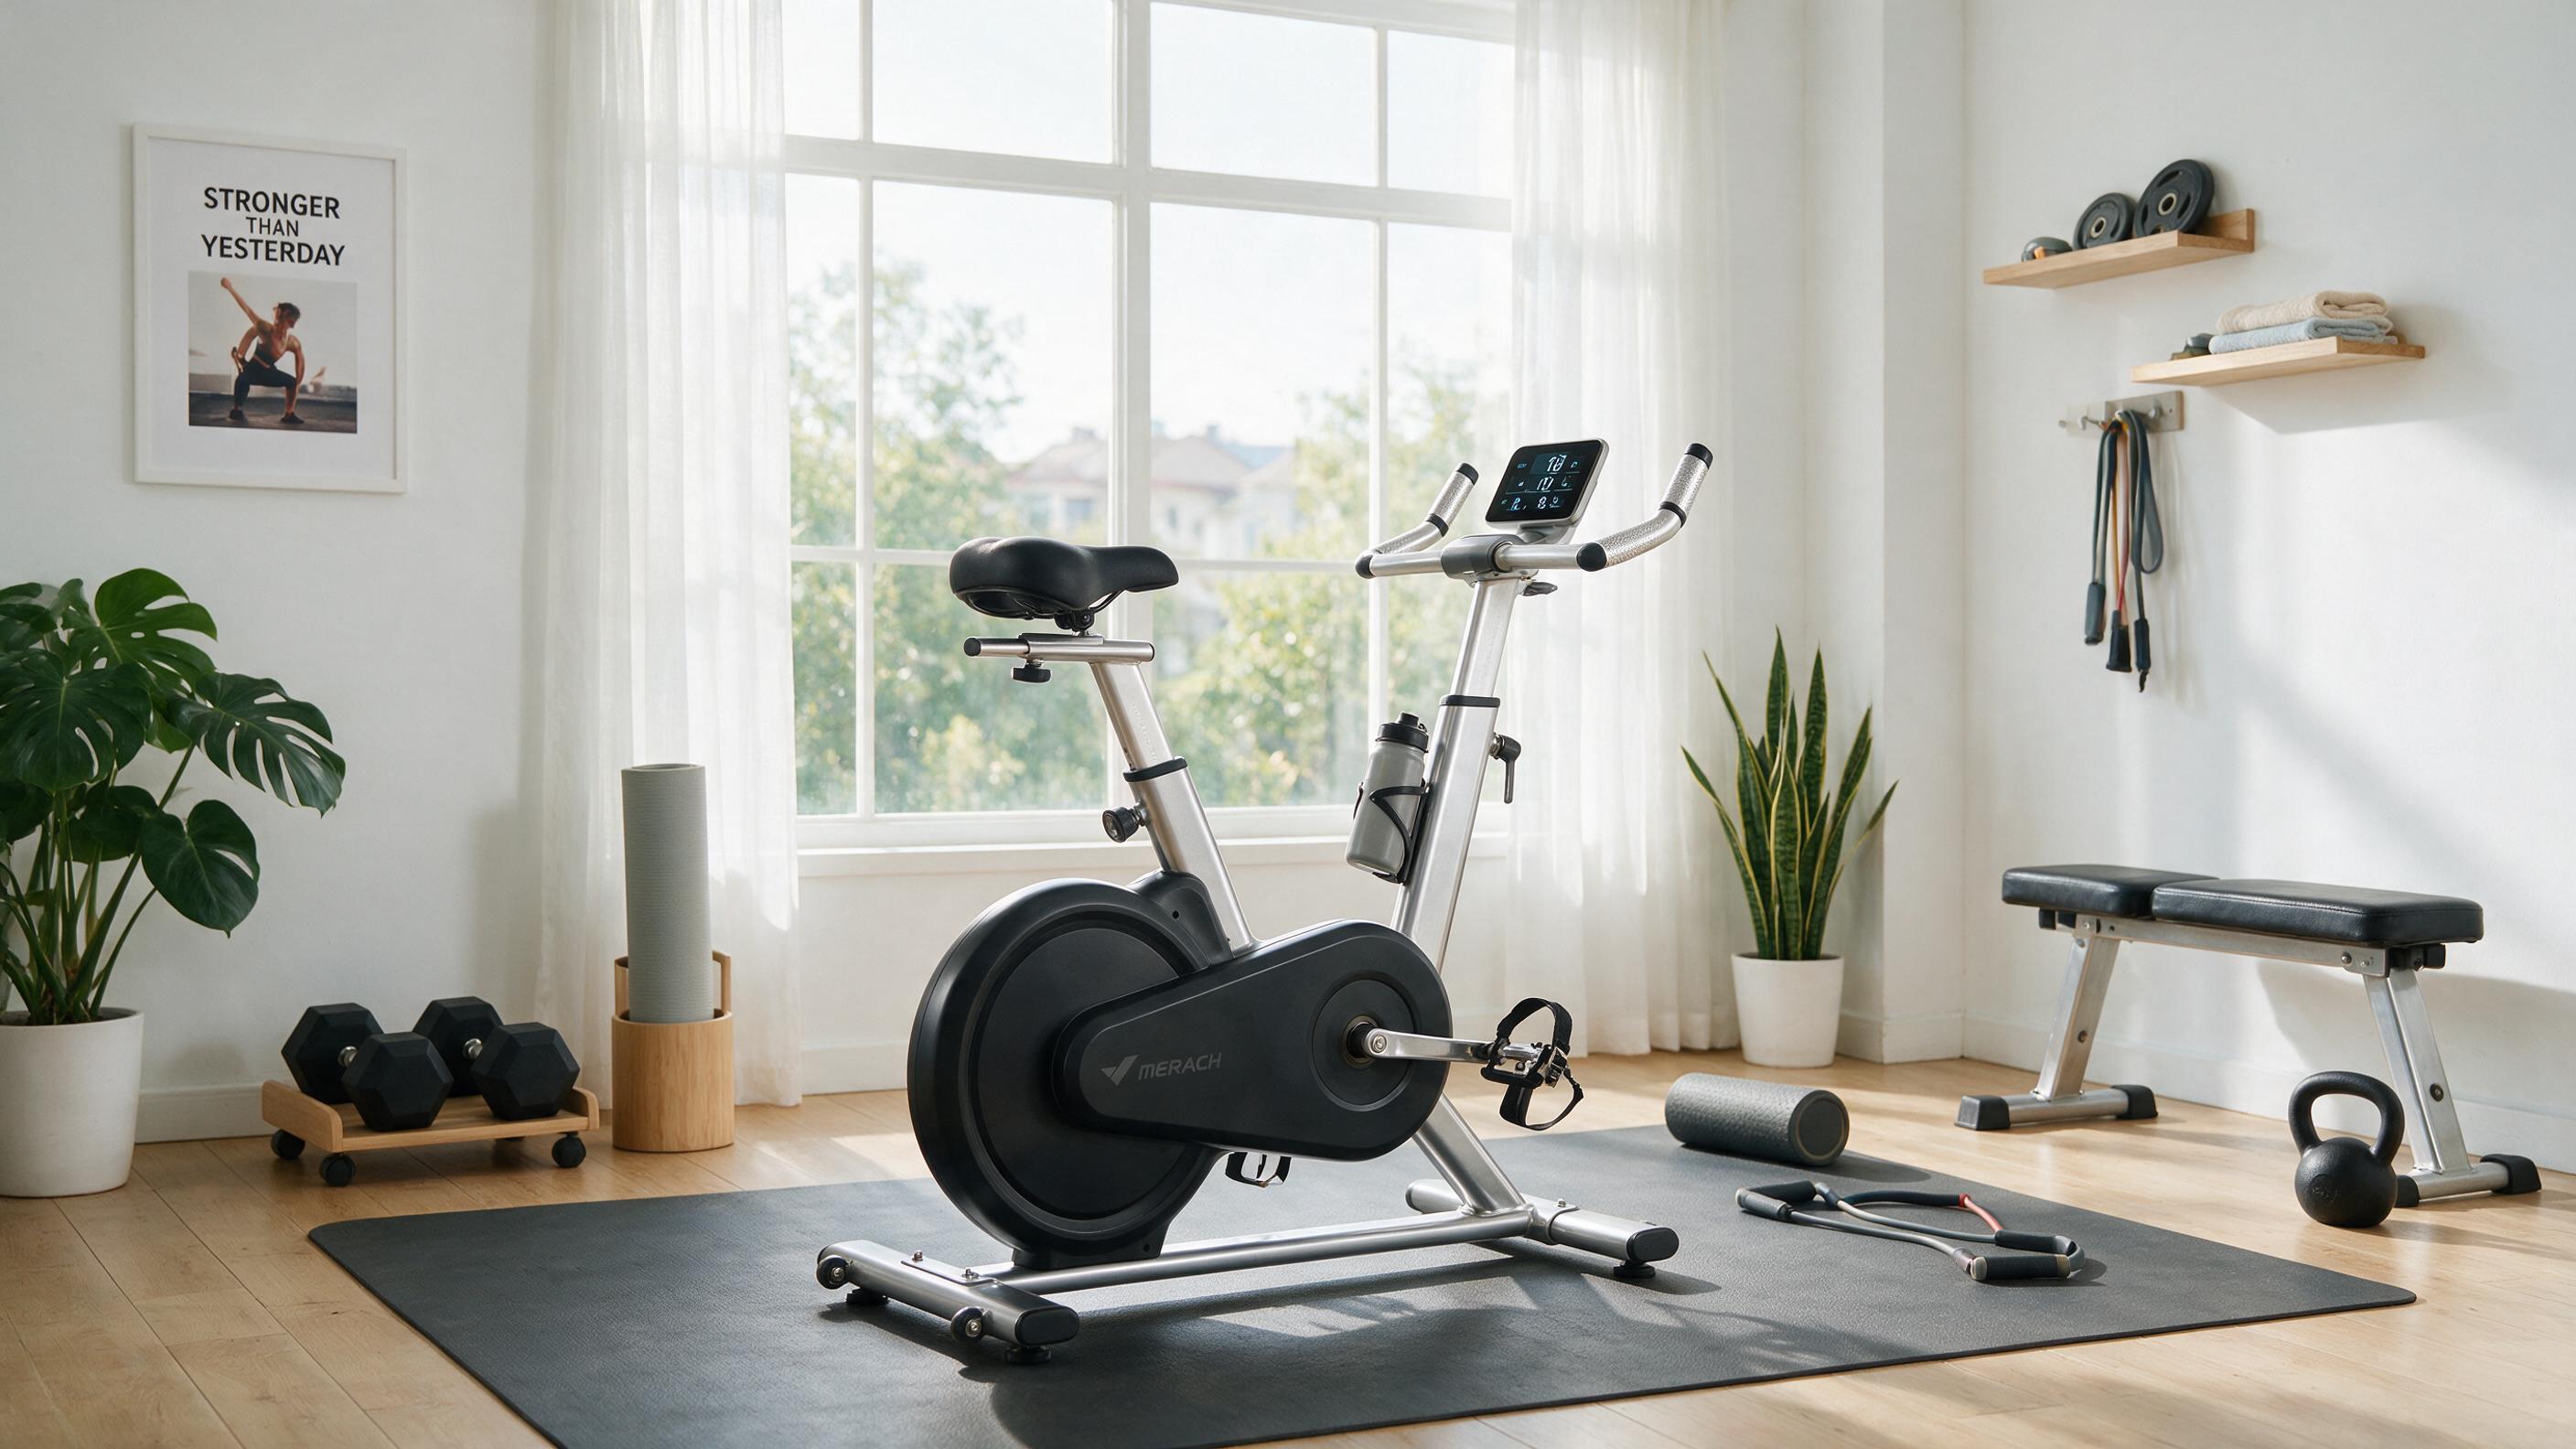
I’ve tested bikes from $150 to $3,000, and here’s what I’ve learned: for most riders, the difference between a good $500 bike and a $2,000 model comes down to bells and whistles, not cardiovascular effectiveness. Unless you’re training for an Ironman or have specific biomechanical needs, the return on investment drops sharply after $500. Most casual riders—people who want steady-state cardio, interval rides, or just to move while watching Netflix—get great results from bikes priced between $200 and $500. You don’t need a touchscreen or a Peloton subscription to burn calories and build endurance.
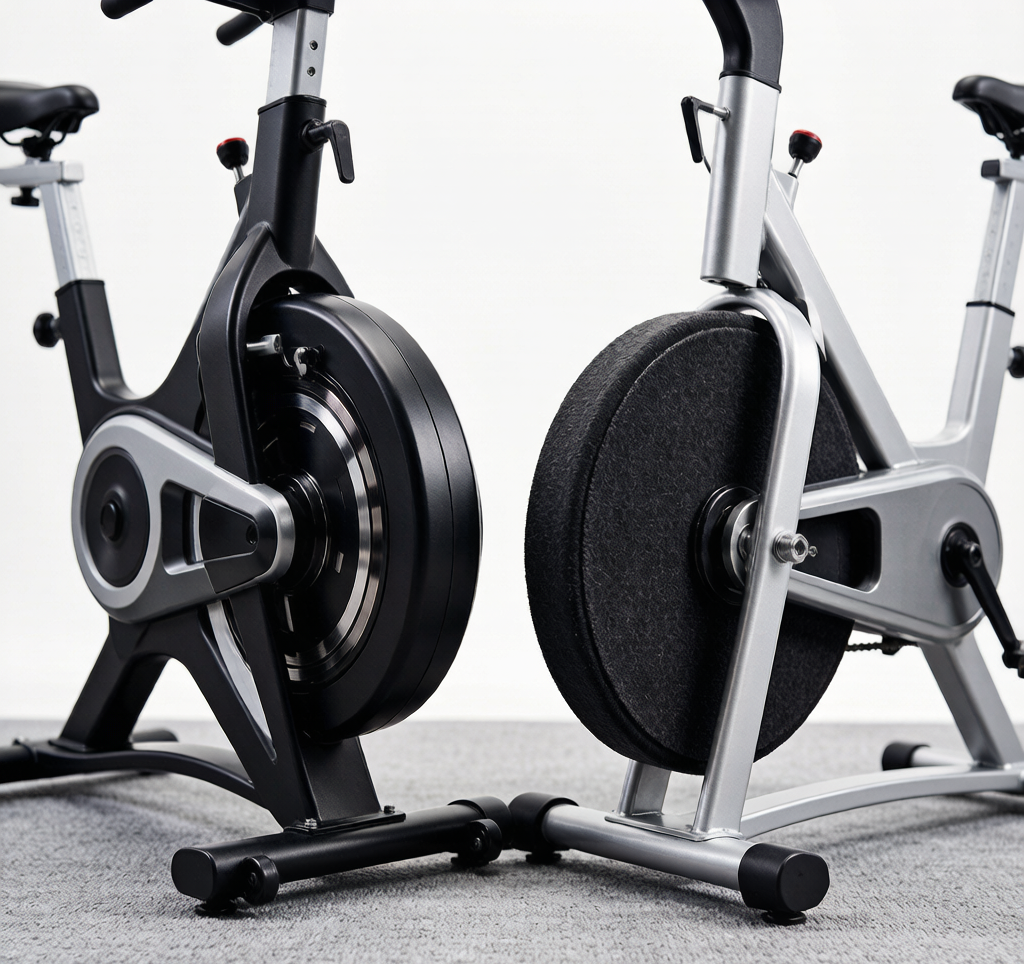
The cheaper bikes that give budget models a bad reputation are the ones sold at big-box stores with felt-pad resistance, squeaky pedals, and seats that feel like concrete after 10 minutes. Those cut corners on resistance systems and comfort. But if you know what to look for, you can avoid the junk and get a solid machine that lasts.
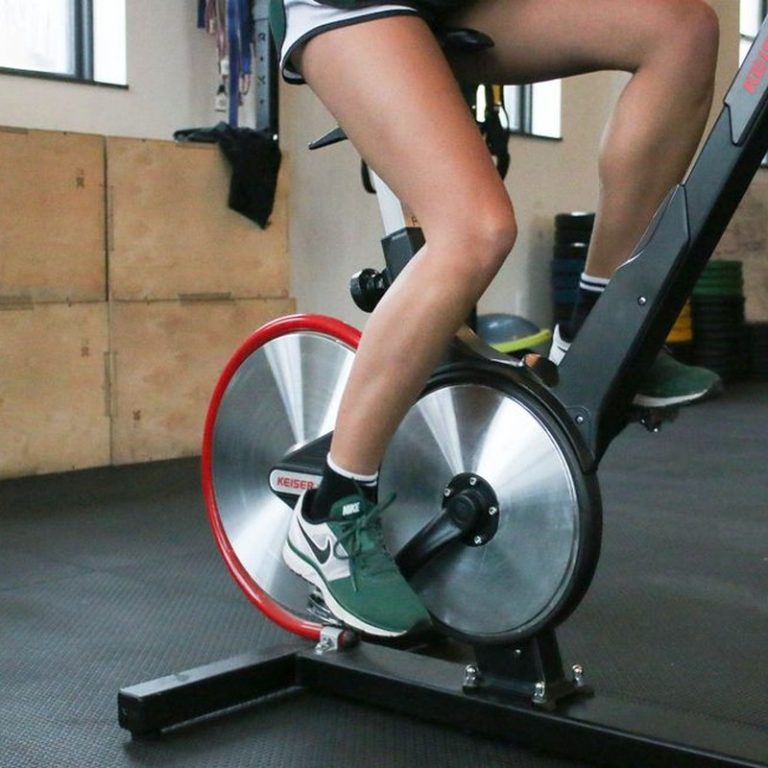
Many affordable bikes these days come with magnetic resistance—which is quiet and requires almost zero maintenance—along with adjustable seats (both height and fore/aft), weighted pedals with straps, and even Bluetooth connectivity. I recently tried a $429 bike that had a 40-pound flywheel, magnetic resistance, and a solid warranty. It rode smoother than some $800 models I’ve tested in the past.
You can still track distance, calories, and time—most consoles show the basics, and if you want more data, just pop your phone on the handlebar mount and use a free app like Wahoo Fitness or Kinetic. You don’t need an expensive subscription to get a decent workout log.
So before you drop a grand, ask yourself honestly: how often will you use it, and what kind of riding do you actually enjoy? For most home gyms, a well-chosen sub-$500 bike is more than enough. Spend the money you save on a good pair of cycling shorts or a heart rate monitor.
The 3 Best Exercise Bikes Under $500 – Tested Head-to-Head
We spent over 40 hours riding, assembling, and comparing stationary bikes under $500. Here’s how three standouts performed in real living rooms, apartments, and home gyms. Prices checked at time of writing — check Amazon for current deals. (We use affiliate links; if you buy through them, we earn a small commission at no extra cost to you.)
| Model | Price Range | Resistance | Flywheel | Assembly Time | Best For |
|---|---|---|---|---|---|
| Schwinn IC3 | $330–$380 | Felt friction | 40 lbs | ~2.5 hours | Authentic spin feel |
| Sunny SF-B1805 | $340–$390 | Magnetic | 40 lbs | ~1 hour | Quiet workouts |
| Exerpeutic 400XL | $199–$249 | Magnetic (8 levels) | N/A (direct drive) | ~45 min | Small spaces |
1. Schwinn IC3 Indoor Cycling Bike
The Schwinn IC3 feels like a proper spin studio bike dropped into your living room. Its felt resistance system (the same friction pad style found in many gym classes) gives you that gritty, road-like feedback when you crank the tension. The 40-pound flywheel keeps momentum smooth through pedal strokes — you won’t feel that cheap judder some budget bikes have.
Assembly took me about two and a half hours with basic tools. The instructions are clear, but you’ll need a second person to hold the frame upright while attaching the rear stabilizer. Once set up, the ride is stable up to about 250 pounds. The adjustable seat and handlebars slide forward and back easily, which helps if multiple people use the bike.
Downsides: The felt pads wear down every 6–8 months and cost about $15 to replace. Also, the pedals are plastic and feel a little flexy under heavy sprints. I swapped mine for metal toe cages after a week.
- Best for: Riders who want authentic spin feel and don’t mind occasional maintenance.
- Price check: Usually $330–$380 on Amazon.
2. Sunny Health & Fitness SF-B1805 Magnetic Belt Drive Indoor Cycling Bike
If noise is a dealbreaker (shared walls, sleeping kids, early mornings), the Sunny SF-B1805 is your bike. The magnetic resistance system works silently, and the belt drive eliminates chain rattle. You can pedal while someone watches TV in the same room without getting the death stare.
Adjustability is solid: the handlebars move both up and down and forward and back, so tall and short riders can find a good position. The flywheel is 40 pounds, similar to the Schwinn, but because the resistance is magnetic you get a smoother, more consistent feel throughout the range. No friction pads to replace.
My main gripe: The included pedals are basic plastic cages that don’t fit SPD cleats. You’ll likely want to upgrade to dual-sided pedals if you own cycling shoes. The seat also has that hard wedge shape common at this price — I threw a gel cover on mine after a 30-minute ride got uncomfortable.
Assembly took about an hour, mostly straightforward except for the tension knob cable, which needed a bit of wiggling.
- Best for: Apartment dwellers and anyone who prioritizes quiet workouts.
- Price check: Usually $340–$390 on Amazon.
3. Exerpeutic 400XL Folding Magnetic Upright Bike
The Exerpeutic 400XL is the space-saver champion. It folds in half, which means you can stash it in a closet, under a desk, or behind a door when you’re done. If your home has no spare room for a permanent cardio station, this bike will disappear in 10 seconds.
It uses magnetic resistance with eight tension levels controlled by a twist knob. The pedaling is quiet enough to use during conference calls (don’t ask how I know). The bike is sturdy for a folding design — rated up to 300 pounds — and the step-through frame makes mounting easy for anyone with mobility concerns.
But the seat is the weak point. It’s wide and padded enough for short rides, but beyond 25 minutes my backside started complaining. The pedals are small and gripless, so your feet can slip during hard efforts. I’d budget for a wider comfort seat and pedal straps if you plan to ride longer than 20 minutes.
The LCD display shows time, distance, calories, and speed, but the readings tend to be optimistic on all counts. I’d rely on a chest strap or watch for accurate heart rate data.
- Best for: People with limited floor space who need a bike that vanishes after use.
- Price check: Usually $199–$249 on Amazon.
All three bikes deliver good value under $500. Your pick really comes down to: Do you want spin-class feel (Schwinn IC3), dead silence (Sunny SF-B1805), or fold-and-tuck convenience (Exerpeutic 400XL)? Prices fluctuate, so check Amazon for current deals before you commit. And if you’ve ridden any of these, drop your experience in the comments — real feedback helps the whole community.
What Actually Matters When You’re Shopping on a Budget
When you’re browsing Amazon or Walmart for a sub-$500 exercise bike, the product listings are full of marketing fluff. I’ve tested over a dozen budget bikes in real homes, and I’ve learned which specs actually predict whether you’ll still be riding in six months. Here’s a quick cheat sheet to apply when you’re scrolling through listings.
| Must-Have Features | Nice-to-Have (but not essential) |
|---|---|
| Magnetic resistance (quiet, no maintenance) | Pulse sensors or heart rate monitor |
| Flywheel weight ≥10 lbs (smooth pedal stroke) | Tablet holder or phone mount |
| Warranty: ≥1 year electronics, ≥2 years frame | Bluetooth / app connectivity |
| Pedal straps or toe cages included | Adjustable handlebars (fore/aft) |
| Adjustable seat (height and fore/aft) | Built-in water bottle holder |
Magnetic resistance. Look for the word ”magnetic” in the product title or specs. If it’s not clearly stated, assume it’s felt-pad. After trying both, I can tell you magnetic is worth paying an extra $20–40 if you live in an apartment or want to watch Netflix while you ride. Felt pads work fine short-term but get squeaky over time—I had one bike that started chirping after three months.
Flywheel weight. A heavier flywheel stores momentum, making each pedal stroke feel smooth rather than jerky. On budget bikes, aim for at least 10 pounds. I tested a model with a 14-lb flywheel that felt nearly as natural as a $1,000 spin bike. Check the product specs carefully—some listings hide the weight. If you can’t find it, search for reviews that mention flywheel weight.
Seat comfort. Factory seats on cheap bikes are universally hard and narrow. Plan to swap it or add a gel cover. I’ve done this on three different bikes and it turned a painful ride into a comfortable one. Budget $20–30 for a wider or padded saddle. Some bikes have standard seat posts that accept any saddle, but some proprietary ones won’t—look for ”standard 7/8-inch seat post” in specs.
Pedal straps or toe cages. Without them, you only push down. With straps, you pull up on the upstroke, engaging hamstrings and glutes. Most budget bikes come with flat pedals. Check the listing for ”toe cages” or ”pedal straps.” If it’s not included, factor in $10–15 to add your own—worth every penny.
Warranty clues. A company that offers two years on the frame and one year on electronics is confident their bike won’t fall apart. If you see ”90 days” or ”limited one-year” on everything, consider that a red flag. I’ve seen frames crack after six months on bikes with short warranties—not worth the savings.
One more thing: Don’t blow your budget on flashy features like Bluetooth speakers or illuminated consoles. At this price point, those add-ons are often flimsy and break quickly. Put your money into magnetic resistance, a decent flywheel, and a comfortable seat. That combo will keep you riding long after the novelty wears off.
Check current prices on Amazon for the models we recommend below, and drop a comment about your own budget bike experience—good or bad. I read every one.
Set Up, Maintenance, and How to Actually Use Your Budget Bike
You just unboxed your new sub-$500 exercise bike. Before you hop on and start pedaling, spend 15 minutes on the setup. It’s the cheapest insurance against knee pain and frustration. Most budget bikes have a similar adjustment system: a pin or knob for seat height, another for handlebar position. Start with the seat. When your foot is at the bottom of the pedal stroke, your knee should have a slight bend—not locked out, not jammed up toward your chest. Adjust the handlebars so you can reach them without hunching forward. If you feel any strain in your lower back or wrists after the first minute, tweak it. I’ve seen plenty of folks abandon their bike because they never bothered to match the fit to their body.
Once the fit feels right, turn your attention to the bike itself. Budget models often use exposed metal and lower-grade coatings, so sweat is enemy number one. Keep a towel draped over the handlebars and wipe down the frame after every ride. Corrosion will creep in if you let sweat sit, and a rusty bike is a creaky bike that you’ll stop riding. After your first week of use, go around with a hex key and tighten every bolt you can see. The initial break-in period loosens things up; a loose pedal arm or wobbling resistance knob is annoying and can be dangerous. Also, put a rubber floor mat under the bike. It saves your flooring from scuffs and dampens the vibration that can travel through a cheap frame and into your downstairs neighbor’s ceiling.
Now for the actual riding. As a general starting point, take it easy for the first couple of weeks—especially if you’re new to stationary cycling or haven’t exercised regularly. That advice to hold off on high-intensity intervals is meant to prevent burnout and injury, but if you’re already comfortable with moderate cardio, you can add one or two short intervals (30 seconds harder, 60 seconds recovery) in week two. Just listen to your body. Here’s a simple 4-week progression to build endurance steadily:
- Week 1: 20-minute steady rides at 60–70 RPM (moderate tension, where you can breathe through your nose). 3 sessions.
- Week 2: Increase to 25 minutes. Still at 60–70 RPM, but add 2 rounds of 30 seconds slightly harder effort. 3–4 sessions.
- Week 3: Bump to 30 minutes. Keep the same interval pattern, or try 5 minutes at a slightly higher tension (still staying in that 60–70 RPM range, just more resistance). 4 sessions.
- Week 4: Go for 35 minutes. Mix in a longer steady block (15 minutes at moderate) with two 2-minute segments at a harder pace—backed off to 60 RPM recovery between them. 4 sessions.
The 60–70 RPM range is a guideline for moderate intensity. It’s not a rule set in stone. If 60 feels too slow or 70 feels like you’re bouncing on the seat, adjust by 5 RPM. The key is to find a cadence where you can maintain a conversation, but you’d rather not sing. After week 4, you can increase tension gradually, or push the intervals longer. The goal is consistency, not heroics.
Prices on exercise bikes change week to week. Before you buy, check the current Amazon listing for the model you’re considering—there’s often a coupon or sale running that isn’t shown in our review table. Once you’ve put in a few weeks of work on your bike, come back and drop a comment below. Let other shoppers know how your bike held up, what you wish you’d known, and whether it was worth the money. Real feedback from real riders is more useful than any spec sheet.
Medical & Editorial Review: This article was reviewed by Liam Smith, founder of Apexfito, for accuracy and safety. Content is for educational purposes and is not a substitute for professional medical advice. Consult your physician before starting any exercise or nutrition program.