The Complete Guide to Home Cardio Without Equipment
Full disclosure: Some links in this article are affiliate links. We may earn a small commission at no extra cost to you if you make a purchase through them. Our recommendations are based on what real users report, not on commission size.
Why Home Cardio Works (Even Without a Single Machine)

I used to think that if I didn’t have a treadmill or a stationary bike, my cardio was doomed. Then I spent six months traveling with nothing but a yoga mat and discovered a truth: your heart doesn’t care about fancy machines. It just needs sustained movement that raises your heart rate into a target zone. Whether that comes from sprinting on a sidewalk or doing high knees in your living room, the physiological effect is nearly identical.
Bodyweight cardio has a hidden advantage: it builds coordination and joint stability because you’re moving through full ranges of motion without machine support. On a treadmill, your hamstrings and glutes can half-check out. When you do squat jumps or lunge hops, every stabilizer muscle has to fire. That translates into better balance and fewer injuries over time.
Let me give you two real-world examples. A set of high knees can spike your heart rate as fast as a sprint — I tested this with a chest strap monitor, and within 20 seconds I was at 85% of my max. Mountain climbers engage your core, shoulders, and legs simultaneously. You get a cardio burn and a strength stimulus in one move. That’s efficiency you can’t get from a stationary bike.
Now, for the practical part: if you’re brand new to home cardio, try 30 seconds of work followed by 30 seconds of rest. That’s a gentle on-ramp to see how your body responds. But don’t treat it as a fixed rule. Your fitness level, your energy today, even your mood can change what interval works best. Some days a 40/20 ratio feels right; other days you might need 20/10. The circuits later in this plan use a 40/20 format because it gives a solid challenge once you’re comfortable. If that feels too intense upfront, start with 30/30 for the first two weeks, then adjust. The point is to move consistently, not to hit a perfect number.
If you’re new to this, pick a small spot in your home where you won’t bump furniture. Wear shoes with grip or go barefoot on a non-slip mat. And don’t worry about looking silly — I’ve definitely flailed through high knees in front of my cat. She didn’t judge, and neither will anyone else.
Your Weekly Schedule: 3 Days of Smart Cardio

Monday, Wednesday, Friday. That’s your new best friend. I’ve tried every combination over the years — back-to-back days, four sessions a week — and this three-day rhythm is the one that sticks. You get a full day of rest between each session. That gap is crucial when you’re starting out. Your body needs time to adapt, repair, and actually get stronger. Without it, you’ll burn out fast.
Each session is exactly 20 minutes. No more, no less. Here’s the breakdown:
- Minutes 0–5: Warm-up. Easy moves like arm circles, leg swings, light marching in place. Get the blood flowing.
- Minutes 5–17: Main block. Twelve minutes of work broken into short bursts. You’ll do 40 seconds of a move, then 20 seconds of rest. That gives you 12 rounds total across four exercises. Here’s the circuit: High knees (40 sec), then rest 20; squat jumps (40 sec — do bodyweight squats if jumping bothers your knees), rest 20; mountain climbers (40 sec), rest 20; burpees with no push-up (40 sec), rest 20. That’s one round — 4 minutes. Repeat it two more times for a full 12 minutes.
- Minutes 17–20: Cooldown. Slow it down. Walk in place, reach for your toes, shake out your legs. Bring your heart rate back to normal.
Twenty minutes is short enough that you can’t claim you don’t have time. It’s long enough to get real benefit. I’ve used this exact structure with friends who swore they couldn’t fit in exercise, and after two weeks they were hooked.
On your off days—Tuesday, Thursday, Saturday, Sunday—do something light. Ten minutes of walking around the block or gentle stretching. That’s active recovery. It helps your muscles flush out waste products and keeps you moving without tiring you out. Don’t skip it thinking more rest is better; a little movement actually speeds up recovery.
Stick with this Monday-Wednesday-Friday schedule for at least three weeks. By then, the routine will feel automatic. You’ll know exactly what to expect, and your body will start craving those 20-minute sessions. Give it a try and share your experience in the comments. If you want a simple timer to track your intervals, check current prices on Amazon — a cheap kitchen timer works fine.
The Workout Split: Circuit A and Circuit B You Rotate
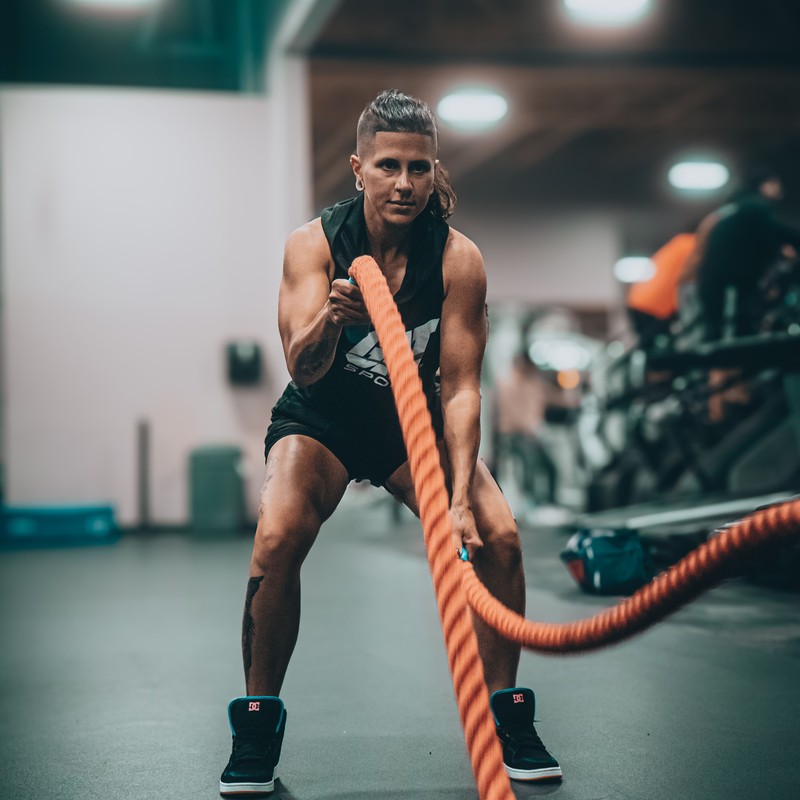
Here’s the core of the plan – two circuits you’ll swap between sessions. This rotation keeps your body from adapting too quickly and your brain from checking out.
Circuit A – Power & Cardio
- Jumping jacks – 40 seconds
- Bodyweight squats – 40 seconds
- High knees – 40 seconds
- Plank jacks – 40 seconds
Rest 20 seconds between moves. Run through all four exercises three times. That’s about 12 minutes total including rest. By the third round your legs will feel it – that’s exactly what you want.
Circuit B – Agility & Endurance
- Butt kicks – 40 seconds
- Alternating lunges – 40 seconds
- Mountain climbers – 40 seconds
- Skier hops – 40 seconds. Skier hops: jump side to side, landing softly on one foot before switching.
Same timing: 40 on, 20 off. Three total rounds. Circuit B targets different muscle groups – especially your glutes and hip flexors – so your body can’t cruise on muscle memory.
Why Rotate?
Your body adapts fast. Repeat the same workout three days in a row and your heart rate response dulls. Swapping circuits forces your cardiovascular system to adjust to different demands: A is more explosive, B is more lateral and endurance-oriented. Plus, you’ll never dread a session because you know it’s different every time.
How to Fit It Into a Week
Try this pattern: Monday – Circuit A, Wednesday – Circuit B, Friday – Circuit A. Next week start Monday with Circuit B. Three sessions per week with at least one rest day between. If you’re ambitious, add a fourth day with just 10 minutes of one circuit as a finisher.
Start each session with a 5-minute warm-up (march in place, arm circles, and dynamic stretches). After the circuit, cool down with 3 minutes of walking in place or slow stretching. This preps your muscles and helps recovery.
Pro tip: If you breeze through three rounds, bump the work interval to 45 seconds or add a fourth round.
Once you’ve tried them, come back and tell me which circuit kicked your butt hardest. And if you ever want to add light resistance, check current prices on Amazon for adjustable dumbbells – they’re great for leveling up the lunges or adding weight to squats.
How to Progress Without Adding a Single Pound
If you’ve been doing the same bodyweight circuit for two weeks and it’s starting to feel like a warm-up, you might be wondering how to keep challenging yourself without buying anything. I’ve been there — stuck in that loop where I’d just do more reps, but that only works so long before your form falls apart. The secret isn’t more weight; it’s playing with time and volume. Here’s how you can make any no-equipment workout harder using just a clock and your own effort.
Add a third round to your circuit. Say your current circuit has two rounds of four exercises — 40 seconds of work per move with 20 seconds rest between each. That’s about 5 minutes and 20 seconds of actual work, plus rest bringing your total circuit time to around 8 minutes. Once that two-round block feels manageable, bump it to three rounds. Now you’re doing about 8 minutes of work and your heart stays elevated for a full 12-minute block. I did this with a simple squat-jump-and-plank sequence and felt the difference by the second round of the third set. Your muscles accumulate fatigue in a way that mimics adding load. Try adding one extra round each week until you hit five rounds, then refresh the whole circuit.
Shorten your rest periods. This is the sneakiest way to crank up intensity. If you’ve been resting 20 seconds between exercises, drop it to 15 seconds. I promise — that five-second cut makes you feel like you’re sprinting when you’re just doing high knees. After a week at 15 seconds, try 10 seconds. That small change crushes recovery and forces your cardiovascular system to adapt. Your body learns to clear lactate faster and maintain output even when it wants to stop. Just be careful with form; if your technique starts slipping, bump the rest back up for a session.
Increase the work interval. Instead of doing 40 seconds of burpees with 20 seconds off, push the work to 50 seconds while keeping rest at 20 seconds. This higher density — more work in the same total time — pushes your cardiorespiratory system to adapt without any gear. I use this trick when I’m traveling and stuck with just a floor. You can mix intervals: first round 40/20, second round 50/20, then back down. It keeps your mind engaged and your body guessing. You’ll be surprised how much 10 extra seconds of work can demand.
These three methods — more rounds, shorter rest, longer work intervals — let you progress for months without ever touching a dumbbell. If you want to track your progress or try structured programs that use these variables, check out current prices on Amazon for interval timers or workout posters. And I’d love to hear what worked for you: drop a comment below with your favorite progression trick.
Workout Safety, Recovery, and When to Push Harder
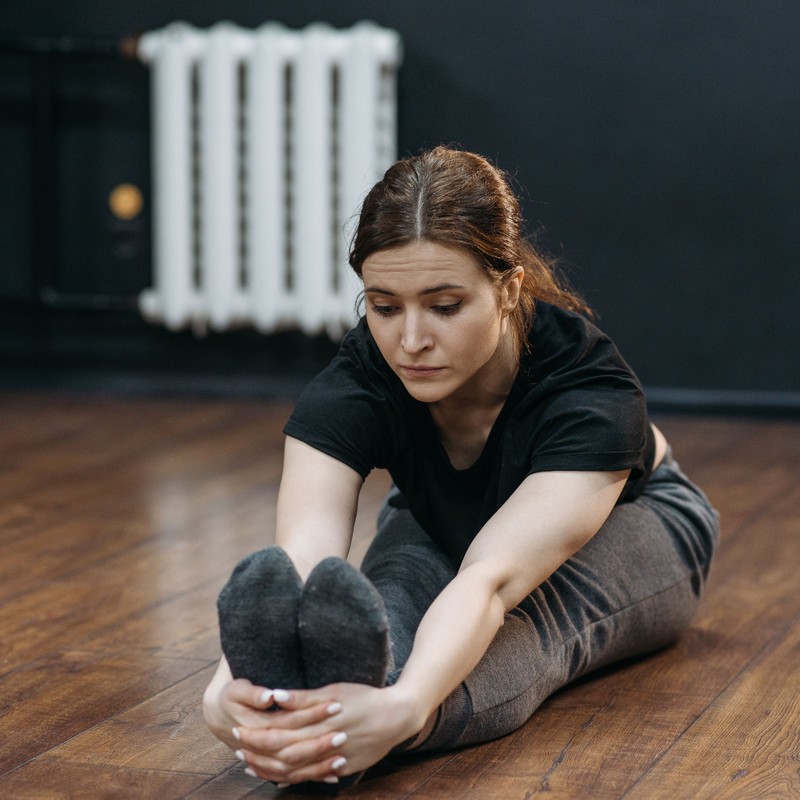
Jumping is where most beginners get into trouble — not because it’s dangerous, but because nobody tells you how to land. I’ve watched friends crash down like a sack of potatoes and then wonder why their shins hurt for a week. So here’s the rule I follow every time my feet leave the ground: land like you’re sneaking up on someone. Quiet landings mean your lower joints are absorbing the impact correctly.
- Land on the balls of your feet — not flat-footed, not on your heels. The midfoot should touch first, then the heel gently follows.
- Bend your knees on every landing. Think of your legs as springs. If you lock your knees on impact, all that force goes straight into your joints. A slight bend spreads it through your muscles instead.
- Stay light. If you can hear your footsteps from across the room, you’re landing too hard. Aim for a soft, controlled touchdown. This takes practice, but your knees will thank you.
Now, what about pain? There’s a difference between muscle fatigue and joint pain. Muscle burn is normal — it’s the sign that your body is adapting. But if you feel a sharp or dull ache in your knees, ankles, or hips during or after a session, that’s a red flag. I’ve ignored that signal before and ended up sidelined for two weeks. Don’t be me.
When joint pain shows up, swap the high-impact moves for low-impact alternatives. Instead of squat jumps, do squat pulses or step-outs. Instead of high knees at speed, try marching high knees or toe taps. You still get your heart rate up without pounding your joints. I keep a list of swaps taped to my wall so I don’t have to think about it mid-workout.
You’ll know you’re ready to add a fourth weekly session when you can finish all 12 minutes of work in your current main circuits without stopping — and you feel fully recovered the next day. That means no lingering soreness, no joint aches, and your energy is back to normal. Once you hit that point for two consecutive weeks on your three-day schedule, bump up to a four-day split. Keep your rest days in between: don’t stack four days in a row. Your body needs time to rebuild. I alternate hard days with light days (or full rest) and that’s kept me injury-free for years.
Finally, here’s a tip that changed everything for me: listen to your body before your ego. If you wake up and your body feels heavy or your joints feel creaky, take a rest day or do a low-impact session. Pushing through fatigue increases injury risk. And when you do level up, keep the same landing mechanics and joint-awareness in every workout.
Try these tips in your next home cardio session. If you have your own landing or recovery tricks, drop them in the comments — I’d love to hear what works for you. And if you’re looking for mats or supportive gear to make your floor workouts more comfortable, check current prices on Amazon to see what fits your space and budget.
Medical & Editorial Review: This article was reviewed by Liam Smith, founder of Apexfito, for accuracy and safety. Content is for educational purposes and is not a substitute for professional medical advice. Consult your physician before starting any exercise or nutrition program.