The 30-Day Bodyweight Challenge:
By Liam Smith — Fitness enthusiast and founder of Apexfito. I test gear at home and share what actually works.
Why a Bodyweight Challenge Works for Total Beginners
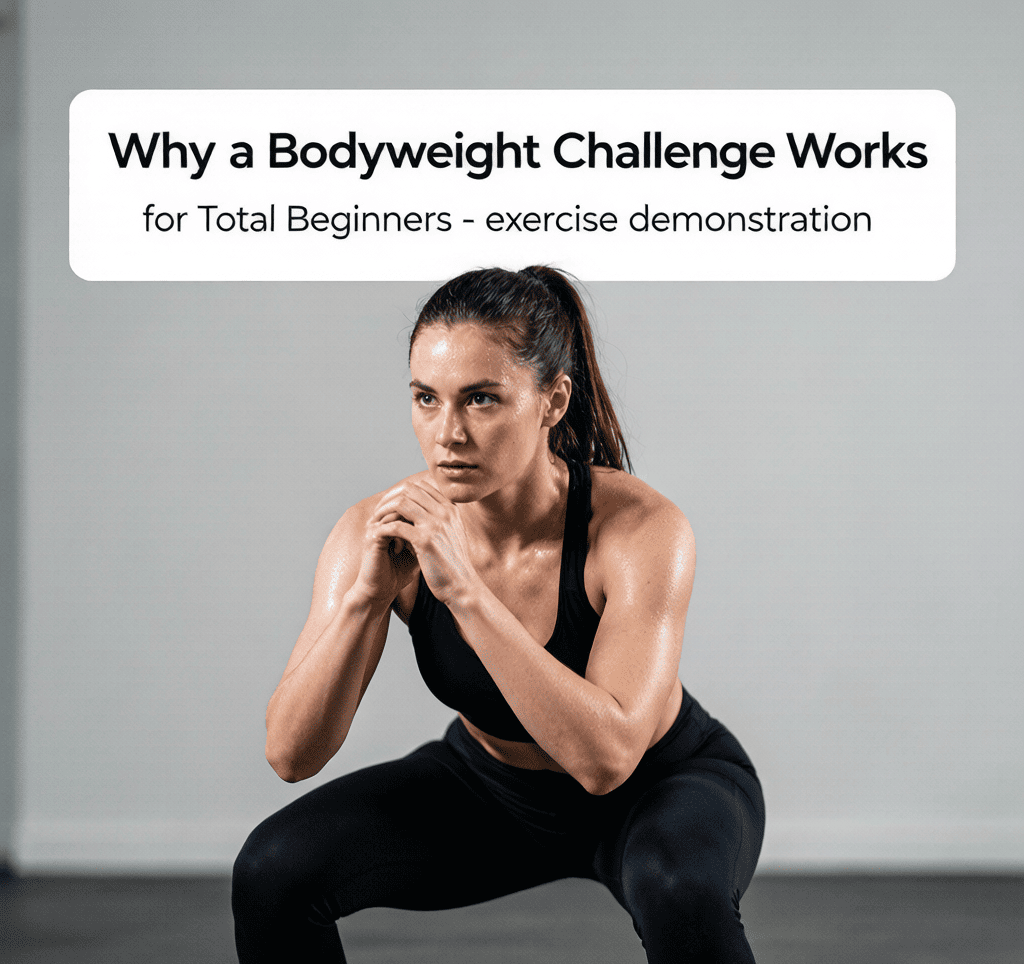
Starting a fitness routine can feel overwhelming. Gyms are loud, equipment is confusing, and everyone else seems to know what they’re doing. That’s exactly why this bodyweight challenge is built for you. Harvard Health notes that keep your back straight and lower your hips until your thighs are parallel to the floor.
Bodyweight exercises build functional strength without intimidating gym equipment or heavy weights. You don’t need a squat rack, a bench, or a set of dumbbells. You just need your own body. That’s it.
You can do this challenge at home, in a park, or in a hotel room. No excuses. I’ve done these workouts in my living room while my kids watched cartoons. It works.
Progress comes from increasing reps, reducing rest, and mastering harder variations — not from adding plates. In week one, you might do 8 squats. By week four, you’ll be doing 20 with perfect form. That’s the kind of change you can measure without a scale.
Every movement can be regressed to match your current fitness level. Can’t do a full push-up yet? Start with wall push-ups or knee push-ups. That’s not cheating — that’s smart training. As you get stronger, you’ll naturally progress to harder versions.
Here’s what to expect over the next 30 days:
- Week 1: Learn the basic movements. Focus on form, not speed. Do each exercise slowly and controlled.
- Week 2: Increase reps slightly. Start timing your rest between sets — aim for 60 seconds max.
- Week 3: Try harder variations. Move from knee push-ups to full push-ups, or from regular squats to jump squats.
- Week 4: Push your limits. Reduce rest to 45 seconds, add an extra set, or hold the bottom of each exercise for 2 seconds.
You don’t need to be in shape to start. You just need to show up. This challenge gives you a structured path from day one to day thirty. No guesswork, no confusion.
If you’ve been telling yourself “I’ll start next month” or “I need to get a gym membership first,” stop. You have everything you need right now. Put on some comfortable clothes, clear a small space on the floor, and let’s begin.
Your 30-Day Bodyweight Workout Schedule
This plan runs on a simple 3-day-on, 1-day-off cycle. You’ll rotate through strength, cardio, and full-body workouts, then take a rest day. That pattern repeats for 30 days. Each session takes 20 to 30 minutes — short enough to squeeze into a lunch break but long enough to build real momentum.
You can start this schedule on any day of the week. Monday works, but so does Wednesday or Saturday. Just pick a day and go. The cycle doesn’t care about the calendar.
How the Schedule Works
Week 1 is all about learning the movements with low reps. Don’t rush. Focus on your form — chest down, core tight, knees tracking over toes. If an exercise feels off, drop the reps and slow down. Weeks 2 through 4 gradually increase volume and intensity. You’ll add more reps, reduce rest between sets, and push closer to failure on your last round.
Here’s the weekly template:
- Day 1 (Strength): Squats, push-ups, lunges, planks — 3 rounds of 8–12 reps each.
- Day 2 (Cardio): High knees, mountain climbers, burpees, jumping jacks — 30 seconds work, 15 seconds rest, 4 rounds.
- Day 3 (Full Body): A mix of strength and cardio moves — glute bridges, bear crawls, squat jumps, and side planks — 3 rounds of 10 reps.
- Day 4 (Rest): Active recovery only. Go for a 20-minute walk, do some gentle stretching, or foam roll if you have one. No intense exercise.
Repeat this four-day block seven times to complete the 30 days. Yes, the last cycle will be shorter — that’s fine. Just finish strong.
Progression Cues for Each Week
Week 1: Stick to the basic versions of each move. If a push-up on your toes is too hard, drop to your knees. If a full squat feels unstable, hold onto a doorframe for balance. Aim for 8 reps per set and rest 60 seconds between rounds.
Week 2: Increase reps to 12 per set and cut rest to 45 seconds. On cardio days, push yourself to maintain pace through all four rounds. If you finish early, add one more round.
Week 3: This is where it gets real. Bump reps to 15 per set and rest only 30 seconds between rounds. On full-body days, try the harder variations — standard push-ups instead of knee push-ups, full burpees instead of step-back burpees.
Week 4: Go all out. Aim for 20 reps per set on strength days and 45-second work intervals on cardio days with just 10 seconds rest. If you can complete all three rounds without stopping, you’re ready to level up to a more advanced program.
Why Rest Days Matter
Rest days aren’t optional. They’re when your muscles repair and grow stronger. Skipping them leads to burnout, poor form, and a higher risk of injury. Use your rest day to walk, stretch, or just move lightly. I’ve tried training six days straight — by day four my form was sloppy and my motivation tanked. Trust the schedule. It’s built to keep you consistent for the full 30 days.
If you miss a day, don’t double up the next day. Just pick up where you left off. Consistency beats perfection every time.
The 7 Core Exercises You’ll Master
These seven movements are the backbone of your 30-day challenge. You don’t need to be good at them yet—you just need to start. Each exercise comes with a beginner-friendly version (regression) and a harder version (progression) so you can level up as you get stronger.
1. Squats (Squat Pattern)
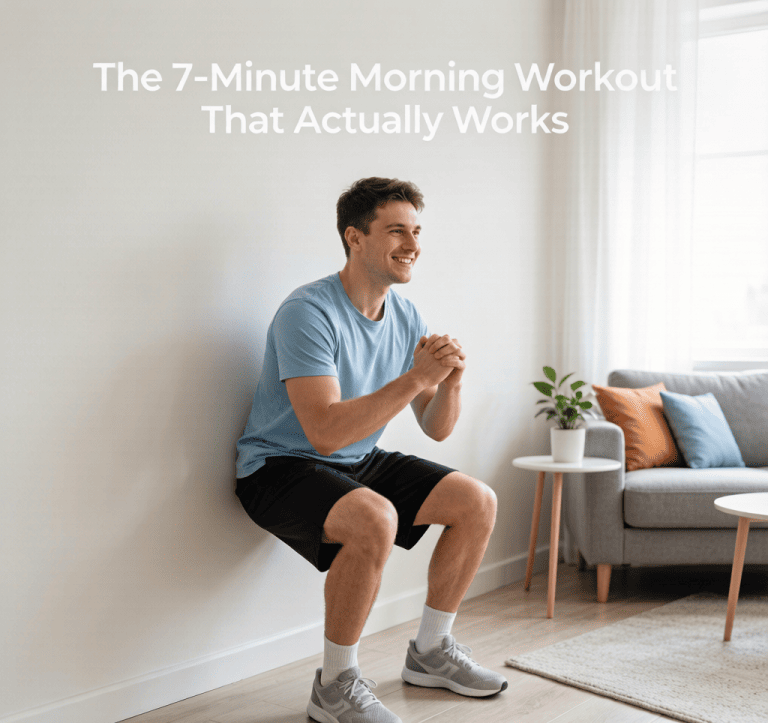
Feet shoulder-width apart, chest up, lower your hips back and down like you’re sitting in a chair. Keep your weight in your heels. If you can’t go deep without falling backward, hold onto a doorframe or counter for balance. Tip: Exhale as you push up from the bottom. Once you can do 20 clean air squats, try jump squats—explode up and land softly. For a real challenge, work on pistol squat negatives: lower yourself on one leg as slowly as possible. Caution: Don’t let your knees cave inward; keep them tracking over your toes.
2. Push-ups (Push Pattern)
Wall push-ups are a valid start—stand a few feet away, lean in, and push back. That’s still a push-up. When wall push-ups feel easy, drop to an incline (like a bench or table), then to your knees, and finally to a standard push-up. Breathing cue: Inhale as you lower, exhale as you push up. For progression, elevate your feet on a step for decline push-ups. I’ve seen beginners go from wall push-ups to 10 full reps in three weeks—it’s doable if you stay consistent. Tip: Keep your elbows at a 45-degree angle to your body, not flared out.
3. Planks (Core Stability)
Get into a forearm plank: elbows under shoulders, body in a straight line from head to heels. Squeeze your glutes and abs like you’re bracing for a punch. Hold for 20 seconds if that’s all you can manage. Caution: If your lower back aches, you’re sagging—tighten your core and glutes. As you improve, add side planks (30 seconds each side) and plank jacks—jump your feet in and out while keeping your hips stable. The goal isn’t to hold a plank for five minutes; it’s to build core endurance that carries over to every other exercise.
4. Lunges (Hinge/Lunge Pattern)
Step forward with one foot and lower your back knee toward the ground. Keep your front knee over your ankle, not past your toes. Master forward lunges first—10 reps per leg—then try reverse lunges, which are easier on the knees. Breathing cue: Inhale as you lower, exhale as you push back to start. Once that’s comfortable, walking lunges (alternating legs as you move forward) add a great cardio kick. Jumping lunges are the advanced version: explode up and switch legs in midair. Land softly—no stomping. Tip: Keep your torso upright, not leaning forward.
5. Glute Bridges (Hinge Pattern)
Lie on your back with knees bent, feet flat, and arms at your sides. Drive your hips up, squeezing your glutes at the top, then lower slowly. This move wakes up your posterior chain—your butt and hamstrings—which often gets neglected. Caution: Don’t hyperextend your lower back at the top; stop when your hips are in line with your knees. Progress to single-leg bridges (extend one leg straight and bridge with the other) or hip thrusts with your shoulders on a couch or low table. You’ll feel this in your glutes the next day.
6. Burpees (Full-Body Power)
I know—burpees get a bad rap. But they’re the most efficient full-body conditioner out there. Start with a step-back burpee: squat, place hands on the floor, step back one foot at a time, step forward, stand up. No jump, no push-up. Once you can do 10 of those smoothly, add a push-up at the bottom. Then add a small jump at the top. Full explosive burpees (with a push-up and a jump) are the final boss. Tip: Exhale sharply as you jump or push up. Take breaks when you need them. Caution: If your wrists hurt, do them on your fists or use push-up handles.
7. Mountain Climbers (Core + Cardio)
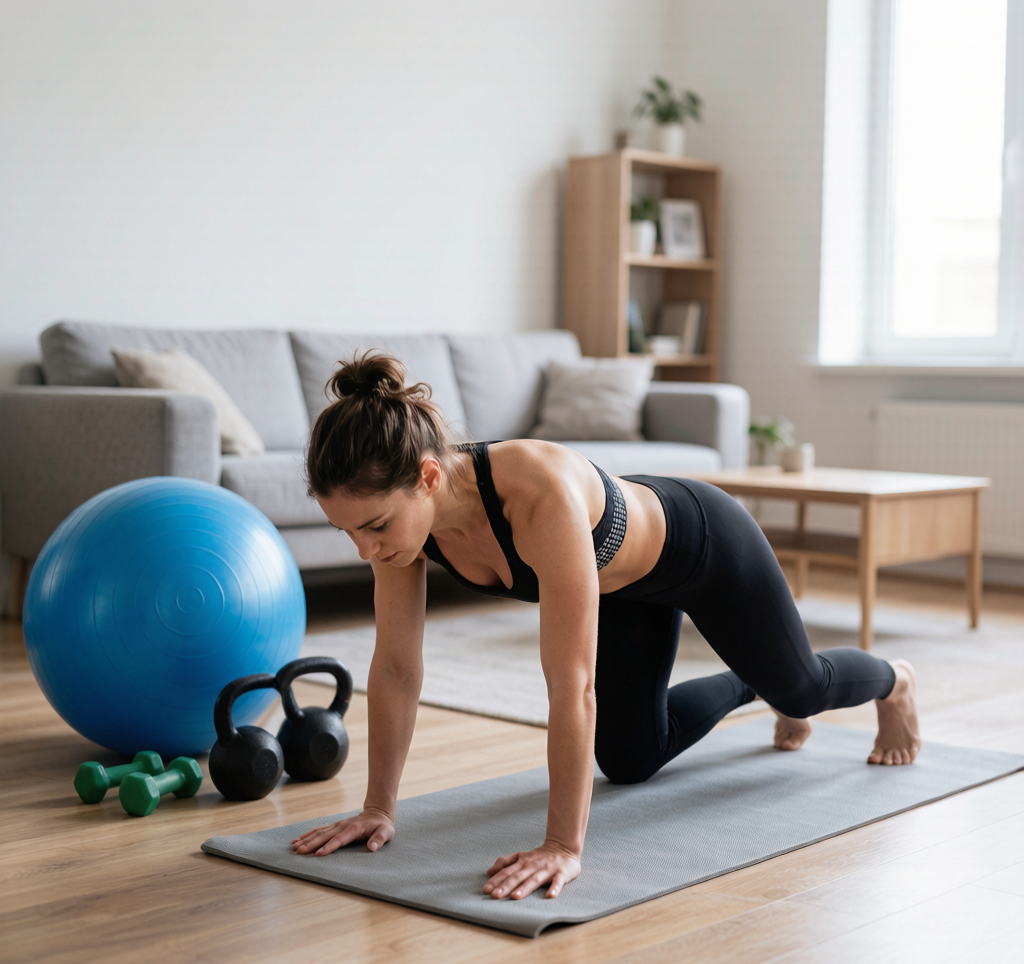
Start in a high plank (hands under shoulders). Drive one knee toward your chest, then switch legs quickly. Keep your core tight—if your hips sag, slow down. Beginners should move at a controlled pace, focusing on form. Breathing cue: Exhale with each knee drive to engage your core. As you get comfortable, speed up. Try cross-body mountain climbers (knee to opposite elbow) for more rotation and core work. This move doubles as cardio, so don’t be surprised if you’re breathing hard after 30 seconds. Tip: Keep your shoulders stacked over your wrists to avoid strain.
Each week of the challenge, you’ll increase reps or try a harder progression. Don’t rush—master the regression first. Your body will tell you when it’s ready for more.
How to Progress Safely Through Each Week

This challenge is designed to build you up, not break you down. Each week adds a layer of difficulty, but only after you’ve mastered the previous one. Here’s exactly how to move through the 30 days without getting hurt.
Week 1: Learn the Movements
Your first week is all about form and consistency. Do 2 sets of 8–12 reps per exercise. Rest a full 60 seconds between sets. Don’t worry about speed or intensity. Focus on feeling each movement. If you can’t do a full push-up yet, drop to your knees. If squats feel wobbly, hold onto a chair. This week is your foundation.
Week 2: Increase Volume and Intensity
Now that you know the moves, it’s time to challenge your muscles. Bump to 3 sets of 10–15 reps. Reduce your rest to 45 seconds. Also, swap in one harder variation per exercise. For example, replace regular lunges with reverse lunges, or do incline push-ups instead of knee push-ups. This small change forces your body to adapt.
Week 3: Go Circuit-Style
Week 3 changes the game. Instead of doing one exercise at a time, string 4 exercises together back-to-back with no rest in between. That’s one circuit. Rest 90 seconds after finishing all 4, then repeat 2–3 times. Aim for 15–20 reps per move. This builds endurance and keeps your heart rate up. I’ve found this is where most people start to see real changes in their stamina.
Week 4: Push Your Limits
The final week is about testing yourself. Do AMRAP (as many reps as possible) sets for each exercise within a set time. For example, do as many push-ups as you can in 30 seconds, rest 30 seconds, then move to squats. Also, try timed intervals: hold a plank for as long as you can, then rest half that time. At the end of the week, test your max push-ups, squats, and plank hold. Write down your numbers — you’ll be amazed at how far you’ve come.
Remember, pain is a signal, not a badge of honor. If something hurts (not just burns), back off. Modify or skip that move. Progress happens when you challenge yourself smartly, not recklessly.
Balancing Strength, Cardio, and Recovery

This challenge isn’t just about grinding through reps. It’s about smart scheduling that builds strength, spikes your heart rate, and gives your body time to rebuild. Here’s how the weekly structure works.
Strength days are your heavy-lifting sessions — even though you’re using just bodyweight. You’ll do lower reps (8-12 per set) with longer rest periods (60-90 seconds between sets). This lets your muscles recruit more fibers and actually get stronger. Think slow, controlled push-ups, squats, and lunges. You’re not racing the clock; you’re challenging your muscles to work harder.
Cardio days flip the script. High reps (15-25 per set) with short rest (20-30 seconds). Your heart rate stays elevated, you breathe hard, and you build endurance. Movements like high knees, jumping jacks, and burpees (or their low-impact versions) keep you moving. These days feel more like a workout you’d do in a group class — sweat, breath, repeat.
Full-body days combine both worlds. You might do a squat-to-push-up circuit: squat down, place hands on the floor, jump back into a push-up, then jump forward and stand up. Or a burpee ladder: do 1 burpee, rest 10 seconds, do 2 burpees, rest 10 seconds, up to 5 or 10. These sessions train your strength and your heart at the same time. They’re tough but efficient.
Here’s a sample week using the 3-on-1-off cycle:
- Day 1: Strength (upper body focus — push-ups, pike push-ups, planks)
- Day 2: Cardio (lower body — high knees, jumping jacks, butt kicks)
- Day 3: Full-body circuit (squat-to-push-up, burpee ladder, mountain climbers)
- Day 4: Rest (active recovery — stretch, foam roll, 20-minute walk)
- Day 5: Strength (lower body focus — squats, lunges, glute bridges)
- Day 6: Cardio (full-body HIIT style — burpees, jump squats, plank jacks)
- Day 7: Full-body circuit (repeat Day 3 or swap in new moves)
- Day 8: Rest (active recovery)
Recovery isn’t lazy — it’s when your body rebuilds. I’ve seen too many beginners skip rest days and burn out by week two. On your recovery days, do something gentle. Recovery works best when you target common tight areas. Try a hip flexor stretch: kneel on one knee, push your hips forward, and hold for 30 seconds per side. Or a thoracic spine rotation: lie on your side, knees bent, and rotate your top arm open like a book. Foam roll your quads, hamstrings, and upper back. Or just take a 20-minute walk outside. Your muscles repair and your nervous system resets. You’ll come back stronger.
Listen to your body. Muscle soreness is normal — that dull ache after a hard workout. Joint pain is not. If your knees, wrists, or shoulders hurt (not just feel tired), take an extra rest day or regress the movement. For example, do push-ups on your knees or against a wall. Or skip jumping moves and do step-outs instead. There’s no shame in scaling back. The goal is to finish 30 days healthy, not to push through pain and get sidelined.
One thing I’ve learned from coaching: beginners who respect recovery finish the challenge. Those who ignore it often quit by week three. So treat your rest days like they’re part of the workout — because they are.
Have you tried this exercise? What form cues helped you the most? Drop your experience in the comments below—I read every response and update articles based on real feedback.
Medical & Editorial Review: This article was reviewed by Liam Smith, founder of Apexfito, for accuracy and safety. Content is for educational purposes and is not a substitute for professional medical advice. Consult your physician before starting any exercise or nutrition program.