The Complete Dumbbell Upper Body Workout You Can Do at Home
By Liam Smith — Fitness enthusiast and founder of Apexfito. I test gear at home and share what actually works.
Why a Dumbbell-Only Upper Body Workout Works
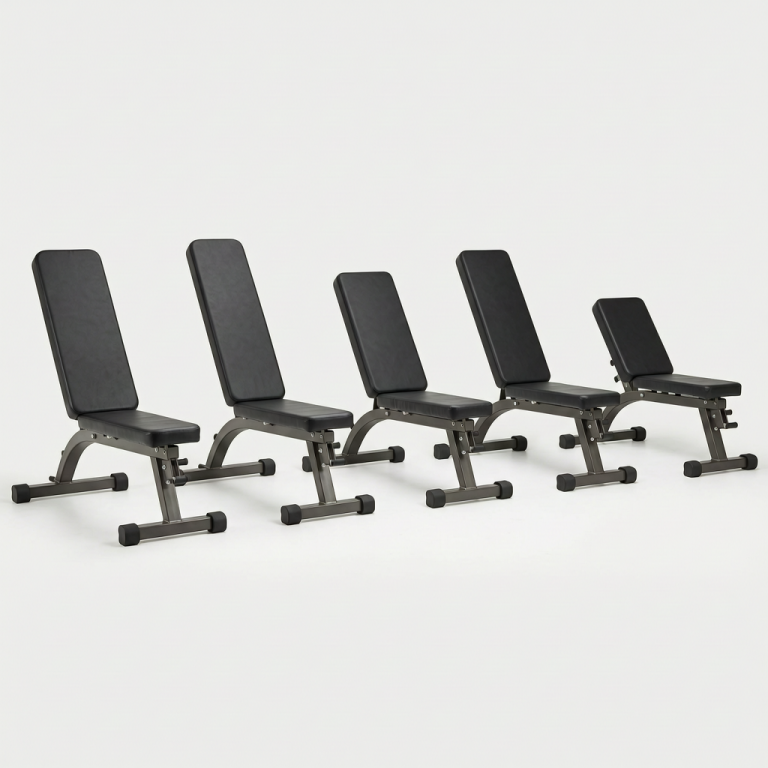
I used to think I needed a garage full of gear to build real upper body strength. A bench, a barbell, cables, maybe a pull-up bar. But after a few months with just one pair of adjustable dumbbells, I realized I was wrong. Dumbbells alone can deliver everything you need for a strong chest, back, shoulders, and arms — and in some ways, they work better than machines or barbells. Harvard Health notes that keep your back straight and lower your hips until your thighs are parallel to the floor.
Here’s the key advantage: dumbbells force each side of your body to work independently. With a barbell, your stronger arm can compensate for the weaker one. With dumbbells, each arm has to pull its own weight. That means you naturally fix muscle imbalances over time. If your left shoulder is weaker than your right, you’ll feel it immediately during a dumbbell overhead press. You can then adjust your reps or weight on that side, rather than letting the imbalance persist.
Dumbbells also give you a fuller range of motion. When you do a dumbbell bench press, you can lower the weights deeper than with a barbell, because your hands can move independently. That extra stretch at the bottom recruits more muscle fibers, especially in your chest and shoulders. The same applies to rows, presses, and curls — you can move through a natural arc that matches your body’s mechanics.
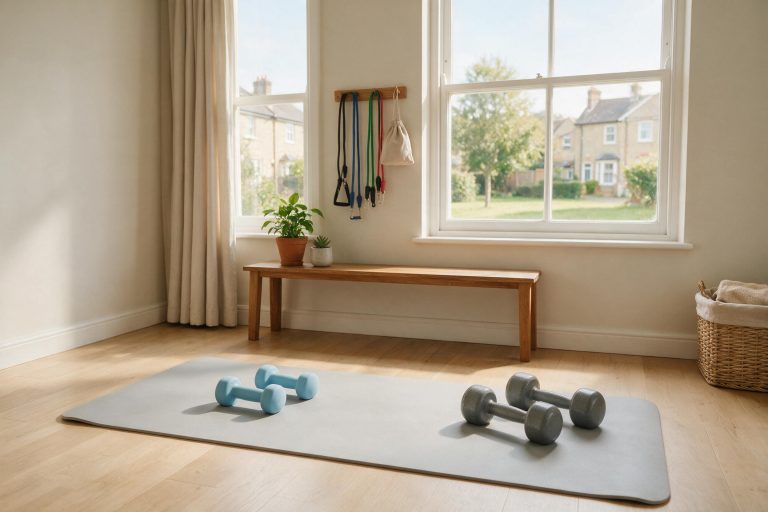
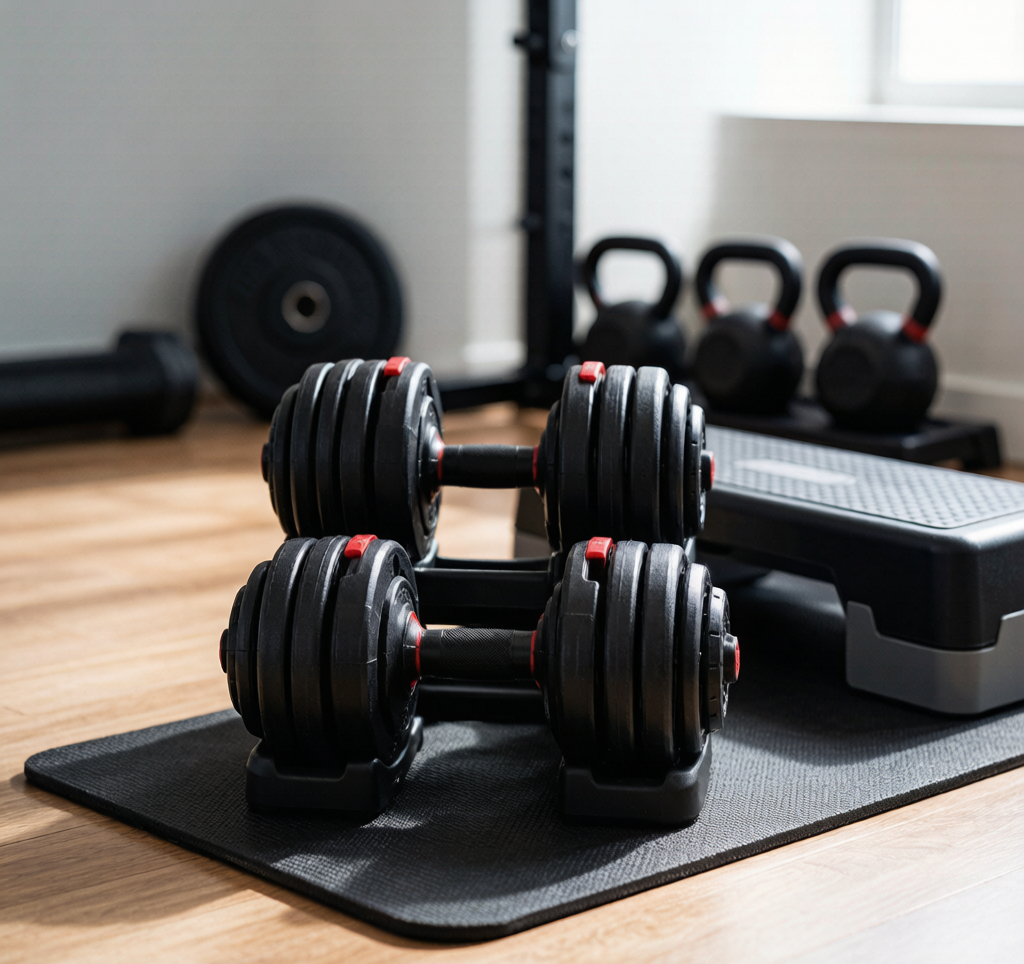
And for home gyms with limited space, dumbbells are a no-brainer. A single pair of adjustable dumbbells takes up about as much room as a small suitcase. You can store them under a bed or in a closet. No bulky machines, no cables, no spotter needed. I’ve used this setup in a cramped apartment corner and still managed to progress from 20-pound dumbbells to 50-pounders over six months.
This plan is built specifically for beginners who want a simple, effective routine. You won’t need to buy extra equipment or rearrange your living room. Just one pair of dumbbells, a little floor space, and 30–40 minutes per session. The exercises are chosen to hit every major upper body muscle group — chest, back, shoulders, biceps, triceps — with minimal overlap. And because you’re using dumbbells, you can adjust the weight for each exercise individually. If your shoulders are weaker than your chest, you can use lighter dumbbells for overhead presses and heavier ones for bench presses, all within the same workout.
If you’re not sure which dumbbells to buy, check current prices on Amazon for adjustable sets. Many models go from 5 to 50 pounds and cost less than a month of gym membership. And once you try this routine, share your experience in the comments — I’d love to hear how it works for you.
Your Weekly Upper Body Training Schedule
When I started working out at home, I made the mistake of hitting my arms every day. I thought more was better. It wasn’t. I ended up tired, sore, and not much stronger. The real key is giving your muscles time to repair. For this dumbbell upper body plan, aim for 2 to 3 non-consecutive days per week. Think Monday, Wednesday, and Friday. That structure gives you a solid training rhythm without overdoing it.
Each session should take 30 to 45 minutes total. That includes a 5-minute warm-up (arm circles, light jumping jacks, or a brisk walk around the room) and a 5-minute cool-down with stretches for your chest, back, and shoulders. The actual lifting part is about 20 to 30 minutes. Short enough to fit into a lunch break, long enough to get real work done.
On your off days, you don’t have to sit still. I like to add 20 minutes of light cardio: a walk outside, a slow bike ride, or even some household chores that get me moving. It keeps blood flowing and helps recovery without adding fatigue. If you feel beat up, skip it. Rest is productive too. This extra movement is optional — you’ll still build strength without it.
Here’s a sample week to give you a clear picture:
- Monday: Dumbbell upper body workout (30–45 min)
- Tuesday: Light cardio or rest
- Wednesday: Dumbbell upper body workout (30–45 min)
- Thursday: Light cardio or rest
- Friday: Dumbbell upper body workout (30–45 min)
- Saturday: Active recovery (stretching, walk, or rest)
- Sunday: Full rest
If you can only commit to two days a week, that’s fine too. Try Tuesday and Thursday, or Monday and Thursday — just keep at least one rest day between sessions. Two well-executed workouts per week can still build noticeable strength, especially when you’re starting out. Consistency matters more than frequency.
Stick with this schedule for at least three weeks before you change anything. Your body needs time to adapt. After that, you can adjust based on how you feel. If you’re still sore on workout day, take an extra rest day. If you feel great, you can add a fourth session — but don’t rush it. Consistency beats intensity every time.
I recommend checking current prices on Amazon for a set of adjustable dumbbells if you don’t have them yet. And once you start this schedule, drop a comment below to let me know how it’s going. I’d love to hear what works for you.
The 6-Move Dumbbell Upper Body Workout
This workout hits every major muscle in your upper body—chest, back, shoulders, biceps, and triceps—using just one pair of dumbbells. I’ve tested this exact sequence at home, and it works whether you’re using 10-pounders or 30s. The key is picking a weight that lets you finish each set with good form but leaves the last two reps feeling tough.
Perform these six exercises in order, resting 60–90 seconds between sets. Do this workout 2–3 times per week, with at least one rest day between sessions.
1. Dumbbell Bench Press (Flat or Floor Press)
Sets & Reps: 3 sets of 8–12 reps
Choose your weight: Pick a dumbbell where the last 2 reps of each set are challenging but you can still finish with control. If you can easily do 12 reps, go heavier next time.
Lie on a bench or the floor with a dumbbell in each hand, palms facing forward. Lower the weights until your elbows are just below your chest. Keep your elbows tucked at about a 45-degree angle from your torso—this protects your shoulder joints. Press the dumbbells back up to the start. If you’re on the floor, your elbows will tap the ground naturally, which helps you avoid overstretching. I prefer floor press when I’m short on space; it’s just as effective.
2. Bent-Over Dumbbell Row
Sets & Reps: 3 sets of 8–12 reps per arm
Choose your weight: Start with a weight you can row 10 times with a flat back. If your lower back rounds or your torso twists, go lighter.
Hinge at your hips, keeping your back flat and your knees slightly bent. Hold a dumbbell in one hand, letting it hang straight down. Pull the weight toward your hip, squeezing your shoulder blade. Lower slowly. Don’t let your torso twist—keep your hips square to the floor. If you feel your lower back rounding, raise your torso a bit. I’ve seen beginners try to lift too heavy here and lose form; start light and focus on the squeeze.
3. Standing Dumbbell Overhead Press
Sets & Reps: 3 sets of 8–12 reps
Choose your weight: Use a weight where you can press 8 reps without arching your lower back. If you feel pressure in your lower back, drop down.
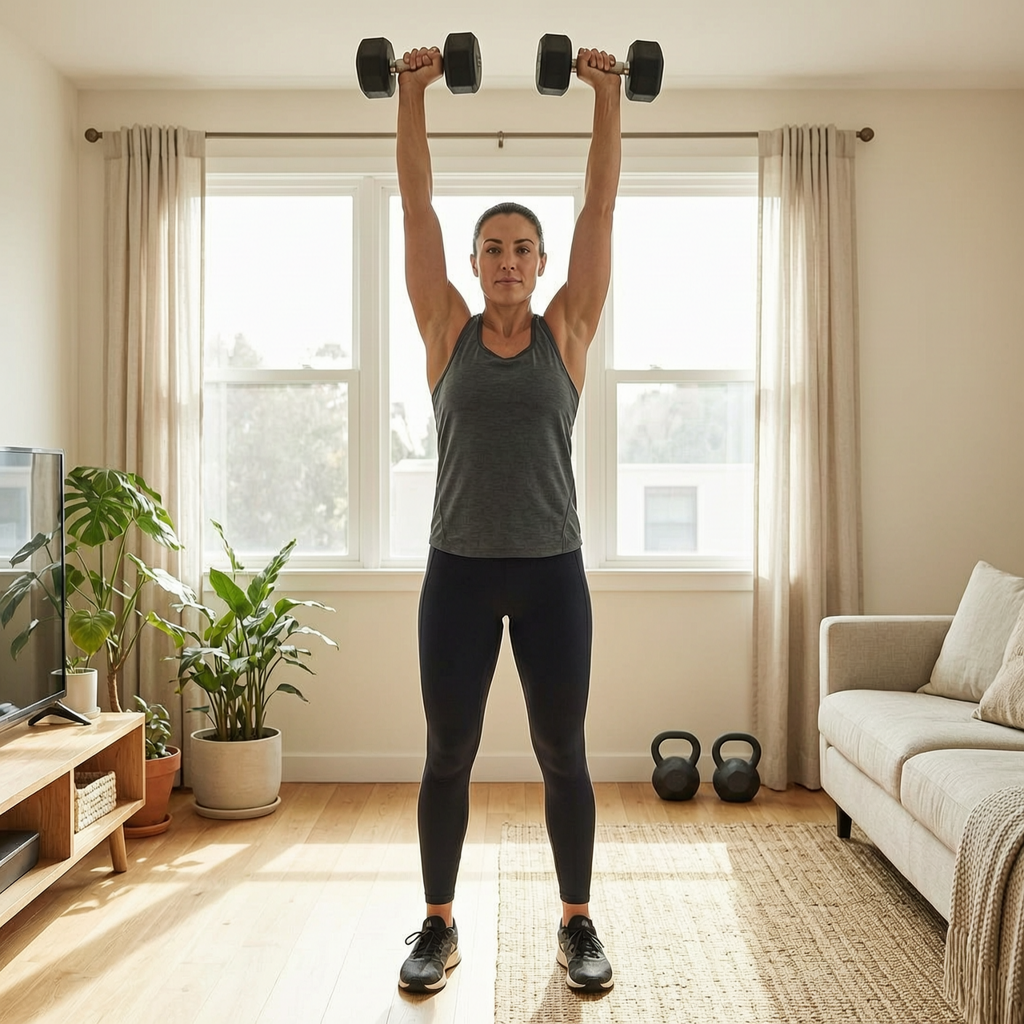
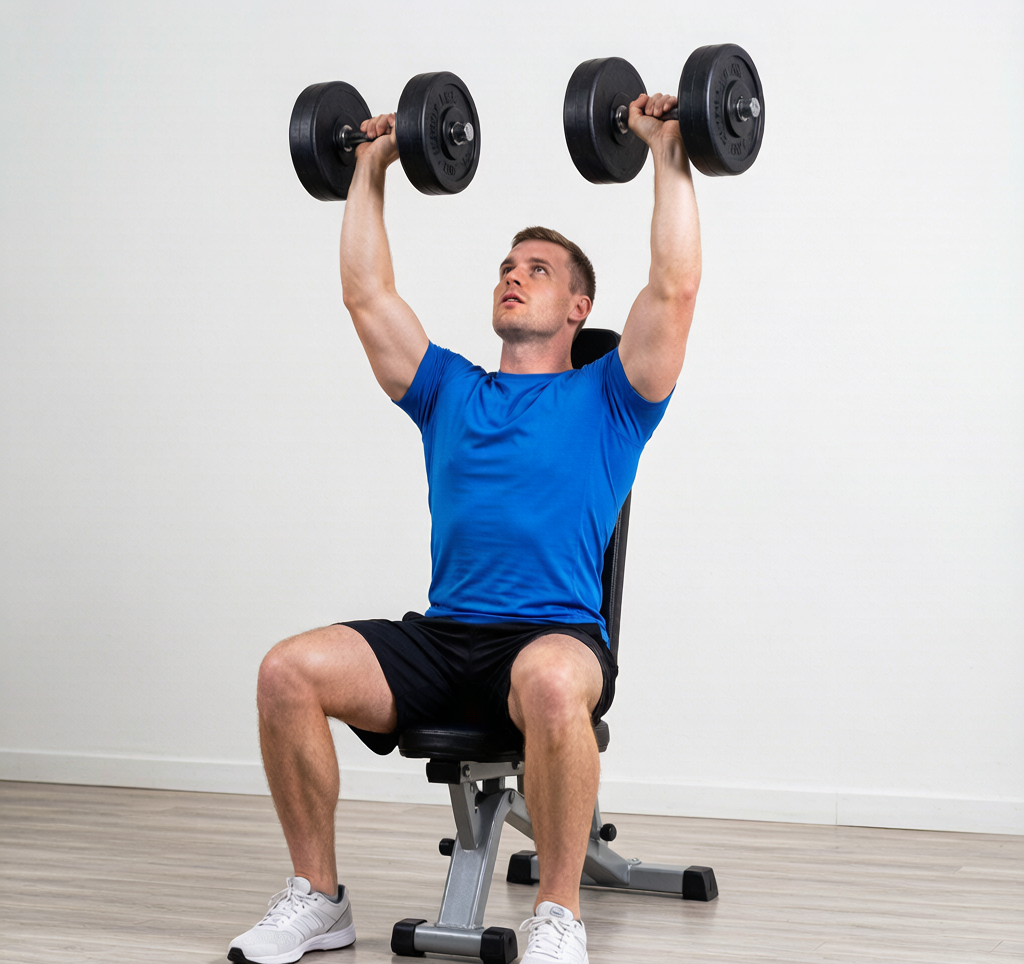
Stand with feet shoulder-width apart, dumbbells at your shoulders, palms facing forward. Brace your core—imagine someone’s about to poke you in the gut. Press the dumbbells directly overhead until your arms are straight, but don’t lock your elbows. Lower with control. Avoid arching your lower back; if you feel pressure there, drop the weight. This move builds serious shoulder strength, but only if you keep your ribs down.
4. Dumbbell Bicep Curl
Sets & Reps: 3 sets of 10–15 reps
Choose your weight: Pick a weight where you can do 12 slow, controlled reps without swinging. If you have to rock your body, go lighter.
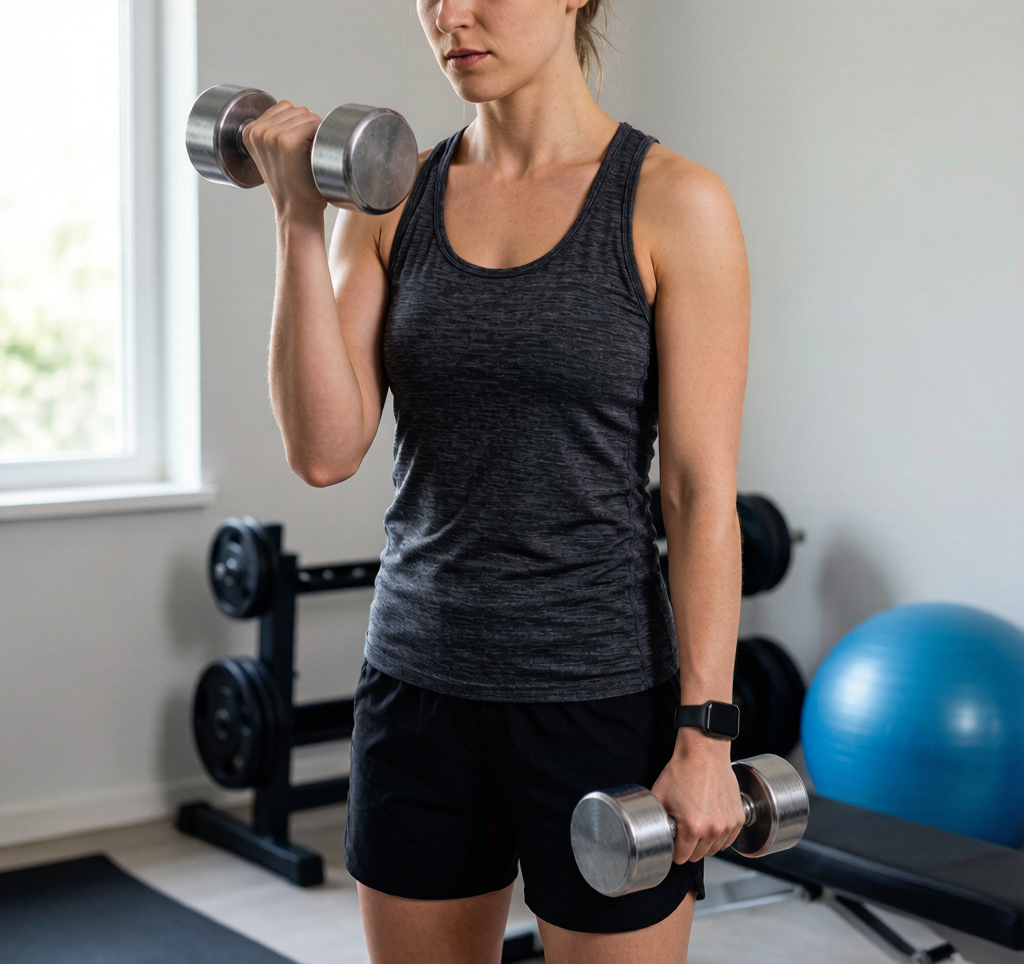
Stand tall, dumbbells at your sides, palms facing forward. Keep your elbows pinned to your ribs—they shouldn’t drift forward or back. Curl the weights toward your shoulders, squeezing your biceps at the top. Lower slowly. The biggest mistake I see is swinging the body to cheat the weight up. If you have to rock, go lighter. Slow, controlled reps build more muscle anyway.
5. Dumbbell Tricep Kickback
Sets & Reps: 3 sets of 10–15 reps per arm
Choose your weight: Start with a light dumbbell—you should be able to do 15 reps with your upper arm staying parallel to the floor. If your arm drops, go lighter.
Hinge forward at your hips with a flat back, holding a dumbbell in one hand. Bend your elbow to 90 degrees, keeping your upper arm parallel to the floor. Extend your arm straight back until it’s fully straight, squeezing your tricep. Pause, then return slowly. Don’t let your upper arm drop—keep it locked in place. This move is small but burns. I like doing these in front of a mirror to check my arm position.
6. Dumbbell Lateral Raise
Sets & Reps: 3 sets of 10–15 reps
Choose your weight: Use a light weight—if you can’t do 10 clean reps without swinging, go down. This exercise is about control, not ego.
Stand with dumbbells at your sides, palms facing each other. With a slight bend in your elbows, raise your arms out to the sides until they’re at shoulder height—like you’re pouring a pitcher. Don’t go higher; that shifts tension to your traps. Lower with control. Use a light weight here; I’ve seen people grab 15-pounders and end up swinging. The lateral raise is about control, not ego. If you can’t do 10 clean reps, go down in weight.
That’s the full workout. Stick with these six moves for 4–6 weeks, and you’ll notice your shirts fitting tighter in the shoulders and arms. For the best deals on dumbbells, check current prices on Amazon—they often have sales on adjustable sets. And drop a comment below: which exercise felt hardest for you? I’d love to hear how it goes.
How to Progress and Add Weight Safely
Building strength with dumbbells at home is a steady process. Here’s what I do: only increase the challenge when you can complete every rep of your last set with perfect form. I’ve made plenty of mistakes here—jumping up in weight too fast, thinking I was stronger than I actually was. That’s how you end up stuck with an injury for weeks. So let’s keep it smart.
When to Add Weight
A simple rule I follow: only increase the weight when you can complete every rep of your last set with perfect form. If you’re doing 3 sets of 10 reps, and on the third set your elbows start flaring or you’re using momentum to get the dumbbell up, you’re not ready to go heavier. Stay at that weight until you can finish all reps cleanly. For most people, that takes about 2 to 4 weeks per weight increment.
How Much to Add
For upper body exercises, aim to increase by 2.5 to 5 pounds at a time. If your dumbbells only go up in 5-pound jumps (like many adjustable sets), you can increase reps first. For example, if you’re doing 3 sets of 8 reps with 20 pounds, try 3 sets of 10 reps with the same weight. Once you can do 12 reps with control, then move up to 25 pounds and drop back to 8 reps. This method works well and keeps you progressing.
Listen to Your Joints
There’s a difference between muscle soreness and joint pain. Muscle soreness after a workout is normal—it means you worked hard. Joint pain, especially in your shoulders, elbows, or wrists, is a warning sign. If you feel sharp or persistent pain in a joint, back off the weight or take an extra rest day. I’ve ignored this before and ended up sidelined for weeks. Don’t make that mistake.
Deload Week: Every 4 Weeks
Every fourth week, take a deload week. Reduce the weight by 20-30% or cut your sets in half. If your dumbbells only go up in 5-pound jumps and you can’t drop that much weight, just do fewer sets. For example, if you normally do 3 sets, do 1 or 2 sets with the same weight. I know it feels like you’re losing ground, but your body needs this recovery to actually get stronger. I used to skip deloads and would hit plateaus hard. Now I schedule them on my calendar. Your joints and nervous system will thank you.
Track Your Progress
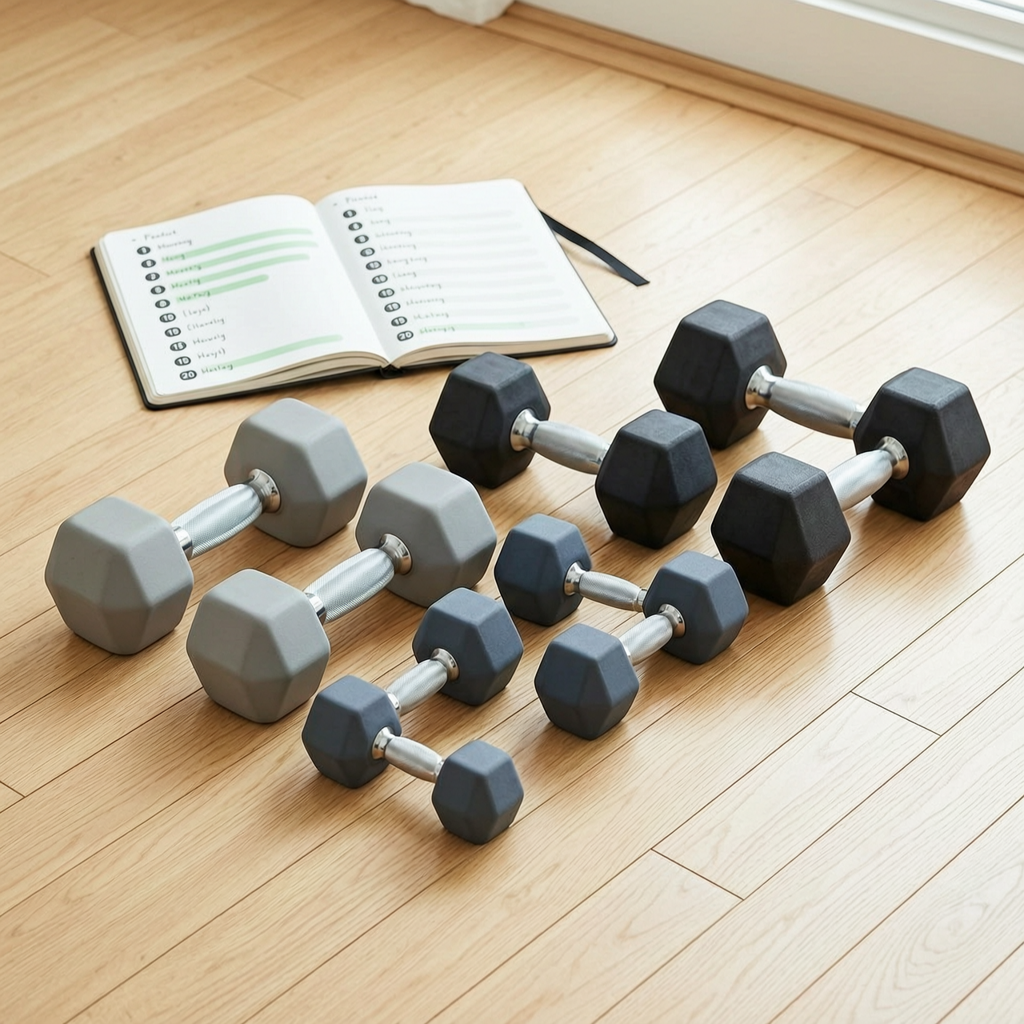
Keep a simple log—write down the weight, reps, and how each set felt. I use a notebook, but an app works too. After a few weeks, you’ll see clear patterns: which exercises are stalling, where your form breaks down, and when it’s time to push harder.
Ready to grab a pair of dumbbells? Check current prices on Amazon to find a set that fits your budget. And if you’ve tried this progression method, share your experience in the comments below.
Balancing Strength with Cardio and Recovery
Strength training builds muscle, but your heart and lungs need work too. Cardio doesn’t have to mean long, boring sessions on a treadmill. For home exercisers, 20-30 minutes of low-intensity cardio on upper body days works well. Try brisk walking, cycling, or incline treadmill work after your dumbbell routine. You can also do cardio on separate days — just keep it moderate so you don’t drain energy needed for lifting.
I’ve found that a quick 5-minute warm-up makes a huge difference. Before any workout, do shoulder rolls, cat-cow stretches, and light marching in place. This preps your shoulders and gets blood flowing. Skipping warm-ups leads to stiff joints and poor form, especially with dumbbells.
Recovery is where the real progress happens. Aim for 7-8 hours of sleep per night — that’s when your body repairs muscle fibers. Protein intake matters too: shoot for around 0.7 grams per pound of body weight daily, and adjust based on your needs and appetite. For a 150-pound person, that’s about 105 grams. Spread it across meals with eggs, chicken, Greek yogurt, or a quality protein powder. Don’t forget hydration — drink water throughout the day, especially before and after workouts. Even mild dehydration can slow recovery and make you feel sluggish.
Listen to your body. If you feel unusually sore or tired, take an extra rest day. Beginners often push too hard, then burn out. Stick with this plan for 4-6 weeks, and you’ll notice real strength gains.
Check current prices on Amazon for dumbbells and resistance bands to upgrade your home gym. Share your experience in the comments — what worked for you, what didn’t, and how you balanced cardio with lifting.
Medical & Editorial Review: This article was reviewed by Liam Smith, founder of Apexfito, for accuracy and safety. Content is for educational purposes and is not a substitute for professional medical advice. Consult your physician before starting any exercise or nutrition program.