The Best Beginner Weight Training Plan: 3 Days a Week Full Body
Full disclosure: Some links in this article are affiliate links. We may earn a small commission at no extra cost to you if you make a purchase through them. Our recommendations are based on what real users report, not on commission size.
Why New Lifters Should Use a 3-Day Full Body Split
Walking into a gym without a plan is a mistake I made for months. I wandered between machines, tried a little of everything, and left tired without getting any stronger. Switching to a full body program changed that. Three focused sessions a week did more than six scattered ones ever did.
With a 3-day full body split, you hit every major muscle group multiple times each week. That frequency matters. Every session tells your body to adapt and get stronger. Because those signals arrive every other day, you build strength faster than if you trained each muscle just once every seven days.
This setup also solves two beginner problems: time and overthinking. Each workout takes about 45 to 60 minutes. You need one pair of dumbbells, a bench, and enough room to move. No machines, no wrist wraps, no seventeen-step warm-up.
Rest Days Are Part of the Plan
I used to think rest days were for lazy people. Then I spent a week trying to train through soreness and watched my numbers go backward. Recovery is where adaptation happens. Your muscles rebuild in the day after lifting, not during the workout.
Train Monday, Wednesday, and Friday, or any schedule that follows the same pattern: workout, rest day, workout, rest day. If you need to shift your days, keep the pattern and avoid training two days in a row.
- Monday: full body workout
- Tuesday: rest
- Wednesday: full body workout
- Thursday: rest
- Friday: full body workout
- Weekend: rest or a light walk
What Strength Gains Look Like Early On
Set expectations now. During the first few weeks, most of your strength improvement comes from your nervous system learning the movements, not from sudden muscle growth. You will feel more coordinated and might add a few pounds to your dumbbells. That counts as progress.
You won’t see a new body in fourteen days. Ten days into my own program, I stared at the mirror and saw nothing. The strength was still building below the surface. Give yourself at least six weeks before judging results.
If you need a pair of dumbbells to get started, check current prices on Amazon and find something that fits your budget. If you try this schedule, comment below and tell me how your first week went.
What You Need to Get Started: Dumbbells, Bench, and Space
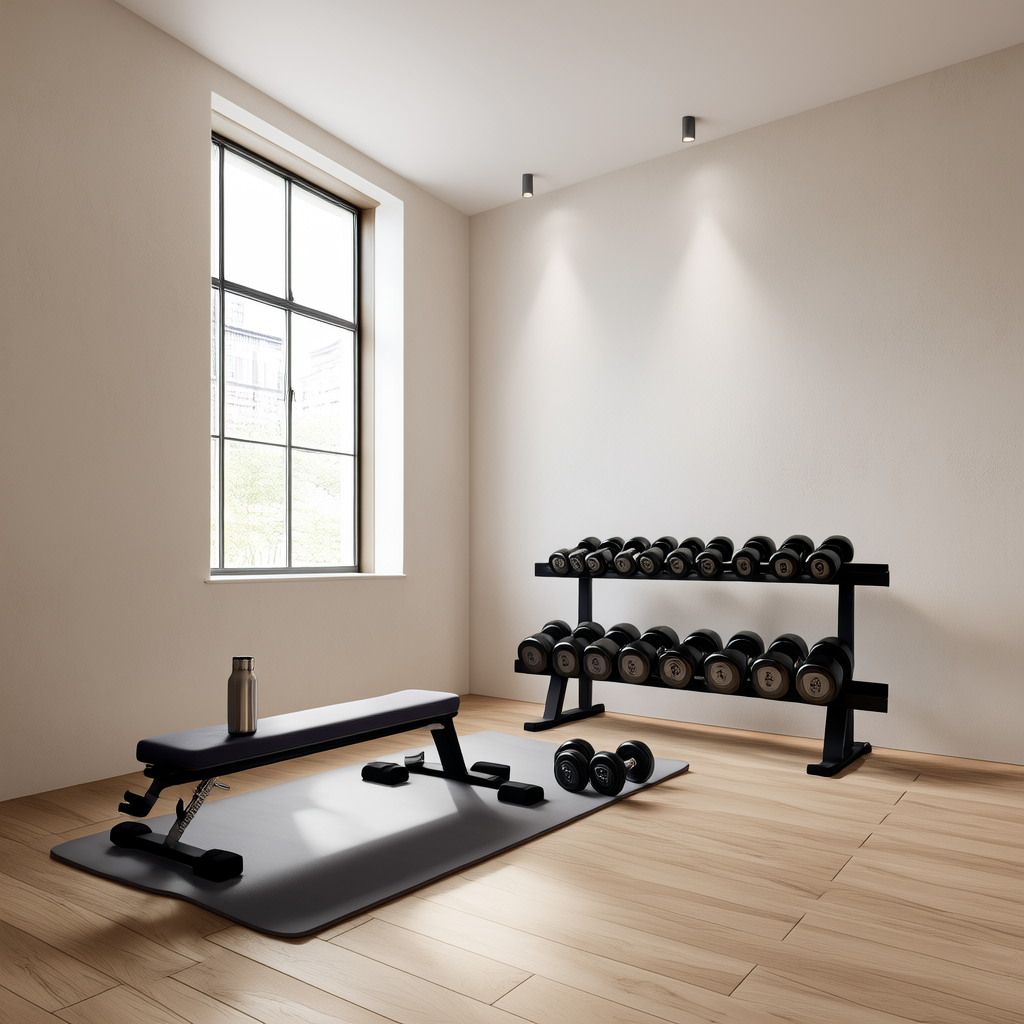
You don’t need a gym membership or a basement full of machines for this plan. A pair of adjustable dumbbells and a sturdy weight bench cover nearly every exercise you’ll do. Add a mat for floor moves, and you’re set.
Adjustable dumbbells are the smartest buy because you can change the weight in seconds. Look for a pair that goes from about 5 to 50 pounds per hand. That range handles a true beginner and gives you room to progress for months. The plates store neatly in a corner when you’re not training, so you won’t trip over a rack of fixed weights.
For the bench, flat is fine. Adjustable is a nice upgrade if you want to do inclines later. Before you buy, sit on it and wiggle around. If it wobbles or creaks, skip it. I bought a cheap foldable bench years ago and spent every set half-worried it would fold under me. Don’t repeat that mistake.
Set up your training spot with clearance on every side. You need to reach the floor to pick up dumbbells, and you need room to extend your arms fully on presses and rows without touching a wall, shelf, or coffee table. A mirror can help you check form between reps, but don’t stare at yourself mid-press. Glance over, reset your shoulders, and keep moving.
Get these basics ready before your first workout:
- Adjustable dumbbells with multiple weight settings
- A sturdy weight bench (flat or adjustable)
- A floor mat for seated and lying exercises
- A notebook and pen to log sets and reps
- A water bottle within arm’s reach
Choosing the right weight is the part most beginners overthink. Pick a weight that lets you complete 10 clean reps. The last two reps should be tough, but your form should stay solid. If you can knock out all 10 reps without real effort, go heavier next set. If your hips drift out of position or your wrists bend sideways, drop down a few pounds. This is about building a pattern you can repeat safely, not grabbing the heaviest dumbbell in sight.
Track everything during the workout. Write down the exercise, the weight, the reps, and how the last set felt. I keep a spiral notebook next to my bench, and it takes ten extra seconds per exercise. That habit is exactly how you know it’s time to bump from 25 pounds to 30 on your next workout. Without a record, you’re guessing.
Your space matters more than you’d think. A clear area about the size of a yoga mat is enough, but natural light helps too. It’s easier to stay consistent when you’re not squeezing yourself into a dark corner. Once your bench and dumbbells are in place, walk through each movement you’ll do on day one. Press out in front of you, row toward your hips, and lower into your squat. If you have room to move in all directions, you’re good.
If you’re still comparing dumbbell sets and benches online, check the current prices on Amazon before you order so you know you’re getting a fair deal. And once you’ve done your first session, come back and leave a comment about how your setup went. That’s how we all learn what works in real spaces.
The 3-Day Full Body Workout Plan: Exercises, Sets, and Reps
The plan runs three days a week with at least one rest day between sessions. Monday, Wednesday, and Friday is the easiest schedule for most people, but any arrangement works as long as you don’t train two days back to back. Pick the days that fit your life and show up.
This is a full body routine, not an upper/lower split. You’ll hit legs, back, chest, shoulders, and core every time you train. That repetition is what builds strength fastest for a beginner. I’ve run this exact setup with first-time lifters and with friends who wanted to train at home. It works because the exercises are simple and you only need one set of dumbbells and a bench.
Warm-Up Before Every Session
Start each workout with a 5-minute warm-up. Set a timer and do one round of these three moves:
- Bodyweight squats: 15 reps
- Arm circles: 10 forward and 10 backward
- Leg swings: 10 per leg
That’s enough to raise your heart rate and wake up your hips and shoulders. If your hips feel tight, repeat the leg swings for another 30 seconds.
Day 1: Squat, Push, Row, Press, Core
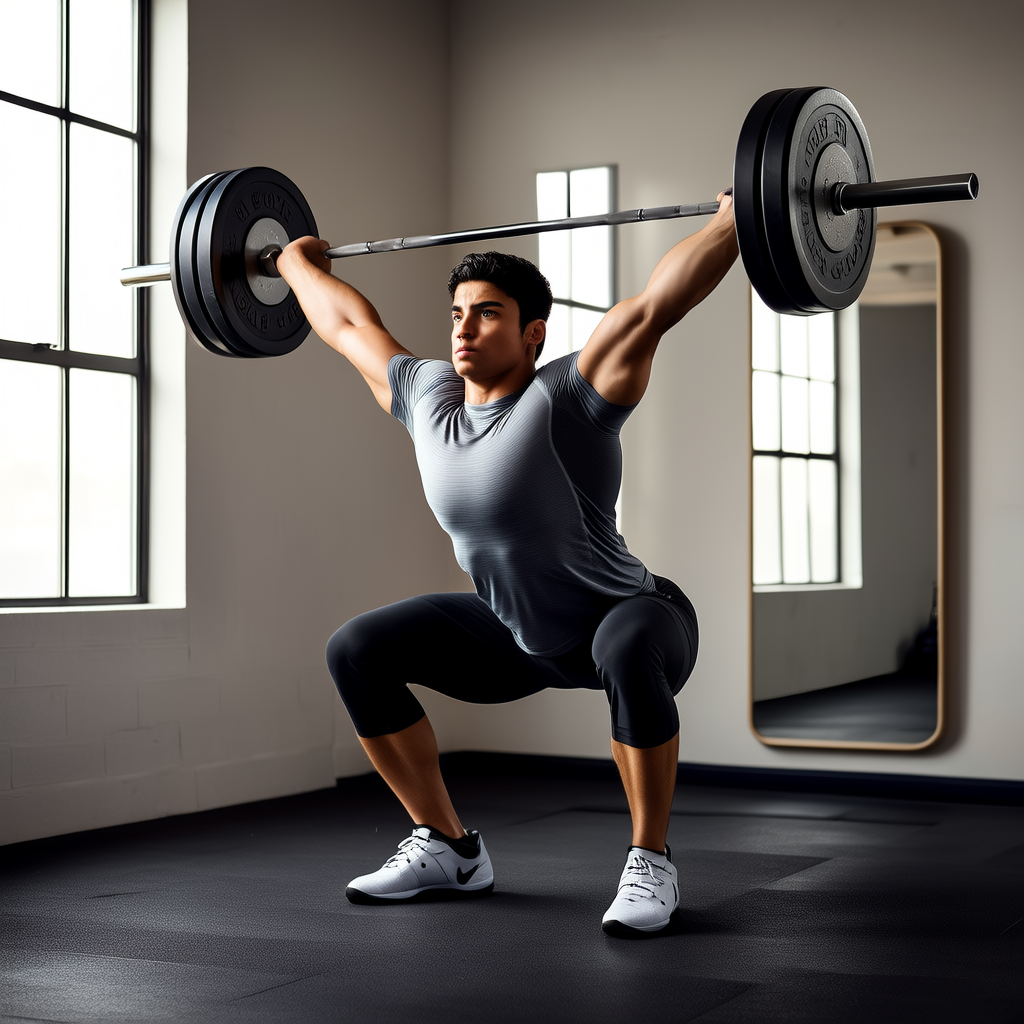
Day 1 starts with a goblet squat, then moves to a dumbbell bench press, a one-arm row, an overhead press, and a plank. The order gets blood into your legs first, then works your upper body while your lower body recovers.
- Goblet squats: 3 sets of 8-10 reps
- Dumbbell bench press: 3 sets of 8-10 reps
- One-arm dumbbell rows: 3 sets of 8-10 reps per side
- Seated dumbbell shoulder press: 3 sets of 8-10 reps
- Plank: 3 sets of 30-45 seconds
Rest 60 to 90 seconds between every set, including planks. On the goblet squat, hold one dumbbell vertically against your chest, keep your heels down, and push your knees out as you lower. On the one-arm row, brace your free hand on a bench and pull the dumbbell toward your hip without twisting your torso.
Day 2: Hinge, Lunge, Pullover, Curl, Core
Day 2 starts with the Romanian deadlift, which teaches you to hinge at the hips. Then you’ll do lunges, pullovers, curls, and dead bugs. This day leans lower-body heavy, but the pullovers and curls still work your upper body.
- Dumbbell Romanian deadlifts: 3 sets of 8-10 reps
- Dumbbell lunges: 3 sets of 8-10 reps per side
- Dumbbell pullovers: 3 sets of 10-12 reps
- Dumbbell bicep curls: 3 sets of 10-12 reps
- Dead bugs: 3 sets of 8-10 reps per side
Rest 60 to 90 seconds between sets. The Romanian deadlift is a hip hinge, not a squat. Push your hips back, keep a soft bend in your knees, and lower the dumbbells along your thighs until you feel a stretch in your hamstrings. Squeeze your glutes to stand up. For lunges, keep your front knee over your toes and lower until both knees are around 90 degrees. If balance is tricky, hold onto a wall for the first few workouts. I did that myself early on, and within a couple weeks I didn’t need the support. For curls, keep your elbows pinned to your ribs. For dead bugs, press your lower back into the floor as you lower your opposite arm and leg.
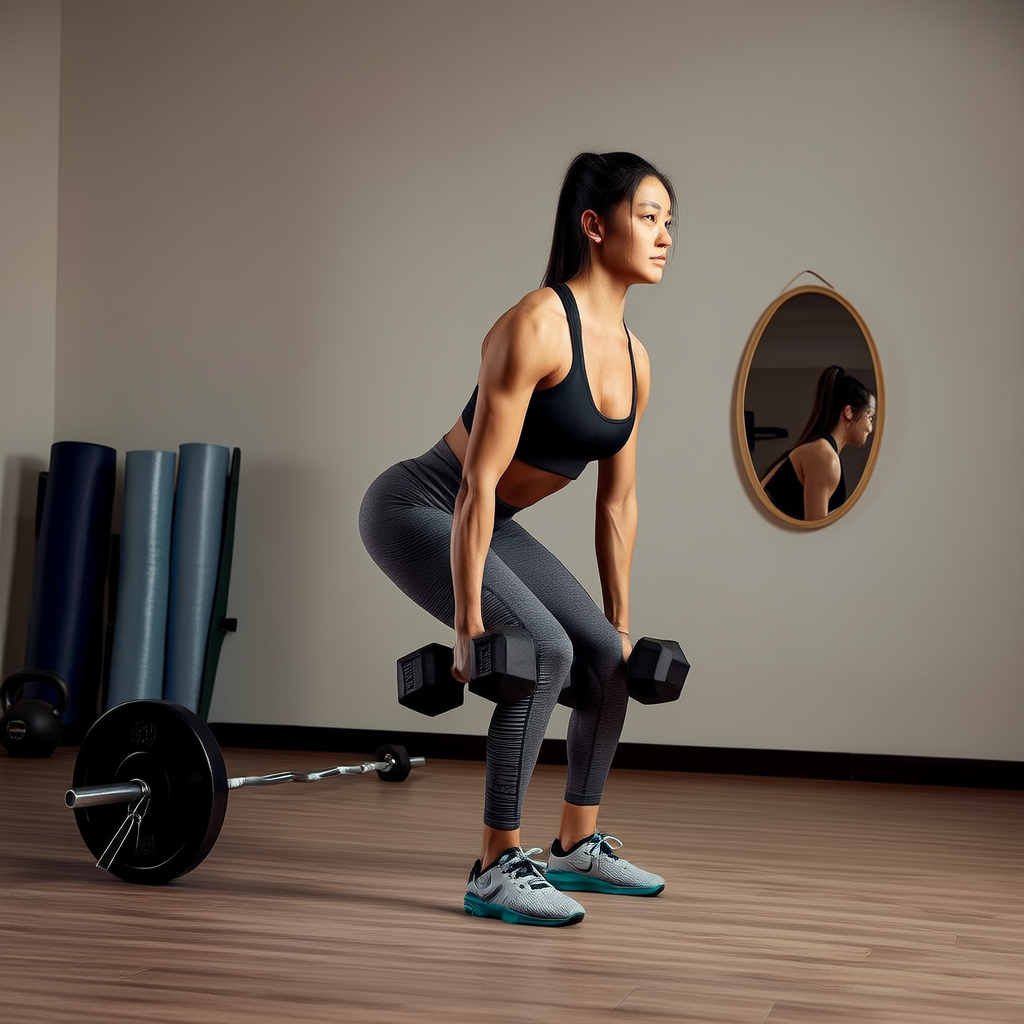
Day 3: Squat, Floor Press, Row, Press, Carry
Day 3 looks similar to Day 1, but you’ll do floor presses instead of bench presses and Arnold presses instead of regular shoulder presses. Farmer’s carries finish the session and build grip strength and a rock-solid core.
- Dumbbell goblet squats: 3 sets of 8-10 reps
- Dumbbell floor presses: 3 sets of 8-10 reps
- Bent-over two-arm dumbbell rows: 3 sets of 8-10 reps
- Arnold presses: 3 sets of 8-10 reps
- Farmer’s carries: 3 sets of 30-40 seconds
Rest 60 to 90 seconds between sets. For the floor press, lie on the floor with a dumbbell in each hand. Start with your upper arms on the floor and press the weights up until your arms are straight. The floor stops your elbows from traveling too low, which makes it a smart choice if a bench bothers your shoulders. For the Arnold press, start with your palms facing you at shoulder height, then turn your palms outward as you press overhead. For farmer’s carries, grab a heavy dumbbell in each hand, brace your core, and walk tall. Set the weights down the moment your grip starts to slip.
Rest and Progression Rules
Take 60 to 90 seconds of rest between all sets. That’s enough time to catch your breath but not so much that you cool down. You don’t need a stopwatch; just count out the seconds or glance at a clock.
When you can hit the top of the rep range with clean form, add 2.5 to 5 pounds the next week. If you did 10 reps in all three sets of goblet squats with a 20-pound dumbbell, try 25 pounds next session. If your form falls apart, stay at 20 for another week. Add weight gradually instead of forcing the heaviest load you can pick up.
If you can’t finish all the reps in a set, stop a rep or two short and rest. Use the same weight on the next set. If you keep missing reps for more than a week, drop the weight down. Some fatigue is normal, but your form should always stay under control.
Write down every weight and rep count. A notebook, a notes app, or a simple workout log all work. Without that record, you won’t know what to lift next week and you’ll end up guessing.
I’ve tried this plan at home with a single pair of adjustable dumbbells and a bench. It works well. If you don’t have a bench, use floor presses instead of bench presses and do one-arm rows off a sturdy chair. The structure stays the same: squat, hinge, push, pull, press, and a little core work at the end.
If you don’t have dumbbells yet, check current prices on Amazon and find a pair that fits your budget. And once you’ve run this plan for a few weeks, come back and share your experience in the comments. I want to hear what weight you started with and which exercise gave you the most trouble.
How to Progress Every Week Without Overcomplicating It
Most people overthink progression when they start lifting. I did too. I worried about percentages, micro-managing every set, and missing some secret formula. The actual rule is much simpler: do a little more than you did last week, but only on the lifts that matter most.
For your main lifts — goblet squats, bench presses, rows, and shoulder presses — try to add 2.5 to 5 pounds each week. If you’re using fixed dumbbells at home, you might only have 5-pound jumps available. That’s fine. If you can’t jump up in weight, add one rep per set until you reach the top of your rep range. Then, next week, try the heavier dumbbells again.
The cleanest way to handle this is double progression. Here’s how it works:
- Pick a rep range, like 8-10 reps per set.
- Start with a weight you can lift for 8 reps on all sets.
- Stay at that weight until you can hit 10 reps on every set.
- Then increase the weight and drop back to 8 reps.
For example, if you’re doing dumbbell rows with 20 pounds for 3 sets of 8, keep using 20 pounds until all three sets hit 10 clean reps. Then move to 25 pounds and start back at 8 reps per set. This method takes away the guesswork and protects you from getting too aggressive too soon.
You also have to track what you do. Write down every workout in a simple note or spreadsheet. Don’t trust memory. I use a Google Sheets file on my phone, and it takes less than a minute to log. For each exercise, record the dumbbell weight, the number of reps, and how the last set felt. That last part is gold. If the last set felt smooth, you can probably jump up next time. If it was a grind, stay put and add a rep or two.
One more thing: don’t chase soreness. Getting painfully sore after every session is not a badge of progress. It’s usually just a sign you did too much, too soon. What you want is a solid pump and steady improvements in strength. Some workouts will feel better than others. That’s normal. The habit of showing up and doing a bit more than last time is what builds muscle over months.
If you follow this progression for a few weeks, you’ll know exactly when to move up. And when you do, don’t be afraid to test yourself. Grab the heavier dumbbells, try your target reps, and let the log tell you if you’re ready.
If you’re using this plan, drop a comment below and tell me how your first month goes. And if you still need dumbbells for home, check the current prices on Amazon before you buy — you don’t need a fancy adjustable set to get started.
Recovery, Cardio, and Your First Month Checklist
Strength training is only half the process. The other half is what you do between sessions. Your muscles repair and grow while you rest. Skip recovery and you’ll stall, feel tired, and struggle to add weight week after week.
I learned this the hard way. When I first started lifting, I trained hard every day. Within two weeks my lower back hurt, my shoulders ached, and I had no energy. Treating rest days as seriously as workout days changed everything.
Cardio on Rest Days
Keep cardio separate from your lifting sessions at first. On rest days, do 20 to 30 minutes of easy walking or cycling. Stay at a pace where you can hold a conversation. If you’re breathing heavy, back off.
This light cardio won’t harm recovery. It boosts blood flow to your muscles and can help with soreness. I like to take a short walk in the morning on my off days. It clears my head without adding stress.
If you don’t feel like moving, don’t force it. Recovery is the priority. Cardio is a bonus. Once you build a base, you can add more intense cardio later.
Sleep Is Where Strength Happens
Get seven to nine hours of sleep every night. Most strength improvements happen while you rest, not while you lift. Growth hormone is released during sleep, and that’s when muscle fibers rebuild. Skimping on sleep means incomplete recovery and stalled progress.
I used to think six and a half hours was enough. When I pushed myself to eight and a half, I made more progress in three weeks than I had in the previous month. That wasn’t luck. It was sleep.
Set a consistent bedtime. Keep your phone out of the bedroom for ten minutes before lights out. A dark, cool room helps. You don’t need a complicated routine if you prioritize sleep.
Protein: The Building Blocks
Eat roughly 0.7 to 1 gram of protein per pound of body weight, spread across your meals. For a 160-pound person, that’s about 112 to 160 grams per day. That may sound like a lot, but it adds up.
A large egg has 6 grams. A cup of Greek yogurt has around 20. A small chicken breast packs about 25. You don’t need shakes if you prefer whole foods, but they’re handy on busy days.
Spread protein across three to four meals so your body gets amino acids steadily. I aim for a palm-sized portion at breakfast, lunch, and dinner, plus a snack. It’s simple and effective.
Don’t obsess over exact macros. Just eat more protein than you’re probably eating now. Small changes will support your new training routine.
Your First Month Checklist
The first month is about building the habit and learning how your body responds. After thirty days, you should know your starting weight for every exercise. Use those numbers to set realistic goals for month two.
- Train three days per week, with at least one rest day between lifting sessions.
- Do 20 to 30 minutes of easy walking or cycling on one or two rest days.
- Sleep seven to nine hours each night.
- Eat protein at every meal.
- Write down the weight used for each exercise after every workout.
- Try to add one small increase each week, even one more rep with the same weight.
After week four, look back at your logs. You’ll likely see you’re using slightly more weight or getting more reps than in week one. That’s progress. Compare yourself to your own past workouts, not to anyone else.
After the First Month
You have options here. Stick with the same full body plan and add weight, or change exercises to keep things fresh. Keep training with purpose. If you’re sore, take an extra rest day. If you feel a sharp joint pain rather than muscle soreness, stop that exercise and find an alternative. Better to rest one day than to sit out two weeks with an injury.
Don’t panic if progress slows. It happens. Early on, you improve weekly. After a few months, gains come slower. That’s normal. Keep showing up.
Nutrition and Hydration
Protein matters, but so does total food. If you’re constantly undereating, strength gains will suffer. You don’t need to count every calorie. Just don’t starve yourself. Drink water through the day. Thirst can look like fatigue and ruin a workout.
I keep a water bottle on my desk so I remember to sip. Drink a glass before morning workouts. Dehydration kills energy and focus.
Missed Workout? No Problem
Life gets busy. If you miss a session, don’t try to double up the next day. Just return to your regular schedule. Missing one workout won’t hurt you. Trying to cram two sessions in and then feeling overwhelmed can throw off your whole week.
Set a small reward for finishing your first month. A new t-shirt, a massage, or your favorite meal. It gives you something concrete to look forward to.
Share Your Experience
If you found this plan helpful, check current prices on Amazon for adjustable dumbbells and a bench to set up your home gym. You don’t need a fancy setup. A pair of adjustable dumbbells and a bench will cover nearly every exercise in this routine.
I bought my adjustable dumbbells online a few years ago and they’ve paid for themselves. No waiting for equipment, no gym commute, train on my own schedule. That convenience kept me consistent.
And share your experience in the comments below. What tripped you up in your first month? Which exercise felt awkward? Tell others what helped. This process gets easier when you don’t do it alone.
Now go enjoy a rest day. You’ve earned it.
Related Reading
Medical & Editorial Review: This article was reviewed by Liam Smith, founder of Apexfito, for accuracy and safety. Content is for educational purposes and is not a substitute for professional medical advice. Consult your physician before starting any exercise or nutrition program.