How to Build a Simple Home Gym on a $200 Budget
Your $200 Home Gym: The Core Equipment List

You don’t need a garage full of shiny machines to get a great workout. I’ve been training at home for years, and most of my best sessions happened with just a few pieces of gear. With $200, you can build a setup that handles everything from strength training to cardio to mobility work. Here’s exactly what to buy — and where to find deals. Check Amazon, Walmart, or even Facebook Marketplace for used gear to stretch your dollar further.
Adjustable dumbbells (under $100). This is your biggest purchase and the heart of your home gym. A set of adjustable dumbbells replaces an entire rack of fixed weights. You can do curls, presses, rows, lunges, and more. Look for a pair that goes from 5 to 25 pounds each — that covers most beginner needs. I bought a cheap set off Amazon three years ago and they’re still going strong. If you find a used set on Marketplace for $50, even better.
Resistance band set with multiple tensions ($20–$30). Bands take up zero floor space and add endless variety. Use them for pull-up assistance, banded push-ups, glute bridges, and rows. The light band works for warm-ups, the medium for most exercises, and the heavy for lower body work. I keep mine in a drawer and grab them whenever I need extra resistance. Walmart sells decent sets for under $25.
Yoga mat ($15–$20). Don’t skip this. A mat protects your floor and gives you a clean, non-slip surface for floor exercises like planks, crunches, glute bridges, and stretching. I use a thick one (about half an inch) because it’s more comfortable for knees and elbows during planks. You can find a good one at Target or Amazon for $15.
Jump rope (under $10). This is the cheapest cardio tool that actually works. Ten minutes of jumping rope burns about 100 calories and improves coordination. I keep mine by the door and do a quick session before lifting. It’s also great for warm-ups. Any basic speed rope from a sporting goods store will do.
Pull-up bar ($30–$40). Use your leftover cash for a doorway pull-up bar. It opens up back and bicep work without taking up any floor space. Mount it in a sturdy doorway and you can do pull-ups, chin-ups, and hanging leg raises. I’ve had mine for two years and it still feels solid. Amazon has several options under $35.
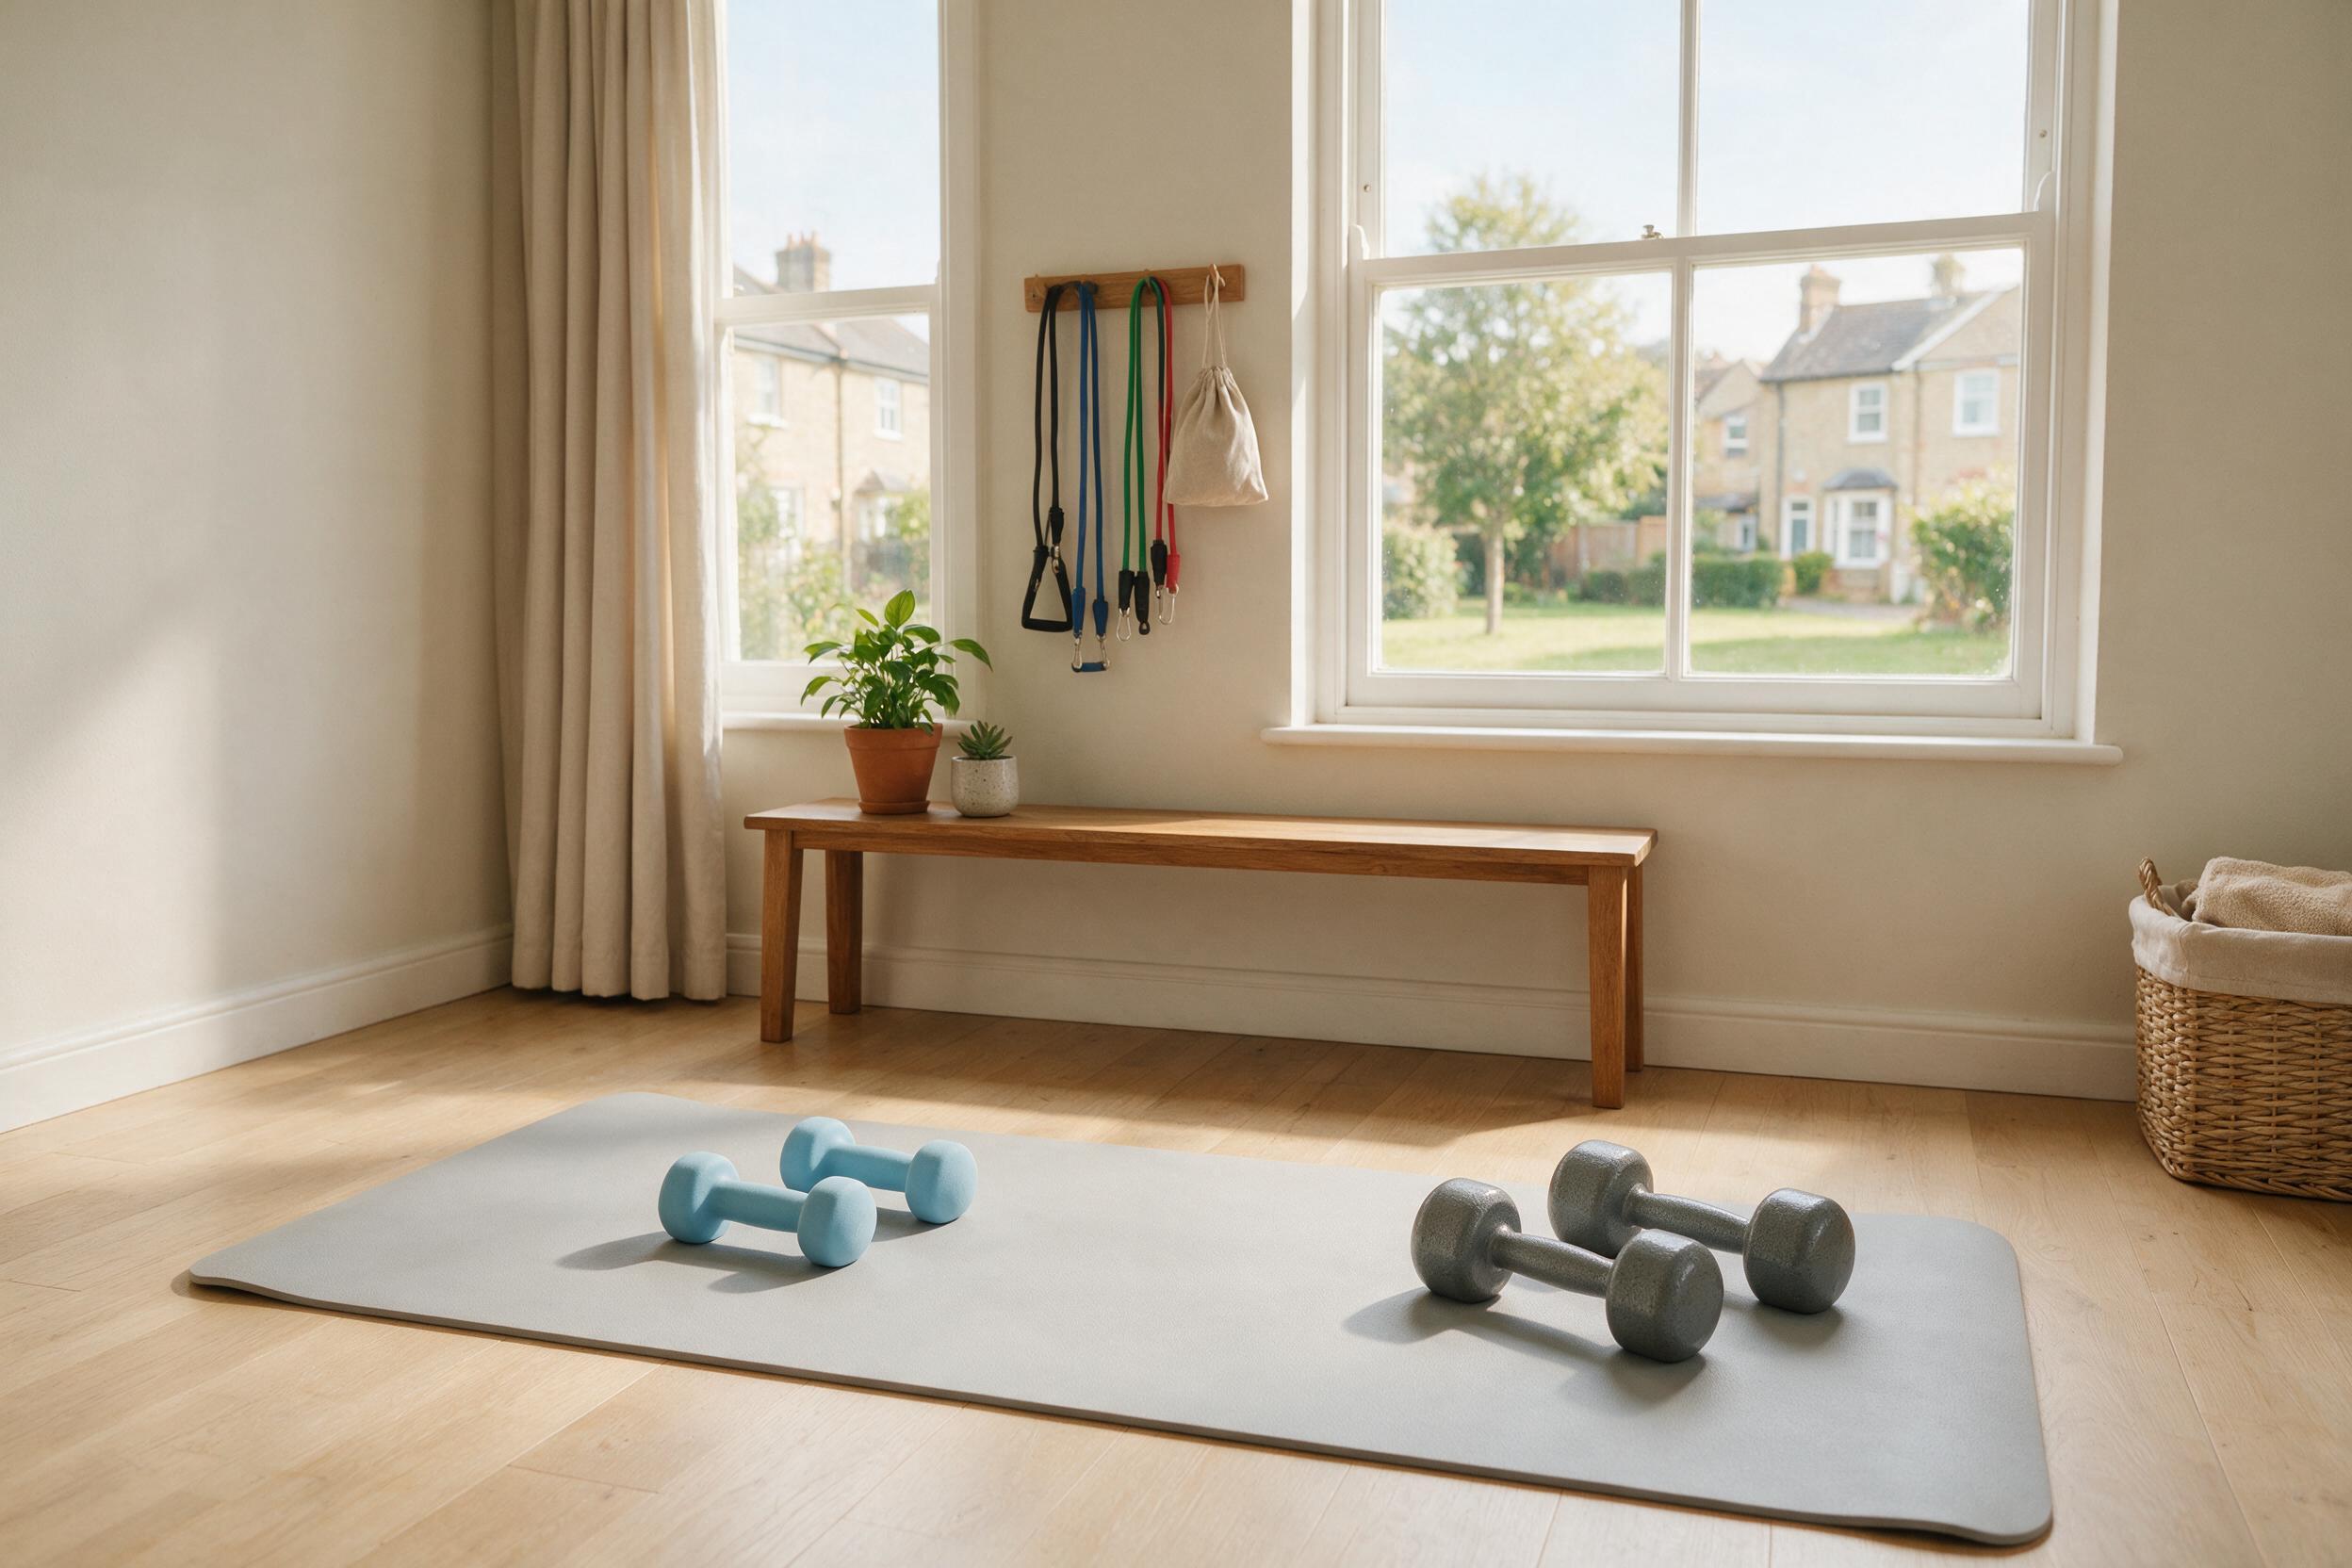
That’s your entire setup: adjustable dumbbells, resistance bands, a yoga mat, a jump rope, and a pull-up bar. Total cost: around $200. You’ll be able to do hundreds of exercises with this kit. Check current prices on Amazon and share your experience in the comments below.
The Beginner Home Workout Split: 3 Days Per Week

You don’t need to train every day to see progress. In fact, three well-planned full-body sessions per week are plenty for a beginner. This split hits every major muscle group multiple times a week, which builds strength faster than a body-part split. Plus, it leaves four days for recovery—something most new lifters underestimate.
Here’s the weekly schedule I recommend:
- Monday – Full Body Strength A: Goblet squats (3 sets of 10-12), dumbbell bench press (3×8-10), bent-over rows (3×10-12), plank (3×30 seconds), and 10-15 minutes of jump rope intervals (30 seconds on, 30 seconds off).
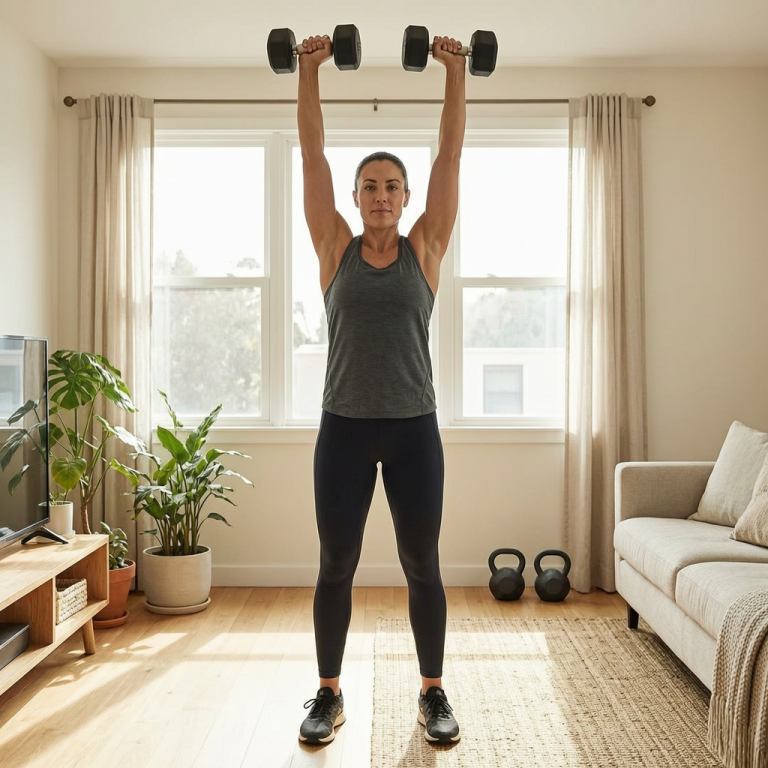
- Wednesday – Full Body Strength B: Dumbbell deadlifts (3×8-10), standing overhead press (3×8-10), lunges (3×10 per leg), band pull-aparts (3×15), and 10-15 minutes of jump rope intervals.
- Friday – Full Body Strength C: Dumbbell Romanian deadlifts (3×10-12), push-ups (3 sets to failure), seated cable rows using bands (3×12-15), glute bridges (3×15), and 10-15 minutes of jump rope intervals.
Rest on Tuesday, Thursday, Saturday, and Sunday. Active recovery like walking or light stretching is fine, but take real rest when you need it. Your body adapts during recovery, not during the workout itself.
Stick with this split for 4-6 weeks before changing anything. Consistency beats complexity every time. If you miss a session, don’t try to cram two workouts into one day—just pick up with the next scheduled day.
One practical tip: write down the weights you use for each exercise. It’s easy to forget, and progressive overload—adding a little weight or an extra rep each week—is how you keep getting stronger. Even adding 2.5 pounds to your dumbbells or one more rep per set counts as progress.
Start with 10 minutes of jump rope intervals and add 2 minutes each week as your endurance improves. That way you build up gradually without burning out.
Check current prices on Amazon for adjustable dumbbells, a jump rope, and resistance bands—all you need for this plan. And share your experience in the comments. I’d love to hear how your first week goes.
Progression: How to Get Stronger Without Buying More Weights

You’ve got your $200 home gym set up—maybe a pair of adjustable dumbbells, a resistance band, and a yoga mat. After a few weeks, the exercises start feeling easier. That’s great, but it also means your muscles are adapting. If you don’t push them a little more each week, progress stalls. You don’t need to spend another dime. Here’s how to keep getting stronger with exactly what you already own.
1. Add One Rep Per Set Each Week
The simplest way to increase difficulty without adding weight: do one more rep every set. If you did 3 sets of 10 reps on goblet squats last Monday, aim for 3 sets of 11 this Monday. That extra rep forces your muscles to work harder. Keep a small notebook or use a note on your phone to track your reps. I’ve used this method for months with the same set of 20-pound dumbbells and kept seeing gains.
2. Slow Down the Eccentric (Lowering Phase)
Most people rush through the lowering part of an exercise. Instead, take 3 to 4 seconds to lower the weight. For a dumbbell bench press, that means slowly bringing the dumbbells to your chest, then pressing up in 1 second. This increases time under tension, which builds muscle without needing heavier dumbbells. Try it on your next set of rows or squats—you’ll feel the burn immediately.
3. Shorten Your Rest Periods
Rest time between sets directly affects intensity. Start with 90 seconds between sets. After a few weeks, drop to 60 seconds. Then try 45 seconds. Shorter rest keeps your heart rate up and forces your muscles to work harder even with the same weight. I’ve found that cutting rest from 90 to 60 seconds makes a set of 12 reps feel like 15. Just don’t go below 30 seconds for compound lifts—you need enough recovery to maintain form.
4. Use Resistance Bands to Add Tension
Your resistance bands aren’t just for warm-ups. Loop a band around the ends of your dumbbells during presses—the band adds resistance at the top of the movement, where your muscles are strongest. For rows, place the band under your feet and hold the ends with your dumbbells. This creates progressive tension: the band gets tighter as you pull, making the last few inches much harder. It’s like having a heavier dumbbell without buying one.
5. Know When to Move Up
Here’s a simple rule: when you can hit 15 reps on the last set of an exercise for two weeks in a row, it’s time to increase the weight. If you’re using adjustable dumbbells, move up to the next increment. If you’re using bands, switch to a heavier band or double up. Don’t rush this—adding weight too soon can lead to bad form and injury. But if you’re consistently hitting 15 reps with good control, your muscles are ready for more.
These five methods give you a clear path to keep progressing without spending a cent. Pick one to start with this week, track your numbers, and watch your strength climb. Check current prices on Amazon for heavier bands or adjustable dumbbells if you’re ready to expand, and share your experience in the comments—what’s working for you?
Balancing Strength and Cardio on a Budget

One of the biggest mistakes I see people make when setting up a home gym on a budget is thinking they need a treadmill or a stationary bike to get their cardio in. You don’t. With just a jump rope and your own bodyweight, you can build a cardio routine that’s just as effective—and a lot more fun—than anything you’d find at a commercial gym.
Here’s the simple approach: do your jump rope intervals right after your strength work. It doubles as a finisher and keeps your heart rate up without needing a separate cardio session. After your last set of squats or push-ups, grab that rope and go straight into three rounds of: 60 seconds of jump rope, 30 seconds of rest. That’s it. You’ll be breathing hard, but you’ll be done in under five minutes. I’ve used this method with clients who had almost no equipment, and it’s the most time-efficient way to get both strength and cardio done in under 45 minutes.
Once a week, replace one strength day with a bodyweight circuit. Here’s a simple one: 10 burpees, 20 mountain climbers, 30 seconds of jump rope, 15 push-ups, 30 seconds of plank. Repeat that circuit for 15-20 minutes. The first time I tried this, I was surprised at how much harder it felt than I expected. Burpees are no joke. But after a few weeks, you’ll notice your endurance improving. Track your progress by time or rounds, not miles or calories. Aim to add 30 seconds to your jump rope intervals or one more round to your circuit each week. That’s how you get stronger without spending a dime.
Don’t skip warm-ups. I know it’s tempting to just jump into the workout, especially when you’re short on time. But 5 minutes of jump rope, arm circles, leg swings, and bodyweight squats preps your body for the workout and reduces injury risk. I learned this the hard way after pulling a hamstring skipping warm-ups. Now I never skip it. Use the yoga mat for mobility work on rest days—5-10 minutes of hip openers, thoracic spine rotations, and hamstring stretches will improve your lifting form and recovery. I do these while watching a show, and it makes a huge difference in how my body feels the next day.
If you’re looking for a jump rope or yoga mat, check current prices on Amazon—they’re usually under $20 each. And if you try this circuit, share your experience in the comments. I’d love to hear how it goes.
Recovery and Next Steps: Making Your Home Gym Last

You’ve got your gear, you’ve started training, and you’re feeling motivated. That’s great. But the real secret to making this home gym work long-term isn’t in the equipment — it’s in how you recover and how you plan ahead. Skip this part, and you’ll burn out or get hurt. Get it right, and you’ll be training consistently for years.
Sleep Is Your Cheapest Recovery Tool
Your muscles repair and grow while you rest, not while you train. If you’re only getting 5 or 6 hours a night, you’re leaving gains on the table. Aim for 7 to 9 hours. That’s non-negotiable. I’ve tested this myself: weeks where I slept poorly, my lifts stalled and I felt weaker. Weeks with solid sleep, I progressed faster. It’s that simple.
Hydration: The Overlooked Performance Booster
Dehydration kills performance. Even being 2% dehydrated can make you feel weaker and more tired during a workout. Keep a water bottle at your desk, on your nightstand, or in your gym bag. Sip throughout the day. If you’re thirsty, you’re already behind. Aim for about 8 cups a day, more if you sweat a lot.
Listen to Your Body — Don’t Train Through Pain
There’s a difference between muscle soreness (the good kind) and sharp joint pain (the bad kind). If you feel a sharp twinge in your shoulder, knee, or lower back, stop. Check your form. Take an extra rest day. Pushing through pain is how you get sidelined for weeks. I’ve done it — it’s not worth it. Better to take two days off than two months off.
When You’re Ready to Upgrade
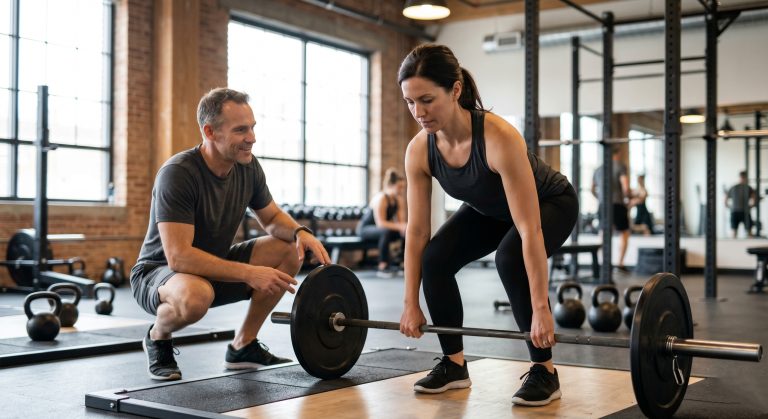
Your $200 setup will take you far, but eventually you might want more. When that time comes, don’t rush to buy new. Check Facebook Marketplace or Craigslist. I’ve found adjustable dumbbells for $50, a bench for $30, and a barbell set for $100. People sell barely-used gear all the time. You can often get equipment for half the retail price. Just inspect it before you buy — check for rust, cracks, and smooth movement.
Check Current Prices and Share Your Progress
Prices on Amazon fluctuate. The equipment I listed might be cheaper or more expensive by the time you read this. So check current prices before you buy. And once you’ve set up your gym and started training, come back and share your experience in the comments. What worked? What didn’t? What would you add? I read every comment, and I’d love to see your setup.
Medical & Editorial Review: This article was reviewed by Liam Smith, founder of Apexfito, for accuracy and safety. Content is for educational purposes and is not a substitute for professional medical advice. Consult your physician before starting any exercise or nutrition program.