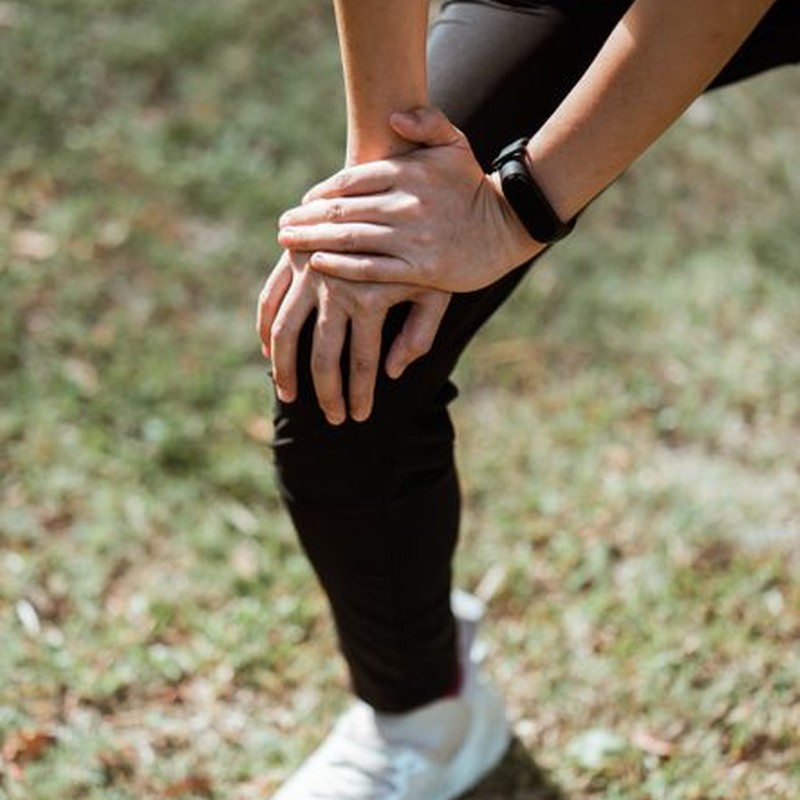
Knee Pain When Running? 5 Common Causes and How to Fix Each One
Full disclosure: Some links in this article are affiliate links. We may earn a small commission at no extra cost to you if you make a purchase through them. Our recommendations are based on what real users report, not on commission size.
Why Knee Pain Shows Up When You Run

I remember the first time my right knee started aching at mile three. I spent a week convinced I’d torn something. The MRI showed nothing. The real culprit was a sudden 15 percent jump in weekly mileage and weak glutes that let my knee cave inward every time my foot landed.
Before we go further, a quick note: this is educational advice, not a medical diagnosis. If any of these red flags show up, stop running and see a doctor:
- Sharp pain on the inside of the knee, especially after a sudden change in direction or distance
- Swelling that doesn’t go down within a day or two
- Your knee catches, locks, or gives way
- Pain at rest or at night that wakes you up
Those symptoms can point to a meniscus tear, a ligament issue, or something else that needs imaging. Don’t push through them. Everything below assumes you’re dealing with the more common overuse-type pain that starts during a run and fades when you stop.
The knee gets blamed for a lot of problems that actually start above or below it. When you run, your foot, ankle, and hip form a shock-absorption chain. If a link in that chain is stiff or weak, the knee takes on extra load. That’s why two runners can have the same knee ache but need completely different fixes.
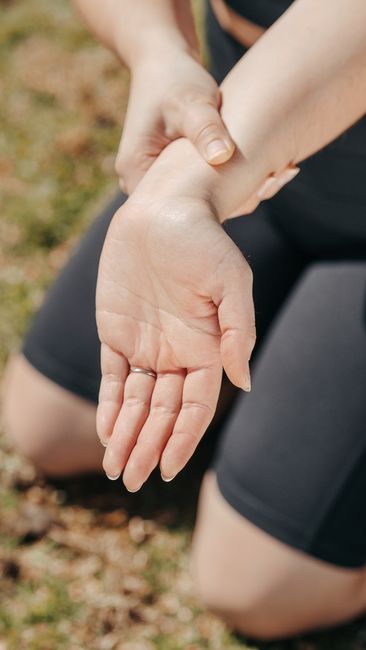
Start by locating the pain. Press two fingers on the area and try to describe the exact spot. That one step points you toward the right cause.
- Pain behind or around the kneecap is the most common. It usually means patellofemoral stress from too much mileage, weak quads, or tight calves.
- Sharp pain on the inside of the knee is often related to a different loading pattern. It calls for a more cautious approach, and it doesn’t respond to the same exercises as pain behind the kneecap. If it’s sharp, or if you also have swelling or catching, go back to the red flags above and skip the run.
- Pain along the outside of the knee that builds after a few miles is often IT band friction. Hip weakness or a slightly narrow stride can make it worse.
- Pain directly below the kneecap on the tendon often shows up after speed work or hill repeats. That points to patellar tendon irritation.
Most runner’s knee is overuse-related. You did more than your tissue was ready for: too many miles, no rest day, a new pair of stiff shoes, or a week of hard hill repeats. The fix is not usually six weeks of complete rest. It’s slowing down and changing one training variable at a time.
When I had my knee issue, I did the opposite at first. I bought a strap, took a week off, then went right back to the same pace and distance. It hurt again by mile two. What actually worked was cutting my mileage by 20 percent, adding two short strength sessions, and running on a softer surface for one week. Each step changed one thing.
A quick checklist to find your starting point
- Where does it hurt? Be specific. Behind the kneecap, inside the joint line, outside near the IT band, or on the tendon below the kneecap.
- What changed in the last two weeks? Check mileage, pace, hills, shoes, sleep, and rest days. Training logs usually show a load spike before pain starts.
- Does it hurt while walking or at rest? If yes, back off running for a few days and focus on gentle movement and strengthening. If no, you still have room to run at an easier level.
When you start changing your stride or strengthening your legs, expect some discomfort. Dull aching in the muscles around the knee is normal. A muscle that has been underused will protest. Sharp pain, catching, or swelling is not normal. I use the same rule here that I’ll use for training-load mistakes later: run only if the pain stays under a 3 out of 10 during the run and doesn’t get worse. If it hits 4, feels sharp, or changes your stride, stop.
I tried a basic setup at home when my knee flared up: a small step and a resistance loop. Two weeks of short single-leg calf raises and glute bridges did more for my knee than any rest day. The first few sessions left my leg shaky, but that faded.
Your knee pain is rarely a sign that running is finished for you. It’s a message that one part of the chain is overloaded. Find the painful spot, look for the recent change, and adjust one variable. If you want to compare knee sleeves, straps, or other tools, check current prices on Amazon before you buy—I’ve seen the same product listed for wildly different prices depending on the day. And share your experience in the comments: where does your knee pain show up, and what has helped so far?
Common Cause 1: Weak Glutes and Hips That Put Stress on Your Knees
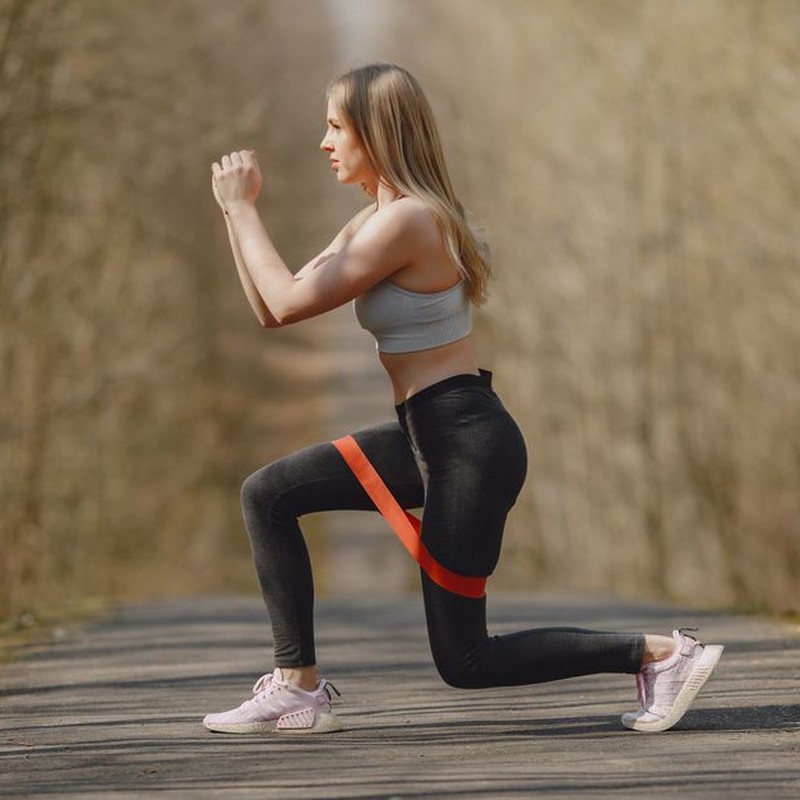
Knee pain during a run doesn’t always start at the knee. For a lot of runners, one common contributor is weakness in the glutes and hip stabilizers. When those muscles don’t fire properly, your thigh bone can rotate inward every time your foot lands. That rotation pulls your kneecap off its usual path, and after enough miles the tissue underneath starts to complain.
You may not need a biomechanics lab to spot it. Watch someone with this issue run and you’ll often see their knees drift toward each other, especially on hills. I notice it in my own stride when I skip strength work for a few weeks. My left knee caves in on a downhill, and a couple days later I’m bracing on the handrail going down stairs.
This isn’t the only reason knees hurt, so don’t assume it’s your diagnosis just from one paragraph. But it’s a common pattern worth addressing, and you can do it without a gym membership. Three exercises build the hip strength you need: side-lying clamshells, glute bridges, and monster walks. I’ve given these to beginners for years. The hard part isn’t learning them. It’s doing them consistently.
Side-lying clamshells
Lie on one side with your knees bent and stacked. Rest your head on your lower arm and keep your feet in line with your body. Now think about keeping both hips stacked and your pelvis perfectly still, like there’s a camera overhead shooting straight down. Only one thing moves: your top knee opens upward. Don’t let your hips roll back or your lower back arch.
Lift the top knee as far as comfortable, pause, then lower slowly. Aim for 15 reps per side. If you feel the movement mostly in your thigh, adjust the position until you feel it in the side of your hip. That’s your glute medius — the muscle that controls that inward knee pattern.
Glute bridges
Lie on your back with knees bent and feet flat on the floor. Squeeze your glutes, push through your heels, and raise your hips until your body makes a straight line from shoulders to knees. Lower with control. That’s one. Do 12–15 reps.
Once the bodyweight version feels easy, add resistance. At home I rest a 20-pound dumbbell across my hips; a loaded backpack works just as well. Keep your lower back neutral and don’t overextend at the top.
Monster walks
Loop a resistance band around your thighs just above the knees. Get into a shallow squat with your chest up. Take small steps to the side — right foot steps out, left foot follows — and keep the band taut the whole time. This movement should be led by your hips, not by lifting your feet high. Think of sliding your feet along the floor. Go 10 steps right, then 10 steps left. That’s one set. Do three sets.
If the band is too strong to keep your knees from caving in, use a lighter band or take smaller steps. The tension needs to stay on the side of your hips, not on your lower back.
Run through this routine two or three times a week. Keep every movement pain-free. If a rep makes your knee complain, reduce your range of motion or cut that exercise for now and do the other two. Sharp pain is a sign to back off, not something to push through.
During runs, a simple cue helps: imagine pushing your knees slightly outward over your toes instead of letting them collapse inward. You won’t look odd. You’ll just stop that inward grind on your kneecap.
This matters more than you might think. Weak hips don’t only bother your knee — they make your hips feel tired on longer runs too. When your glutes can’t keep up, other muscles take over, and by mile five the whole chain gets shaky.
If you need a resistance band for monster walks, check current prices on Amazon before your next run. And after trying these exercises for a week or two, share your experience in the comments. I’d like to know which one made the biggest difference for your knee.
Common Cause 2: Doing Too Much, Too Soon and the Load Fix

You felt great after a few strong weeks, so you added three miles to your long run. Breathing was fine. Legs felt fresh. Then the front of your knee started aching around mile three of your next run. That’s not bad luck. That’s a training load problem, and it’s one of the most common reasons runners end up searching ‘knee pain when running’ at 11 p.m.
Tendons and kneecap cartilage adapt to stress more slowly than the cardiovascular system. Lungs and muscles can tolerate a sudden mileage jump for a couple of weeks, but the tissue around your patella can’t. Your aerobic fitness can outpace your connective tissue’s capacity to rebuild, and that gap is where runner’s knee takes hold.
I’ve made this mistake myself. A few years back I added speed work to a base-building phase because I was bored with easy miles. Three weeks later, I was taking stairs one at a time. Each run felt fine in the moment. The problem was the cumulative load, not any single workout.
Follow the 10 Percent Rule, but Treat It as a Guardrail
The 10 percent rule is a good starting point: don’t increase weekly mileage by more than 10 percent. Ran 20 miles last week? Cap this week at 22. It’s simple, easy to remember, and it keeps you from the sudden jumps that overload the kneecap.
That said, it’s a rule of thumb, not a scientific law. Sports researchers have questioned the 10 percent rule because injury risk seems more tied to the size of workload spikes and your recent training history than to any fixed percentage. One widely cited study of novice runners found that increasing weekly distance by more than 30 percent from the previous week raised injury risk. That supports the spirit of the rule, even if the exact number isn’t magical.
The same logic applies to intensity. Don’t add intervals or hill reps in the same week you increase mileage. Change one variable at a time, then let your body absorb it for at least a week before changing anything else.
Use the 3 Out of 10 Pain Rule
Without a cutoff, most runners keep pushing through pain and end up with a worse injury. Use this scale: if knee pain climbs above a 3 out of 10 during a run, walk or cross-train instead of pushing through. A 1 or 2 may be tolerable. Anything at 3 or higher means the load is too high and you need to stop.
Stopping means ending the run, not just slowing down. Slower running doesn’t reduce the compression on your kneecap enough to matter. It just lets the pain last longer.
Before You Try This Plan, Watch for Red Flags
Load management only helps if your knee pain is caused by overuse. It won’t fix structural damage. See a healthcare provider before starting this plan if you have any of these:
- Pain at rest or pain that wakes you at night
- Visible swelling around the knee
- Locking or catching when you bend the leg
- Sharp pain on the inside of the knee, especially when twisting
Those symptoms point to something beyond training load, and running through them can make the problem worse.
Give Your Knee Two to Three Weeks
For two to three weeks, cut intensity and mileage and use low-impact cardio like cycling or swimming to stay active. If you normally run 25 miles per week, drop to 12 to 15. Keep the runs you do at an easy conversational pace, and swap two run days for 30 minutes on a bike or in the pool. You’ll keep your aerobic fitness while giving the knee a break from impact.
Once your pain stays below a 2 for several runs in a row, you can start adding mileage again, using the 10 percent rule as your guardrail. Don’t rush. One pain-free week doesn’t mean you’re ready to jump back to your old schedule. Frustrating as it is, the tissue needs the time.
Track Your Training Load
Track your training load in a simple log so you can spot the pattern before the pain becomes constant. A notebook works fine; no need for a fancy app. Each day, write down your mileage, the type of run, how your knee felt, and a pain rating from 0 to 10. After a few weeks, you’ll see which changes match your flare-ups.
I started doing this after my own knee issue, and the pattern surprised me. My knee flared up after back-to-back hard days, not after long runs. I wouldn’t have caught that without the log.
While you recover, a knee compression sleeve or a simple training log can help. Check current prices on Amazon to compare options before you buy. And if this approach worked for you, leave a comment below sharing your experience. It helps other runners know what’s worth trying.
Common Causes 3-5: Stride Length, Cadence, and Worn-Out Shoes
If you’ve worked through the earlier causes and your knee still complains, take a close look at how you’re running and what’s on your feet. Stride length, cadence, and shoe wear all affect how much load hits your knee. They’re also connected: a long stride usually comes with a slower cadence, and a flat shoe makes both feel worse.
These issues respond well to small changes, but you don’t need to overhaul everything at once.
3. Overstriding: Your Foot Is Landing Too Far Ahead
Overstriding happens when you reach forward with each step and land with your foot well in front of your hips. Every time that happens, your body has to slow down. That braking force travels up through the ankle and knee, and over a few miles it adds up.
I’ve coached runners who feel nothing for the first mile, then get a sharp ache on the outside of the kneecap on downhills. Almost always, they’re landing on a nearly straight leg about twelve inches ahead of their body.
The fix is shorter, quicker steps. Land with your foot closer to your hips and your knee slightly bent at contact. Instead of thinking about where your foot lands, keep your body tall and let your feet cycle underneath you. Within a few runs you should feel a smaller, lighter slap with each footfall.
4. Cadence: A Faster Rhythm Takes Load Off the Knee
Cadence is your step rate—the number of times both feet hit the ground in a minute. Some runners feel noticeably better when they settle into 170 to 180 steps per minute. Others do fine at 160 and only need to nudge up a few steps. It’s not a universal requirement, but it’s a helpful range to test.
To find your current number, run easy for a few minutes, then count how many times your right foot lands in 30 seconds. Multiply by four to get your cadence. If you’re below 170, try adding five to ten steps per minute, not more. A metronome app set to your target can help. I spent a week running at 175 and felt ridiculous at first, but after two runs my knee was less cranky and I noticed I wasn’t reaching ahead as much. If you’d rather not use a metronome, pick songs with the right beat and run on it.
Try the new cadence for three short, easy runs—non-consecutive—and see if your knee pain decreases. Don’t jump straight from 150 to 180. Pick a number about five to ten above your current cadence, hold that rhythm, and let the faster turnover shorten your stride naturally. If the pain gets worse, dial it back.
5. Worn-Out Shoes: No More Cushion Left
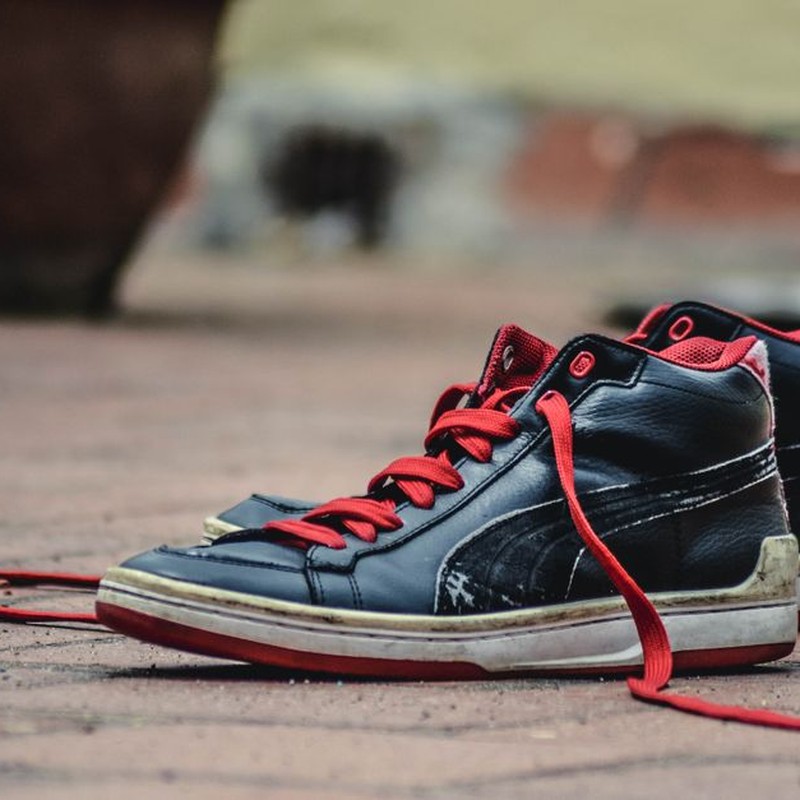
Running shoes break down even if they still look fine on the outside. The midsole foam compresses and loses its ability to absorb impact. A shoe that felt great at mile 100 can feel dead at mile 400.
Check two spots. First, look at the outsole: if the tread is smooth on one side and still patterned on the other, the shoe has been tilting your foot and putting extra stress on your knee. Second, press your thumb into the heel of the midsole. If it doesn’t bounce back quickly, the foam is done.
Most shoes last between 300 and 500 miles for most runners. That’s a guide, not a rule. I’ve had shoes lose their magic at 300 miles because I did a lot of speed work on hard pavement, and daily trainers that stayed lively past 450 miles on soft trails. Your knee tells you the truth. If you can’t remember when you bought your shoes, or if the heel foam feels flat, replacing them is probably overdue.
Your Next Three Runs: A Safe Way to Test These Fixes
Don’t change all three things in one workout. Instead, try a simple recovery experiment over three short runs. Spread them out with at least one easy day or rest day in between, and keep your total weekly mileage about the same—do not add extra distance while you’re testing.
- After a five-minute jog, count your cadence as described above. If it’s below 170, add five steps per minute by focusing on light, quick footfalls. Keep your shoulders relaxed and let your feet land under your hips.
- Run for 20 to 30 minutes at a conversational pace on flat ground. If your knee feels stable, add a few 30-second accelerations at the end.
- After the run, check how your knee feels. Do this two more times, non-consecutive, and write down what you notice.
Pain that disappears during the run and comes back afterward often means you’re pushing the mechanical change before the joint adjusts. Back off, repeat the same session after a rest day, and give it at least a week before you decide whether the change is working.
If you suspect your shoes are the weak link, checking current prices and user reviews on Amazon before you buy can save you from guessing. And if you try these steps, leave a comment and let me know how it goes. I’m especially curious whether the cadence change or the new shoes made the bigger difference for you.
Medical & Editorial Review: This article was reviewed by Liam Smith, founder of Apexfito, for accuracy and safety. Content is for educational purposes and is not a substitute for professional medical advice. Consult your physician before starting any exercise or nutrition program.