Wrist Pain During Push-Ups and Planks? Try These Modifications
Full disclosure: Some links in this article are affiliate links. We may earn a small commission at no extra cost to you if you make a purchase through them. Our recommendations are based on what real users report, not on commission size.
Why Your Wrists Hurt During Push-Ups and Planks
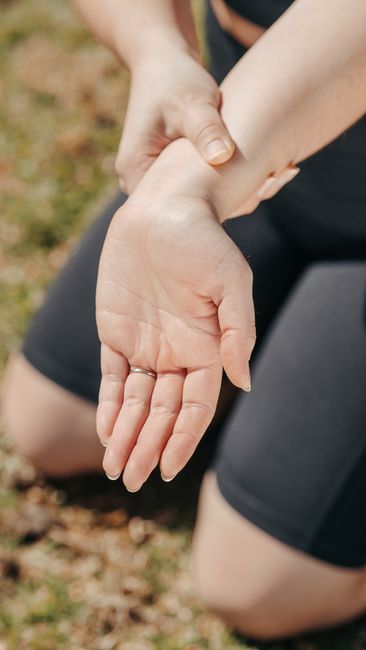
If push-ups or planks leave your wrists aching, you’re not alone. I’ve coached dozens of people who thought they had weak wrists, only to find the real problem was something else entirely. Let’s break down the biomechanics so you can stop guessing and start fixing.
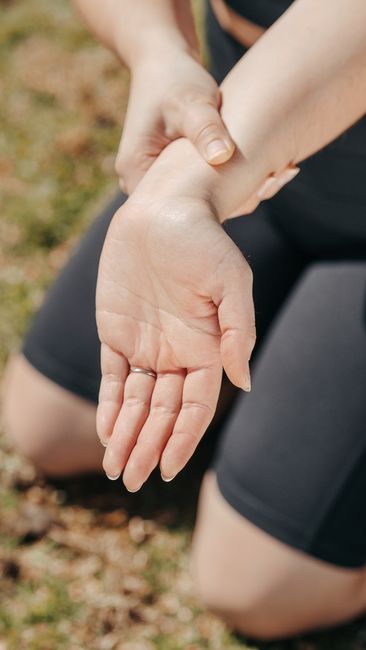
In a standard push-up or plank, your wrist bends back to almost 90 degrees. That extreme extension squishes the carpal tunnel — the narrow passageway for nerves and tendons — and presses on the navicular bone. Over time, that repeated compression creates inflammation and pain. It’s a literal pressure point issue, not a sign you’re weak or broken.
But there’s more going on upstream. Your wrists take the brunt because your shoulders and core aren’t pulling their weight. When your shoulder blades lack stability or your core goes soft during a plank, your body dumps extra load onto your hands. I’ve seen lifters with perfectly healthy wrists develop pain after slacking on shoulder retraction. Tight forearm flexors make it worse. If your wrist can’t comfortably bend back because the muscles on the underside are short and stiff, the joint ends up in a wobbly, painful position under load.
Here’s what I tell my clients: wrist pain during these moves is often a signal, not a stop sign. It’s telling you that somewhere in the chain — wrist mobility, shoulder stability, core control — something needs attention. Ignoring it and pushing through usually leads to tendinitis or a nagging injury that sidelines you for weeks.
So before you swear off push-ups forever, try this quick self-check. Get into a plank position and have someone gently press down on your upper back. If your shoulders collapse or your lower back sags, your core and scapular muscles are checked out. That’s a red flag that your wrists are taking the heat. Fix the chain, and the wrist pain often fades.
Understanding the cause is the first step. In the next sections, I’ll walk you through modifications that reduce wrist strain — no expensive gear required. But if you’re curious about push-up bars (which can help by keeping your wrists neutral), check current prices on Amazon. And if you’ve dealt with wrist pain during bodyweight exercises, share your experience in the comments. I read every one.
Five Modifications That Take the Pressure Off Your Wrists
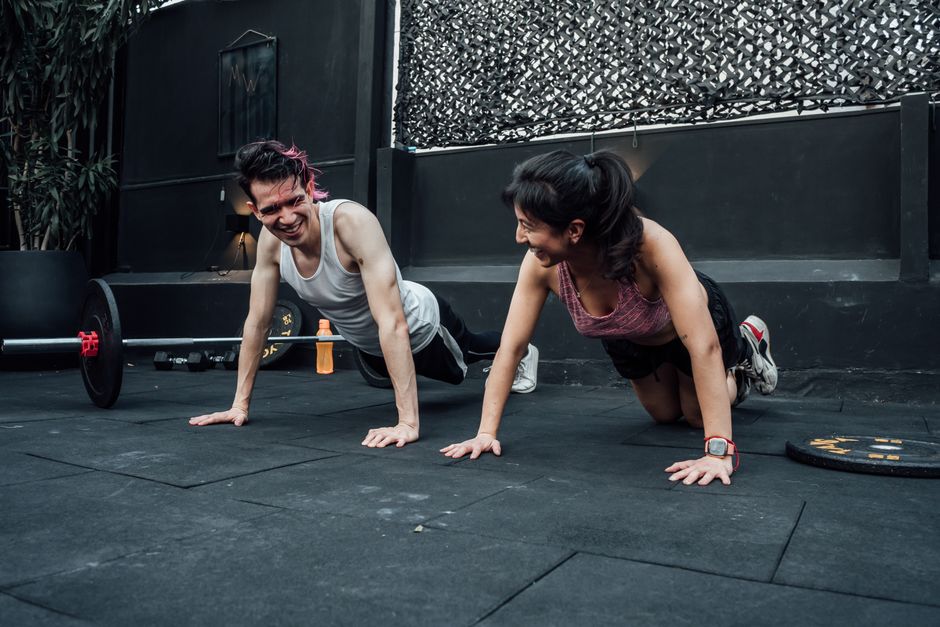
Wrist pain during push-ups and planks doesn’t mean you have to drop these exercises. After working with clients and dealing with my own wrist sensitivity, I’ve landed on five modifications that reliably take the pressure off. They’re ranked from easiest to most involved—start with number one and see if it’s enough.
1. Switch to Fists on a Mat or Soft Surface
The quickest fix: make fists and rest on your knuckles. This keeps your wrists neutral — no bending back. I first tried this after a long day of typing, and I was surprised how much it helped. The force travels straight through your arm bones instead of hinging at the wrist joint. Use a yoga mat or folded towel under your fists for comfort. You’ll feel stable once you adjust. Give it a few reps — your wrists will thank you.
2. Use Push-Up Bars or Dumbbells
Gripping a pair of push-up bars or even two heavy dumbbells keeps your wrists straight and reduces the angle of extension. I keep a set of cheap metal push-up bars at home, and they’re my go-to for any floor pressing. You hold the handles, palms facing each other, and your wrists stay neutral. This also allows a deeper range of motion — you can dip lower than with flat palms. If you don’t have bars, try hex dumbbells set on their ends. The effect is similar. They’re widely available online; a quick search on Amazon shows decent pairs under $20.
3. Elevate Your Hands on a Box, Bench, or Wall
The higher your hands, the less weight goes through your wrists. Start with a box or low bench for an incline push-up. I’ve used a sturdy coffee table and even the edge of a couch — whatever’s stable. The steeper the angle (say, hands on a wall), the lighter the load. This isn’t just for beginners; even experienced lifters use inclines when recovering from wrist strain. You still get good chest and triceps activation, but your wrists stay in a more comfortable position. Play with different heights. I’ve found that a 12- to 18-inch elevation works well for most people.
4. Try Forearm Plank (Elbow Plank) or Use a Stability Ball
For planks, skip the straight-arm version altogether. Drop to your forearms — elbows directly under shoulders, forearms flat on the ground. Your wrists are completely unloaded. I use this variation every time my wrists feel cranky, and it’s just as effective for core work. If you want to keep doing push-ups but reduce wrist strain, place your forearms on a stability ball and roll out to an incline push-up position. The ball supports your arms, and you can push from your forearms rather than your hands. It takes some balance, but it helps maintain exercise variety without pain.
5. Place a Folded Towel Under Your Palms
This is a subtle but effective tweak. Fold a hand towel into a wedge — thicker at the back, thinner at the fingers — and place your palms on it during push-ups or planks. The wedge slightly decreases wrist extension, taking pressure off the joint. I learned this from a physical therapist friend who used it with clients recovering from wrist sprains. It’s not as stable as the other modifications, so start with slow, controlled reps. You can also use a small rolled-up towel under the heel of your hand. Either way, you’re reducing that end-range stretch that often triggers pain.
Try each modification for a few workouts and see what feels best. Your wrists will adapt, and you’ll be back to your regular push-ups and planks sooner than you think. If you need gear like push-up bars, check current prices on Amazon — you might find a good deal. And drop a comment below sharing which modification worked for you. I’d love to hear how it goes.
Strengthening and Mobility Drills to Bulletproof Your Wrists
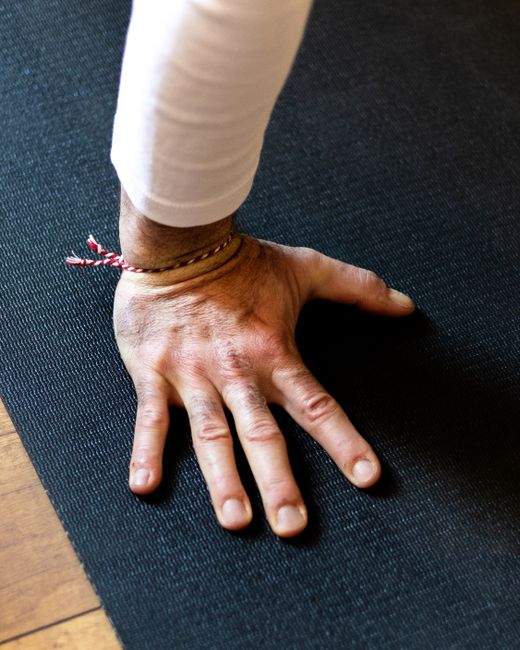
If push-ups and planks make your wrists ache, the real issue is often weak wrists and tight joints—not just poor form. The drills below build mobility and strength so you can handle the load without pain.
Wrist circles and prayer stretches. These two moves improve range of motion in both directions. For circles: clasp your hands together and rotate slowly for 30 seconds each way. For the prayer stretch: press palms together at chest height, then lower them toward your waist while keeping the palms flat—hold for 20 seconds. Do this daily before any wrist-heavy workout.
Wrist curls and reverse wrist curls. Grab a light dumbbell (3–5 pounds works) or a resistance band. Sit with your forearm on a table, palm up for wrist curls, then palm down for reverse curls. Lift only from the wrist. Three sets of 12 reps each direction, three times a week. I’ve watched friends go from wincing to pain-free in two weeks with this.
Cat-camel for wrists. Get on all fours. Slowly tilt your hands forward until you feel a stretch, then tilt them back. Keep most weight on your knees—you’re just moving the joint. Do 10 slow cycles. This loosens the connective tissue around your carpal bones without grinding them.
Farmer’s carries and dead hangs. These strengthen your grip and forearm stabilizers without direct wrist loading. Grab a heavy dumbbell in each hand and walk for 30–60 seconds, or hang from a pull-up bar for 20 seconds at a time. Your wrists adapt to supporting your body weight over time.
Try these drills for two weeks alongside the push-up modifications from earlier. If pain persists, back off and prioritize mobility first. Check current prices on Amazon for push-up bars or wrist supports, and share your experience in the comments below.
When to Back Off and Seek Professional Help
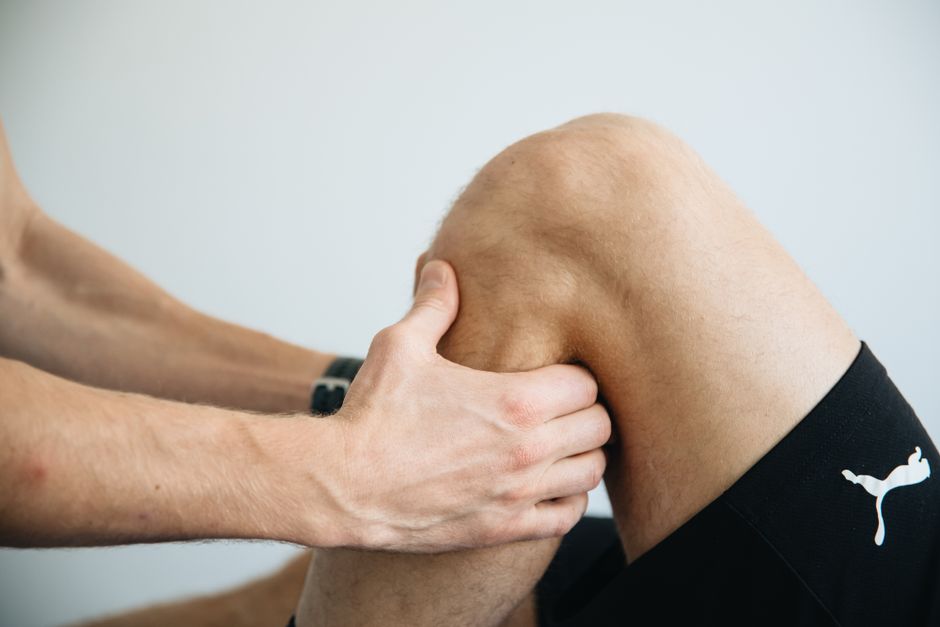
Not all wrist pain is the same. A dull ache after a long session? That’s often just fatigue. But sharp, stabbing pain during a push-up, or a clicking sensation that makes you wince — that’s your wrist sending a clear warning.
Stop immediately if you notice any of these:
- Sharp or shooting pain during movement
- Popping, clicking, or grinding sensations
- Swelling or tenderness around the joint
When those appear, give your wrists at least 48 hours of complete rest from any weight-bearing exercise. No push-ups, no planks, no downward dog. If there’s swelling, ice the area for 15 minutes a few times a day.
I’ve coached people who tried to “push through” clicking wrists, thinking it was just a creaky joint. That clicking often signals instability or inflammation. Ignoring it turns a minor issue into a chronic one.
If after two weeks of consistent modification and mobility work — inclines, neutral grip on dumbbells, wrist stretches — the pain hasn’t improved, see a professional. A physical therapist or sports medicine doctor can diagnose tendinopathy, a ganglion cyst, or other issues.
How to Safely Get Back to Full Push-Ups and Planks
Once pain-free, don’t jump back into full push-ups on the floor. That’s a fast track to re-injury. Start with a high incline — like against a wall or high counter — and only do reps that feel completely comfortable.
Lower the incline each week: wall to table, table to chair, chair to low box, then floor. Spend at least a week at each level. If pain returns, go back up one level and stay longer.
For planks, start on your forearms if that’s pain-free, or use push-up bars to keep wrists straight. Gradually increase duration from 15 seconds to 30, then to a minute, before trying palms-on-floor planks again.
Wrist Braces and Tape: Help or Crutch?
Wrist braces or kinesiology tape can provide temporary support while you heal. I’ve used a neoprene brace during heavy push-up sessions after a mild sprain — it helped absorb shear force. But here’s the catch: wearing a brace every time can weaken surrounding muscles and connective tissues. Your body starts depending on external support instead of building its own stability.
Think of braces and tape as training wheels, not a permanent fix. Use them sparingly as you address the root cause — poor wrist mobility, weak hand muscles, or improper form.
If you want to try wrist supports or push-up bars, check current prices on Amazon. Share your experience in the comments below — I read every one and often reply with tailored advice.
Medical & Editorial Review: This article was reviewed by Liam Smith, founder of Apexfito, for accuracy and safety. Content is for educational purposes and is not a substitute for professional medical advice. Consult your physician before starting any exercise or nutrition program.