Lower Back Pain After Deadlifts? Fix Your Form in 3 Steps
Full disclosure: Some links in this article are affiliate links. We may earn a small commission at no extra cost to you if you make a purchase through them. Our recommendations are based on what real users report, not on commission size.
Why Your Lower Back Hurts After Deadlift Day
That ache along your spine the morning after deadlifts? I’ve been there more times than I can count. You spent the workout bracing hard, pulled a heavy set, and now your erectors feel like two thick cables that got run over. The first question you need to answer is whether you’re dealing with normal muscle soreness or something that actually requires attention.
For most lifters, post-pull soreness in the erector spinae is just muscle fatigue from bracing under a heavy load. Your lower back muscles contract isometrically through the entire lift to keep your torso rigid. That work adds up, especially if you’ve increased your volume or intensity lately. This type of soreness usually fades within a few days. It feels deep, symmetrical, and achy, and light walking, hydration, and normal sleep tend to help.
Sharp pain is different. Pain that shoots into your glute or down your leg, pain that makes it hard to bend forward in the morning, or pain that lingers longer than a week after your last session — those are warning signs. Stop deadlifting and get checked out by a physical therapist or sports medicine doc. Don’t try to stretch through nerve pain or push through a sharp twinge. That’s how a small issue turns into a chronic problem.
So if you’ve ruled out serious injury and just want to stop the ache from getting worse, the number one technical culprit is simpler than you might think: losing your neutral spine at the start of the pull.
I see this in the gym constantly. A lifter sets up, reaches for the bar, and their lower back rounds just a few inches as they grip the handles. Then they take a breath, pull the slack out, and drive through the floor — but the spine stays flexed under maximal tension. The weight itself isn’t necessarily too heavy. The issue is that you’re loading a spine that has lost its natural arch. That puts uneven stress on the posterior discs and ligaments, and your erectors end up working overtime to compensate.
Here’s a quick way to check: film yourself from the side on your next pull. Pause at the frame where the bar leaves the floor. If your lower back looks like a cat stretching, you’ve found the problem. If it’s straight and neutral, you’re on the right track.
The fix starts before you pull. Set up with your hips higher than you think, pull the slack out of the bar, and actively push your chest forward so your spine settles into a neutral position. From there, think about pushing the floor away with your legs — not lifting the bar with your hands. That cue helps you drive through your legs while keeping your torso steady.
If you’re still not sure whether your back is round, drop the weight by 20 or 30 percent and practice the setup with a light bar. Record a few reps and compare your spine angle to a good reference. This is the fastest way to rebuild a safe pull pattern.
You also need to look at your starting stance. If your hip mobility is limited, you’ll naturally round your back to reach the bar. Try elevating the bar on small plates or using a trap bar for a few weeks while you work on hip flexibility. That’s not a cop-out — it’s a smarter way to train through the issue.
A little soreness in your erectors after deadlift day is normal. Sharp pain or lingering pain isn’t. And if your back is rounding off the floor, that’s the first thing to fix before you add any more weight.
If this helped you spot a problem in your own setup, check current prices on Amazon for a lifting belt or a deadlift bar that fits your budget, and share your experience in the comments below. I want to know which cue finally made it click for you.
Step 1: Fix Your Setup — Grip, Ribs, and Brace Before You Pull
For years, I thought deadlifting was just bending down, grabbing the bar, and pulling. It worked fine until the bar got heavy. Then my lower back started acting like a crane arm, and the next day I’d move like an old man. The problem wasn’t my pulling strength. It was my setup — I was letting the bar drift forward and starting with my ribs flared and my spine overarched.
If you’re dealing with sharp, shooting pain, or pain that runs down your leg, put the barbell down and see a professional before your next session. The advice below is for the dull ache that shows up after a heavy deadlift day.
The setup happens before the bar leaves the floor. It’s a short sequence of positions and tensions that keep your spine neutral while your legs push the floor away. Nail it and the deadlift starts to feel more like a leg press.
Start with the bar over mid-foot. Stand so the bar sits over the middle of your foot. If you need a visual, line it up with the knot on your shoelaces. Hinge and grip it there. Don’t let the bar roll forward of your shoelaces. The farther the bar drifts forward, the longer the lever arm from your hips to your hands, and the more your lower back has to work just to hold position.
Once your hands are on the bar, bring your shins forward until they lightly touch it. You’re not trying to push the bar off the floor. Keep your weight spread across your whole foot.
Set your shoulders slightly ahead of the bar. Many lifters think the deadlift starts with chest up and shoulders behind the bar. That position loads the lower back before the pull even starts. Instead, let your shoulders sit just in front of the bar, with your arms hanging straight down. Feel your lats engage by tucking your upper arms toward your ribs, as if you’re squeezing a thin book between them and your torso. Not a max squeeze, just enough to feel connected.
Now pull the slack out. Apply steady tension until you feel a solid link through your arms, lats, and the bar. Don’t jerk. Don’t bounce. If you skip this, you’re yanking a heavy bar out of rest, and that sudden shock can hit your spine before your muscles tighten up.
Tuck your ribs down. With your shoulders set and the bar tight, check your lower back. If it looks like a swayback horse, that’s too much arch. If it looks like a scared cat, that’s too much round. You want neutral — a natural curve, but no dramatic bend.
Point your sternum toward the floor in front of you. That little rotation brings the bottom of your ribcage in line with your pelvis. It’s not a crunch. You’re just closing the gap, and you should feel your abdominals switch on to hold your ribs down.
Brace for a light punch. Take a big breath into your belly, then tighten your trunk as if you’re about to take a light punch to the stomach. The pressure should wrap around your whole midsection, not just the front. Keep that pressure for the entire rep. Let it out at the top, then reset and re-brace before the next rep.
This setup felt awkward the first few times I tried it, especially the rib tuck. I was used to overstretching into a big arch because it felt tight. But once I let neutral feel stronger, the deadlift changed. The soreness stopped showing up in my lower back, and my hamstrings and glutes started doing the job they were supposed to do.
Run the sequence on every rep: bar over mid-foot, grip, shins touch, shoulders forward, lats tight, ribs down, brace, pull. It takes ten extra seconds once you practice. If your lower back is the thing that hurts after deadlifts, this is where you start.
Try it on your next pull day and leave a comment below to tell us how it felt. If you want a belt or chalk to make your setup more consistent, you can check current prices on Amazon — but the setup itself doesn’t cost you anything.
Step 2: Own the Hip Hinge — Push Your Hips Back, Don’t Squat the Pull
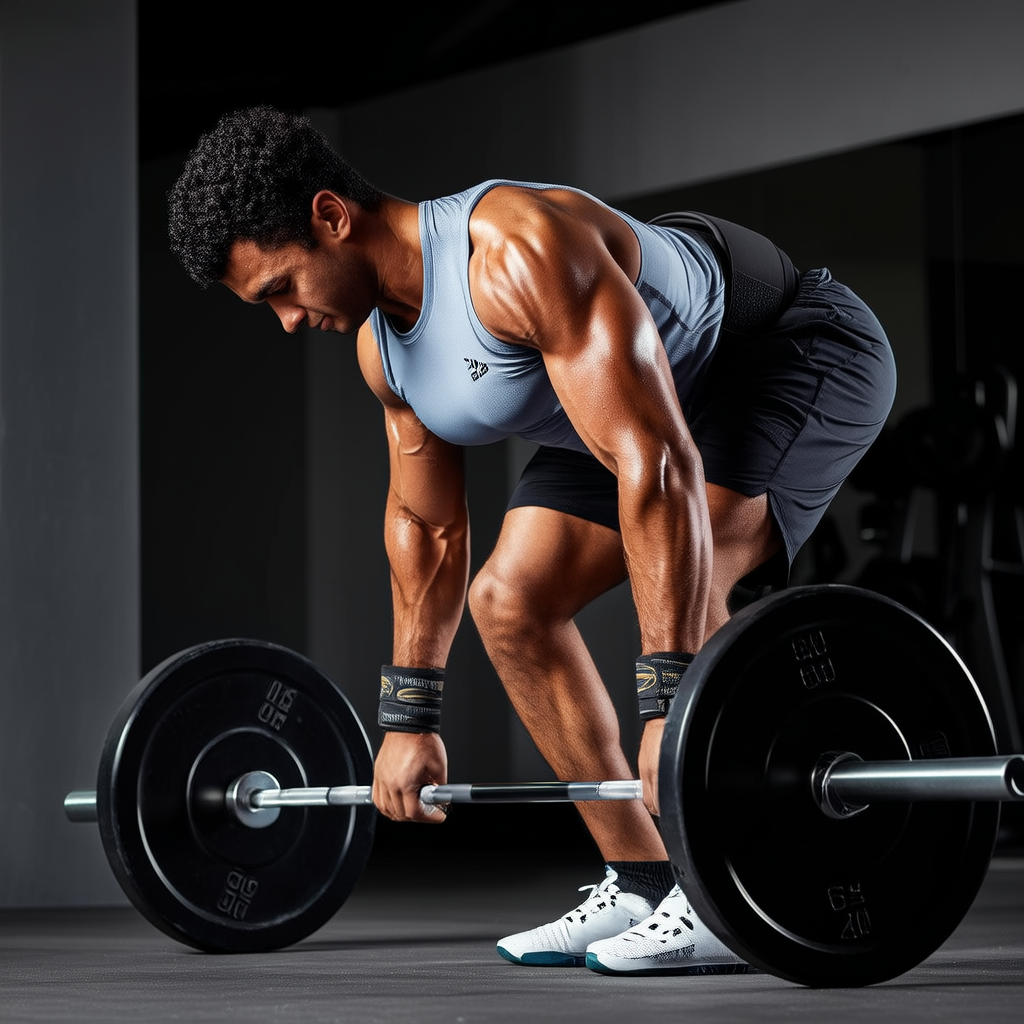
The deadlift is not a squat. I know that sounds obvious, but I’ve lost count of the lifters I’ve watched turn deadlift day into a quarter squat with a bar in their hands. The bar travels through the same space, but the mechanics are different. In a squat, your knees drive forward, your torso stays upright, and your quads do the brunt of the work. In a deadlift, your hips move backward, your torso angle stays set until the bar passes your knees, and your hamstrings and glutes take over. If your lower back is angry after deadlifts, there’s a good chance you’re sitting into the pull instead of hinging back into it.
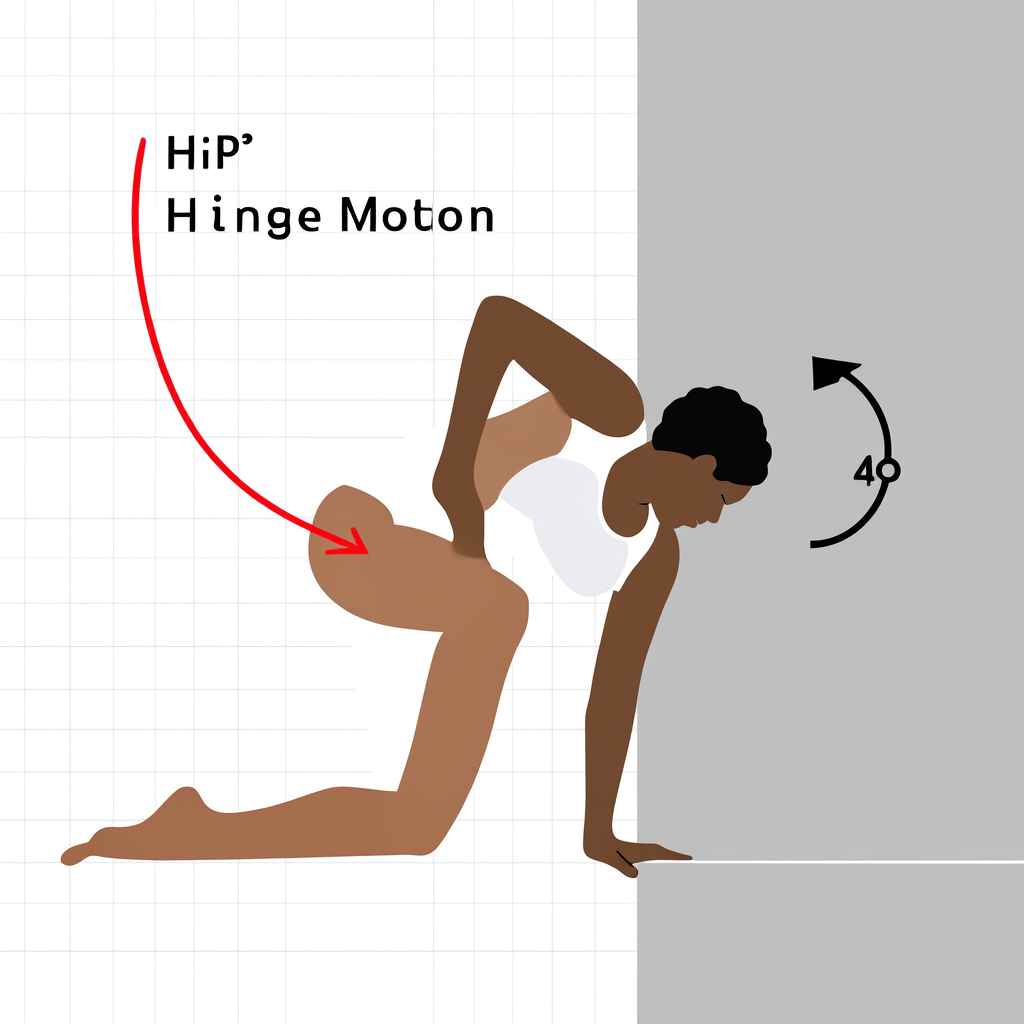
Here’s a quick way to feel the difference. Stand a few inches from a wall, facing away from it. Push your hips back until your butt lightly touches the wall. That’s a hinge. Now try the same by bending your knees forward. Your butt won’t get near the wall without your chest leaning way over. The deadlift start position is a hinge with a slight knee bend, not a squat with a vertical torso.
When you break at the hips first and let your hips drift back, the bar can stay close to your body. Your chest should stay proud but not forced up. The simplest mental cue I use now is: hips back, chest proud. Don’t imagine a complicated cable system pulling you in two directions. Just send your hips backward and let your torso angle follow. Your spine stays neutral from your neck to your tailbone, and that position shouldn’t change until you stand tall at lockout.
One common fault I see in intermediate lifters is knees sliding forward as soon as the bar leaves the floor. When that happens, the bar often has to detour around the knees. That shifts your balance point forward, and your lower back rounds to keep you from tipping over. By rep three or four, your erectors are screaming. That’s not normal muscle soreness; that’s your spine acting as a lever.
If this sounds like your deadlift, reset and push your hips back harder. Pretend there’s a wall an inch behind you the whole pull. The easiest way to check this is to film a side-angle set. Draw an imaginary vertical line from the floor to your hip. The bar should run along that line, barely brushing your shins and thighs. If it drifts even an inch off your thighs on the way up, your balance point moved forward — your hips probably rose too quickly, or your knees slid forward. Record another set and watch the bar path before adding more weight.
These three drills will help you own the hip hinge before you load the bar:
- Wall tap drill: Stand an inch or two from a wall, facing away. Push your hips back until your butt taps the wall, pause for one second, and return. Do 3 sets of 10 before your warm-up sets. No load needed — you’re teaching the pattern.
- Plate reach: Hold a light plate against your chest with both hands. Push your hips back and slide the plate down the front of your thighs, then return. Keep your arms straight. Do 3 sets of 8. This gives you immediate feedback on where the bar should track: right up your legs.
- Slow eccentric hinge: With just the bar or a PVC pipe, take five seconds to lower from standing into your start position. Keep your shins more vertical as your hips push back. Don’t turn this into a stretch — it’s control work. Do 3 sets of 5, resetting before each rep.
People often ask me whether the lower back should feel worked after deadlifts. A little pump in the erectors is normal, but sharp pain is not. Once you fix the hinge, the lower back just holds your spine stable while your hips and hamstrings do the lifting. I’ve had friends record themselves before and after this drill block and notice the bar path clean up within two sessions. You’ll also find the bar sits more comfortably in your hands because it’s not tugging away from your body.
Practice these cues with a PVC pipe or an empty bar for the first few warm-up sets. Film yourself from the side and look at the bar path. It should look like it’s sliding along a straight rail from the floor to your hips. It may feel robotic at first, especially if you’ve spent years squatting your pulls. Give it two or three sessions and your hips will learn the difference.
If you want to run these hinge drills between training days, check current prices on Amazon for a door anchor, a set of short resistance bands, or a cheap PVC pipe. And when you try the wall tap or the slow eccentric hinge, come back and leave a comment about how it felt. Did your lower back feel different on the next deadlift day? Did the bar stay closer to your legs? Share the exact rep that made things click — form cues are easier to fix when we talk about what actually happened.
Step 3: Reinforce the Pattern with Tempo, Pauses, and Smarter Loading
Now that your setup and bracing are sorted, this last step makes the corrections stick. The best tool I know is to lower the load, slow the pull, and pause in the spot where your back used to fail.
I’ve used this sequence with lifters who thought they’d never pull heavy again. Most of them weren’t weak. They were repeating a slightly bad position under heavy load. Take away the load, slow the rep, and the body can relearn a safer groove.
Here’s the exact pull you’ll practice for the next couple of weeks:
- Load 60–70% of your normal working weight for sets of six. If you normally pull 315, that’s roughly 190–210 pounds, but use your own numbers. It should feel light. That’s the point.
- Set up the same way you would for a regular deadlift. Brace, pull the slack out, and push the floor away until the bar sits just below your kneecap.
- Pause there for one full second. Keep your lats tight, ribs down, and spine neutral.
- Finish the pull to lockout, then lower the bar under control for a 3-second eccentric. Count three full seconds on the way down.
- Reset your position on the floor and repeat.
The pause below the knee will feel awkward at first. Good. That awkwardness is a signal. If your hips shoot up before the pause, or your lower back rounds, you’ve found the exact spot that needs practice. Don’t add weight to fix it—groove a cleaner position at a load your body can handle.
The 3-second eccentric isn’t a slow-motion drop. You should feel your hamstrings stretch as the bar lowers, and your lats keep the bar close to your legs. Counting those seconds forces your back to stay braced much longer than on a normal pull. That extra time under tension is usually where old habits show up.
I remember filming my first set of paused pulls at 185 pounds. I thought my technique was fine until I saw my hips shoot up half a second before the bar broke the floor. Slow and light doesn’t lie. That video changed how I coach these pulls.
Now for the loading part. This is where most people mess it up: one good set, ego returns, and they’re back at 90% before the body owns the movement. Use a fixed checkpoint instead.
The two-week reset protocol
- Do three sets of six with a neutral spine and no pain.
- Every rep needs to look like the next. The last rep shouldn’t be uglier than the first.
- Repeat the same three sets of six in your next session.
- Keep the same weight for two straight weeks. That usually means 4–6 sessions, not 14 days of no lifting.
- After two weeks, if every session stayed clean, add 5% to the bar and do another three sets of six. If form breaks, take 10% off and stay there.
This is a checkpoint, not a lifetime ban on heavy pulls. If you can’t do three sets of six without your hips shooting up or your back rounding, you’re not ready for heavy singles or triples. If you can, you’re ready to build back up in smaller jumps. Your previous best might be 315, but after the reset at around 205, the next jumps would be roughly 215, then 225, then 235. The numbers matter less than keeping the corrected pattern clean.
Pain is the hard line. Muscle soreness in the hamstrings and glutes is normal. If your lower back feels sharp, compressed, or sends anything into your leg, stop. No exercise is worth a repeat injury. These slow pulls should expose a weak position, not sting your back.
Need a belt, straps, or just something to make the lighter session feel worth the effort? Check current prices on Amazon. Then share your experience in the comments. Did the pause below the knee show you a fault you didn’t know you had?
Medical & Editorial Review: This article was reviewed by Liam Smith, founder of Apexfito, for accuracy and safety. Content is for educational purposes and is not a substitute for professional medical advice. Consult your physician before starting any exercise or nutrition program.