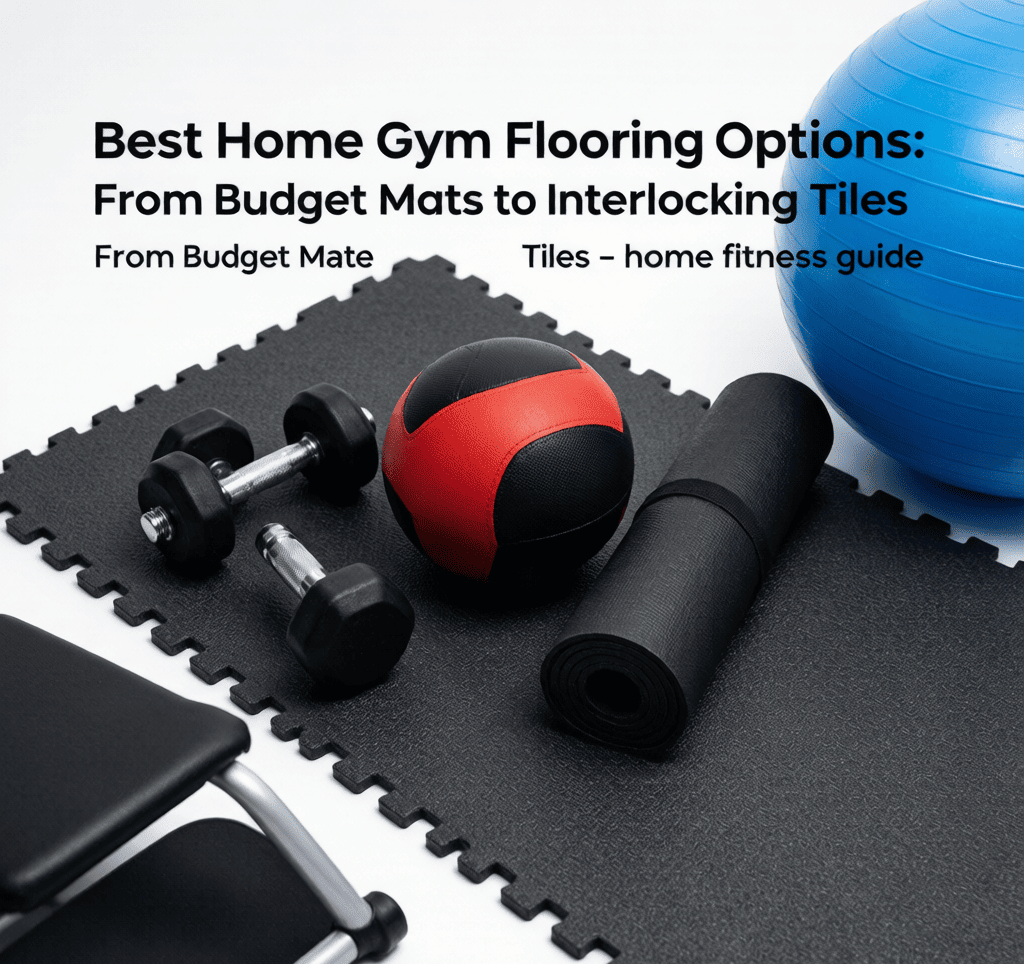
Best Home Gym Flooring Options:
Full disclosure: Some links in this article are affiliate links. We may earn a small commission at no extra cost to you if you make a purchase through them. Our recommendations are based on what real users report, not on commission size.
By Liam Smith — Fitness enthusiast and founder of Apexfito. I test gear at home and share what actually works.
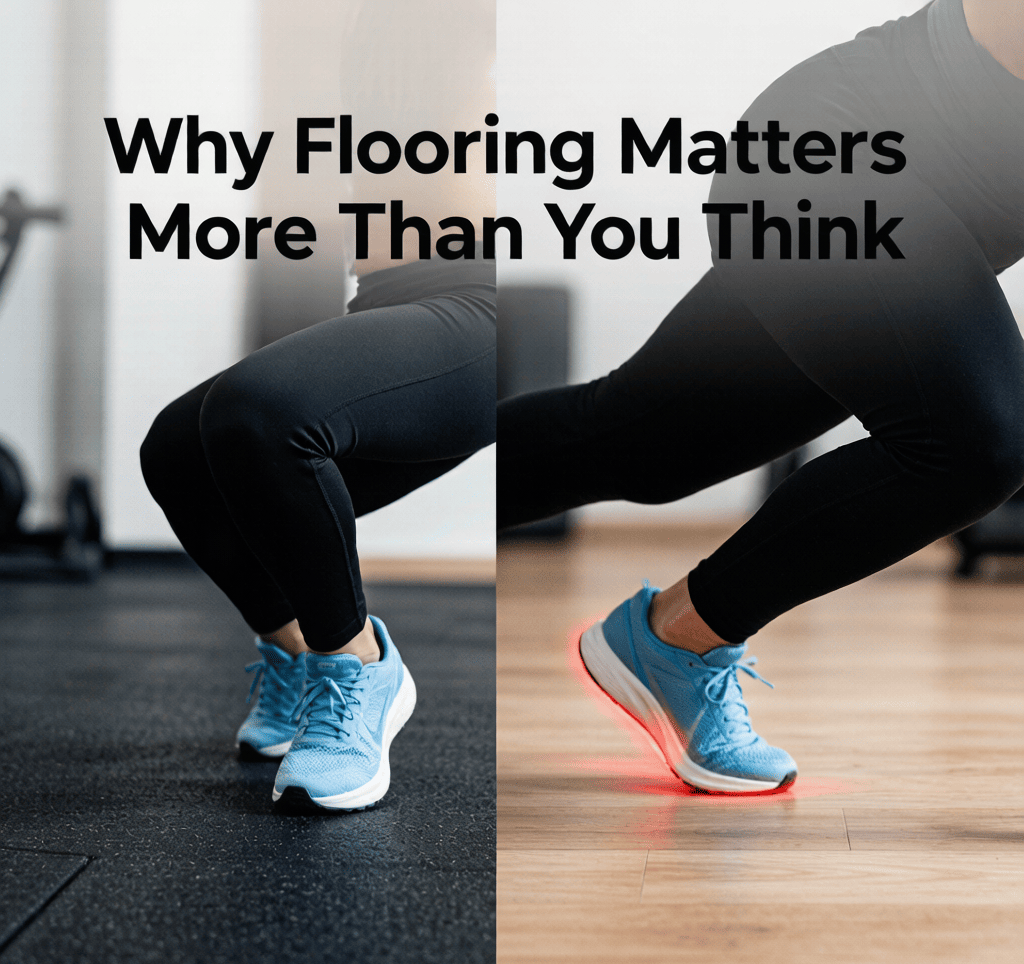
Why Flooring Matters More Than You Think
When I first set up my home gym in the basement, I figured any old floor would do. I dropped a 45-pound plate on the concrete, and the bang echoed through the whole house. My wife wasn’t thrilled. Worse, after a few months, I noticed hairline cracks in the concrete near my squat rack. That’s when I learned the hard way: flooring isn’t just about looks—it’s about safety, equipment longevity, and keeping the peace with your neighbors.
Hard surfaces like concrete, tile, or hardwood are unforgiving. Every time you set down a dumbbell or drop a barbell, the impact travels straight through your joints. Over time, that repeated shock can aggravate knees, hips, and lower backs. And it’s not just your body taking the hit—your equipment suffers too. Dropped weights can chip or dent, and the constant vibration can loosen bolts on racks and machines.
Thick rubber flooring changes the game. A 3/8-inch or 1/2-inch rubber mat absorbs the force from dropped weights, protecting both your gear and the subfloor underneath. I’ve tested this with 100-pound dumbbell drops onto 1/2-inch stall mats, and the concrete below was untouched. The rubber compresses slightly, spreading the load and reducing shock. For heavy deadlifts or Olympic lifts, that cushioning is non-negotiable.
Noise reduction is another huge factor—especially if you’re in a basement or apartment. Without proper flooring, every rep sounds like a construction site. A thick rubber layer cuts that noise dramatically. In my setup, the difference between bare concrete and 3/8-inch rubber was night and day. My upstairs neighbors stopped complaining after I added the mats. If you live above someone, skip the thin foam tiles and go straight for dense rubber.
Traction matters more than you’d expect. When you’re sweating through a HIIT session or heavy squats, the last thing you want is your feet sliding. Quality rubber flooring provides grip even when wet. I’ve tried cheap foam mats that turned into slip hazards after 20 minutes of burpees. Stick with textured rubber or vinyl—they stay put and keep you stable.
Don’t skimp on flooring. It’s the foundation of your home gym, literally. Invest in at least 3/8-inch rubber mats for general lifting, or go thicker if you plan to drop weights regularly. I’d recommend checking current prices on Amazon for stall mats or interlocking tiles—they’re affordable and last for years. And if you’ve got a setup that works, drop a comment below. I’m always looking for better ideas.
Budget-Friendly Options: Foam Mats and Thin Rubber Tiles
If you’re building a home gym on a tight budget, foam mats and thin rubber tiles are the go-to choices. I’ve used both in my own setup, and they each have clear strengths and weaknesses. Let’s break them down so you can decide which fits your training style.
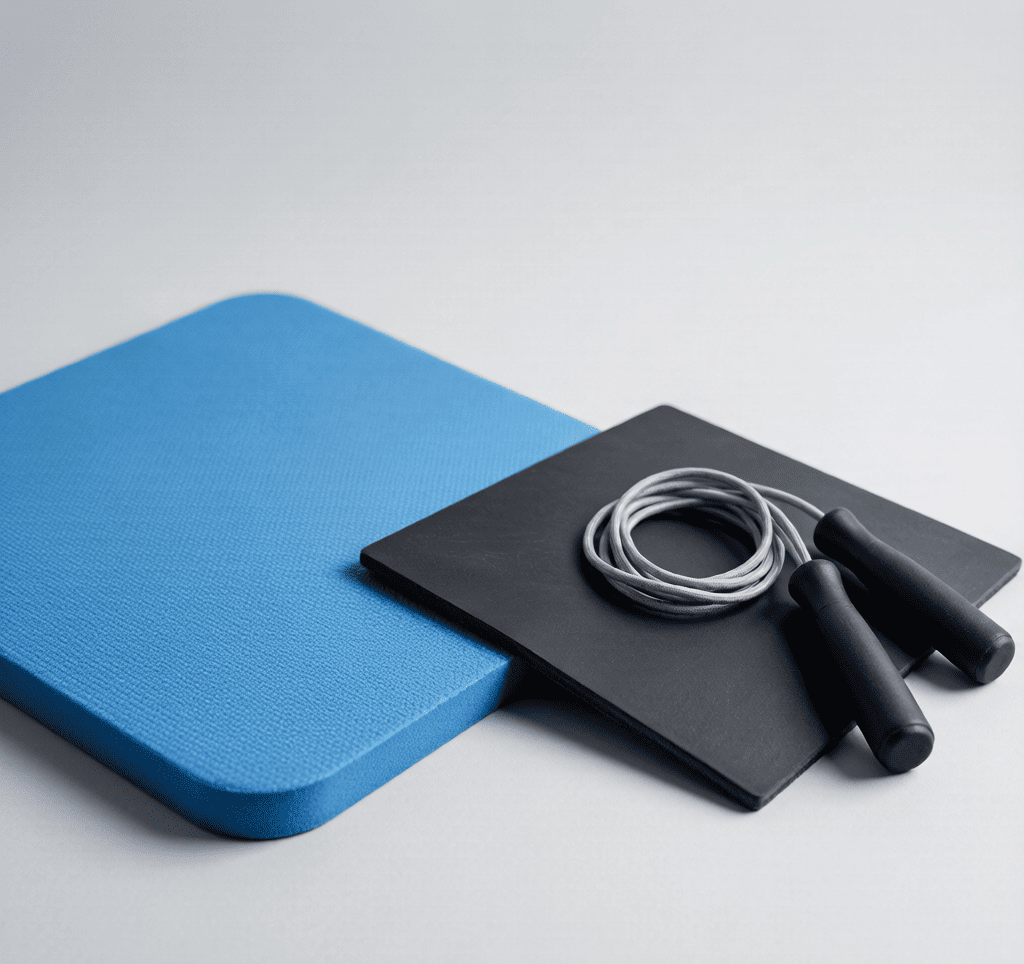
Foam mats (EVA foam) are the cheapest option at $1–$2 per square foot. They’re lightweight, easy to cut with a utility knife, and snap together like puzzle pieces. I installed a set in my spare room for yoga and bodyweight circuits, and they worked great for that. But here’s the catch: foam compresses under heavy weights. If you drop a barbell or set down a loaded dumbbell, the mat will dent and offer almost no impact protection. For deadlifts, squats, or any Olympic lifting, foam is a no-go. Stick to foam for yoga, Pilates, stretching, or light bodyweight training only.
Thin rubber mats (1/4 inch or less) cost $2–$4 per square foot and are denser than foam. They handle light cardio, dumbbell work, and stretching much better. I’ve used 1/4-inch rubber tiles under a treadmill and stationary bike, and they absorbed vibration well and protected the subfloor. But again, they won’t save your floor if you drop a loaded barbell from overhead. For that, you need thicker rubber (3/8 inch or more). Thin rubber is a solid middle ground for general fitness use, but not for heavy lifting.
Another budget-friendly alternative is vinyl sheet flooring. It runs about $1–$3 per square foot, is easy to clean, and doesn’t have the rubber smell that some people dislike. I’ve seen it used in home gyms for light cardio, stretching, and bodyweight circuits. It’s not impact-resistant either, but it’s a good non-rubber option if you want something smooth and low-maintenance.
If your home gym is mostly for light to moderate activity, any of these options can work. But if you plan to deadlift, squat, or do Olympic lifts, skip these and go straight to thicker rubber or interlocking tiles. Check current prices on Amazon to compare deals, and share your experience in the comments — what flooring are you using and how has it held up?
Mid-Range Workhorses: Interlocking Rubber Tiles and Stall Mats
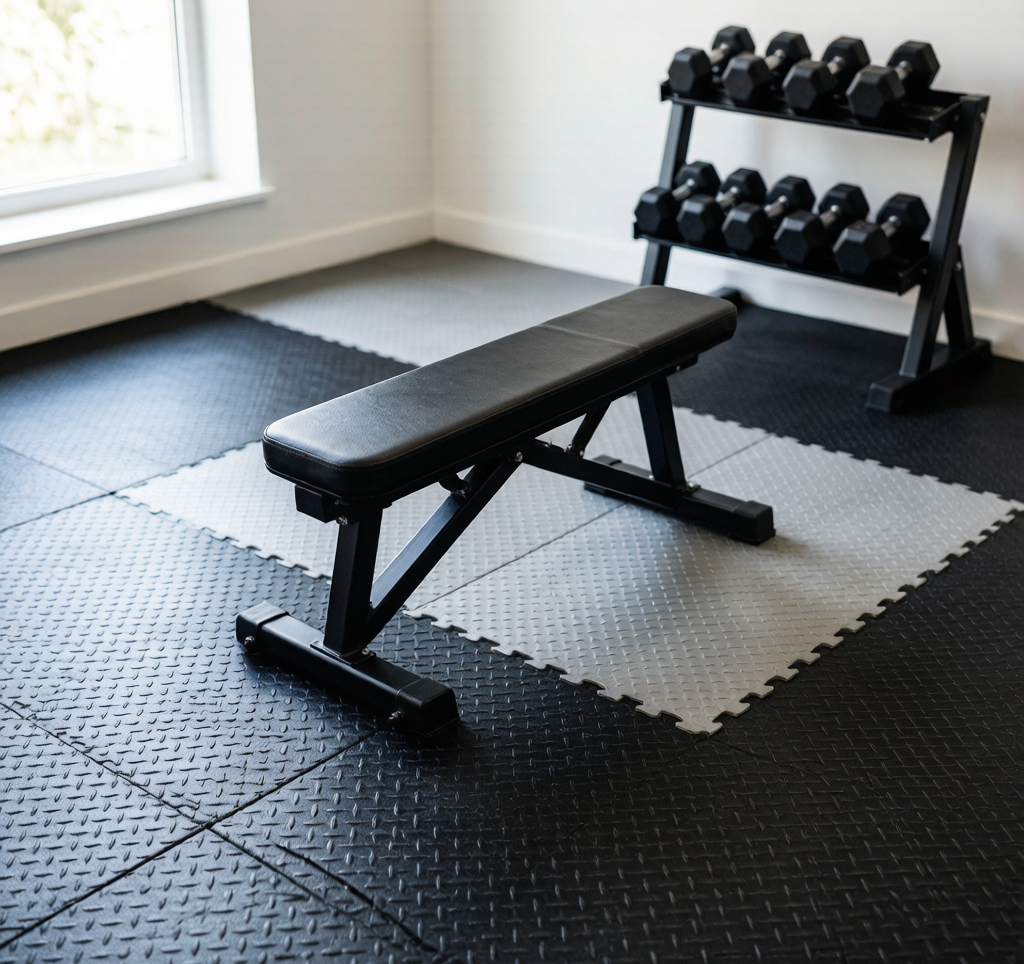
If you’re building a serious home gym, this is the category where most people land. Interlocking rubber tiles and stall mats offer the best balance of protection, cost, and longevity. They’re not the cheapest option, but they’re far from the most expensive, and they’ll handle heavy weights without complaint.
Interlocking rubber tiles (3/8 to 1/2 inch thick) are about as user-friendly as flooring gets. You buy a pack, snap the puzzle edges together, and you’ve got a seamless, shock-absorbent surface in under an hour. No glue, no cutting (unless you need to trim for corners), and no waiting for adhesives to cure. The 3/8-inch version is fine for general lifting and bodyweight work. Go with 1/2-inch if you plan to drop barbells or set up a deadlift platform. Harvard Health notes that consider your space, goals, and budget before investing in home fitness equipment. American Heart Association notes that look for equipment that fits your fitness level and offers adjustable resistance for progression. Expect to pay around $2.50 to $4 per square foot, depending on thickness and brand.
The big advantage here is modularity. If you move, you can pull up the tiles and take them with you. If a tile gets damaged, you replace one piece, not the whole floor. I’ve had a 4×8-foot section of 1/2-inch tiles in my garage for two years. They’ve survived dropped dumbbells, a tipped-over kettlebell, and my kid’s tricycle. No cracks, no peeling, and the interlocking edges haven’t separated.
Stall mats are the other heavy hitter in this tier. These are the thick rubber mats sold at farm supply stores like Tractor Supply Co. — originally designed for horse stalls, but adopted by lifters for their remarkable durability. A standard 4×6-foot mat is 3/4 inch thick and weighs around 100 pounds. Price: $40 to $50 per mat. That’s roughly $1.70 to $2.10 per square foot, which is cheaper than most interlocking tiles.
I unrolled two stall mats in my garage — the rubber smell took about a week to fade, but after that they’ve held up to deadlifts and dropped dumbbells without a dent. The surface is dense enough that a 405-pound deadlift doesn’t leave a mark. They also provide excellent sound dampening, which matters if you have neighbors or family members who don’t appreciate the thud of a barbell at 6 a.m.
But stall mats have real downsides. The smell is strong. If you’re sensitive to rubber odors, you’ll want to air them out in a garage or driveway for a few days before bringing them inside. They’re also brutally heavy — moving a single mat is a two-person job, and installing a full room’s worth is a workout in itself. And because they come in fixed 4×6 sheets, you’ll need to cut them to fit around posts, corners, or irregular spaces. A utility knife with a fresh blade works, but it takes some muscle. For cleaner cuts, use a jigsaw or angle grinder — it makes trimming to fit a breeze.
Which one should you pick? If you want a clean, professional look and easy installation, go with interlocking tiles. If you prioritize raw durability and cost savings, and you don’t mind the smell and weight, stall mats are the better bet. Many people combine them — use stall mats under heavy equipment and tiles for the rest of the floor. I’ve seen setups where a 4×8-foot stall mat sits under the squat rack and deadlift area, with 1/2-inch tiles covering the rest of the room. It gives you the best of both: bombproof protection where you need it, and a finished look everywhere else.
Check current prices on Amazon for both options — prices fluctuate, and you can often find deals on bulk packs of tiles or individual stall mats. Drop a comment below with your own experience: which route did you go, and how has it held up?
Premium Solutions: Rolled Rubber and Modular Tiles
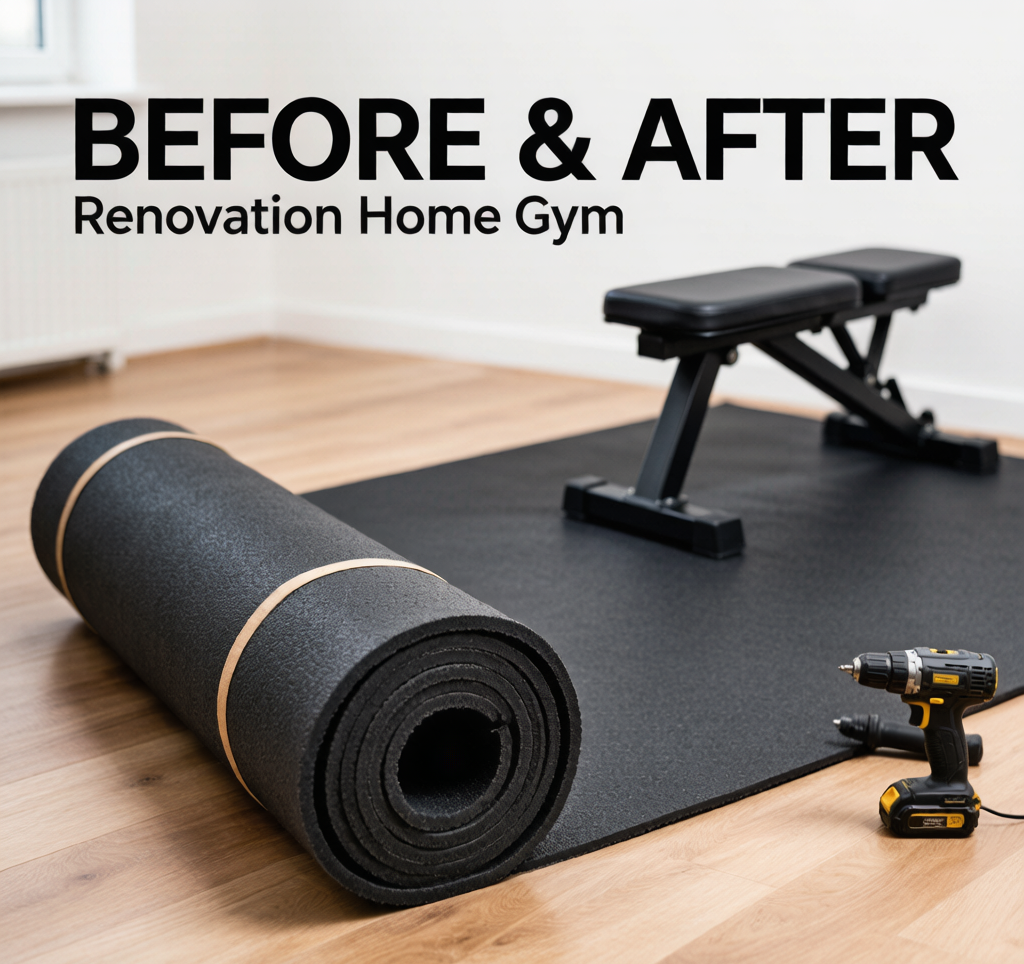
If you’re building a dedicated home gym and plan to drop heavy weights, roll a barbell, or put in serious hours, budget mats won’t cut it. You need a floor that can take abuse and still look professional. That’s where rolled rubber and modular tiles come in.
Rolled rubber, typically 3/8 to 3/4 inch thick, gives you a seamless, continuous surface. It feels like walking on a real gym floor. I installed 3/4-inch rolls in my garage last year, and the shock absorption is night-and-day compared to the puzzle mats I had before. Dropping a 300-pound deadlift barely makes a thud. The downside: installation is a beast. You need a sharp utility knife, a straightedge, and some patience to cut it to fit around corners and posts. Once it’s down, though, it’s permanent. No shifting, no gaps.
Modular tiles, like those from Rubber-Cal or the classic horse stall mats, click together without adhesive. That’s their superpower: you can replace a single damaged tile without ripping up the whole floor. If a plate lands edge-first and gouges one tile, you pop it out and snap in a new one. I replaced a damaged tile in my own gym in under five minutes. They also allow for more creative layouts—mix colors, create a deadlift platform border, or run them up a wall for a baseboard. The interlocking edges hold tight, but I’ve noticed they can separate slightly under heavy lateral movement, like sled pushes. A little rubber mallet tapping every few months keeps them snug.
Cost is the real kicker. Rolled rubber runs $5–$10 per square foot, and modular tiles go for $6–$12. For a 200-square-foot gym, that’s $1,000 to $2,400. Yes, it’s expensive — but if you buy quality, you’ll never have to replace it. I recommend checking Amazon for current pricing—prices fluctuate, and you can often find deals on factory-second rolls or open-box tile packs. Read the reviews, especially the ones from people who’ve had the floor for a year or more. Look for complaints about odor (some rubber off-gasses for weeks) or tiles that don’t lock tight after a few months.
If you’re serious about your home gym, skip the cheap foam and go straight to rolled rubber or modular tiles. Your joints will thank you, and your floor will last as long as your equipment. Browse current deals on Amazon, and let me know in the comments which flooring you chose and how it’s held up.
Medical & Editorial Review: This article was reviewed by Liam Smith, founder of Apexfito, for accuracy and safety. Content is for educational purposes and is not a substitute for professional medical advice. Consult your physician before starting any exercise or nutrition program.