Resistance Band Full Body Workout: A Complete Routine for All Fitness Levels
Full disclosure: Some links in this article are affiliate links. We may earn a small commission at no extra cost to you if you make a purchase through them. Our recommendations are based on what real users report, not on commission size.
Setting Up Your Resistance Band Workout Space
I’ve learned from experience that a little planning goes a long way. A well-organized space keeps you safe and makes your workout feel seamless. Here’s what you need.
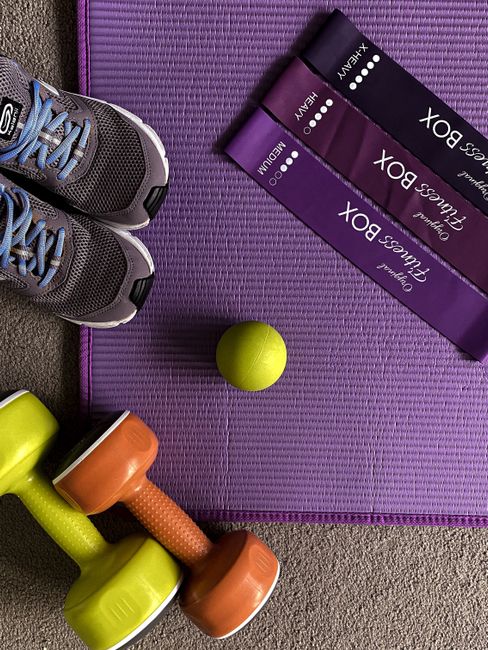
Choose your bands wisely. Most home workouts call for at least three tension levels: light, medium, and heavy. Loop bands (the flat, continuous ones) excel for leg work and glute activation. Tube bands with handles work better for rows, presses, and bicep curls. If you’re buying your first set, look for a variety pack that covers these resistances. I started with a cheap set from Amazon — it worked fine until the light band snapped during a warm-up. Spend a few extra bucks on a brand with reinforced fabric or latex options; it’s worth the peace of mind.
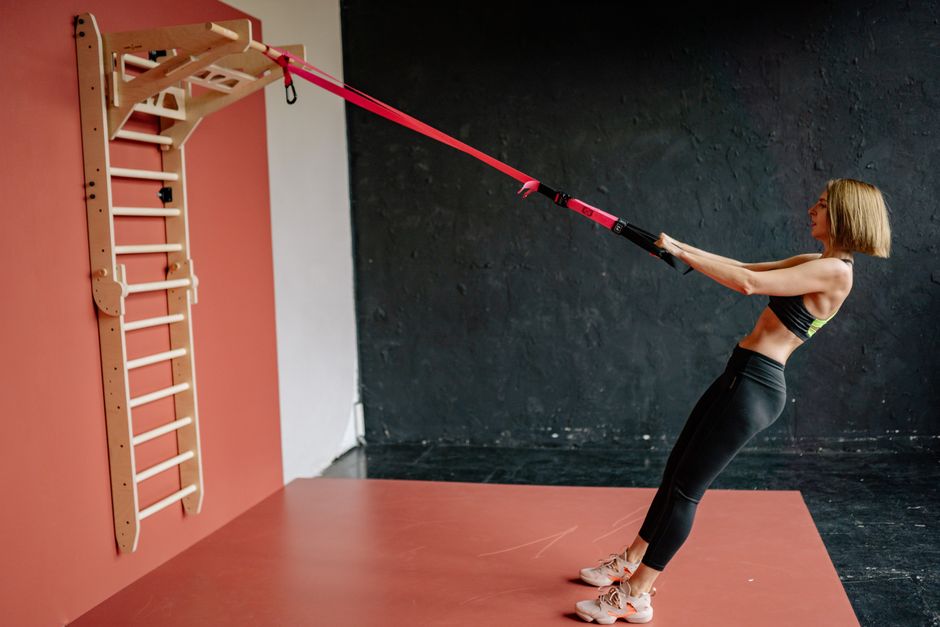
Secure your anchor points. For pulling exercises (rows, face pulls, lat pull-downs), you need something solid. A door anchor is the simplest: it slides under the closed door and holds the band in place. But test it first — pull hard. If the door starts to open, wedge a rolled-up towel between the door and the frame. If you don’t have a door anchor, loop the band around a heavy piece of furniture like a couch leg or a solid table. I’ve also used a sturdy railing on my deck. Make sure whatever you choose won’t slide or tip over. Recheck the anchor after your first few reps; sometimes a band that seems secure will slip.
Clear your floor space. You’ll need about six by six feet — enough to lie down, stand up, and move side to side. Remove loose rugs or cables you could trip on. A yoga mat helps with grip and cushion, especially if you’re on hardwood or tile. I use a thick mat for floor presses and leg lifts, but even a thin camping mat works for a few weeks.
Always warm up for five minutes. Right after you set up, do a quick warm-up: arm circles, leg swings, torso twists, and a few gentle band pulls at the lightest resistance. This primes your muscles and reduces the chance of pulling something.
Once your space is ready, you can jump into the actual workout. Take a minute to check the band anchor again after your first few reps — better to catch a slippage early than mid-rep.
The Full Body Split: Exercises and Proper Form
This routine uses four movements that hit your legs, back, chest, and shoulders. You don’t need much space—just a resistance band and a door anchor for the rows. I’ve done this setup in my living room and it takes about 20 minutes once you know the moves.
Start each session with a quick warm-up: arm circles, leg swings, and a few light band pulls. Then go through the exercises in order. Rest 45–60 seconds between sets.
1. Squats with Band Above Knees
Sets & Reps: 3 sets of 12 reps
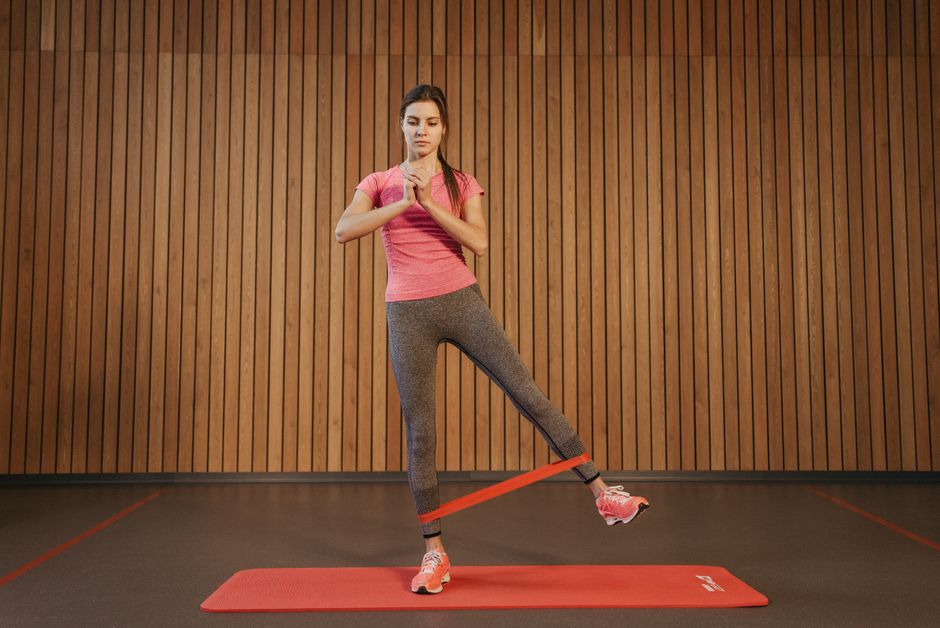
Loop the band just above your knees. Stand with feet hip-width apart. Keep your chest up and push your hips back as you lower into a squat. Drive through your heels to stand. The band will try to pull your knees in—resist that by pushing your knees outward slightly. I like using a longer loop band for this because it stays in place better. Breathe: exhale as you push up, inhale as you lower.
2. Rows Using a Door Anchor
Sets & Reps: 3 sets of 10 reps
Set the band in the door anchor at chest height. Grab the handles with both hands, step back until there’s tension. Keep your back flat, hinge at the hips slightly. Pull your elbows back past your torso, squeeze your shoulder blades together. Lower slowly. If you don’t have a door anchor, you can loop the band around a solid post. I’ve used a table leg before—works fine as long as it’s sturdy. Breathe: exhale as you pull, inhale as you return.
3. Chest Press with Band Under Back
Sets & Reps: 3 sets of 10 reps
Wrap the band around your upper back, holding the ends like a barbell. Lie on your back with knees bent. Press the band straight up, keeping your elbows at about 45 degrees. Control the descent—resist the band’s pull. A common mistake is rushing the press; I find a 2-second count up and 3-second count down helps keep tension on the chest muscles. Breathe: exhale as you press up, inhale as you lower.
4. Band Pull‑aparts for Rear Delts
Sets & Reps: 2 sets of 15 reps
Hold the band in front of you at shoulder height, arms extended. Pull the band apart, squeezing your upper back. Keep your arms almost straight (a slight bend is okay). Don’t rush—this move targets the rear delts best when you pause at the widest point for a second. I use a light band for these because the smaller muscles fatigue fast. Breathe: exhale as you pull apart, inhale as you bring hands back together.
That’s your full body split. Stick with the same weights for a couple of weeks, then try to either add one more rep per set or move to a heavier band. Progress slowly to avoid injury.
Check current prices on Amazon for bands, door anchors, and accessories—they’re affordable and last a long time. Have you tried resistance band workouts? Share your experience in the comments below.
Your Weekly Training Schedule
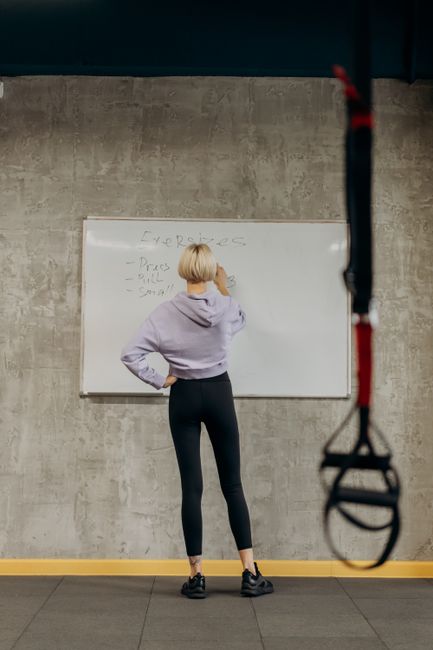
Starting a new routine doesn’t need to take over your calendar. With resistance bands, you can get a solid full-body workout in about 30 minutes, three times a week. I’ve found that Monday, Wednesday, and Friday work best for most people — it gives your muscles a full day to recover between sessions while keeping the momentum going.
But real life happens. Maybe your weekends are packed or your work schedule shifts. That’s fine. You can move your three strength days to Tuesday, Thursday, and Saturday, or any other three non-consecutive days that fit your week. The key is giving yourself a day of recovery between band sessions.
Here’s what a typical week looks like:
- Monday: Full-body resistance band workout (30 min incl. warmup and cooldown)
- Tuesday: 20-minute walk or light stretching — no intense cardio needed
- Wednesday: Full-body resistance band workout (30 min)
- Thursday: 20-minute walk or light stretching
- Friday: Full-body resistance band workout (30 min)
- Saturday: Active rest — a walk, gentle yoga, or just moving around
- Sunday: Full rest day
That’s it. Three strength sessions, two light activity days, and two rest days. You don’t need to add any other gym work or long cardio sessions. If you’re new to resistance training, this schedule lets your body adapt without overloading it.
One thing I’ve learned from coaching beginners: listen to your energy levels. After the first week, if you feel wiped out, drop down to two sessions the next week. Add the third back when you’re ready. There’s no shame in scaling back — consistency beats intensity every time.
Each workout should start with a 5-minute warmup (like arm circles, leg swings, and light band pulls) and end with a 5-minute cooldown (static stretching). That keeps your muscles loose and reduces soreness. I keep a set of bands with different tensions nearby so I can adjust on the fly. If you haven’t already, check the current prices on Amazon — a good set costs less than a month of gym membership.
Have you tried a three-day-a-week band routine? Share your experience in the comments — I’d love to hear what works for you.
Progression – How to Make It Harder Over Time

Once you can finish all your reps with clean form, it’s time to push further. But progression should be gradual — listen to your body and don’t rush. Resistance bands offer several ways to increase difficulty without buying a whole new set. I’ve been using bands at home for years, and here’s what actually works.
Switch to a heavier band or double up two bands. That’s the most straightforward step. If you have a set with different tensions, move to the next level. If you only have one or two, loop them together. For example, grip both a light and medium band at the same time for a squat. The resistance curve changes and your muscles feel it immediately. Pay attention to any joint strain — if it feels off, stick with a lighter band for another week.
Slow down the lowering phase. Count to three as you lower into a squat or bring the band back after a row. That extra time under tension forces your muscles to work harder without needing more weight. I’ve told friends to try a 3-second eccentric on every rep for a week. They’re surprised how much tougher the same band feels. But if you feel sharp pain during the eccentric, stop and reassess your form.
Add one more set each week. Start with 3 sets per exercise. Next week do 4 sets. Then 5. Once you hit 5 sets comfortably, switch to a heavier band and drop back to 3 sets. This keeps progression steady and avoids plateau. Listen to your joints — if they ache rather than muscles burn, take an extra rest day before bumping up sets.
Pause at the hardest part of the movement. For a banded chest press, hold at the fully stretched position for 2 seconds. For a squat, pause at the bottom. Those pauses recruit more muscle fibers and improve control. Start with 1-second holds if 2 feels too intense — progression is personal.
I’ve found that mixing these methods works best. For instance, you could add a pause and slow the eccentric at the same time. But don’t do everything at once — pick one progression method, use it for two weeks, then rotate. Your body will tell you when it’s ready for more.
If you’re curious about which resistance bands offer the best tension for these techniques, check current prices on Amazon. Also share your own progression tricks in the comments — I’d love to hear what works for you.
Recovery, Common Mistakes, and Next Steps
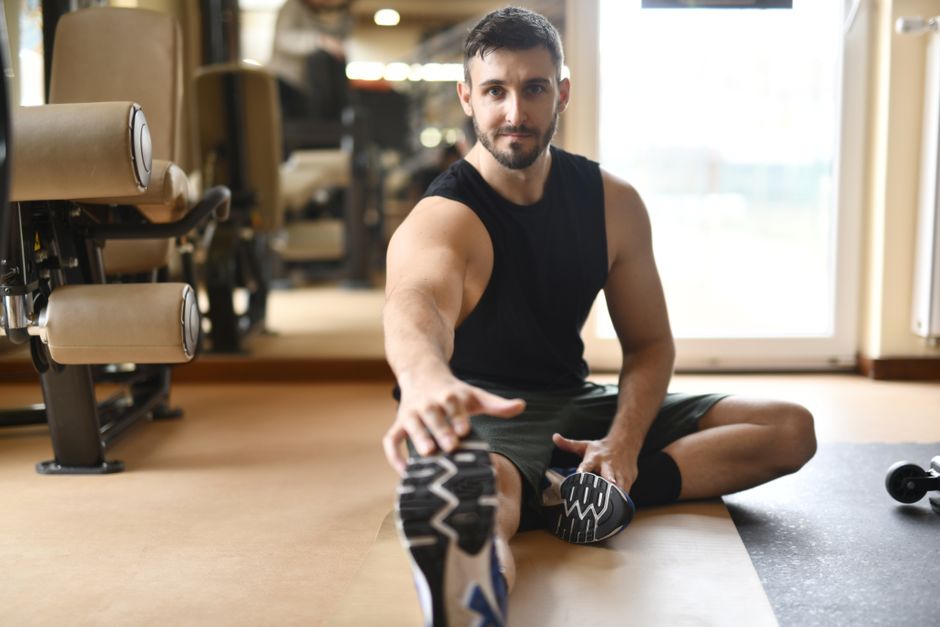
After crushing your resistance band full body workout, give your muscles time to recover. Stretch the muscles you worked—hamstrings, chest, back, glutes—holding each stretch for 20–30 seconds. Drink water. If you feel sore the next day, take a light walk or do some gentle band pulls to move blood through the tissue. Recovery isn’t optional; it’s where the real strength gains happen.
Now let’s talk mistakes—because I’ve made most of them. That first time I hooked a band around my foot for a bicep curl and let go? The band snapped back and hit my shin. Hurt like hell. Lesson learned: never release tension suddenly. Always control the band on the way down, especially with lighter bands that can whip. Another common one: gripping too close to the anchor point. Leave a few inches of slack so the band doesn’t rub against your skin or clothing.
Check your bands for wear every few sessions. Tiny nicks, fraying, or discoloration mean it’s time to replace them. A worn band can snap mid-rep and hit you in the face—not worth the risk. If you need new bands, check current prices on Amazon. Quality bands with reinforced loops last longer. I use a set from Serious Steel and they’ve held up for over a year of three-times-a-week use.
For next steps, progress your routine in small jumps. Add two or three extra reps per exercise each week. Once you can complete 15 reps smoothly with good form, move up to the next tension level. If that jump feels too big, combine a lighter and heavier band—loop them together for a moderate challenge. Track your workouts in a notebook or a simple app. Seeing your numbers climb keeps you motivated.
Finally, share your results in the comments. What band tension worked best for your squats or rows? Did you find a setup that made rows feel more natural? Your experience helps others dial in their own routine. And if you haven’t tried resistance bands yet, start with a light-medium set and work up. The results are worth it.
Medical & Editorial Review: This article was reviewed by Liam Smith, founder of Apexfito, for accuracy and safety. Content is for educational purposes and is not a substitute for professional medical advice. Consult your physician before starting any exercise or nutrition program.