How to Get Fit After 50: A Safe 8-Week Beginner Strength and Cardio Plan
Full disclosure: Some links in this article are affiliate links. We may earn a small commission at no extra cost to you if you make a purchase through them. Our recommendations are based on what real users report, not on commission size.
Start With Clearance, a Baseline, and Honest Goals

You don’t need to be fit to start. You need a green light from a professional, a few honest numbers from your own body, and one target that makes sense for your life.
My father started strength training at 71 after two knee replacements. His doctor didn’t just clear him; she gave him a list of moves to avoid for the first month and a green light for everything else. That conversation shaped his whole program. If you manage high blood pressure, arthritis, diabetes, or a past joint injury, schedule the same kind of specific talk. Ask what intensity you can safely reach, which movements to limit, and which warning signs mean stop.
Once you’re cleared, run two simple tests at home. You’ll use the results as your starting point, not as a grade. First, time a 20-minute walk on a flat route at a comfortable pace. That’s a test, not a workout requirement—if you can only go 12 minutes, write down 12 and move on. Second, set a 30-second timer and count how many times you can rise from a kitchen chair and sit back down without using your hands. If you need your hands, that’s your starting point. Finally, note any tight spots or daily aches in one sentence.
I’ve run these same tests with clients in their late 50s and 60s. The ones who make the most progress are the ones who write their numbers down and check them again at the end of the plan. You’ll be surprised what a difference eight weeks can make.
After the tests, pick one or two specific goals. ‘Get in shape’ won’t guide your training. Instead, choose something you can test: walk 20 minutes without stopping, stand up from a chair without using your hands, or climb a flight of stairs without getting winded. Write it on an index card and put it on your bathroom mirror.
Set your goal for 8 to 12 weeks out. In my experience, that’s enough time to see meaningful changes if you train consistently three days a week and walk on the other days. But don’t treat it as a guarantee. Some people feel stronger by week four; others need the full twelve. What matters is that you stay with the plan. Body weight is a slower signal, so don’t use it as your main progress marker. Sleep, salt, and hydration all move the number day to day.
If you can already walk 20 minutes without stopping and stand up without using your hands, push further: walk 30 minutes, or aim for 15 sit-to-stands in 30 seconds. Your goal should feel like a stretch, not a punishment.
Now that your starting point is written down and your goal is in sight, you’re ready for the 8-week plan. It uses these numbers to add small, manageable increases each week. If you’re still shopping for equipment, check current prices on Amazon and leave your starting numbers in the comments so you can look back at them in eight weeks.
Your First 8 Weeks: Weekly Schedule and Workout Split

This schedule is the anchor for the whole 8-week plan. Whenever you’re unsure what to do on a given day, come back here. It balances full-body strength, steady cardio, and real rest so your body can adapt without falling apart.
The main target is three full-body strength sessions per week, with at least 48 hours between them. If that sounds like more than you can handle right now, keep reading. There’s a two-day ramp-up below that gives you an entry point.
Your Week at a Glance
Here is the template I’ve used with dozens of beginner clients over 50. Monday through Friday are your five scheduled training days. Saturday is an optional longer walk. Sunday is full rest.
- Monday: Strength training, full body, 30 to 45 minutes including warm-up and cooldown.
- Tuesday: Brisk walk or easy cycling, 10 to 15 minutes.
- Wednesday: Strength training, full body, 30 to 45 minutes.
- Thursday: Pool walking or gentle stretching, 10 to 15 minutes.
- Friday: Strength training, full body, 30 to 45 minutes.
- Saturday: Longer walk. 15 minutes in weeks 1 through 4, then 20 to 25 minutes in weeks 5 through 8.
- Sunday: Full rest. No formal exercise.
Notice that no two strength days sit back to back. Monday to Wednesday gives you 48 hours to repair. Wednesday to Friday does the same. That recovery time is where muscle rebuilds and where much of the progress happens, not in the workout itself.
Start with Two Strength Days If You Need To
If you haven’t done regular strength work in a while, two days is a perfectly fine starting point. Do Monday and Friday of the schedule, skip Wednesday, and add that third session in week 2 or 3. The three-day schedule is the main target, not a pass/fail test. You’re building a habit, and habits start at the pace you can actually keep.
What Each Strength Session Looks Like
Keep every strength session between 30 and 45 minutes total. That includes your warm-up and cooldown. Here is the breakdown:
- 5 minutes: Warm-up. March in place, arm circles, hip circles, or a slow walk.
- 20 to 30 minutes: The workout. Pick 6 to 8 exercises that cover your major muscle groups.
- 5 to 10 minutes: Cooldown. Stretch your hamstrings, chest, back, and hips gently.
A full-body session doesn’t mean a marathon in the gym. Squat or sit-to-stand for legs, wall push-up or dumbbell chest press for the chest, seated row or band row for the back, and a plank or bird-dog for the core. That’s a complete workout.
For the first two weeks, do 2 sets of 8 to 12 reps of each exercise with light weight or no weight. Pick a load that makes the last two reps of each set challenging but doable with clean form.
Cardio Stays Short on Purpose
In weeks 1 through 4, every cardio session stays between 10 and 15 minutes. I know that seems short. It should feel almost too easy. That’s deliberate. Short cardio keeps your legs fresh for the next strength day and prevents the all-too-common burnout that comes from charging into exercise too hard.
Tuesday’s 10 to 15 minutes should feel comfortably brisk. You should be able to speak in full sentences. If you’re huffing and puffing, slow down. Thursday’s session is even more relaxed. Pool walking is a great low-impact option if you have access to a pool. If not, gentle stretching or a light yoga flow works just as well.
Week-by-Week Progression
Here’s exactly how to add work over the eight weeks. This removes the guesswork and keeps you in a safe range.
- Weeks 1 and 2: Learn the exercises with light weight or no weight. Do 2 sets of 8 to 12 reps for each movement.
- Weeks 3 and 4: Keep the same weight. Add a third set if your form feels solid. Stay in the same 8 to 12 rep range.
- Weeks 5 and 6: Increase the weight a little, if you have access to heavier weights. Use 2 to 5 pounds more for upper body and 5 to 10 pounds more for lower body. Keep the rep range at 8 to 12.
- Weeks 7 and 8: Keep the heavier weight and work up to 3 sets of 8 to 12 reps.
If you can’t increase the weight because you only have one pair of dumbbells, add reps toward the top of the 12 range, or slow down the lowering phase of each lift. The slower you lower, the harder the muscle has to work.
When a Week Gets Busy
Life happens. The simplest adjustment is to drop one cardio day and keep your three strength sessions. Strength is the engine of this program, so that keeps you on track. If even that feels like too much, drop to two strength days and slot the third one in when you can. If you miss a strength day, don’t try to make it up by doing extra the next day. Just get back on your scheduled plan.
What matters most is showing up, not doing every single workout perfectly. A 10-minute walk and a 30-minute strength session beat a perfect week that never actually happens.
Listen to Your Body
Muscle soreness in the first week is normal. Sharp pain, joint pain, or soreness that doesn’t ease up after a
Strength Training for Older Adults: Six Foundational Moves
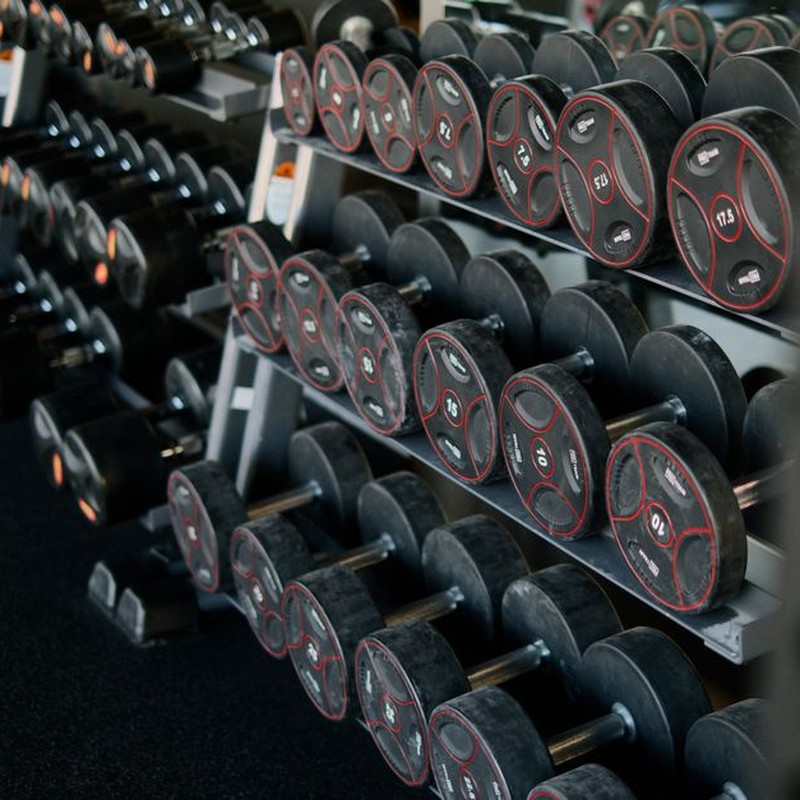
When I first started coaching adults over 50, I thought strength training needed to look like a high-volume gym program. It doesn’t. The routine below uses a sturdy chair, a wall, and a light dumbbell or resistance band to work your whole body in about 30 minutes. I’ve run this exact setup at home with clients, and it’s simple enough to stick with for the full 8 weeks.
You’ll do this routine on each of the plan’s three strength-training days. Put at least one rest day between them, and if a day feels off, swap it rather than skip it. For the first two weeks, use 2 sets of 12 for every exercise. Rest 60 to 90 seconds between sets. Keep a steady tempo: exhale as you lift or push, and take about 3 seconds to lower back down.
The Six Moves
Do the moves in this order. It takes you through legs, push, pull, hips, calves, and core, so each movement prepares you for the next.
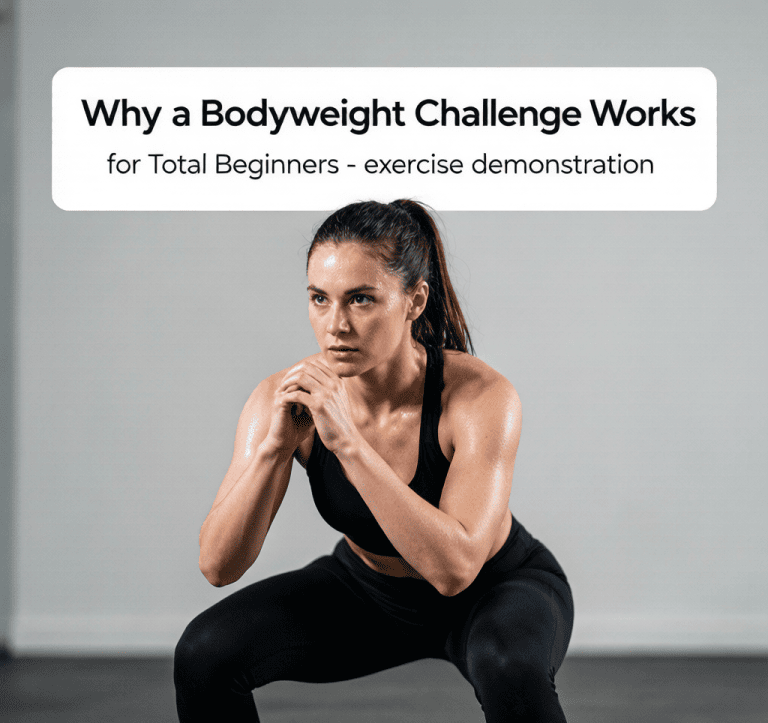
- Sit-to-stand. Sit near the edge of a sturdy chair with your feet flat and hip-width apart. Lean your chest forward, press through your heels, and stand all the way up. Pause for a second, then sit back down slowly, counting to three. If your knees object, place a folded towel or cushion on the seat to make the chair higher, or lower yourself only halfway. When 12 reps feel easy on both sets, hold a light dumbbell against your chest.
- Wall push-up. Stand an arm’s length from a wall, place your hands at shoulder height, and keep your body straight from your head to your heels. Bend your elbows and lower your chest toward the wall, then press back to the start. Exhale as you push. If your shoulders complain, take a smaller range of motion or find an even higher support, like a countertop. To make it tougher, step your feet a few inches farther from the wall.
- Single-arm row. You can use a dumbbell, a filled water bottle, or a resistance band. Hinge at your hips so your back is flat and your chest is almost parallel to the floor. If you’re using a band, anchor it under your foot. Let the weight or band pull your arm down, then drive your elbow toward your hip and squeeze your shoulder blade. Lower for 3 seconds. Finish all reps on one side before switching. If your lower back feels tight, put your free hand on the chair for support and reduce the hinge depth.
- Glute bridge. Lie on your back with your knees bent and feet flat on the floor, hip-width apart. Squeeze your glutes and press your heels into the floor as you lift your hips until your body forms a straight line from shoulders to knees. Pause, then lower slowly. Keep your low back out of it—if you feel arching at the top, lift only as high as you can while staying flat. If your heels pop up, slide your feet closer to your hips.
- Calf raise. Stand near a wall or a kitchen counter and rest one hand there for balance. Rise up onto the balls of your feet, pause for a heartbeat, then lower with control. Keep both ankles straight, not rolling in or out. Start on two legs until 20 reps feel smooth; after that, you can do single-leg raises.
- Knee plank. Start on your stomach and set your forearms on the floor with elbows under your shoulders. Press through your forearms, keep your knees resting on the floor, and lift your hips so your body is in a straight line from knees to shoulders. Brace your abs and hold. Don’t let your stomach sink. If you’re strong enough to lift your knees off the floor, that’s a full forearm plank—a fine progression, but not the same move. Use whatever version keeps your torso solid.
Progression Rules That Keep You Safe
The fastest safe way to get stronger is to change one variable at a time. For the first two weeks, that’s simple: stay at 2 sets of 12 and learn the movement pattern. Pick a dumbbell or band tension that makes the last two reps of each set feel challenging, but never sharp-painful.
Starting in week 3, move to the 8-to-12 progression. Choose a slightly heavier weight or a tighter band, and go for 8 clean reps. Each session, try to add one more rep until you reach 12. Once you hit 12 on both sets with smooth form, that’s your signal to add a little more resistance and start again at 8. This is the add-reps-first rule, and it protects your joints while still pushing your muscles.
For bodyweight moves, make the exercise harder before you add load. Step farther back for wall push-ups, hold a dumbbell for sit-to-stands, or move to a full forearm plank. If you have shoulder or knee concerns, stay with partial ranges of motion and keep added weight light while your joints adapt.
Putting It Together
Here’s what the first two weeks of strength days look like when you slot this routine into the 8-week plan:
- Day 1: Full-body strength routine, 2 sets of 12.
- Day 2: Light cardio or rest.
- Day 3: Full-body strength routine, 2 sets of 12.
- Day 4: Rest.
- Day 5: Full-body strength routine, 2 sets of 12.
- Day 6: Light cardio or rest.
- Day 7: Rest.
That gives you three strength sessions spaced through the week, with a recovery day after each one. If you need to shift a day, make sure you still have at least one rest day between strength sessions. The exact days matter less than steady repetition. Go into each session with a coach’s eye on your own form, and let the last two reps of each set tell you when it’s time to progress.
Cardio That Protects Your Heart, Knees, and Hips

Aerobic exercise does more for your body than burn calories. It improves blood sugar, sleep, and mood. But after 50, the way you do cardio matters as much as doing it at all. I’ve worked with clients who gave up on exercise because every “workout” they tried involved jumping or running on hard pavement. By the time they came to me, their knees were already angry. Low-impact cardio changed that.
Low impact means the movement is smooth and doesn’t slam your joints. It does not mean easy. You can work hard on a bike, in a pool, or on a brisk walk and still protect your hips and knees.
Pick One That Fits
- Brisk walking – outdoors or on a treadmill with a slight incline if your balance is solid.
- Stationary cycling – recumbent bikes are especially kind to lower backs and stiff hips.
- Elliptical trainer – no foot impact and a natural leg pattern.
- Swimming or water aerobics – the water carries your weight and adds gentle resistance.
I’ve had clients stick with one thing too long out of habit. If you don’t like it, switch. The best option is the one you’ll actually do three times next week.
Use Your Breath as Your Guide
Skip the complicated heart-rate formulas. The talk test puts you in the right zone. Moderate effort means you can speak in short sentences, but you cannot sing. If you can hum your favorite song comfortably, pick up the pace. If you’re gasping between every word, slow down until you can say a full sentence again.
Start Where This Plan Already Has You
By this point in the program, you’ve done the baseline walking test. If that test had you walking 20–45 minutes without much trouble, do not drop back to 10-minute cardio sessions. That would be a step backward. Start your cardio at 20–25 minutes, three days a week.
If you’re new to exercise, or the baseline walk left you winded at 10 minutes, start with 10–15 minutes, three days a week. That’s enough to challenge your heart without overwhelming your joints.
Place those sessions on three non-consecutive days. Monday, Wednesday, Saturday works well for most people. If you’re doing strength on the same day, do cardio after strength so you have fresh legs for lifting.
Your Week-by-Week Cardio Progression
- Week 1: three sessions at your starting time from above.
- Week 2: add 2–3 minutes to each session.
- Week 3: add 2–3 minutes to each session again.
- Week 4: keep sessions steady at 18–25 minutes, with the longer end only if your joints feel good.
During weeks 5–8, add 2–3 minutes per session each week. You’ll finish each steady session around 25–35 minutes, depending on where you started. On one of those days, make it an interval day instead.
The 150-minute weekly total you’ve heard about is a general guideline for adults, not the finish line for this eight-week plan. If you started around 20 minutes, you may get close to 150 by week 8. If you started at 10, you’ll be at about 90–100 minutes and making real progress. That is a solid place to be.
Add One Interval Day After the First Month
Starting in week 5, swap one steady session for intervals. Do not add a fourth session. Here’s the pattern: warm up for five minutes. Then go one minute at a pace that makes talking difficult. Follow that with two minutes of easy recovery. Repeat that cycle four or five times, then cool down for five minutes.
If you’re on a bike, increase resistance for the fast minute. If you’re walking, pick a landmark and walk faster until you reach it. If you’re in the pool, swim or water-walk harder for one lap, then easy for two.
The interval day should feel challenging but not scary. You should be able to finish all the intervals without stopping completely. If you can’t, dial back the fast pace.
Joint-Friendly Details That Matter
On the elliptical, don’t lean on the handles. Hold them lightly, keep your shoulders down, and let your legs do the work. On a bike, adjust the seat so your knee is slightly bent at the bottom of each pedal stroke. Not sure if it’s right? Have someone watch you pedal for a minute, or book a quick session with a trainer.
Your shoes are part of joint protection. Replace walking or training shoes every 300 to 500 miles, not by a calendar date. If the tread is smooth or the midsole has lost its spring, your knees will feel it. Write the purchase date on the shoe label if you have a terrible memory, like I do.
Treat the Plan Like a Starting Point
If you wake up stiff, do the shorter end of the range. If your knees ache or your hip pinches, take that as a sign to check your alignment, not to push through. Muscle fatigue is expected; joint pain is not.
Keep a simple log: date, time, pace, and how your knees and hips felt the next morning. After a month, you’ll see what works. That information is worth more than any app.
By week eight, normal life should feel easier. Carrying groceries up the stairs, keeping up with grandkids, or walking a golf course will feel less like a production. That is the point of this whole program.
If you need gear to get going, like a comfortable pair of walking shoes or a basic heart-rate monitor, check current prices on Amazon before you decide. And when you finish a session, come back and share how it felt. Tell us which cardio option you picked and whether your knees and hips gave you a thumbs up.
Recovery, Progress Check-Ins, and Staying Consistent
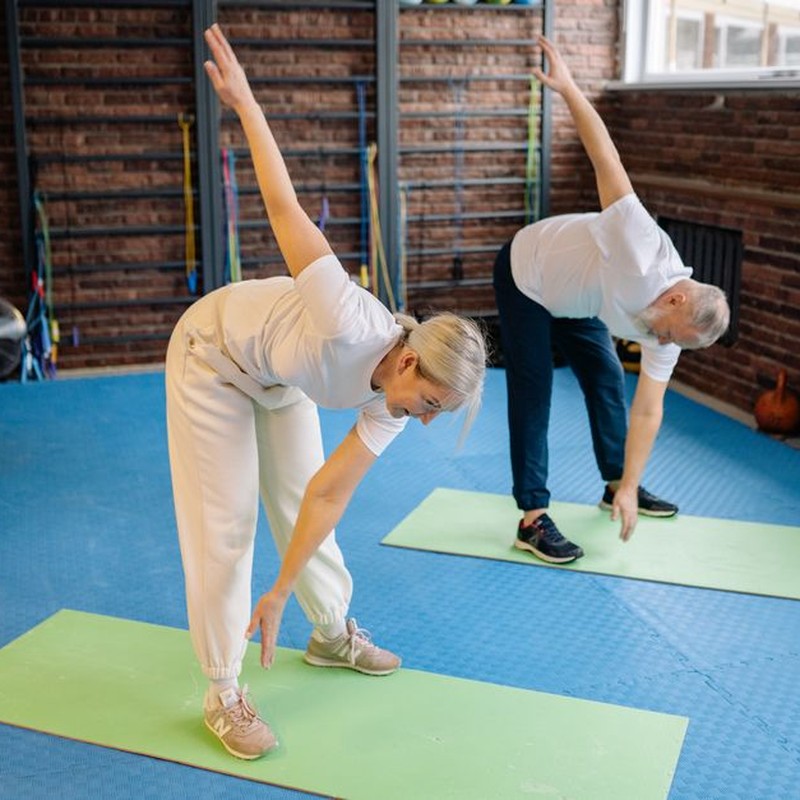
Recovery and check-ins are not the flashy part of this plan, but they are the parts that keep it working in week 8 and beyond. The workouts are simple: three strength sessions each week, two or three easy cardio sessions, and one full rest day. That full rest day is where your body gets to do the quiet work of repairing and rebuilding.
If you are not sure how to arrange that schedule, try this: strength on Monday, Wednesday, and Friday. Cardio on Tuesday and Thursday. Saturday is your full rest day, and Sunday can be an easy walk or light stretching if you want it. Your full rest day does not have to be Sunday, but try to keep it on the same day each week. The exact days can shift to fit your life; the pattern is what matters.
Give Yourself a Full Rest Day
One full rest day each week is not optional. No strength work, no long cardio, and no quick make-up session because you feel guilty. Use the day for a slow stretch, a short walk around the block, or nothing at all. What does not count is spending the whole day on your feet doing house projects and calling it rest.
I know the temptation to sneak in an extra workout when you feel good. I have done it myself, and it usually makes the next session worse. Rest is on the schedule. Treat it the same way you treat the Monday strength session.
Sleep is the other half of that recovery equation. Aim for 7 to 8 hours a night. If you are stuck at 6, move your bedtime back by 15 minutes each week until you get there. In my experience with clients in their 50s and 60s, that extra hour of sleep often clears up nagging joint aches within two weeks.
Repeat Your Baseline Test at Weeks 4 and 8
At the beginning of this plan, you did a baseline test: chair stands for 30 seconds, a timed walk, and a note of how many workout days you could complete in a week. If you skipped it, go back and do it before week 1. You need those starting numbers.
Put two test dates on your calendar now: the end of week 4 and the end of week 8. At the end of week 4, swap your easiest cardio session that week for the test. Count chair stands again, time your walk again, and write down how many sessions you completed in the previous month. Then start week 5 fresh. Do the same thing at the end of week 8.
What matters is the direction. Did one more chair stand show up? Did the walk get 20 seconds faster? Did you finish 10 out of 12 planned sessions? That is progress. Write it down. By week 6, your memory will not be reliable.
Know the Difference Between Muscle Soreness and Joint Pain
There is a difference between muscle soreness and joint soreness, and after 50 that difference matters. Muscle soreness usually appears a day or two after a workout and fades within 48 hours. Joint soreness is different. It is the sharp or achy feeling around a knee, shoulder, or hip that sticks around longer, and it is not something to push through.
If a joint is sore for more than 48 hours, change what you are doing. Reduce the weight for that move, shorten the range of motion, or swap it for an easier variation. For cardio, stick to lower-impact options like walking or cycling for a few days. Adjusting the plan for a week is a lot smarter than sitting out for a month with an injury.
Track Your Progress and Keep It Simple
You do not need a complicated app or a wearable. A paper calendar on the fridge, a phone notes app, or a workout buddy who expects you to show up all work. At the start of each week, write your workout days down with a specific time, and add a backup day in case you need to shift.
Some weeks will be messy. You will travel, catch a cold, or just not feel like it. The people who finish week 8 are not the ones who never missed a session. They are the ones who missed a session and came back for the next one. Consistency matters more than perfect execution.
What to Do After Week 8
After your week 8 test, you have a few choices. Repeat the same block with a slightly heavier resistance band or a longer walk. Try a new plan. Or simply keep the same schedule and focus on the numbers from your baseline tests. The schedule is what keeps the habit alive.
And if you want to upgrade your gear for your next block, a yoga mat, resistance bands, adjustable dumbbells, or supportive shoes can make the workouts more comfortable. Check current prices on Amazon before you buy anything, because prices change often. Then come back and share your first-week experience in the comments. How did the chair stands feel? Did your walk feel easier than expected? Your comment helps other readers who are a week behind you, and I read them all.
Medical & Editorial Review: This article was reviewed by Liam Smith, founder of Apexfito, for accuracy and safety. Content is for educational purposes and is not a substitute for professional medical advice. Consult your physician before starting any exercise or nutrition program.