Strength Training for Women Over 60: A Beginner Home Workout Plan
Full disclosure: Some links in this article are affiliate links. We may earn a small commission at no extra cost to you if you make a purchase through them. Our recommendations are based on what real users report, not on commission size.
Why Strength Training After 60 Is Worth Starting Now
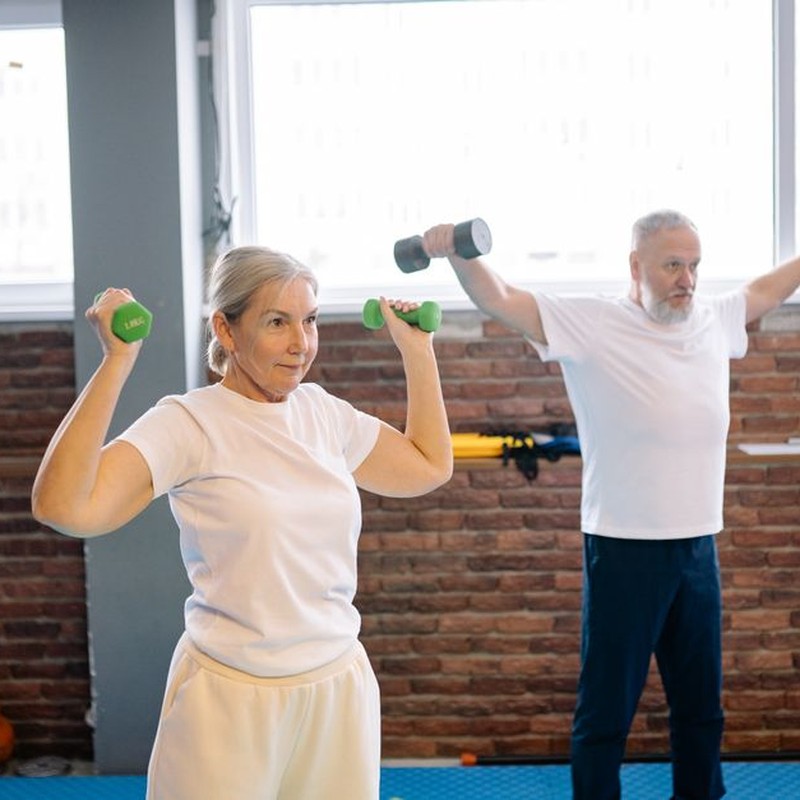
When the Montreal Gazette ran a story in September 2026 about interest in weight training gathering strength among older women, it lined up with what I see in my own sessions. The women in my Tuesday morning group are 62, 68, and 74. None of them were lifters before. All of them started with a pair of three-pound dumbbells and a kitchen chair.
Google Trends data backs up that surge. Over the past 30 days, searches for “strength training for women” have been running above the 12-month average. Trainers and gym owners I talk to say the same thing: the 60-plus crowd is one of the fastest-growing groups signing up for beginner-friendly strength sessions.
Here’s what that first month of training actually gets you, in plain terms:
- Muscle you keep. After menopause, muscle mass drops faster if nothing pushes back against it. Lifting something heavy-ish, even light weights, tells your body to hold onto the muscle you have.
- Stronger bones. Bone responds to load. Resistance training is one of the few things you can do that sends that signal, which matters a great deal if you’ve been told your bone density is low.
- Better balance and fewer stumbles. Strength in your hips, glutes, and ankles is what keeps you upright when you catch a curb wrong.
- Easier daily life. Carrying groceries in from the car, hauling a laundry basket upstairs, getting off the floor after playing with grandkids. That’s the stuff women tell me changed first.
The fears that hold women back
I hear the same three worries over and over, and they’re all reasonable.
The first is fear of injury. Fair enough. But in my experience, the injuries that happen to older women in the gym almost always come from doing too much too soon, not from lifting light weights with good form. Progressive training—starting easy and adding a little at a time—is what keeps you safe. The trainers and physical therapists I’ve worked with say the same thing: the risk goes up when you skip steps, not when you take them.
The second is not knowing where to begin. That’s a real obstacle, and it’s fixable. A beginner plan for a 60-plus woman looks nothing like a gym bro’s program. Two or three short sessions a week is plenty to start, and each one can be done in your living room in 20 to 30 minutes.
The third is the idea that lifting is for younger people. I’ve watched a 71-year-old woman go from struggling with a gallon of milk to doing 12 bodyweight squats to a chair without holding on. That myth doesn’t survive contact with reality.
Talk to your doctor first — this part isn’t optional
Before you pick up anything, check in with your physician if you have osteoporosis, have had a fracture, have a joint replacement, have a heart condition, or have balance problems that have caused falls. Some of those situations call for modifications; some call for supervision at the start. Your doctor can tell you which. This isn’t a disclaimer I’m tacking on. It’s the difference between a plan that helps you and a plan that sets you back.
Two other things worth knowing before you start:
- Light counts. Bodyweight movements and two- to five-pound dumbbells are legitimate training. You are not wasting your time.
- Consistency beats load in month one. Showing up three times a week with light weights will do more for you than one heroic session with the heaviest dumbbells on the rack, followed by four days of soreness and a quiet quit.
I’ve watched more women than I can count start too heavy and spend a week regretting it. Starting lighter than you think you need is the smarter play, every time. Some weeks, two sessions will be all you can fit. Take those two and move on. That’s the mindset to bring into everything that follows: cautious at the start, steady in the middle, and patient about how fast the numbers move.
Your Home Setup, Weekly Schedule, and Safety Checkpoints
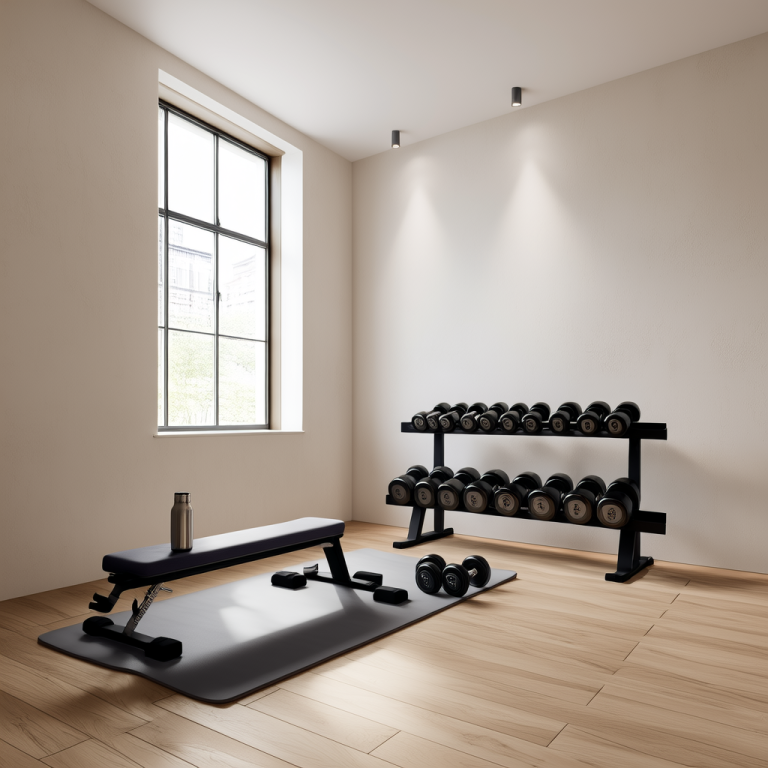
You do not need a gym membership, a trainer, or a rack of equipment. Three things do most of the work, and two of them you already own.
I set this up in a corner of my living room in about ten minutes, and it has stayed that way for months because everything comes out only when it is time to train and goes right back when I am done.
What you actually need
- A sturdy chair without wheels. A dining chair pushed against the wall works fine. You will use it for sit-to-stands, for balance support, and as a place to rest between sets.
- Clear wall space. About an arm’s length plus a step in every direction. Enough room to march, reach, and stand up without bumping into anything.
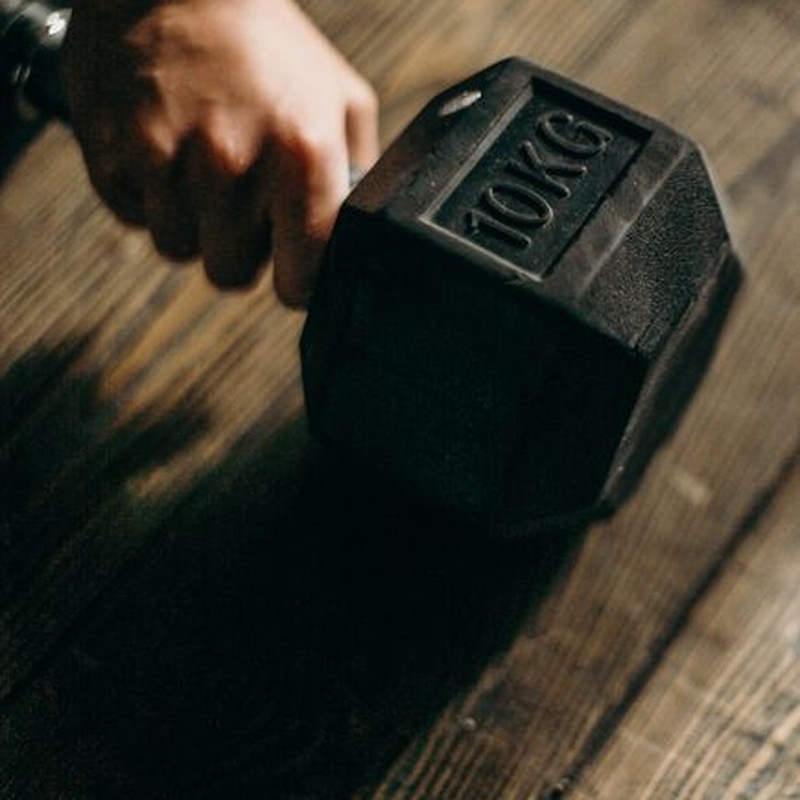
- One pair of light dumbbells, optional. Two to five pounds is plenty to start. No dumbbells yet? Full water bottles, soup cans, or a couple of detergent jugs work fine. Bodyweight alone will carry you through the first several weeks.
That is the whole list. No bands, no bench, no app subscription.
The warm-up: 5 minutes, every session
Cold muscles and stiff joints do not like surprises. Five minutes of easy movement raises your body temperature and wakes up the joints you are about to load.
- March in place, 60 seconds, holding the counter if you like
- Arm circles, 10 forward and 10 back
- Shoulder rolls, 10 slow rolls
- Sit-to-stands, 5 slow reps, pushing off the chair arms or your thighs if needed
Nothing here should feel like a workout. Save your effort for the working sets.
Your weekly schedule
Two full-body sessions per week, 20 to 30 minutes each, with at least one rest day between them. Monday and Thursday, or Tuesday and Saturday, whichever two days you will actually keep. Every session in this plan runs 20 to 30 minutes, warm-up and cool-down included.
That is the entire schedule for your first two weeks. It sounds like too little. It is not. Muscle rebuilds on the rest days, and tendons and joints need time to catch up with your enthusiasm. Interest in strength training among older women has been climbing steadily, and the Montreal Gazette wrote about that trend in September 2026. The women who stick with it long term tend to be the ones who started smaller than they wanted to.
Once you have finished two full weeks without missing a session, add a third day. Keep the same full-body format, still 20 to 30 minutes, and space it so there is a rest day on either side. Three sessions a week is a comfortable long-term home for most beginners over 60, and you can stay there for months before changing anything else. Sections 3 and 4 use this same schedule, so you only have to remember it once.
A sample week:
- Monday: full-body session, 20 to 30 minutes
- Tuesday: rest, or a walk if you feel like it
- Wednesday: rest or easy walk
- Thursday: full-body session, 20 to 30 minutes
- Friday and Sunday: rest, walking, or everyday activity
- Saturday (starting week three): third full-body session, 20 to 30 minutes
How hard should each set feel?
Forget percentages and rep math for now. Use a 0-to-10 effort scale, where 0 is sitting on the couch and 10 is the hardest single rep you could possibly manage.
Aim for 4 to 6 on most sets. In plain terms, when you finish a set you should feel like you had two or three more good reps left in the tank. Could you have done ten more? Too easy. Is the last rep a grind with your form wobbling? Too hard.
This matters more than the number of reps or how heavy the dumbbell is. Effort is what builds strength, and the scale keeps it honest when no one is watching.
Safety checkpoints before every session
- Phone within reach. On the floor beside you or in a pocket, not across the room.
- Clear floor. No throw rugs, pet toys, or cords. Flat, non-slip shoes on your feet. Socks on hardwood is asking for trouble.
- Good lighting. You should be able to see your own feet clearly.
- A chair or counter within arm’s reach during standing exercises. Touching it is not cheating. It is how you train the movement safely while your balance improves.
- Stop signs. Sharp joint pain, chest pain, dizziness, or shortness of breath that does not settle with rest means the session is over. Check with your doctor first if you have heart, joint, or blood pressure concerns, or if you have had a recent fall.
One last habit, and it is the one that keeps everything else running: train at the same time of day every session. Mornings worked better for me because nothing else had claimed that hour yet. Whatever slot you choose, write it on the calendar like an appointment, because that is exactly what it is.
The Beginner Workout: Two Full-Body Routines for Weeks 1 to 4
Two workouts. Alternate them. That is the whole plan for month one.
Weeks 1 and 2 are your settle-in weeks: two sessions, Monday and Thursday. That is it. Muscles, tendons, and joints need the space between sessions more than they need volume right now, and two days is plenty to teach your body the movements.
In week 3 you add the third day. Monday Workout A, Wednesday Workout B, Friday Workout A. Then flip it for week 4 so B takes Monday and Friday and A takes Wednesday. Two rest days between training days keeps you fresh, and it keeps the habit from feeling like a job.
Keep each session short. Warm-up included, these should fit inside half an hour, and the first two weeks usually run closer to 20 minutes.
Before you lift anything, walk around the house for five minutes, roll your shoulders, swing your arms in slow circles, and stand up from a chair five times. That last part is not filler. It wakes up the exact muscles the workout is about to ask for.
Workout A
- Chair sit-to-stand — Sit toward the front edge of a sturdy chair, feet flat and slightly wider than your hips. Press through your heels and stand tall without pushing off your hands. Lower yourself back down slowly, taking three seconds to land. If standing feels shaky, put your hands on your thighs for light help rather than heaving off the armrests.
- Wall push-up, counter push-up, or stair-tread push-up — Hands on the wall at chest height, body in one straight line from head to heels. Bend your elbows to about 45 degrees and press back. Once ten wall push-ups feel easy, move your hands to a kitchen counter, and after that to a stair tread. Where you place your hands sets the difficulty, so you never have to rush the jump.
- Dumbbell row or water-bottle row — One hand on the back of a chair, the other holding a dumbbell or a full 1-liter water bottle. Hinge forward slightly, let the weight hang, then pull your elbow back toward your hip. Keep your shoulders level. No twisting.
- Seated overhead press — Sit tall in a chair with back support, weights at shoulder height, palms facing forward. Press straight up until your arms are long, then lower with control. Stop the range wherever your shoulders stay comfortable.
- Standing calf raise — Fingertips on the wall or counter for balance. Rise onto the balls of your feet, pause a beat at the top, and lower slowly. This one helps your ankles and your confidence on stairs.
- Supported hip hinge — Hands on a counter or the back of a chair. Push your hips back like you are closing a car door with your rear end, keep your back long, then squeeze your glutes to stand. No weights at first. The pattern matters more than the load.
Workout B
- Step-up to a low step — Use the bottom stair or a step no higher than six inches. Place your whole foot on the step, press up, and step down slowly. Hold the railing or a counter if you need it. Every bit of balance help is allowed. When this gets comfortable, a slow step-down to the same low step is a good next challenge.
- Chest press on the floor or a bench — Lying on your back on a mat, weights at chest level, elbows about 45 degrees from your ribs. Press up until your arms are straight, then lower until your upper arms touch the floor. The floor version limits how far you can go, which is a kindness to sore shoulders.
- Reverse fly or band pull-apart — Bent slightly forward with light weights, or standing tall with a resistance band held at chest height. Open your arms wide, squeeze your shoulder blades together, and return slowly. This is the posture exercise that pays you back at the computer and in the car.
- Glute bridge — Lie on your back with knees bent and feet flat, hip-width apart. Press through your heels and lift your hips until your body runs in a straight line from knees to shoulders. Squeeze for two seconds at the top, keep your ribs down instead of arching your low back, then lower slowly. Loading the hips like this is one of the most direct things you can do for the bones at your hip and pelvis, and there is no balancing involved.
- Standing hip abduction — Stand behind a chair with both hands on the back. Shift your weight onto one leg, then lift the other leg out to the side about a foot. Toes face forward, not up at the ceiling, and your body stays upright instead of leaning away. Eight to twelve slow reps per side. This trains the muscle that holds your pelvis level when you walk, which is the same area where hip fractures happen later in life.
- Dead bug or bird dog — For dead bug, lie on your back with knees over hips and arms up, then extend one arm and the opposite leg toward the floor while keeping your lower back pressed down. For bird dog, do the same idea on hands and knees. Six slow reps per side is plenty.
Do two sets of 8 to 12 reps for every exercise. Rest 60 to 90 seconds between sets, and take up to two minutes if your breathing is still catching up. That is not slacking off. Rest is how you keep blood pressure steady and stop your form from falling apart on the last rep.
Two sets sounds light, and I heard the same skepticism from a friend who lifts heavier than I do. I ran this exact structure in my living room with a pair of five-pound dumbbells and a kitchen chair, and by week three the sit-to-stands alone had changed how easily I got out of the car.
For anything one-sided, start with your weaker side and match that rep count on the stronger side, even if it feels easy. Evening out the two sides is half the point of training after 60, and it keeps you from quietly favoring the hip or shoulder that already bothers you.
Progressing in weeks 3 and 4
Do not add sets yet. Add a day first, then a little difficulty.
- Weeks 1 and 2 — Two sessions a week, two sets each, body weight or the lightest dumbbells you own. Write down your reps so you are not guessing later.
- Week 3 — Add the third training day. Keep two sets. Add one or two reps per set, or move from the wall push-up to the counter push-up.
- Week 4 — Add a slightly heavier dumbbell on rows, presses, and reverse flies, or slow the lowering phase to three seconds on every exercise.
- After week 4 — Take one lighter week with two sets and your week-one weights, then start month two with three sets.
The U.S. News & World Report roundup of resistance training exercises from September 2026 is worth a look, because it shows the standard versions of the big movement patterns at full difficulty: heavy squats, loaded presses, chin-ups, deadlifts. What you are doing here is not those exercises with less weight on the bar. It is a chair-supported modification of the same patterns — squat, press, pull, hinge, carry — where the wall takes load off your shoulders, the chair sets how deep you sit, and the step height decides how hard your legs work. Use the roundup to understand where these movements come from. Do not use it to pick a starting weight.
When to stop a set
Muscle effort is fine. Burning in the last two reps is fine. Sharp pain, joint pinching, dizziness, or any pressure in your chest is not, and it means the set ends right there. Sit down, breathe, and if chest pressure or dizziness does not pass quickly, call your doctor. Skip any exercise that keeps aggravating a joint and swap in an easier variation instead of pushing through it.
If you need dumbbells, a resistance band, or a set of ankle weights, check current prices on Amazon before you buy — the lighter weights sell out fast in September and October. Then come back and tell me in the comments which workout felt better in week one. Workout A tends to win early, but Workout B is usually the one women say changed their walking by week four.
How to Add Cardio, Recovery, and Bone-Healthy Habits
Lifting gets the attention, and it deserves it. But the women I see still training in their late sixties and seventies almost always have two or three other habits running quietly in the background: they walk most days, they eat protein more than once a day, and they rest without feeling guilty about it. None of that is complicated. It just has to be scheduled, the same way your strength sessions are.
Walking does more than you think, and it barely touches your recovery
Ten to twenty minutes of easy walking on most days gives you real heart and circulation benefits without draining the energy you need for lifting. Easy means conversational. If you can talk in full sentences while you move, you are in the right zone.
If a 20-minute block feels like too much on a training day, split it. Two 10-minute walks count the same as one longer one, and an after-dinner loop has a bonus most women notice within a week or two: better sleep. I mapped out a 10-minute route around my own block and used it as a warm-up before evening sessions. The consistency mattered far more than the distance.
Bone changes on a calendar measured in months, not weeks
Here is the part that surprises almost everyone: bone does not remodel on a workout schedule. It responds to progressive loading over months. If you are hoping a follow-up scan in four weeks will look different, it almost certainly will not. The lifting and walking you do this fall are paying into an account you will not see a statement from until well into next year. Keep going anyway. That is the whole mechanism.
What does load bone is the strength work itself, plus walking, where gravity and the ground are pushing back on you. Cycling and swimming are wonderful for your heart and lungs, and I use them often with clients whose knees complain. They just do not load bone the way standing lifts and walking do, so treat them as cardio, not as your bone-building anchor.
Running, jumping, and plyometrics load bone in stronger doses. They also carry real fall and fracture risk if you already have osteopenia or osteoporosis, or if your balance has shifted in recent years. Get cleared by your doctor before you add any of it. If bone density is low, or you simply are not sure, walking, cycling, and swimming are the safer lanes.
One more piece, and please treat it as a conversation starter rather than a rule from me. If you have been diagnosed with osteoporosis, ask your doctor or a physical therapist which movements are appropriate for you, and specifically bring up loaded spinal flexion (full sit-ups, deep bent-over rows with weight) and loaded twisting (a weighted rotation at the waist). Some clinicians are comfortable with modified versions for certain patients. Others would rather you skip them entirely. That call depends on your scan, your fracture history, and how you move, and it is not one an article can make for you. Rounding your back to tie a shoe is not the same thing as loading a rounded spine with a dumbbell, so do not start policing your posture all day long.
One full rest day a week, plus a second one when your body asks
Plan at least one complete rest day every week. Two is smarter while you are new to lifting, because that is when soreness lingers longest.
Take an extra day whenever joints ache or sleep has been rough. A grumpy knee on a Tuesday morning is information, not a personal failing. Training through it is how beginners end up sidelined for six weeks and lose all their momentum.
Protein, water, and sleep: the boring habits that make training feel easier
Get a protein source into each meal. Eggs, Greek yogurt, chicken, fish, beans, tofu, cottage cheese. Plenty of women over 60 drift through breakfast on toast and coffee, then wonder why their legs feel heavy by the second set. Add protein early in the day and recovery changes faster than you would expect. A rough target many of my clients use is a palm-sized portion at each meal.
Water matters too. Thirst signals fade with age, so drink on a schedule instead of waiting to feel thirsty. Keep a glass or bottle where you train and finish it during the session.
Sleep is the habit I would protect above everything else on this list. Muscles repair while you sleep. If you are running on six hours, your training plan is fighting an uphill battle no matter how well it is written.
Balance work, two or three times a week
This is the piece most beginners skip, and it is the one that keeps you independent. Three movements cover it:
- Heel-to-toe standing. Stand with one foot directly behind the other, heel touching toe, near a counter. Hold 20 to 30 seconds, then switch which foot is forward.
- Single-leg hold. Stand on one foot beside the kitchen counter with your fingertips resting on it. Work up to 20 seconds, then try lifting your fingers off for a few seconds at a time.
- Slow direction changes. Walk a slow figure-eight, or turn in a controlled circle and reverse direction. About 60 seconds is plenty.
Two or three times a week is enough, and you can tack these onto the end of a strength session while you are already warm and near a wall or counter.
What a realistic week looks like
This plan starts at two strength days a week, with 20- to 30-minute sessions like the ones laid out earlier. Weeks one through three look like this:
- Monday: strength session, 20 to 30 minutes.
- Tuesday: 15-minute walk, or two 10-minute walks.
- Wednesday: full rest.
- Thursday: 15-minute walk, plus balance work.
- Friday: strength session, 20 to 30 minutes.
- Saturday: 15-minute walk.
- Sunday: full rest.
Once two lifting days have felt manageable for two or three weeks, add a third. That version looks like this:
- Monday: strength, then 10 minutes of balance work.
- Tuesday: 15-minute walk.
- Wednesday: rest, or a 10-minute easy walk if you feel good.
- Thursday: strength, then balance work.
- Friday: 15- to 20-minute walk.
- Saturday: strength session.
- Sunday: full rest.
Two or three lifting days, a few short walks, two balance blocks, and at least one day off. Not glamorous, but repeatable, and repeatable beats intense every single time. If a week falls apart because of travel or a cold, drop back to the two-day version and pick it up again. This plan is a dial, not a switch.
If you are adding dumbbells, adjustable sets save space and grow with you as you get stronger, so it is worth checking current prices on Amazon before you commit to a pair. And if you have already been training for a while, tell me in the comments which one of these habits helped your recovery most, because the next woman reading this will learn from it.
Progression, Tracking, and When to Adjust the Plan
Weeks 1 through 4 were about learning the moves and getting used to two or three short sessions a week. Weeks 5 through 8 are about turning that routine into actual progress. Your exercises stay the same. Your days stay the same. What changes is that you now have a baseline to build on, so you can push a little on purpose instead of guessing.
Double progression, in three steps
This is the whole system. Pick a weight where 2 sets of 8 to 10 reps feel like a 6 out of 10 effort. That means you could probably grind out two more reps, but you would rather not.
- Add reps first. Stay at that same weight and work up to 2 sets of 12 reps at that same 6 out of 10 effort. This may take a few sessions, and that is fine.
- Add a couple more reps. Once 12 feels solid, nudge it to 13 or 14 per set for a week or two. Still the same dumbbell.
- Add weight. Now pick up the next size dumbbell, usually a 2 to 5 pound jump, and drop back to 8 to 10 reps. The cycle starts over.
If you are working with water bottles or cans instead of dumbbells, the same idea holds. Move to a slightly bigger bottle, or the next can size up. Small jumps only. The goal is to nudge your muscles, not ambush them.
Change one thing at a time
This is the rule that keeps women training instead of nursing sore elbows. Add reps first, then add a third set, then go heavier. Do not stack all three into the same week. Pick one change, give it a week or two, and see how you feel before you touch anything else.
I made this mistake early on with overhead presses. I added weight and a third set in the same week, and my right shoulder complained for ten days. Lesson learned. Slow beats sore.
Write it down
A small notebook or a note on your phone is enough. Log four things:
- The date
- The exercises you did
- The reps and the weight for each set
- How you felt, including energy level, any tightness, and anything that felt easier than last time
That last line is the one people skip, and it is the most useful. If you jot down that squats felt easy or that your shoulders felt tight after rows, patterns show up fast. Maybe you need an extra rest day after a long walk. Maybe you sleep better on the days you train in the morning. Two minutes of writing turns guesswork into information you can act on.
After four to six weeks: keep or swap
If your current exercises feel good and the numbers are still creeping up, keep them. There is no rule that says you have to change things just to change them.
If you want some variety, swap one push, one pull, one squat, and one hinge. So a seated overhead press becomes an incline push-up against the kitchen counter. A row becomes a band pull-apart. A chair squat becomes a step-up onto the bottom stair. A hip hinge becomes a glute bridge. Those four patterns cover most of what your body needs, and a recent U.S. News & World Report roundup of resistance training exercises leans on the same squat, hinge, push, pull framework.
If progress stalls for two weeks
Two flat weeks is not a crisis. Run through this list before you change anything:
- Sleep. Short nights add up, and recovery is where strength is actually built.
- Protein. Many women over 60 fall short here. Muscles need the raw material to repair.
- Stress. A rough stretch at home often means your body wants more rest, not more weight.
- Your weights. If 15 reps feels like nothing, go heavier. If your form falls apart at rep six, go lighter.
When to get help instead of pushing through
Here is a clear line. Talk to a physical therapist or your doctor if pain lasts more than a week, if it shows up during everyday things like stairs or getting out of the car, if you feel sharp or pinching joint pain rather than muscle fatigue, if you notice numbness or tingling, or if your balance feels worse than it did a month ago. A trainer can also watch you do a specific lift and clean up your form. Getting help early is not a setback. It is how you stay in the game for years.
Your next step
If you are ready to add a pair of light dumbbells to your setup, check current prices on Amazon, and if you have been training at home, share your experience in the comments. What changed for you in weeks 5 through 8, and what would you tell another woman over 60 just starting out? Your answer might be the thing that keeps her going.