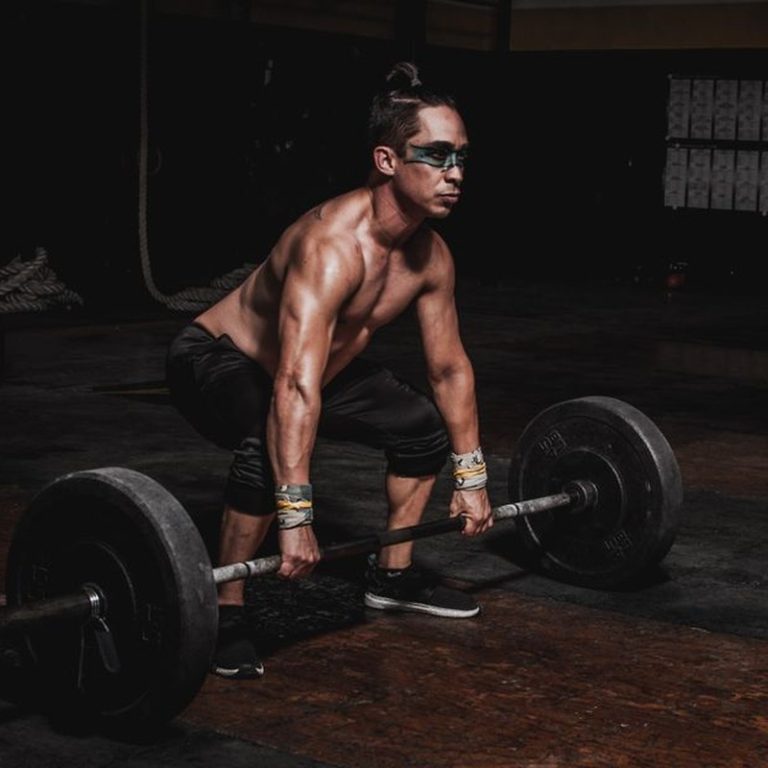
Lower Back Pain During Deadlifts?
By Liam Smith — Fitness enthusiast and founder of Apexfito. I test gear at home and share what actually works.
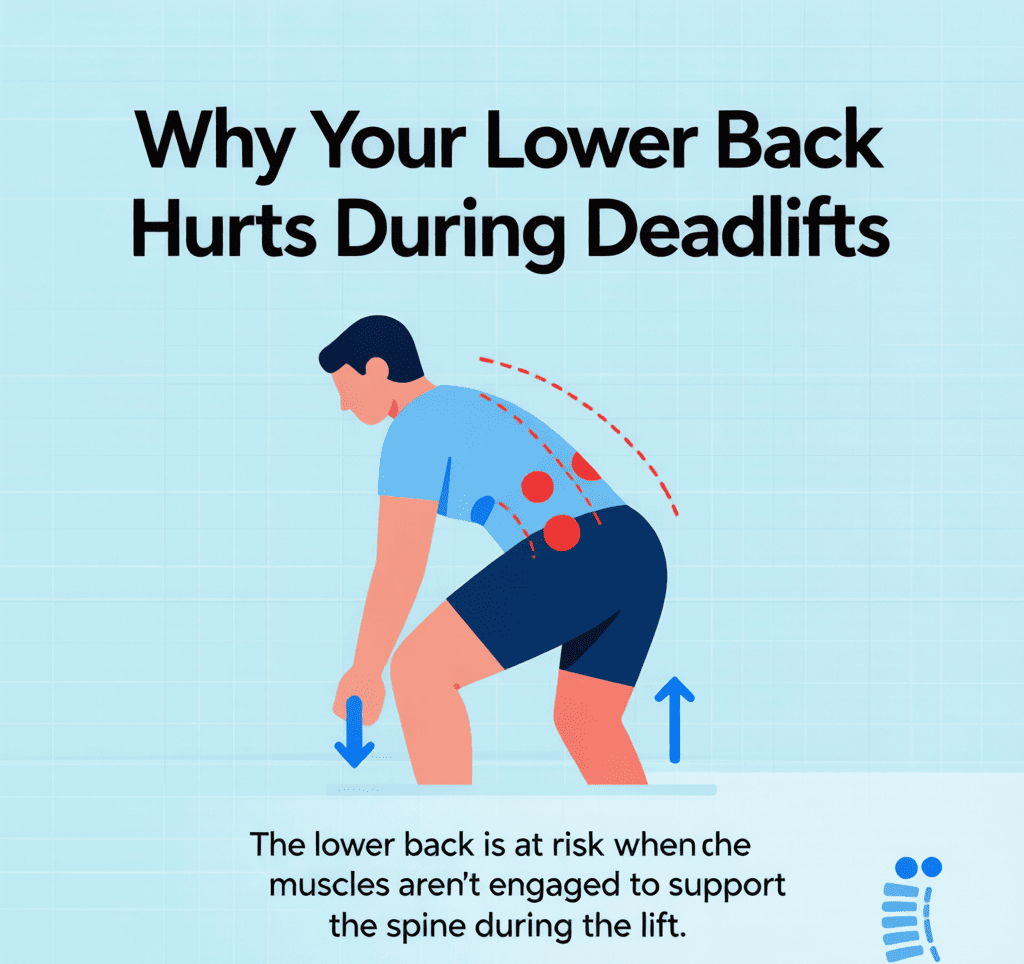
Why Your Lower Back Hurts During Deadlifts
If you’re deadlifting and your lower back is talking to you — not the good kind of talking, but the sharp, worrying kind — you’re not alone. I’ve been there, and I’ve coached plenty of lifters through it. The first thing to understand: there’s a big difference between muscle soreness and pain that signals something’s wrong. Harvard Health notes that sleep is critical for muscle repair and growth; skimping on sleep limits gains.
Muscle soreness in your lower back after a heavy deadlift session is normal. It’s a dull ache that fades within a day or two. But sharp, localized pain that persists or gets worse with each rep? That’s your body telling you the load is hitting structures that aren’t designed for it — namely, your spinal discs and ligaments.
Here’s the biomechanical breakdown: when you round your lower back under load — that classic cat-back position — you shift the stress away from your glutes and hamstrings and onto your lumbar spine. Your spinal discs are tough, but they’re not meant to handle heavy bending forces repeatedly. Over time, that repeated flexion under load can lead to disc bulges or herniations. I’ve seen it happen to lifters who thought they were just ”working through the pain.”
Poor bracing is another culprit. If you’re holding your breath incorrectly or not engaging your core, you’re leaving your spine unprotected. Think of your core as a pressure suit — when you brace properly, you create intra-abdominal pressure that stabilizes your spine. Without it, your vertebrae take the brunt of the force. I’ve had clients who fixed their back pain just by learning to brace before every rep.
Then there’s starting position. If your hips are too low — like you’re trying to squat the weight up — your lower back has to work overtime to keep your torso upright. If your hips are too high, you’re essentially stiff-legged deadlifting, which puts even more shear force on the lumbar spine. The sweet spot is somewhere in between, with your shoulders slightly ahead of the bar and your hips at a height that lets your legs do the initial drive.
Here’s the key takeaway: lower back pain during deadlifts is a signal, not a badge of honor. It’s not something to push through. It’s something to listen to and fix. If you’re experiencing sharp or persistent pain, back off the weight and focus on form. Your spine will thank you.
Recovery also matters. After a tough session, spend a few minutes on hip flexor stretches and foam rolling your glutes and quads. Tight hips can pull your pelvis out of position, making it harder to maintain a neutral spine on your next pull. A little mobility work goes a long way.
The Setup: How to Position Your Body for a Safe Pull
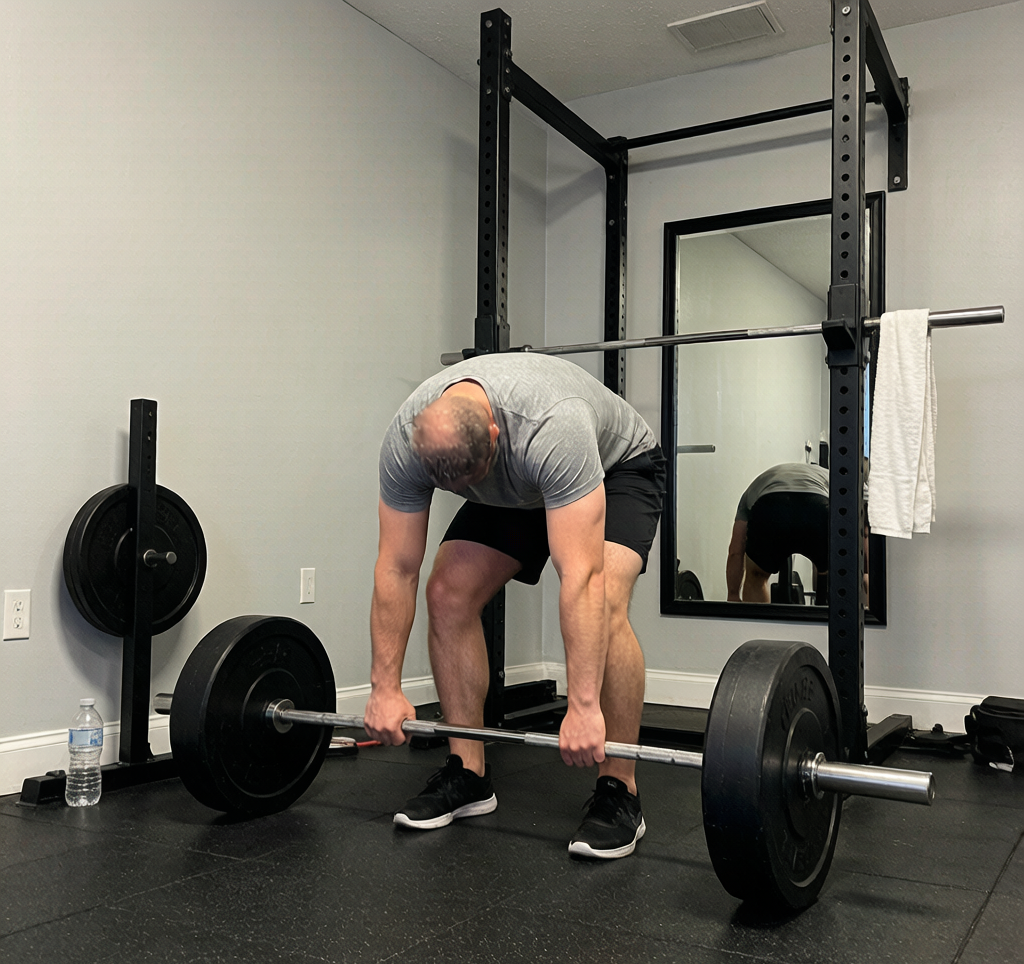
If your lower back is screaming after deadlifts, the problem usually starts before the bar even leaves the floor. The setup is where you either protect your spine or set yourself up for pain. Let’s walk through each step so you can pull heavy without the ache.
Step 1: Get the Bar in the Right Place
Stand so the barbell is directly over the middle of your foot — about an inch from your shins. This keeps the bar path vertical and prevents you from leaning too far forward, which shifts load to your lower back. I used to set up with the bar an inch too far forward, and my back paid for it. Once I moved it closer, my pulls felt instantly stronger and safer.
Step 2: Hinge at the Hips, Not the Waist
Push your butt back until your shoulders are just over the bar — not behind it. Think of closing a car door with your glutes. If you bend at the waist, your torso becomes too horizontal, and your lower back takes the brunt of the weight. Keep that hinge deep and controlled.
Step 3: Grip the Bar with Straight Arms
Reach down and grip the bar with arms fully straight. Don’t let your shoulders roll forward or hunch. Instead, pull your shoulders down and back, like you’re squeezing a pencil between your shoulder blades. This engages your lats and locks your upper back into a stable position.
Step 4: Set Your Back
Pull your chest up and tighten your lats as if you’re trying to bend the bar around your shins. This creates tension through your entire back and keeps your spine neutral. If you feel your lower back rounding, you’ve lost the set — reset and try again.
Step 5: Brace Your Core
Take a deep breath into your stomach, not your chest. Your belly should expand sideways and forward. Then brace your core as if someone’s about to punch you. This builds intra-abdominal pressure that supports your spine from the inside. Hold that breath through the pull and exhale at the top.
I’ve seen lifters transform their deadlifts just by fixing their setup. One client couldn’t pull 225 without back pain — after dialing in these steps, he hit 405 pain-free. The difference wasn’t strength; it was position.
Now that you’re set up correctly, the pull itself becomes safer and more powerful. Your legs will do the work, and your lower back will thank you.
The Pull: Driving Through Your Legs Without Straining Your Spine
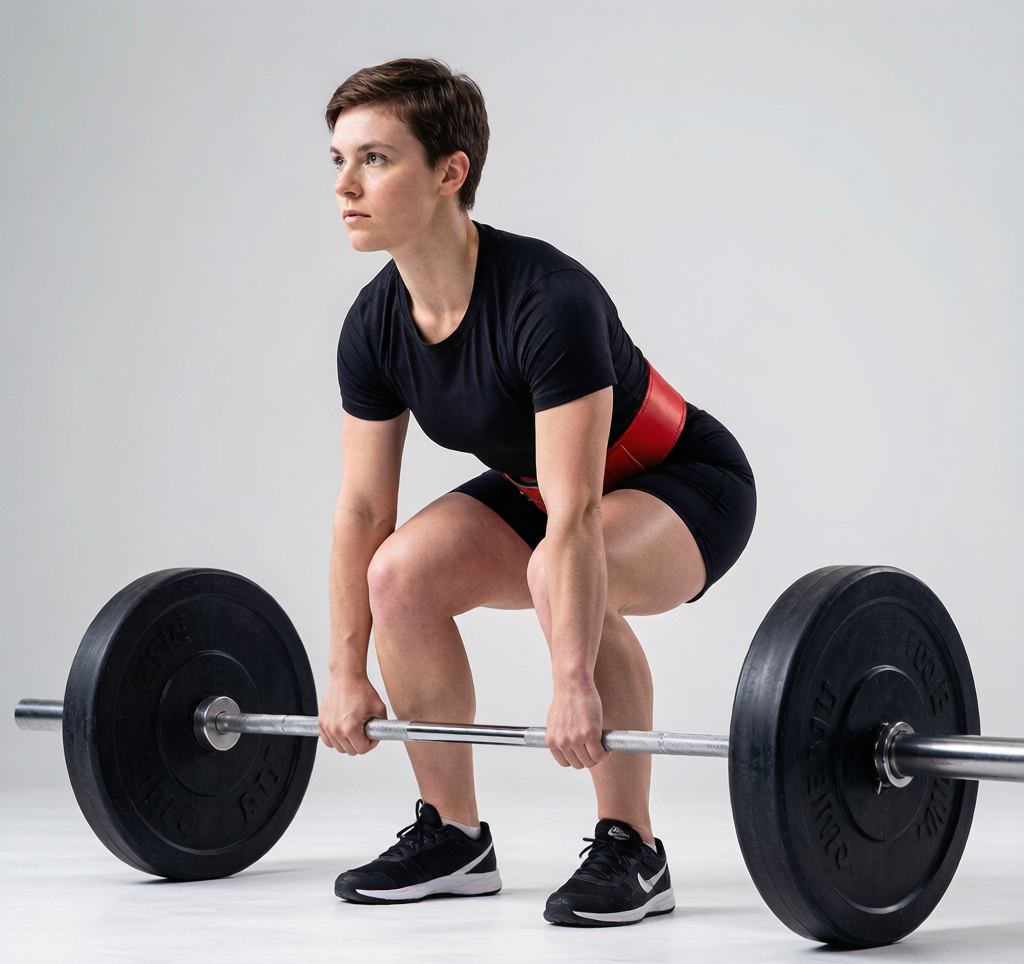
This is where most deadlifts go wrong. You’ve set up tight, braced your core, and pulled the slack out of the bar. But the second you start lifting, your hips shoot up, your back rounds, and you feel that familiar twinge in your lower back. Let’s fix that.
Think of the deadlift as a leg press, not a back lift. Your legs are the engine. Your back is just the frame that keeps everything connected. So to start the pull, push the floor away with your feet. Drive through your whole foot — not just the toes or heels — and imagine you’re trying to push the platform down. This cue alone can save your spine.
As you push, keep the bar in contact with your legs the entire way up. If the bar drifts even an inch forward, your lower back will round to compensate. I’ve seen this happen countless times in the gym. The fix? Pull the bar back into your shins at the start, and keep it there. Scrape your shins if you have to — that’s a badge of honor, not a mistake.
Your hips and shoulders should rise at the same rate. If your hips shoot up first, you’re turning the deadlift into a stiff-legged version, and your lower back takes all the load. A simple check: record a side-angle video of your set. Watch for the moment your hips rise faster than your shoulders. If they do, you need to start with your hips lower in the setup, or think about pushing your chest through earlier.
At the top, squeeze your glutes and stand tall — but don’t hyperextend your lower back by leaning backward. That’s a common overcorrection that can cause just as much pain as rounding. Think about standing up straight, not leaning back. Your hips should be under you, not pushed forward.
Lowering the bar is just as important as lifting it. Most people drop the bar or let it crash down, which can jerk your spine out of position. Instead, push your hips back first — like you’re closing a car door with your butt — and let the bar travel straight down along your thighs. Keep your lats engaged until the plates touch the floor. Control the descent, and you’ll control your pain.
Here’s a drill I’ve used with clients: set up with just the barbell, and practice the pull in slow motion. Take three seconds to push the floor away, three seconds to lock out, and three seconds to lower. Feel how your legs do the work. Once that feels natural, add a light load and repeat. You’ll build the motor pattern without the strain.
If you’re still feeling lower back pain after making these adjustments, check your starting hip height. Many lifters set up with hips too high, which forces the back to take over. Try starting with your hips slightly lower — you’ll feel more quad engagement and less back stress. And if you’re using dumbbells, the same principles apply: keep them close to your body, drive through your legs, and don’t let your hips rise first.
After your set, don’t skip recovery. A quick cooldown can make a big difference for your lower back. I like to do a simple cat-cow stretch on the floor for 30 seconds, followed by a child’s pose hold for another 30. This helps release tension in the spinal erectors and keeps you from walking around stiff the next day. A few minutes of glute and hamstring stretching also helps reset the hips so your next pull feels smoother.
Remember, the deadlift is a leg exercise that happens to involve your back. Train it that way, and your spine will thank you.
Form Fixes and Alternatives When Pain Persists
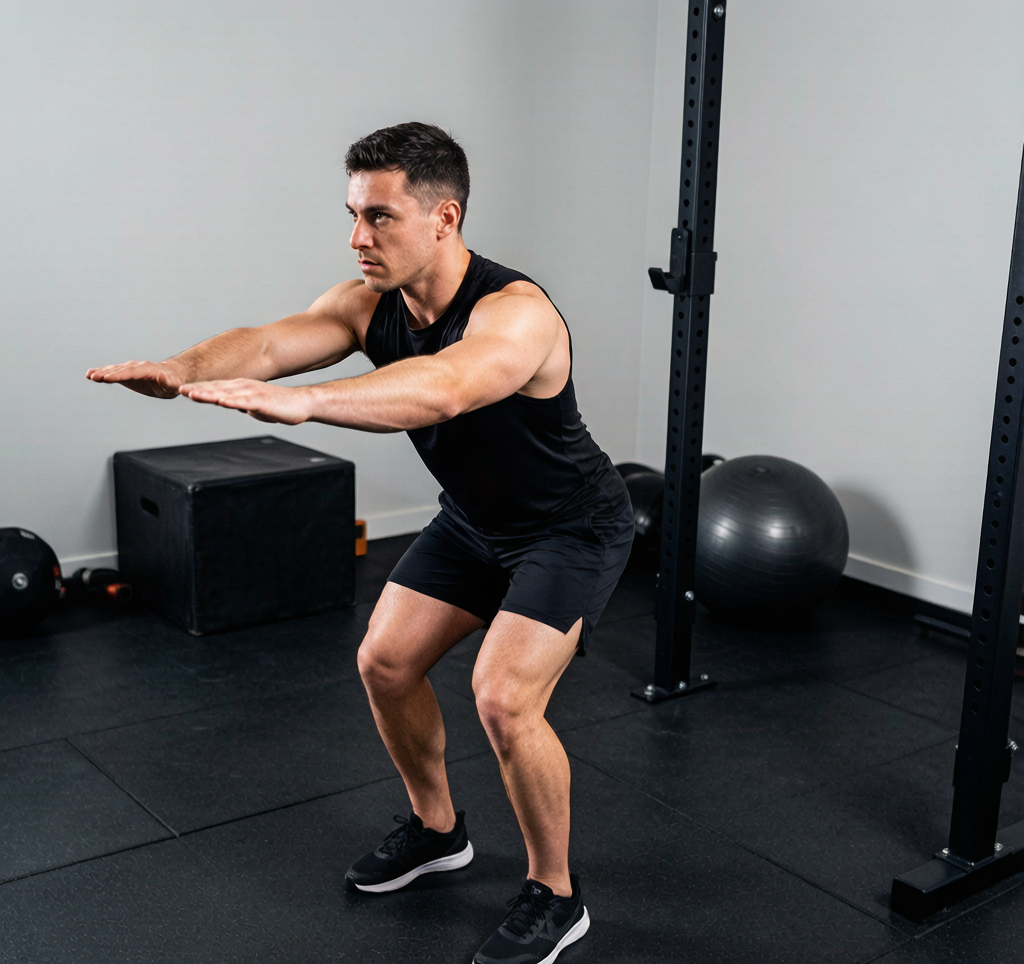
You’ve dialed in your setup, braced your core, and kept a neutral spine — but your lower back still hurts. That’s frustrating, and it’s a sign that something deeper needs to change. Here are practical fixes and alternatives to try.
Adjust Your Stance or Try Sumo
If conventional deadlifts bother your back, switching to a sumo stance can make a big difference. The wider stance shortens the range of motion and shifts more load to your hips and glutes, taking stress off your lumbar spine. I’ve seen lifters who couldn’t pull 315 lbs conventionally hit 405 lbs sumo with zero back pain.
If you’re not ready to go full sumo, try narrowing your stance by a few inches. That small tweak can reduce the moment arm on your lower back and help you maintain a more upright torso.
Use a Hex (Trap) Bar
The hex bar is a game-changer for back-sensitive lifters. Because you stand inside the bar, your center of gravity shifts backward, reducing shear force on the lumbar spine by 10–20% compared to a straight barbell. I’ve used this with clients who had chronic back issues — they could deadlift pain-free for the first time in years.
If your gym doesn’t have a hex bar, try using a barbell with elevated handles (like a deadlift block pull) to mimic the same effect.
Strengthen Your Posterior Chain
Often, back pain during deadlifts isn’t a form problem — it’s a strength imbalance. If your glutes and hamstrings are weak, your lower back compensates. Add hip thrusts, Romanian deadlifts, and good mornings to your routine. Start with 3 sets of 8–12 reps twice a week, focusing on squeezing your glutes at the top.
I personally added hip thrusts to my training and noticed my deadlift back pain disappeared within two weeks. It’s not magic — it’s just giving your glutes a reason to work.
Deload and Rebuild
Sometimes the smartest move is to take a step back. Deload for one to two weeks — drop your deadlift weight to 50% of your working weight and focus on perfect reps. No grinding, no PR attempts. Then slowly add weight, increasing by no more than 10 lbs per week. This gives your connective tissue time to adapt and reinforces good motor patterns.
I’ve done this myself after a bout of low-back tightness. Coming back, I was stronger and pain-free within a month.
Support Recovery with Mobility Work
Incorporate hip mobility drills and foam rolling for the glutes and lower back to support recovery. Spend 5–10 minutes after each session on hip flexor stretches, glute smashes, and cat-cow movements. I’ve found that consistent mobility work keeps my lower back loose and reduces the chance of pain flaring up during heavy pulls.
Know When to See a Professional
If you feel sharp pain, numbness, or tingling radiating into your legs, stop deadlifting immediately. That’s a red flag for a disc issue or nerve impingement. See a physical therapist or sports medicine doctor — they can assess your movement patterns and give you specific exercises to address the root cause.
Don’t push through nerve symptoms. I’ve seen too many lifters turn a minor issue into a chronic problem by ignoring the warning signs.
If these fixes help, great. If not, listen to your body and get professional help. Your long-term health is worth more than any PR.
Got questions about the science? Drop them in the comments and I’ll do my best to answer—or update the article with new research findings.
Medical & Editorial Review: This article was reviewed by Liam Smith, founder of Apexfito, for accuracy and safety. Content is for educational purposes and is not a substitute for professional medical advice. Consult your physician before starting any exercise or nutrition program.