How to Do a Proper Deadlift: Hip Hinge Mechanics for Beginners
Full disclosure: Some links in this article are affiliate links. We may earn a small commission at no extra cost to you if you make a purchase through them. Our recommendations are based on what real users report, not on commission size.
Why the Hip Hinge is Your Deadlift Foundation
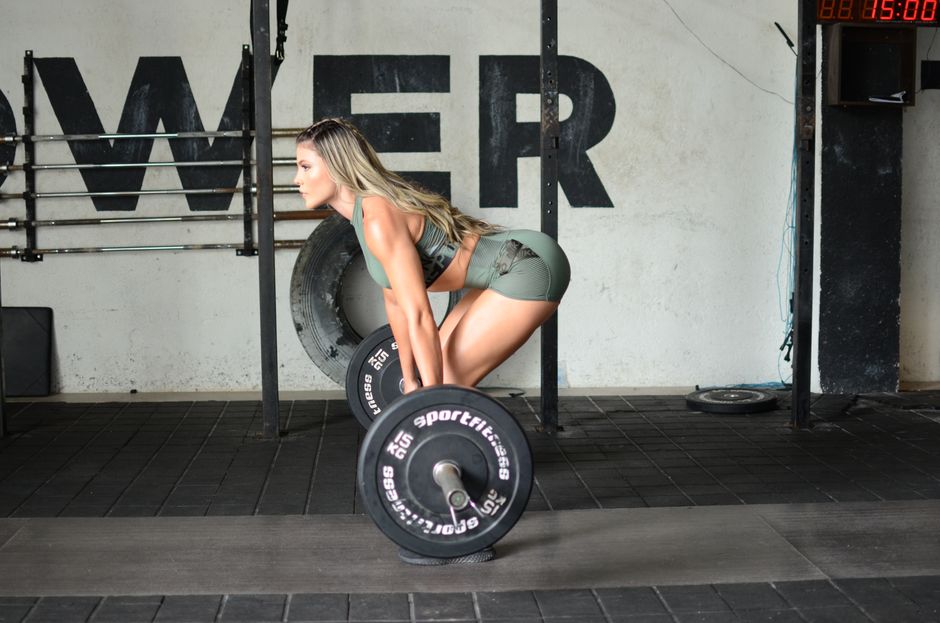
If the deadlift scares you, you’re not alone. I’ve coached dozens of beginners who thought they’d hurt their back the moment they bent over a barbell. The deadlift isn’t a back exercise — it’s a hip exercise. And the key to doing it right is the hip hinge.
The hip hinge is a natural movement pattern. Think about when you’re about to sit down on a high stool — your hips slide back, not straight down. That’s the hinge. It’s not a squat. In a squat, your knees bend a lot and your hips drop. In a hinge, your hips move backward while your spine stays long and neutral. Your knees barely bend.
I remember first learning this myself. I was convinced my lower back would give out. But after practicing with a broomstick at home, I felt the stretch in my hamstrings — not my back. That’s when it clicked.
Building a strong hinge protects your lower back because it keeps the load in your posterior chain — glutes and hamstrings — instead of your spine. When you hinge properly, your legs and glutes do the heavy lifting. Your back stays braced and stable.
Here’s how to practice the hip hinge with no weight:
- Stand with feet hip-width apart, knees soft.
- Place a yardstick or dowel along your spine — touching back of head, upper back, and tailbone.
- Push your hips back as if closing a car door with your butt.
- Keep the stick in contact with all three points. If it lifts off your lower back, you’re rounding.
Once you feel comfortable, you can add light dumbbells. But keep the focus on the hinge, not the weight. The deadlift will follow naturally.
Your Deadlift Setup: Foot Position, Grip, and Posture
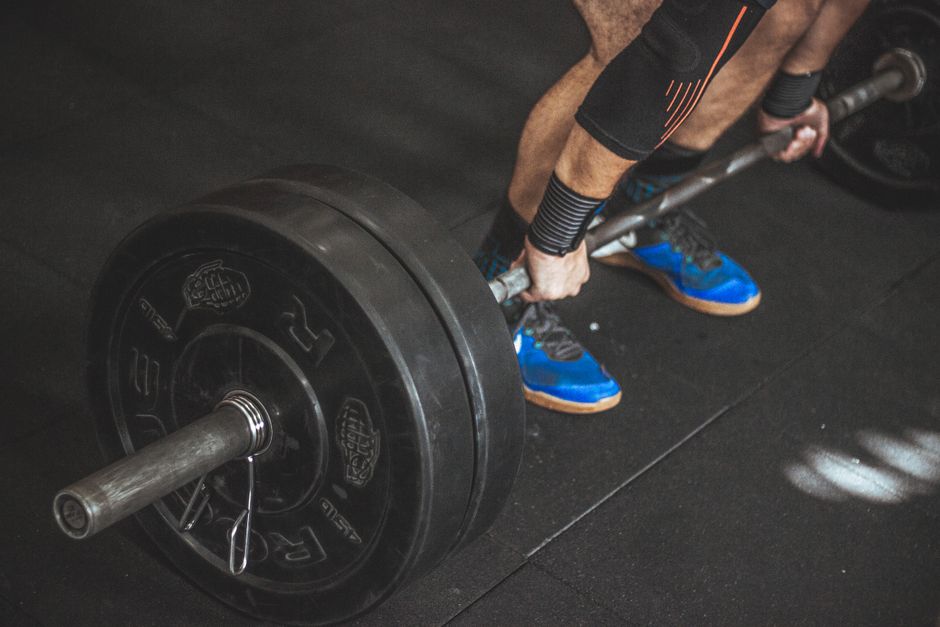
Before you pull, you need to park your body in the right spot. The setup is where deadlifts get dangerous – or safe. I’ve seen people step way too close to the bar, or way too far back, then wonder why their lower back screams the next morning. Let’s walk through it slowly.
Foot placement. Stand with your feet about hip-width apart. The bar should sit right over the middle of your foot. A quick trick: stand up straight, let your arms hang. The bar should line up roughly with your shoelaces. If it’s touching your shins, you’re too close. If it’s past your toes, you’re too far. Get that right before you bend down.
Grip. Now bend at your hips – keep your legs fairly straight – and reach down. Grab the bar just outside your shins. Your shins might brush the bar as you set up, but at the address position (before you pull), they shouldn’t be touching it. That’s normal. For grip, I recommend a double overhand grip (both palms facing you) for beginners. It’s simple and builds grip strength naturally. If the bar starts slipping, try a hook grip (thumb wrapped inside your fingers) or use straps. Avoid the mixed grip until you’re more advanced; it can create muscle imbalances if you use it every session.
Posture. Keep your spine neutral – no rounding, no over-arching. Think “proud chest” but don’t push your ribs out like you’re showing off. Your shoulders should be directly above the bar, not behind it, not ahead. A good mental cue: imagine you’re about to push the floor away with your feet. That’s a mental cue – you won’t actually slide the bar; your feet push down into the ground as you stand up. Don’t try to physically push the bar forward.
Take your time with this. I used to rush into the setup and end up with a sore back. Once your feet, grip, and back are aligned, the deadlift becomes much safer. Practice with just the bar first. Film yourself from the side – check that the bar stays close to your body and your back angle doesn’t change. That’s your foundation.
Mastering the Hip Hinge: Step-by-Step Movement
You understand the basic idea — push your hips back, keep your shins vertical, maintain a neutral spine. Now let’s turn that into a repeatable skill you can trust under load.
Start with the wall tap drill. Stand facing a wall about a foot away. With a soft bend in your knees, push your hips straight back until your glutes tap the wall. If your knees hit first, you’re bending too much. Adjust until you feel your glutes make contact. That’s your hinge path. Do ten reps, focusing on the sensation.
Next, the dowel drill. Grab a broomstick or dowel and hold it behind your back — one hand at your lower back, the other behind your head. The stick should touch three points: the back of your head, your upper back (between your shoulder blades), and your tailbone. Now hinge. If the stick loses contact with any of those points — especially your tailbone — your spine is losing alignment. I still use this before every deadlift session to check my form; it catches small shifts I wouldn’t notice otherwise.
Breathing and bracing matter here. Before you hinge, take a deep belly breath and brace your core as if someone were about to punch you. Hold that tension throughout the movement. Exhale only after you return to standing. This keeps your spine stable and your lower back safe.
Once you can hinge with bodyweight without losing the dowel contact or hitting the wall with your knees, it’s time to add a light dumbbell or kettlebell. Start with 10–15 pounds. The motion stays identical — hips back, soft knees, long spine. The weight should feel like it’s barely there. If you notice your back rounding, go lighter or stick with bodyweight. Ego can wait; muscle memory can’t be rushed.
Spend a few sessions on these drills before you load up a barbell. I’ve coached beginners who skipped this step and ended up with a sore lower back — that’s exactly what we’re avoiding. Build the pattern first, then the weight.
To make your home setup easier, check current prices on Amazon for a deadlift pad or a pair of deadlift slippers — they provide better grip and confidence on the floor. And once you try these drills, drop a comment below. Did the wall tap or dowel trick click for you? What helped you feel the hinge for the first time? Let me know.
Pulling It All Together: The Full Deadlift
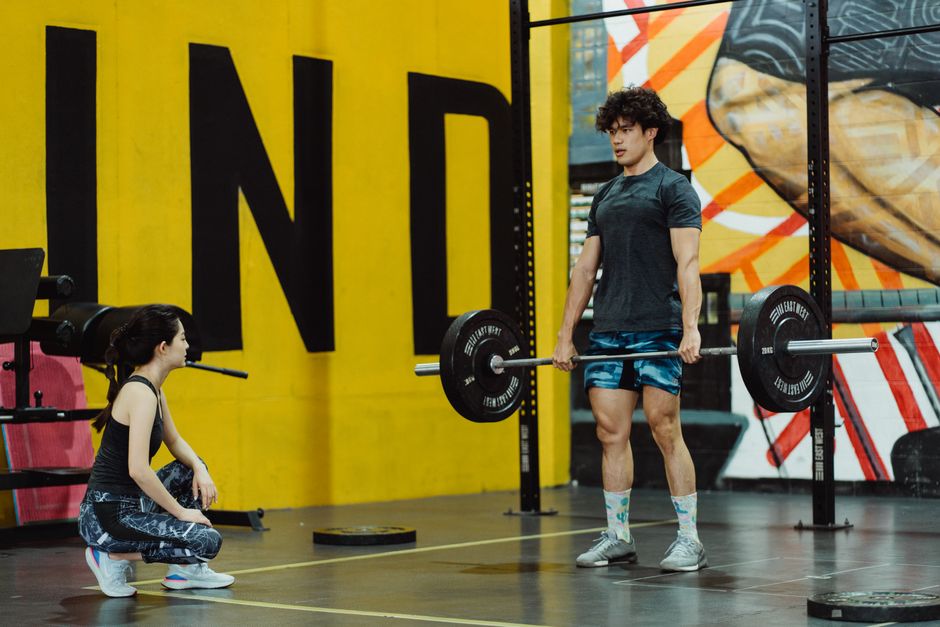
You’ve drilled the hinge and set up at the bar. Now it’s time to link them into one smooth lift. The deadlift isn’t a back exercise—it’s a leg-and-hip movement where the bar just tags along. Your lower body does the work; your spine stays safe.
Start with feet under the bar, hip-width apart. Grip just outside your knees. Pull your chest up and brace your core hard—imagine someone’s about to poke your stomach. Your shoulders should sit slightly in front of the bar, not directly over it.
The Pull
Take a deep breath and hold it. Drive through your heels like you’re pushing the floor away. Keep the bar glued to your body—it should drag up your shins and thighs. If the bar drifts forward, your lower back takes all the load. Let your hips and legs handle the weight.
Once the bar passes your knees, drive your hips forward. Squeeze your glutes at the top to lock out, but don’t lean back. Keep your ribs down and your core braced. Lockout should feel tall and solid, not overextended.
The Lowering Phase
Lowering the bar is where most beginners lose control. Don’t drop it. Start by pushing your hips back—think of closing a car door with your butt. Keep your legs straight until the bar clears your knees, then bend them to set the weight down. This sequence keeps tension in your hamstrings and prevents the bar from smacking your kneecaps.
I’ve found the cue “hips back first, knees bend second” makes the descent click. Practice with an empty barbell or a broomstick to get the rhythm. Once it feels natural, everything falls into place.
Quick Checklist
- Drive through your heels and pull the bar close to your body – let your hips and legs do the work.
- Lock out by squeezing glutes at the top, not by leaning back – keep ribs down.
- Lower with control: hinge first, then bend knees once the bar passes them – don’t drop the weight.
Take three to five reps on your first few sets. Form over ego. If you’re using dumbbells, the same cues apply: keep them close to your shins and thighs, and don’t let your shoulders round forward.
Once you feel confident, check current prices on Amazon for a quality barbell or lifting shoes—good gear helps. And if you’ve found a tip that made the deadlift click for you, share your experience in the comments. Beginners need to hear what actually works in the gym.
Deadlift Mistakes Beginners Make (and How to Fix Them)
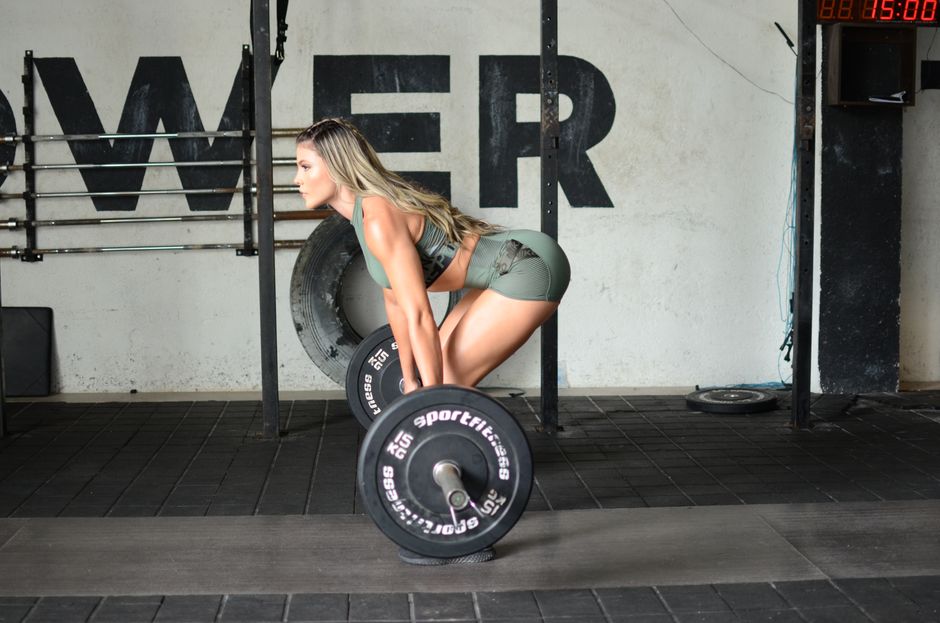
When I started deadlifting, I made every mistake in the book. Rounded back, arms doing the pulling, ego lifting a bar that weighed more than my grocery budget. It took a coach pointing out each error and a lot of patience to unlearn bad habits. Here are the four most common deadlift mistakes I see—and how you can fix them before they become yours.
Mistake #1: Rounding Your Lower Back
You’re at the bar, hips low, chest up, and as soon as you pull, your lower back rounds into a C-curve—lumbar flexion, not a cat’s arch. That’s a fast track to a disc injury. The fix starts before you even pull: reset your setup. Stand with the bar over midfoot, hinge at your hips until your shins touch the bar, then brace your core. Take a deep breath into your belly, hold it, and tighten your abs like someone’s about to punch you. Do not exhale until the bar is back on the floor. This intra-abdominal pressure locks your spine in a neutral position. If you can’t keep a flat back, lower the weight or switch to a hip hinge drill against a wall until the position feels natural.
Mistake #2: Pulling with Your Arms
A deadlift isn’t an arm exercise. Your biceps are not meant to haul 200 pounds off the floor. Think of your arms as dead weight—just hooks attached to the bar. The drive comes from pushing through your legs and driving your hips forward. I tell beginners to imagine they’re doing a leg press while holding the bar. Pull the bar into your body by engaging your lats, then drive with your quads and glutes. If your arms feel tired after a set, you’re pulling too much with them. Relax your grip just enough to keep the bar stable, and let your legs and glutes do the work.
Mistake #3: Starting Too Heavy
You see people repping 315 and think you need to match them. That’s how you end up with a yanked back and zero confidence. Use an empty barbell or a pair of light dumbbells until the hip hinge motion feels automatic. No shame in starting light—every strong lifter started with just the bar. Practice the movement pattern for a few sessions before adding even ten pounds. Your back and your brain will thank you.
Mistake #4: Not Pulling the Slack Out of the Bar
Most beginners grab the bar and yank it off the floor. That sudden jerk pulls you forward and wrecks your position. Before your hips start moving, pull the slack out of the bar. Gently pull upward against the plates until you hear a click and feel tension in your arms, lats, and upper back. Your shoulders should be packed down, not shrugged. With the slack gone, the bar is now linked to your body. Drive through your legs, and the bar will move smoothly off the floor. If you miss this step, you lose the tightness that protects your spine.
One more thing: don’t rush your setup. Take that breath, check your spine, pull the slack, then lift. Speed comes later. Right now, focus on clean reps.
If you’re looking for quality barbells or dumbbells, check current prices on Amazon to find something that suits your budget. And drop a comment below—what deadlift mistake did you struggle with most? Sharing your experience helps others feel less alone.
Related Reading
Medical & Editorial Review: This article was reviewed by Liam Smith, founder of Apexfito, for accuracy and safety. Content is for educational purposes and is not a substitute for professional medical advice. Consult your physician before starting any exercise or nutrition program.

4 Comments