How to Do Glute Bridges: Activate Your Glutes and Fix Your Hips
Full disclosure: Some links in this article are affiliate links. We may earn a small commission at no extra cost to you if you make a purchase through them. Our recommendations are based on what real users report, not on commission size.
Why Glute Bridges Matter
If you sit for most of the day, your glutes likely spend hours in a dormant state. That’s common, but it’s also the root of many hip and lower back problems. Glute bridges target the gluteus maximus and the deep hip rotators — muscles that conventional sitting never challenges. Unlike squats or deadlifts, this movement activates your posterior chain without loading your spine, making it a safe starting point even if you have lower back discomfort.
When you sit for long stretches, your hips stay flexed and your glutes remain inactive. Over time, this shuts down glute function, forcing your lower back and hamstrings to pick up the slack. The result: hip tightness, poor posture, and chronic back pain. Glute bridges directly reverse that pattern by teaching your glutes to contract properly.
This exercise also builds posterior chain awareness — the mind-muscle connection that helps you engage your glutes in other movements like walking, running, or lifting. Since there’s no spinal compression, it’s a low-risk way to begin rebuilding strength from the ground up.
Who benefits most?
- Beginners learning how to fire their glutes for the first time
- Office workers stuck in chairs 8+ hours a day
- Anyone with persistent lower back tension looking for relief
A practical note: keep your feet flat, toes forward, and drive through your heels as you lift your hips. Squeeze your glutes at the top for two seconds before lowering. Try a few reps now — you’ll feel the engagement immediately.
Once you have that feel for the movement, you’re ready to refine your form. The next part walks through the exact steps to set up and execute a glute bridge correctly.
Setting Up for Success
Where you place your body and what you place it on will determine whether you feel the glute bridge in the right spot or waste your time. I’ve seen too many people flop onto a squishy mattress and then wonder why their lower back screams at them. Let’s get you set up correctly so the movement actually works.
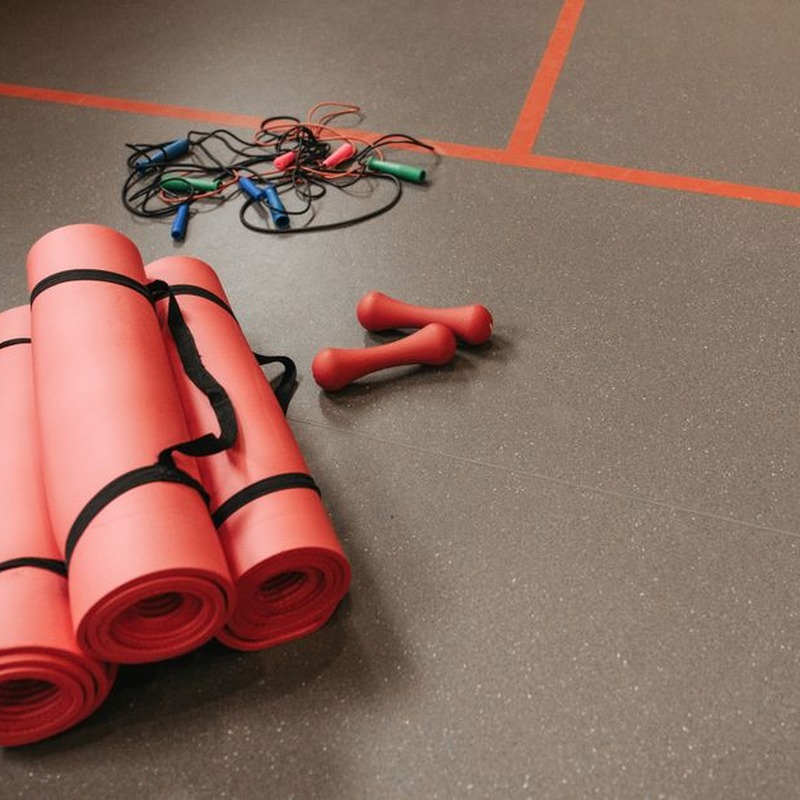
Start by lying face-up on a firm mat. A standard yoga mat on a hardwood floor or carpet is perfect. Do not try this on a bed, a foam topper, or anything that gives more than an inch of compression. You need a stable surface so your hips don’t sink and your spine stays aligned. I’ve done glute bridges on a thick gym mat before and the instability threw off my entire form — firm is your friend.
Bend your knees and plant your feet flat on the floor, hip-width apart. Your feet should be close enough that when you reach down with your fingertips, you can just brush your heels. Too far out and you’ll recruit too much hamstring; too close and you’ll jam your knees. Find that spot where your shins are nearly vertical.
Now place your arms flat on the floor slightly away from your hips, palms down. This helps with stability and prevents you from using your hands to push. Relax your shoulders down toward the mat — don’t let them creep up toward your ears. Tuck your chin slightly, as if you’re holding an egg between your chin and chest. This keeps your neck neutral and avoids straining.
Press your heels into the mat and point your toes either forward or slightly outward (whichever feels more natural for your hips). I prefer a slight outward flare because it helps engage the glute medius, but that’s a personal cue — test both and see.
Before you lift, do a quick alignment check: your ribs should be down (don’t let them flare up), and your lower back should have a small natural gap against the floor. This gap is normal — you don’t want your back completely pressed flat. But if you slide your hand under and it fits easily with no resistance, tilt your pelvis gently to flatten your back into the mat. Think of pressing your navel toward your spine to find that neutral position.
Once you’re in this setup, take a couple of breaths here. I often tell beginners to hold this position for five seconds just to get used to being properly aligned. It makes the actual bridge easier to execute correctly.
Step-by-Step Execution
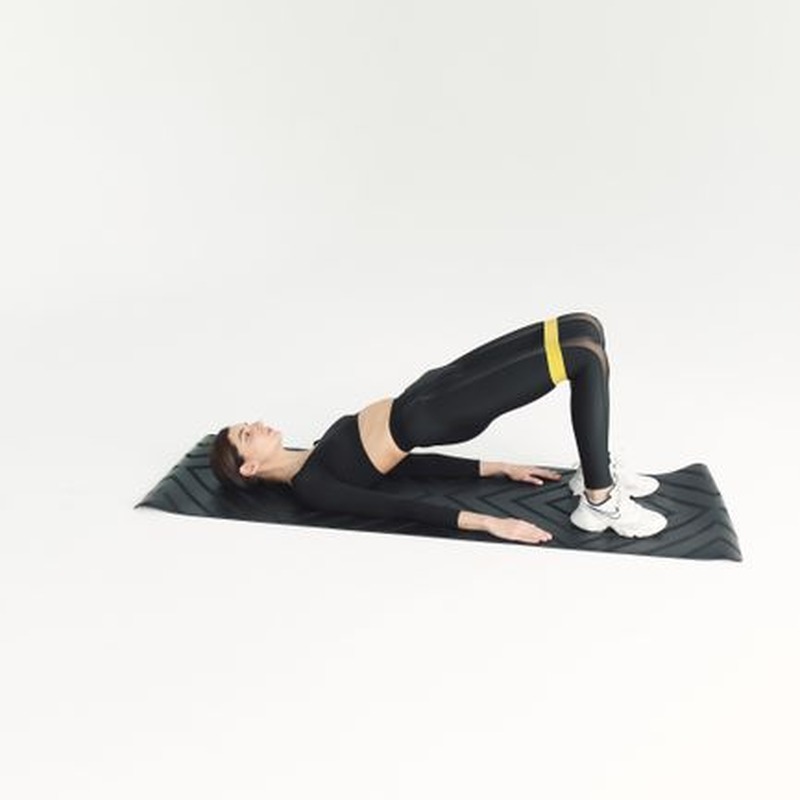
From the setup position you’ve already established—back flat, knees bent, feet hip-width apart—the first thing to do is brace your core. I tell people to imagine someone’s about to poke them in the stomach; that sudden tightening is exactly what you want. A loose core means your glutes won’t fire properly, and you’ll end up feeling it in your lower back instead.
Now take a deep breath in, and as you exhale, drive through your heels and squeeze your glutes to lift your hips off the floor. Exhaling during the hardest part of the movement helps maintain intra-abdominal pressure and keeps your core engaged. Your shoulders, hips, and knees should form a straight line at the top—no higher, no lower. Resist the urge to raise your hips too far; hyperextending your lower back defeats the purpose.
Tuck your chin slightly and keep your gaze angled toward your knees, not the ceiling. This protects your neck and keeps your spine neutral.
Pause at the top for a full 1–2 seconds. Really feel the glute contraction. Then begin to lower your hips slowly, taking 2–3 seconds to return to the start. Inhale as you descend. Control is everything here; imagine you’re gently setting a glass down on a table. Don’t let your hips drop or your back arch.
Repeat for the desired number of reps. Start with 3 sets of 10–15 reps, resting 45 seconds between sets. If you feel it more in your hamstrings or lower back, check your form: are you driving through your heels and keeping your core tight? Small tweaks make a big difference.
Common Mistakes and How to Fix Them
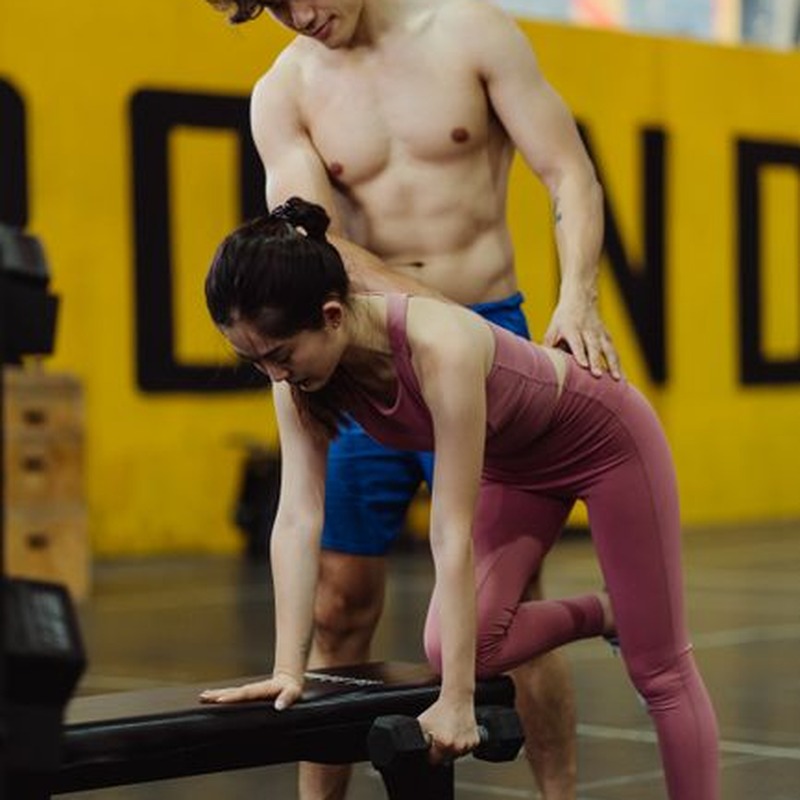
Even with good intentions, a few common form errors can turn your glute bridge into a back bender or hamstring cramper. I’ve coached enough people through this move to know exactly where things go sideways. Here’s what to watch for — and how to fix it fast.
Error: Hips shoot up too fast using lower back momentum. Many people slam their hips upward using a quick, jerky movement that recruits the lower back instead of the glutes. You end up arching your spine rather than extending at the hips. Fix: Slow your rep speed way down. Picture pulling your belt buckle toward your ribs as you lift. That mental cue helps you initiate from the glutes and keep your ribs down.
Error: Feet slide or heels lift off the floor. If your feet scoot forward or your heels rise, you lose the stable base needed for force production. Fix: Dig your heels into the floor as if you’re crushing a grape under each one. Keep your weight heavy in the heels and your toes light — you should be able to wiggle your toes throughout the rep.
Error: Neck cranks back into the floor. During the bridge, some people press their head into the mat or crane their neck to look at their knees. That cranks the cervical spine and can cause pain. Fix: Slide a folded towel under your neck so your head rests in a neutral position. The folded towel should be about 1 inch thick to avoid pushing your head into excessive flexion. Keep your chin tucked slightly, like you’re holding an egg under your chin. Adjust the thickness if needed — your head should feel supported without tilting forward.
Error: Glutes don’t feel like they’re working — instead hamstrings cramp. This is the most common complaint I hear. Your hamstrings are taking over because your glutes aren’t engaged. Fix: Point your toes up toward your shins (dorsiflexion) and drive exclusively through your heels. This shifts the load to the glutes. Also, squeeze your glutes at the top for a full second before lowering.
Error: Lower back feels pain or strain. If your lower back hurts during or after glute bridges, you’re likely overextending or lifting too high. Fix: Reduce your range of motion. Only lift until your hips are in line with your knees — no higher. Before you lift, practice a posterior pelvic tilt: flatten your lower back into the floor and tighten your abs. Hold that tilt as you lift. This keeps your spine safe and your glutes working.
Progressions and Variations
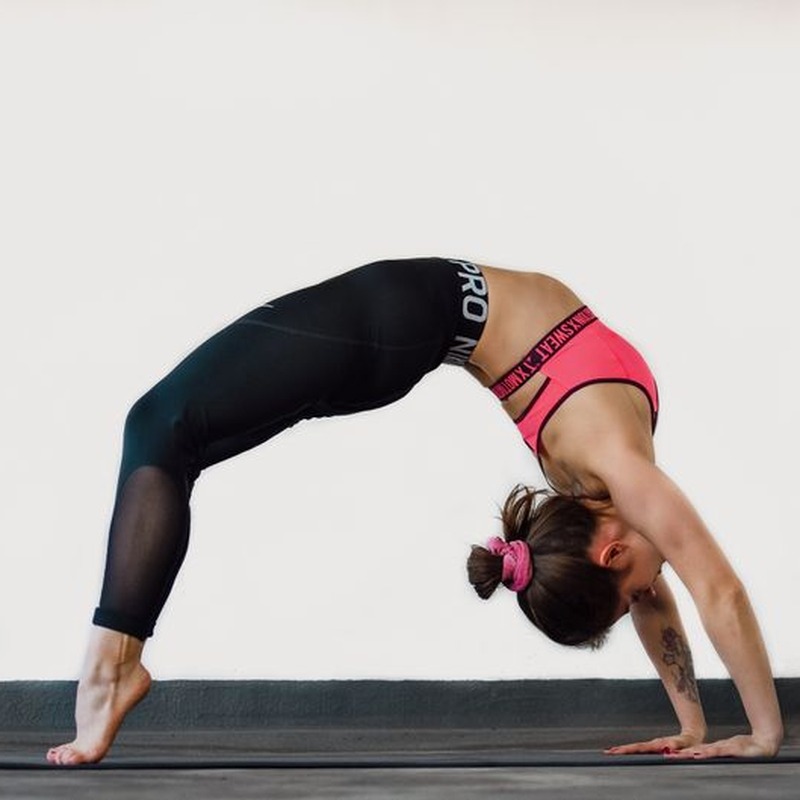
Once you’ve nailed the standard glute bridge, it’s time to level up — or adapt the movement for your specific needs. These variations keep your glutes guessing and can fix weak spots you didn’t know you had. I’ve tried each of these at home and here’s what works.
Add Resistance: Dumbbell or Barbell
Rest a dumbbell or barbell across your hips and hold it in place with both hands. Choose a weight you can control for 10–12 reps. The load forces your glutes to work harder — perfect for building strength when bodyweight feels too easy. Keep your ribs down and don’t let the weight pull you into an arch.
Single-Leg Glute Bridge
Extend one leg straight, keeping both glutes engaged as you lift. Start with bodyweight only. I messed this up at first by letting my raised leg drift — keep that thigh parallel to the other. Lower slowly. If your hamstrings cramp, you’re relying on them too much. Rebuild from the floor.
Elevated Feet
Place your feet on a low bench or step to increase your hip extension range of motion. This variation hits the glutes harder through a longer arc. I use a yoga block or the edge of my couch. Make sure your feet are hip-width apart and your back stays neutral — don’t overreach. Avoid using a high step; keep elevation under 6 inches to maintain control.
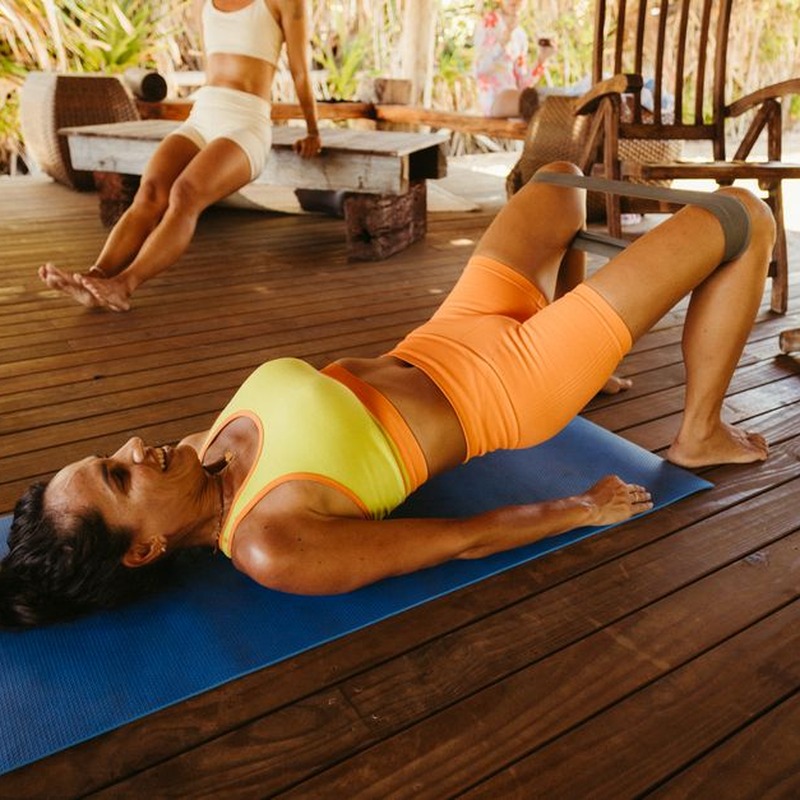
Use a Band
Loop a resistance band above your knees. As you press your hips up, push your knees outward against the band. This fires the glute medius — the muscle that keeps your hips stable during running and squats. It’s a small move that makes a big difference in hip health.
March Glute Bridges
At the top of your bridge, lift one knee toward your chest, then lower and switch. This trains stability and coordination. Your hips might wobble — that’s ok. Go slow and keep both glutes engaged. I find this variation works best as a mobility-finisher after heavier work.
All of these progressions build on the foundation you’ve learned. Pick one that fits your goal — strength, stability, or mobility — and try it for two weeks before moving to another. Check current prices on Amazon for resistance bands, dumbbells, or yoga mats if you want to take this exercise up a notch. And drop a comment below with your favorite variation.
Medical & Editorial Review: This article was reviewed by Liam Smith, founder of Apexfito, for accuracy and safety. Content is for educational purposes and is not a substitute for professional medical advice. Consult your physician before starting any exercise or nutrition program.