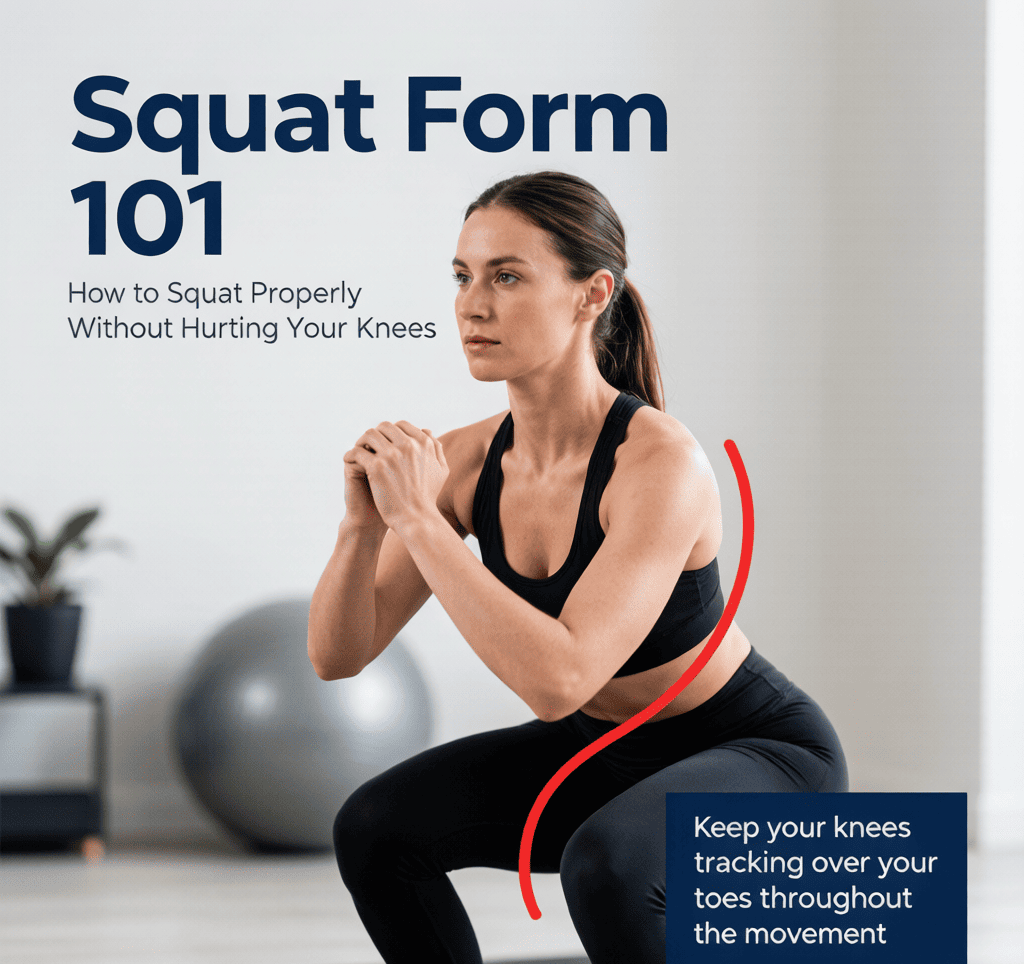
Squat Form 101: How to Squat Properly Without Hurting…
By Liam Smith — Fitness enthusiast and founder of Apexfito. I test gear at home and share what actually works.
Why Most People Get Squat Form Wrong
You’ve heard it before: ”Squats are bad for your knees.” Clients tell me their doctor, trainer, or well-meaning gym buddy warned them off. If you’ve ever felt a sharp pinch in your knee when you squat, you’re going to be cautious. But here’s what I’ve learned after coaching hundreds of beginners: knee pain during a squat is almost never a squat problem. It’s a form problem. Harvard Health notes that keep your back straight and lower your hips until your thighs are parallel to the floor.
The real culprits are almost always one of three things: weak glutes that can’t stabilize your hips, tight ankles that force your knees to travel too far forward, or a caved-in knee position that twists the joint under load. I saw this in my own training. When I first started, my knees ached after every session. Once I fixed my ankle mobility and learned to push my knees out, the pain disappeared. I haven’t had knee pain from squatting in years.
Here’s the key shift you need to make: the squat is a hip-dominant movement, not a knee-dominant one. Think about it — when you sit back into a chair, your hips move first, and your knees follow. If your knees shoot forward the moment you start descending, you’re loading the joint in a way it wasn’t designed to handle. That’s when the patellar tendon gets angry, and that’s when you start avoiding squats.
This guide walks you through the squat from start to finish — setup, stance, descent, and ascent — with specific cues you can use today. No equipment needed. You can do this in your living room in shorts and socks. By the time you finish reading, you’ll know exactly what to feel for and how to fix the most common mistakes that cause knee pain.
I’ve used these cues with clients ranging from 18-year-old athletes to 65-year-old grandparents, and they work. The goal is simple: you should be able to squat without pain, build strength safely, and actually enjoy the movement. Let’s get into it.
Setup and Stance: Your Foundation for a Pain-Free Squat
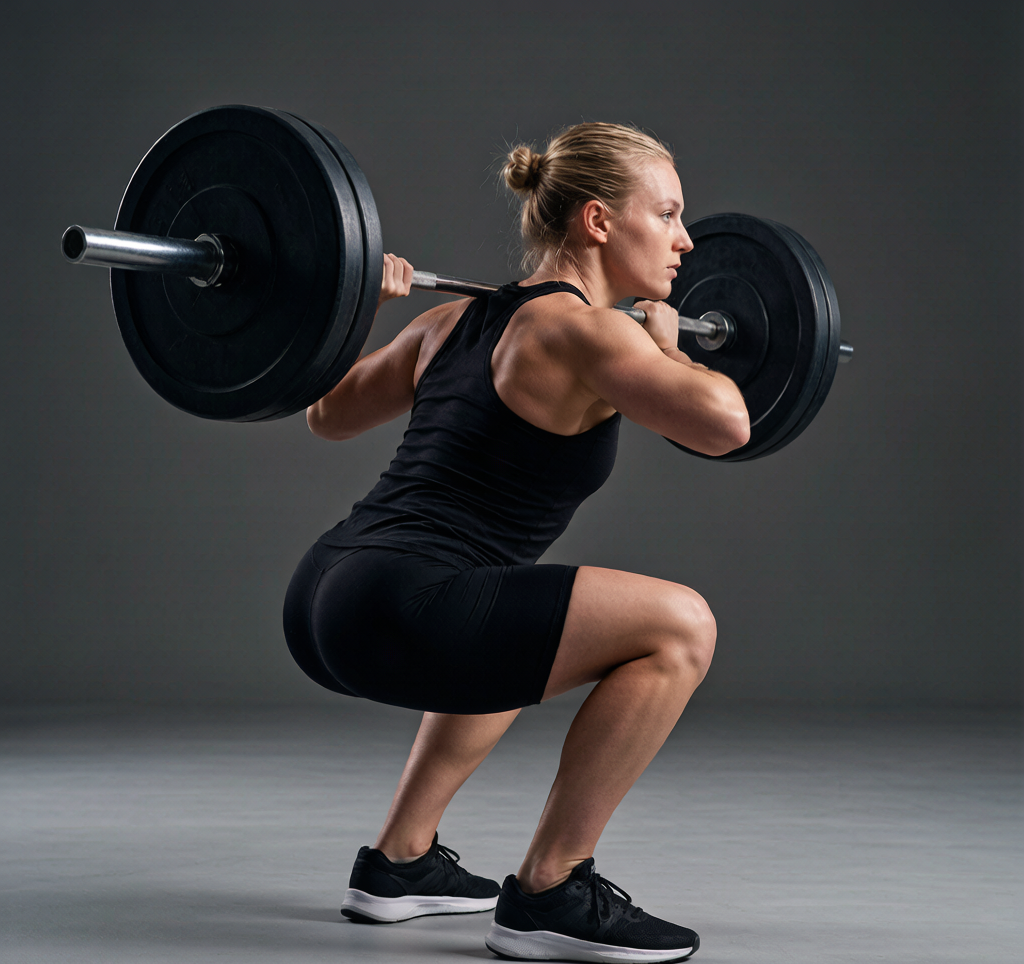
Rushing the setup is a common mistake that leads to knee pain and a shaky squat. Your stance is the foundation for every rep. Get this right, and you’ll squat deeper, stronger, and safer.
Foot Position: Shoulder-Width and Toes Out
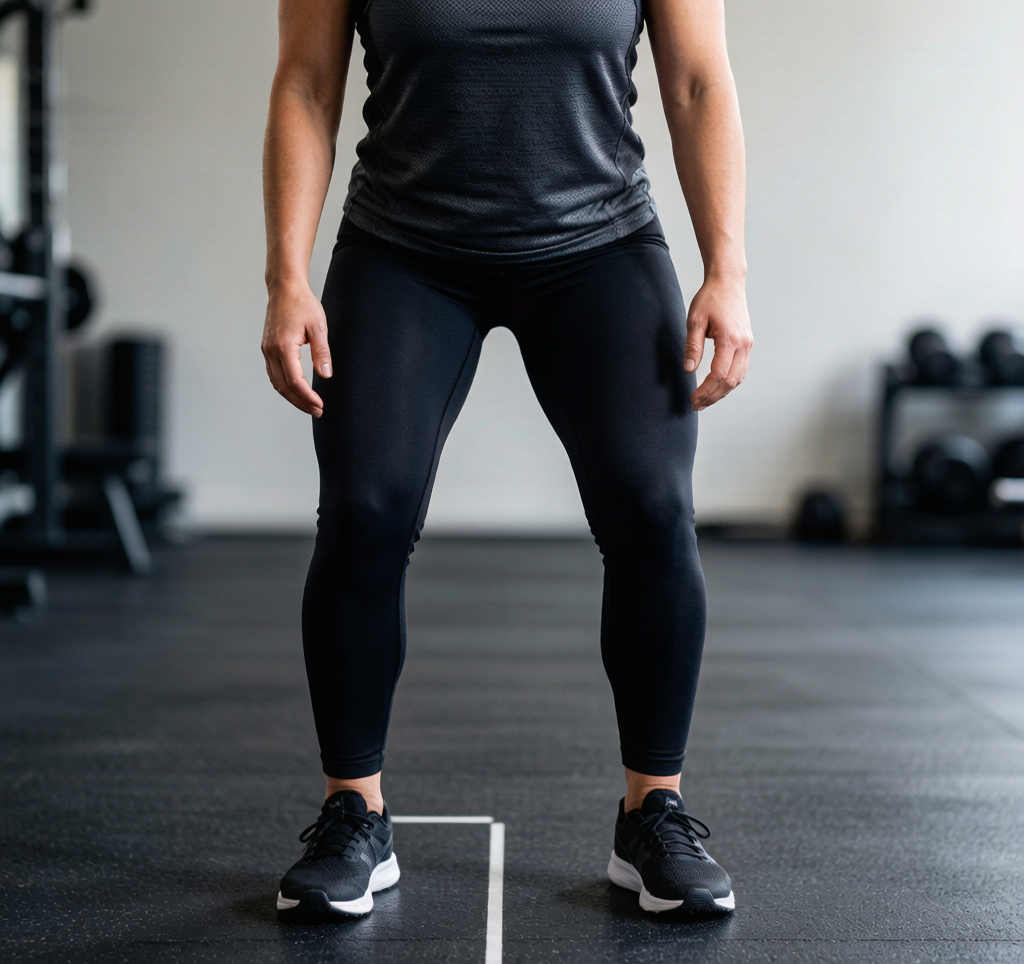
Stand with your feet about shoulder-width apart. For most people, that means your heels are directly under your hips. If you have wider hips or a larger frame, you might need a slightly wider stance—experiment to find what feels stable. Point your toes outward at a 5- to 15-degree angle. This isn’t random; it matches the natural angle of your hip sockets, allowing your femurs to rotate outward as you descend. I’ve coached clients who tried squatting with toes straight forward and couldn’t break parallel without discomfort. Once they turned their toes out, the depth came naturally.
For bodyweight squats, you can adjust your stance on the fly. Stand in front of a mirror and check your foot angle—it’s a quick way to confirm you’re set up right. With a barbell, you’ll want to set it before unracking. Mark your foot position with chalk or a small piece of tape on the floor if you’re training alone—it saves time and keeps you consistent.
Knee Drive: Out Over Your Toes
As you squat down, drive your knees outward over your second and third toes. This isn’t a passive movement—actively push your knees out as if you’re spreading the floor apart. This keeps your hip joint stable and reduces stress on your ACL and MCL. I had a client who always let his knees cave inward. After a few sets of focusing on knee drive, he said his knees felt “looser” and his squat felt stronger. That’s the difference.
A common fear is that knees going past your toes is dangerous. It’s not—if your knees track over your toes with proper knee drive, it’s perfectly safe. The real problem is when your knees collapse inward or shoot too far forward without control. Focus on the outward drive, and your knees will stay in a healthy position.
Barbell Setup: Creating a Stable Shelf
If you’re using a barbell, the setup changes slightly. Before you unrack, pull your shoulder blades together and down—like you’re squeezing a pencil between them. This creates a tight shelf of muscle on your upper back. Place the bar low on your traps, not on your neck. If the bar sits on your neck bones, you’ll feel sharp pain. Adjust it until it rests on the meaty part of your traps.
Grip the bar with your hands as narrow as your shoulder mobility allows. A narrower grip helps keep your upper back tight. Beginners often grab the bar wide because it feels easier, but that leads to a loose upper back and a forward lean. Keep your wrists neutral—don’t let them bend back. If your wrists hurt, widen your grip slightly or work on shoulder mobility.
Once you’re set, take a deep breath into your belly, brace your core, and unrack the bar by standing up. Take two small steps back, adjust your feet to your stance, and you’re ready to squat. Don’t take more than two steps—extra shuffling wastes energy and throws off your balance.
Try this setup with just your bodyweight first. Stand in front of a mirror and check your foot angle, knee drive, and upper back position. Once it feels natural, add the barbell. Your knees will thank you.
Check current prices on Amazon for squat shoes or a quality barbell if you’re training at home. Drop a comment below and share your experience—what’s the one setup cue that made squats click for you?
The Descent: Control the Eccentric to Protect Your Knees
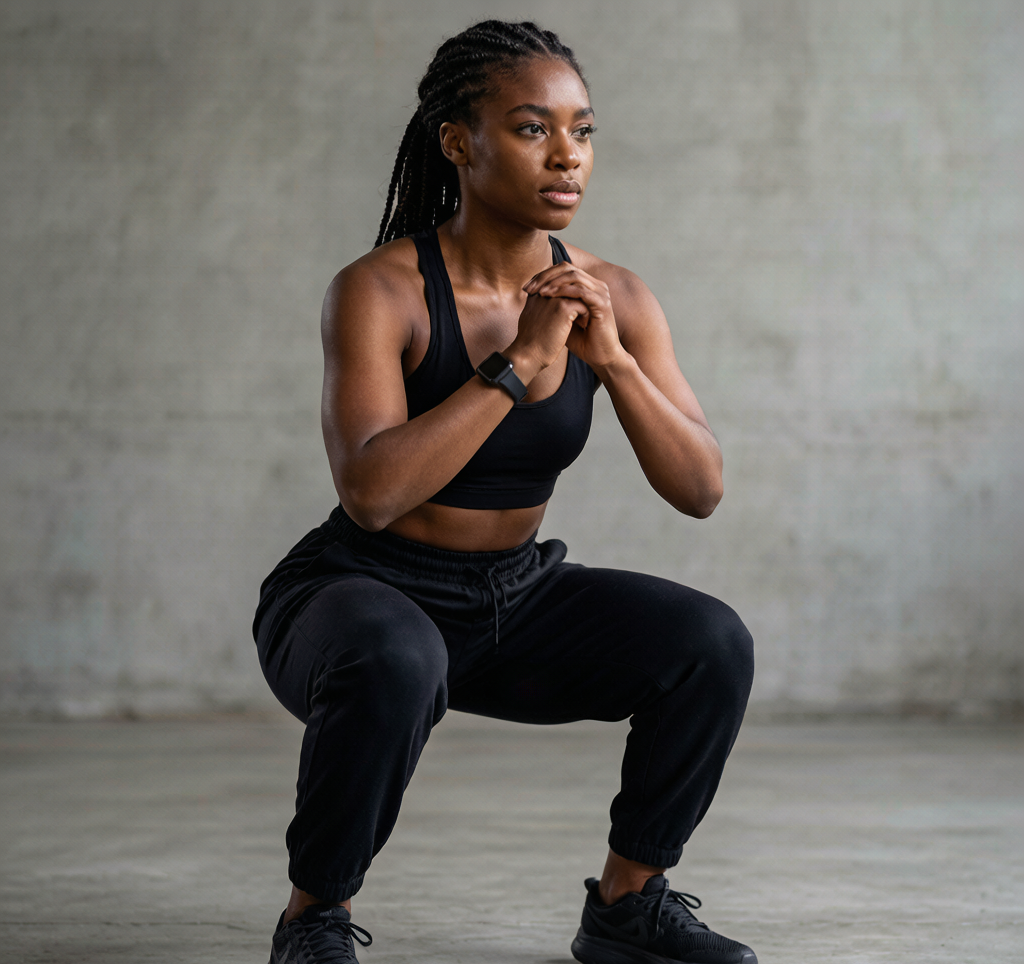
The lowering phase of the squat is where most knee problems start. Drop too fast, let your knees cave in, and you’ll wonder why your joints ache the next day. The eccentric — the lowering part — is your chance to build strength while keeping your knees safe. Here’s how to do it right.
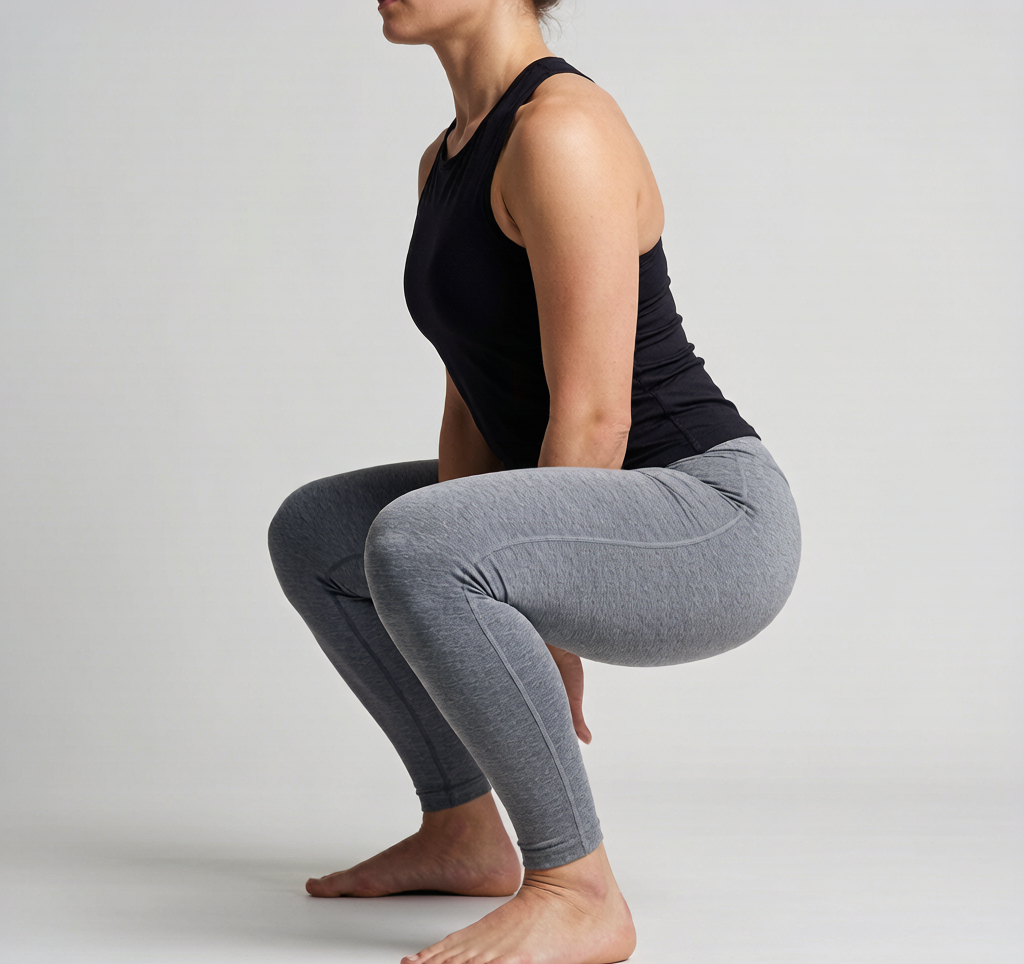
Start by standing with your feet shoulder-width apart, toes pointed slightly out. Before you bend your knees, push your hips back as if you’re about to sit in a low chair. Imagine there’s a wall two inches in front of your toes — that visual cue keeps your shins nearly vertical. They should not shoot forward past your toes. If your knees travel too far forward, you shift the load onto your kneecaps instead of your glutes and hamstrings.
As you lower, keep your chest proud and core braced. Don’t let your torso collapse forward — that forces your lower back to round and puts extra stress on your knees and spine. Pull your shoulders back, puff your chest out, and brace your core as if someone were about to punch you in the stomach. Think of your torso as a rigid block. If it stays upright, your knees track properly and your hips do the work. If it folds, your knees take the hit.
Your knees should move in line with your second and third toes. Don’t let them cave inward — that’s valgus collapse, and it’s a direct ticket to knee pain. If you feel your knees drifting in, focus on pushing them out against an imaginary band. This external rotation cue engages your glutes and keeps the joint stable. I’ve found that squatting barefoot or in flat-soled shoes helps with knee tracking. It gives you better ground feel and prevents the instability that comes from cushioned running shoes.
Now control the descent. Aim for a three-second count on the way down. This tempo builds strength through the full range of motion and gives your joints time to adjust. Dropping too fast increases shear force on the knee joint — lower with intention. Descend until your hip crease drops below your knee — that’s parallel depth. If you can go deeper while keeping your heels flat and spine neutral, that’s fine. But don’t sacrifice form for depth. If you feel a pinch in the front of your knee at the bottom, you’re likely going too deep for your current mobility. Back off slightly and work on ankle and hip flexibility separately. Pain is a signal, not a badge of honor.
Keep your weight evenly distributed across your whole foot, with a slight emphasis on your heels. If your heels lift off the ground, you’re shifting forward and loading your knees. To fix this, think about screwing your feet into the floor — rotate them outward without actually moving them. That creates torque and keeps your arches stable. I’ve coached people who couldn’t squat to parallel without their heels coming up. The fix was simple: they needed to sit back more and stop thinking about going down as a knee-bend. Once they focused on hip hinge, the heels stayed down and the knees felt better.
If you’re using a barbell, the same cues apply. Start with just the bar or a light load until your movement pattern is solid. I’ve seen too many people load up the bar with bad form and wonder why their knees hurt. Build the foundation first.
Mastering the descent is the difference between a squat that builds strength and one that wrecks your joints. Take your time, use these cues, and your knees will thank you.
Check current prices on Amazon for squat shoes or knee sleeves if you want extra support. And share your experience in the comments — what helped you fix your squat form?
The Ascent: Drive Through Your Whole Foot
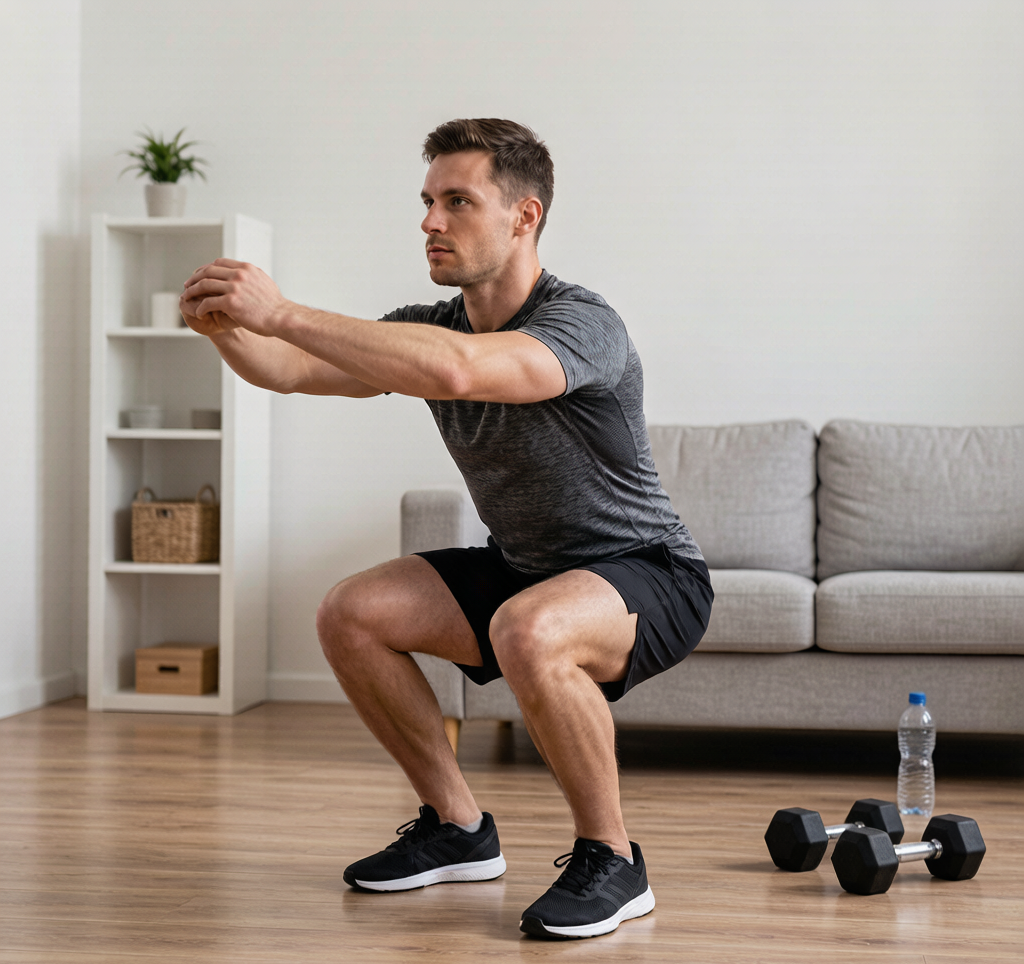
You’ve hit the bottom of your squat. Your hips are below parallel, your back is tight, and you’re holding your breath. Now comes the part that separates a smooth, powerful squat from a shaky, knee-crunching mess: the ascent.
This is where most beginners get into trouble. They rush, they lean forward, and their knees cave in. But if you focus on one simple cue — drive through your whole foot — you’ll stand up stronger and safer every time.
Press Through the Tripod of Your Foot
Think of your foot as a tripod with three contact points: the base of your big toe, the base of your little toe, and your heel. All three should stay pressed into the floor throughout the entire squat. If your heels lift even a fraction of an inch, you’ve shifted your weight forward onto your knees. That’s a fast track to knee pain.
This is a common error with new lifters. They focus so hard on getting depth that they forget about their feet. When the heels come up, the knees take the brunt of the load. So as you start to stand, consciously push through your entire foot. Imagine you’re trying to spread the floor apart with your feet — that engages your glutes and keeps your weight centered.
Drive Your Knees Out — Activate Your Glute Medius
As you push up, actively drive your knees outward. Not sideways — just slightly out, as if you’re trying to push your knees against invisible bands. This cue fires up your glute medius, the muscle on the side of your hip that keeps your knees tracking properly.
Knee valgus — that inward collapse — happens when your adductors (inner thigh muscles) overpower your glutes. By driving your knees out, you balance the tension and keep your knees safe. Beginners who couldn’t squat without knee pain often find relief within a few sessions once they focus on this cue.
If you’re using a barbell, this outward drive also helps you stay tight in the bottom position. Without a barbell, it’s just as important. Bodyweight squats can still cause knee problems if you let your knees cave.
Exhale at the Top and Squeeze Your Glutes
Once you reach the standing position, exhale forcefully and squeeze your glutes. This locks out your hips — not your knees. Never snap your knees back into hyperextension. That’s a common mistake that puts unnecessary stress on your knee joints.
Think of the lockout as a hip squeeze, not a knee straightening. Your glutes should feel tight and engaged. If your lower back arches or your knees lock back, you’re doing it wrong. Keep your core braced and your knees slightly soft at the top.
Take a breath and reset before your next rep. Rushing the top of the squat leads to sloppy form on the way down. A good breathing rhythm is: inhale at the top, hold as you descend, exhale as you drive back up.
Common Mistakes and Fixes
- Heels lifting: Place a small weight plate under your heels to practice. This gives you feedback — if the plate tips, you’re shifting forward.
- Knees caving in: Loop a resistance band just above your knees and squat with it. The band forces you to push your knees out against resistance.
- Rushing the ascent: Slow down. Count to two on the way up. Controlled reps build strength and protect your joints.
Both of these fixes work well for beginners. The band trick is especially helpful because it gives you real-time feedback. You can’t cheat it.
The ascent is where you prove you own the squat. Drive through your whole foot, push your knees out, and finish with a glute squeeze. Your knees will thank you.
Ready to put this into practice? Check current prices on Amazon for resistance bands or squat shoes to help with your form. And drop a comment below — share your experience with knee pain or any tips that worked for you.
Common Squat Mistakes That Cause Knee Pain (and How to Fix Them)
Knee pain during squats is almost always a symptom of a form breakdown somewhere else in the chain. Before we dive into the fixes, spend 5–10 minutes on this warm-up: 2 sets of 10 glute bridges, 10 banded lateral walks each direction, and 10 ankle mobilizations per leg (knee to wall, toes 1 inch away). This primes your glutes, hips, and ankles so your knees don’t have to compensate.
Here are the most frequent mistakes I see with beginners, plus simple fixes you can apply right now.
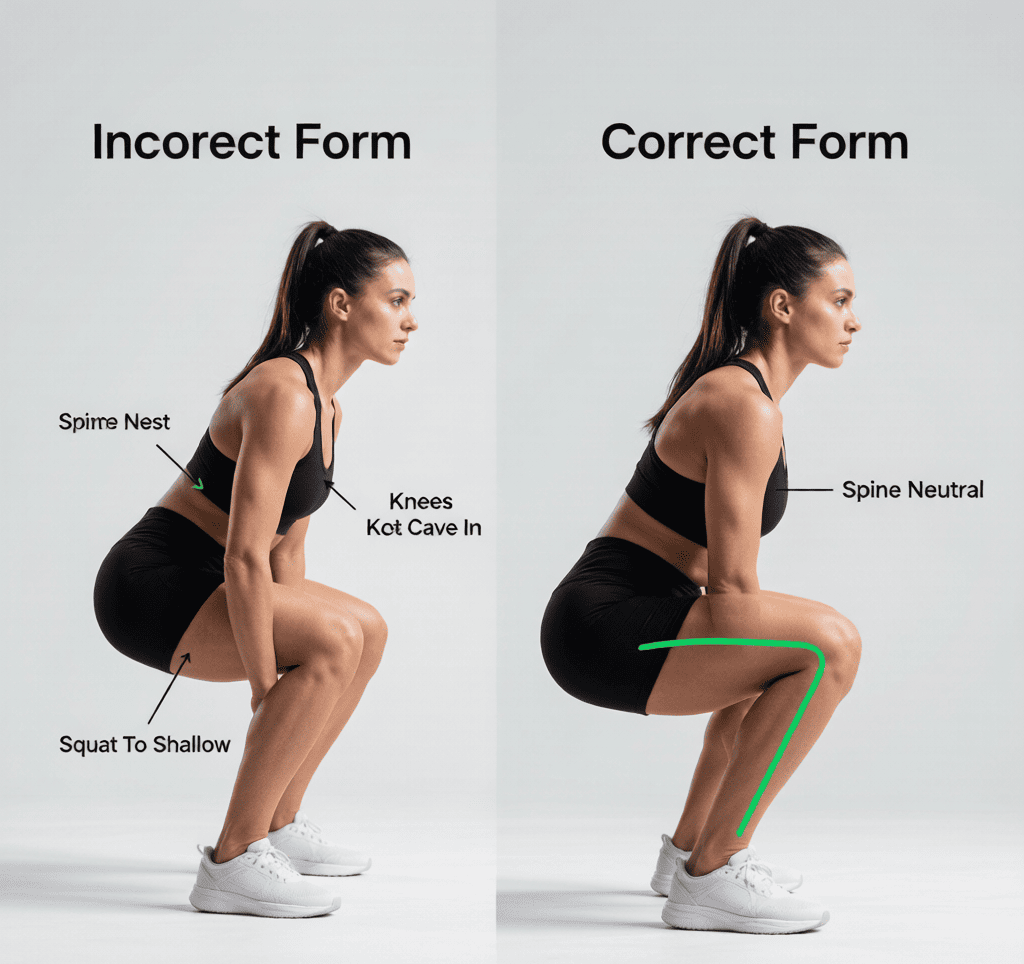
1. Knees Caving Inward (Valgus Collapse)
This is the number one cause of knee pain in new lifters. When your knees buckle inward under load, the joint twists and the ligaments are stressed. The fix starts before you even squat.
Fix it: During your warm-up, wrap a mini-band just above your knees. Do 15 bodyweight squats while actively pushing your knees out against the band. This wakes up your glute medius — the muscle that keeps your knees tracking over your toes. When you squat without the band, imagine you’re spreading the floor apart with your feet. That cue alone often stops the collapse.
2. Heels Coming Off the Ground
If your heels lift even a little, your weight shifts forward onto your toes, and your knees absorb the extra force. This is often a mobility issue, not a strength issue.
Fix it: Place a 2.5-pound plate under each heel. This gives you a slight heel elevation and lets you squat deeper without your heels popping up. Use this as a temporary tool while you work on ankle dorsiflexion. Try this stretch: stand facing a wall, toes an inch from the wall, and drive your knee toward the wall without lifting your heel. Do 10 reps per side before every squat session.
These two corrections have helped dozens of my clients squat pain-free within a week. Give them a shot and let me know how it goes in the comments. Also, if you need a good mini-band or weight plates, check current prices on Amazon — they’re cheap and worth having.
Have you tried this exercise? What form cues helped you the most? Drop your experience in the comments below—I read every response and update articles based on real feedback.
Medical & Editorial Review: This article was reviewed by Liam Smith, founder of Apexfito, for accuracy and safety. Content is for educational purposes and is not a substitute for professional medical advice. Consult your physician before starting any exercise or nutrition program.
Related: Dumbbell Squat Form Guide