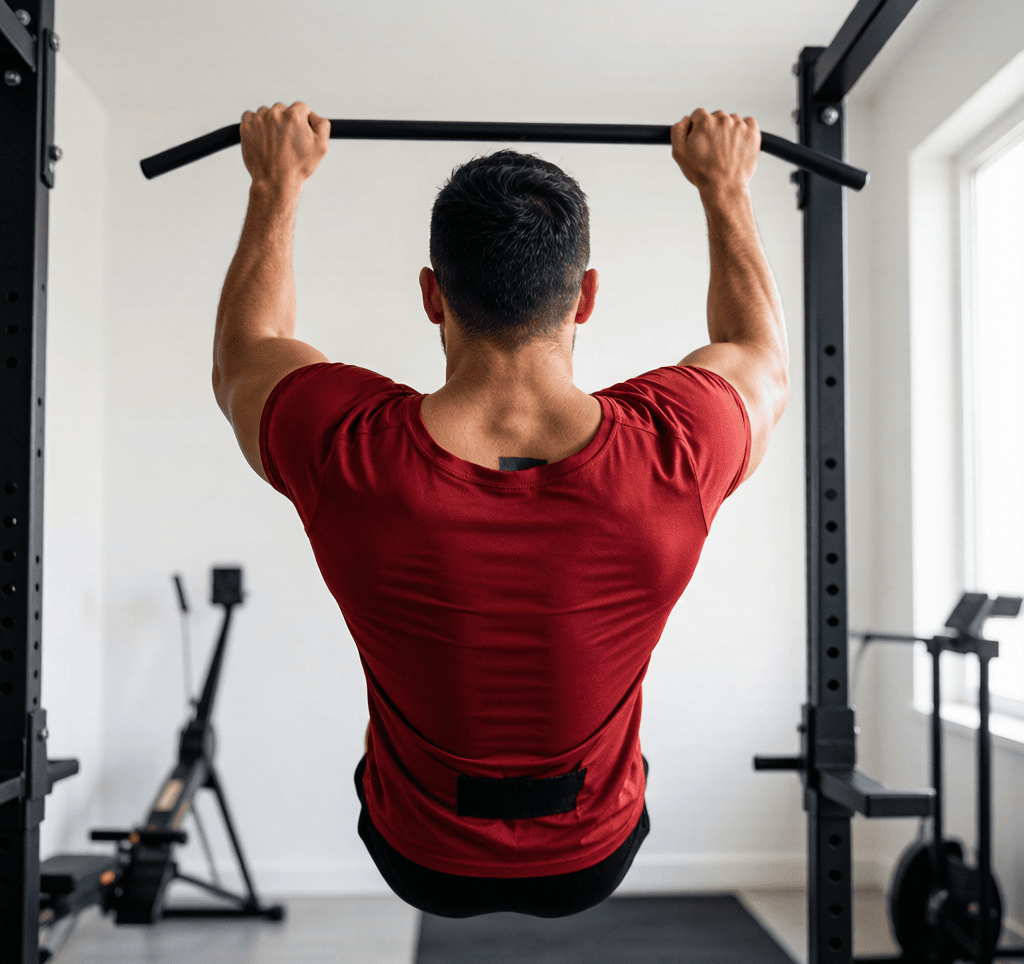
How to Master the Pull-Up: From Zero to Your First Rep
By Liam Smith — Fitness enthusiast and founder of Apexfito. I test gear at home and share what actually works.
Why the Pull-Up Feels Impossible (and Why You Can Do It)
If you’ve ever hung from a pull-up bar, pulled with everything you’ve got, and barely moved an inch, you’re not alone. That feeling of helplessness is almost universal among beginners. It’s not because you’re weak-willed or unathletic. It’s because a pull-up demands a very specific type of strength that most of us never train in daily life. Harvard Health notes that keep your back straight and lower your hips until your thighs are parallel to the floor.
Think about it. When was the last time you had to lift your entire body weight with your arms and back? For most people, the answer is never. Our daily activities—sitting at a desk, carrying groceries, even pushing a stroller—don’t engage the lats, biceps, and upper back in the way a pull-up does. So when you first grab that bar, your nervous system simply doesn’t know how to fire those muscles efficiently. It’s like asking someone who’s only ever driven an automatic to suddenly drive a manual. The car won’t move until you learn the coordination.
Biomechanically, a pull-up is a test of your strength-to-bodyweight ratio. You need to be strong enough to pull your entire mass upward against gravity. That’s a high bar for any beginner. But the good news—and I mean real, actionable good news—is that this strength is highly trainable. The muscles involved (lats, rhomboids, biceps, core, and grip) respond quickly to targeted work. I’ve seen friends who couldn’t do a single negative rep go from zero to three pull-ups in just ten weeks of consistent practice. That said, everyone’s timeline is different. Some people get their first pull-up in four weeks; others need four months. Listen to your body, and if you have any underlying health concerns, check with a doctor before starting a new training program.
Here’s a quick breakdown of what’s actually happening when you try a pull-up:
- Your lats (the big wing muscles on your back) are the prime movers. They’re responsible for pulling your upper arms down toward your ribs. Most people have never activated them properly.
- Your biceps assist by bending your elbows. They’re usually stronger than your lats in beginners, which is why many people feel pull-ups mostly in their arms at first.
- Your upper back (rhomboids and traps) stabilizes your shoulder blades. If these are weak, your shoulders will roll forward, making the pull harder.
- Your core keeps your body from swinging. A loose core means wasted energy and less power going into the pull.
Because these muscles are underused in everyday life, they need to be woken up. That’s where progressions come in. You don’t need to start by doing a full pull-up. You start with exercises that teach your brain to recruit these muscles in the right order. Things like scapular pulls, negative reps, and band-assisted pull-ups are not just baby steps—they’re the actual building blocks of the movement. I personally went from zero pull-ups to a set of eight by spending two weeks just doing scapular hangs and negatives. It felt slow at first, but every rep built the neural pathway.
So if you’re reading this and thinking, ”I’ll never get a pull-up,” I want you to pause and consider this: almost anyone can learn this skill with consistent, smart practice. It’s not about willpower. It’s about giving your body the right stimulus and enough time to adapt. You have the potential. You just need the right plan.

Step 1: Build a Foundation with Dead Hangs and Scapular Pulls
Before you can pull yourself up, you need to be comfortable hanging from the bar. That sounds simple, but if you’ve never done it, your grip and shoulders will let you know fast. These two exercises are your starting line. They build the strength and control you need for your first pull-up.
But first, spend 5 minutes warming up. Do some arm circles, light cardio like jumping jacks or a brisk walk, and shoulder rolls. Cold muscles don’t cooperate. A quick warm-up gets blood flowing and reduces your risk of straining something.
The Dead Hang
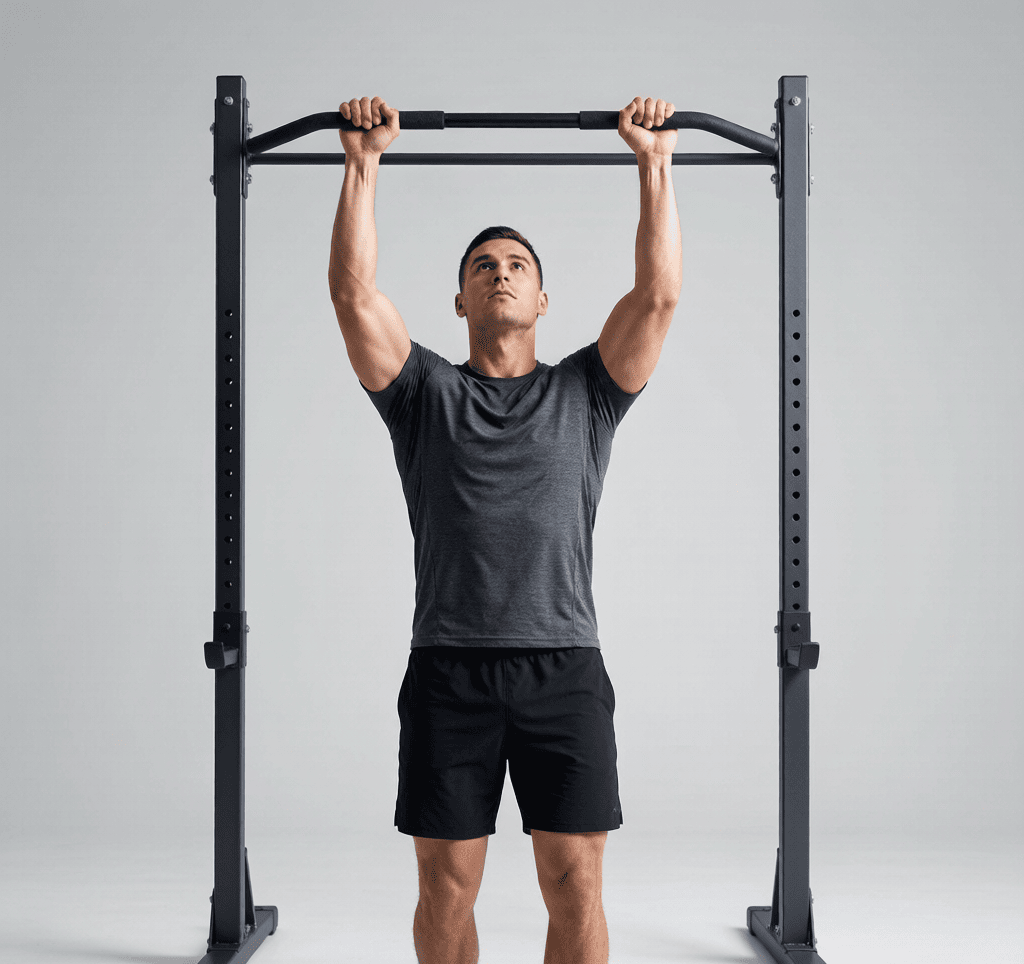
Grab the bar with an overhand grip—palms facing away from you. Your arms should be fully extended, feet off the ground. Let your body hang naturally. The goal here is simple: hold on.
Keep your shoulders down and away from your ears. Don’t shrug up. Think of lengthening your spine. Start with 10 seconds. If that’s too easy, work up to 30 seconds. Do 3 sets total, resting 60 seconds between each.
I’ve had clients who couldn’t hold for 5 seconds on day one. After two weeks of consistent dead hangs, they were hitting 20 seconds without panic. It happens faster than you think.
The Scapular Pull
This is where the real magic happens. From the dead hang position, squeeze your shoulder blades down and back. Your chest will rise an inch or two, but your elbows should stay straight. Don’t bend them. The movement comes entirely from your shoulder blades, not your biceps.
Hold the top position for 2 seconds, then lower back to a dead hang. That’s one rep. Aim for 3 sets of 5–8 reps. If you feel your shoulders doing the work, you’re on the right track. If you feel it in your arms, you’re cheating the movement.
Common mistake: shrugging your shoulders up or using your arms to pull. Keep your arms long and loose. The pull should feel like you’re trying to tuck your shoulder blades into your back pockets.
I remember the first time I did these correctly—it felt like a light switch. Suddenly I understood what “engage your lats” actually meant. Give it a few sessions, and you’ll feel it too.
Practice dead hangs and scapular pulls at the start of every workout, before you’re tired. They’re not just warm-ups; they’re the foundation of every pull-up you’ll ever do. Stick with them for 2–3 weeks, and you’ll be ready for the next step.
Step 2: Master the Negative Pull-Up
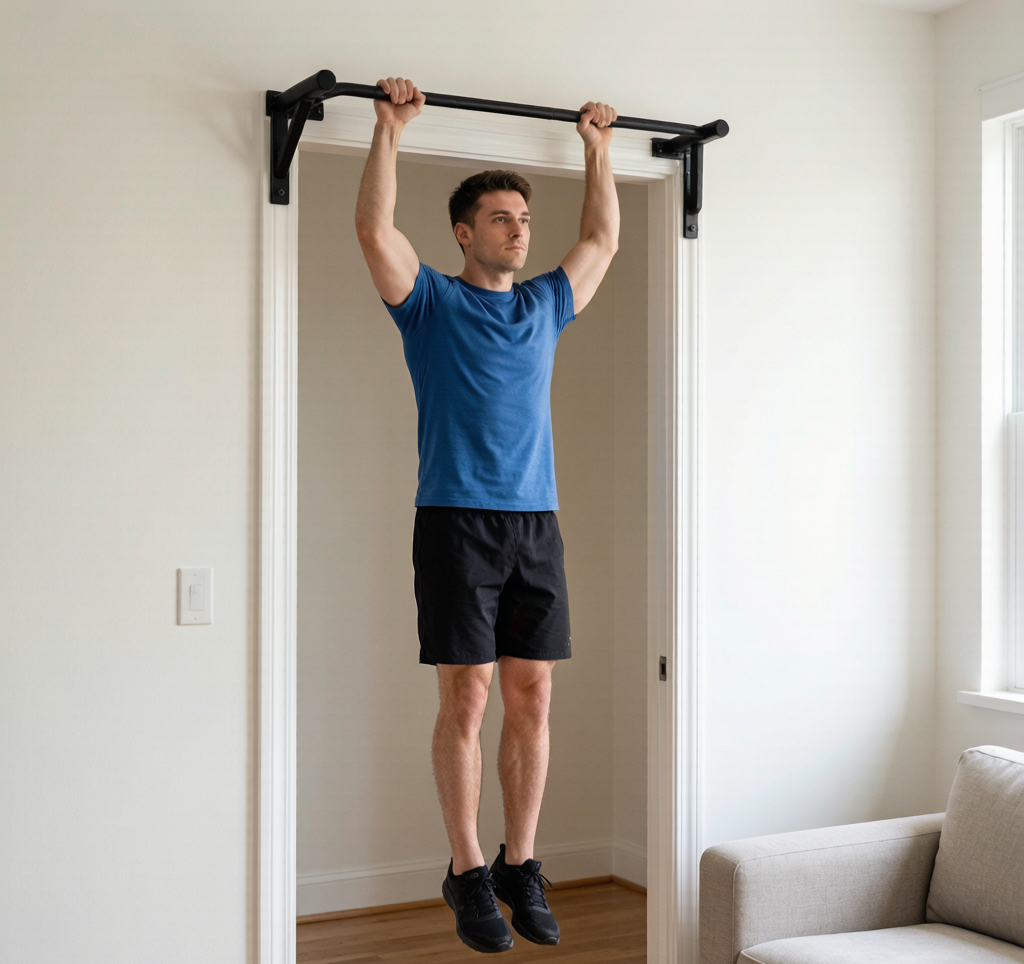
If you can’t pull yourself up yet, the negative pull-up is your best friend. It builds the exact strength you need—but in reverse. Instead of pulling up, you lower yourself down as slowly as possible.
Here’s why it works: your muscles are stronger during the lowering (eccentric) phase than the pulling (concentric) phase. So even if you can’t do a single pull-up, you can still build the strength to get there by controlling the descent.
How to Set Up
You’ll need a box, chair, or sturdy step. Place it under your pull-up bar. Step up so your chin is above the bar, with your hands gripping the bar palms facing away (overhand grip), about shoulder-width apart.
Now the hard part: step off the box. Don’t just drop. Keep your arms bent, your chin up, and your core braced. Lower yourself as slowly as you can—aim for a full 5-second descent.
If you drop faster than that, jump back up on the box and try again. No shame in that. I’ve had clients who could only hold for 2 seconds at first, and within two weeks they were hitting 5 seconds consistently.
Form Cues That Matter
- Keep your core tight. Brace your abs like someone’s about to punch you. This stops your body from swinging.
- Legs together, toes pointed down. This keeps you in a straight line. If your legs flail, you lose control.
- Lower in a straight line. Don’t let your elbows flare out to the sides. Keep them pointing down and slightly forward.
- Breathe. Inhale at the top, exhale as you lower. Holding your breath makes you shaky.
One thing I see all the time: people rush the descent because it burns. That’s exactly why you need to slow down. The burn is where the strength comes from.
Your Starting Workout
Do 3 sets of 3–5 negatives. Rest 90 seconds between sets. If you can’t do 3 reps in a set, that’s fine—just do what you can. The goal is quality, not quantity.
As you get stronger, increase the descent time to 8–10 seconds. That’s when the real magic happens. I’ve seen people go from 5-second negatives to their first pull-up in three to four weeks.
Stick with this twice a week, and you’ll be amazed how quickly your strength builds. Once you can do 3 sets of 5 negatives with an 8-second descent, you’re ready for the next step.
Step 3: Add Assisted Pull-Ups and Band Variations
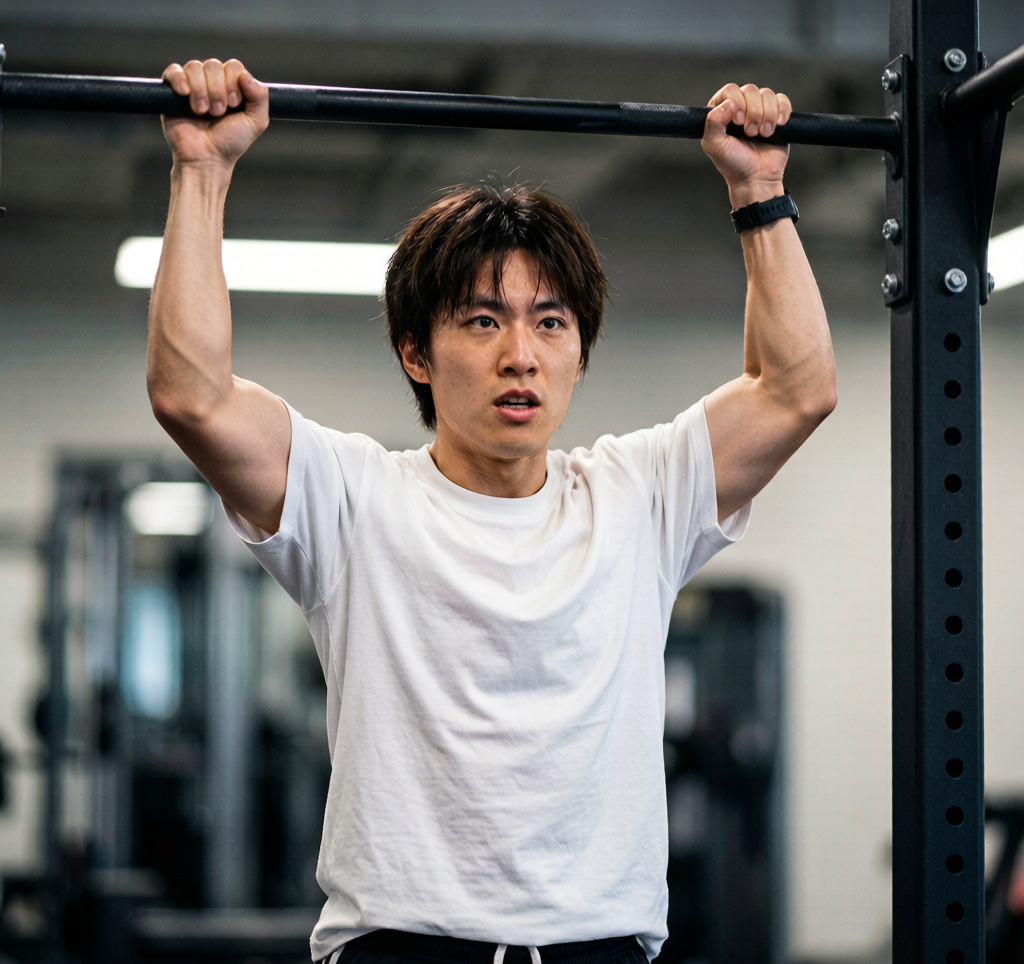
Negatives got you comfortable with the movement pattern. Now it’s time to start pulling yourself up. Assisted pull-ups with a resistance band or a machine bridge the gap between lowering yourself and doing a full rep.
Here’s how to set up band-assisted pull-ups at home or the gym:
- Choose your band. Start with a heavy resistance band. Loop it over the center of your pull-up bar. Step into the loop with one knee or foot. The band should be taut when you hang—if it’s slack, it’s not helping enough. For most beginners, a band that supports 30–50% of bodyweight is a good starting point. If you weigh 150 pounds, look for a band that provides about 45–75 pounds of assistance.
- Grip the bar. Use an overhand grip, hands slightly wider than shoulder-width. Hang with arms fully extended. Your feet should be in the band, knees slightly bent.
- Pull. Drive your elbows down and back. Pull until your chin clears the bar. The band will assist most at the bottom, where you’re weakest. Lower yourself with control. That’s one rep.
I’ve coached dozens of beginners through this. The first few sessions, you might only get 3–5 reps per set. That’s normal. Track your reps. Aim for 3 sets of 6–10 assisted reps. Once you can hit 10 reps on your heaviest band, switch to a lighter band or reduce the number of bands.
If you have access to an assisted pull-up machine, set the counterweight to about 50% of your bodyweight. Each week, decrease it by 5–10 pounds. The machine gives consistent assistance, which some people prefer over bands. Both work. Pick what you have access to.
Focus on full range of motion every rep. No half-reps. No kipping. Chin over the bar, arms fully extended at the bottom. Quality beats quantity here.
Share your progress in the comments—how many assisted reps can you do now?
Step 4: Pulling It All Together—Your First Full Pull-Up
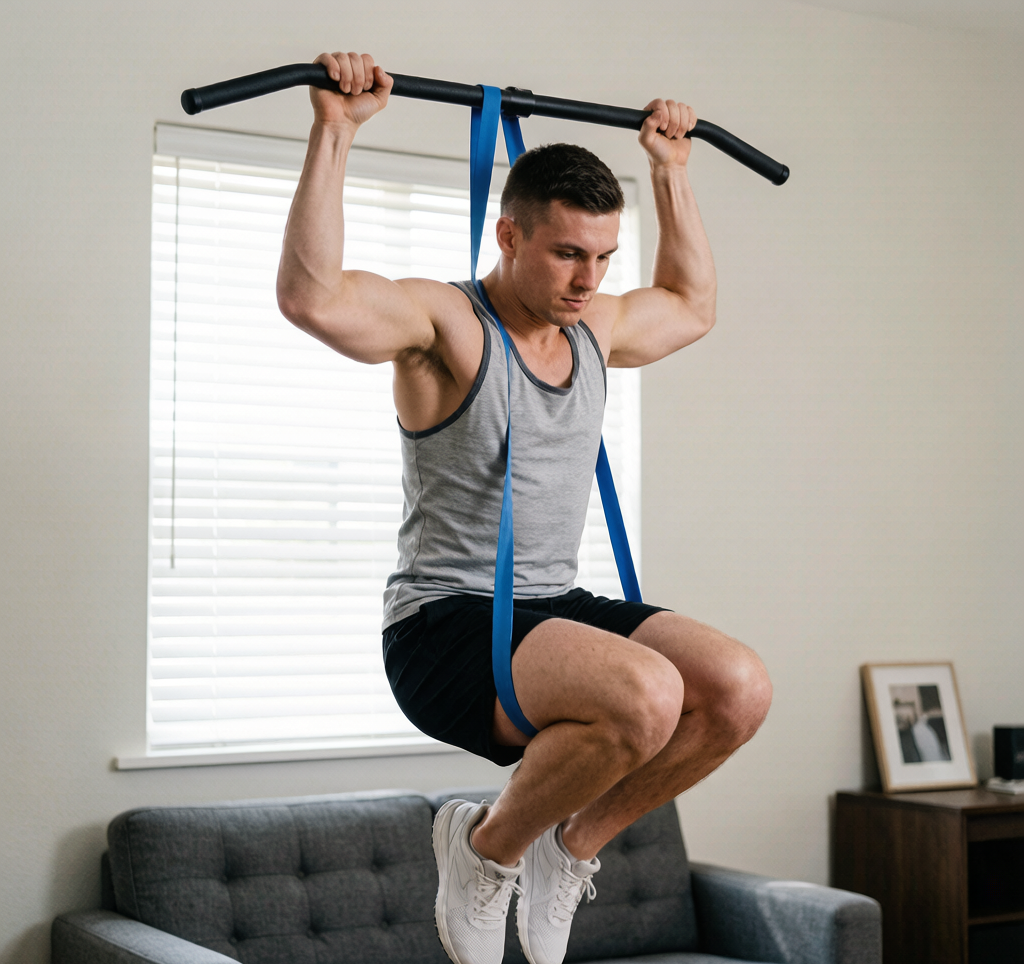
You’ve done the negatives. You’ve crushed the rows and hangs. Now it’s time to attempt your first full pull-up. This is the moment where all that prep work pays off. Let’s walk through exactly how to set up, breathe, and pull—without wasting energy on kipping or jerking.
Your Setup Checklist
Walk up to the bar with a plan. Grip it slightly wider than shoulder-width, palms facing away (overhand grip). Your thumbs should wrap around the bar—no thumbless grip for now. Take a deep breath into your belly and brace your core like someone’s about to punch you. This creates full-body tension, which makes the pull stronger and safer.
Hang for a second. Feel your shoulders engaged—not shrugged up to your ears. Your arms should be straight but your shoulder blades pulled down slightly. This is your starting position.
The Pull: Drive Your Elbows Down
Here’s the cue that made it click for me: don’t think about pulling your chest to the bar. Instead, think about driving your elbows down toward your hips. This shifts the load to your back and keeps your shoulders safe. As you pull, exhale hard. Imagine you’re trying to blow out a candle.
Keep your body still. No swinging, no kicking your legs. A strict pull-up is harder but builds real strength. If your chin barely clears the bar, that counts. If you can only get halfway, that’s still progress—you’re building the range of motion.
What If You Can’t Get One Yet?
That’s okay. Maybe you get 90% of the way up and stall. Try a band-assisted pull-up with a light band, or do a negative from the top position and lower as slowly as you can. Many people get their first rep after a few weeks of negatives and rows. Stick with it.
You Got One—Now What?
If you managed one clean pull-up, congratulations. Rest 2–3 minutes, then try a second set. Even if you only get one again, that’s a win. Do two or three singles with full rest between them. Over the next week, use the “grease the groove” method: do 1–2 pull-ups every hour, but no more than 10 total per day to avoid fatigue. This builds neural strength fast. I did this in my garage and went from 1 rep to 5 in about three weeks.
Beyond the First Rep
Once you can do 5 strict pull-ups, it’s time to add challenge. Grab a dip belt and add a small plate (5–10 lbs). Or try wide-grip pull-ups, which hit the lats harder. Archer pull-ups—where you shift your weight to one arm as you pull—are a great next step. The key is to keep your reps in the 3–8 range for strength. If you can do 10+ easily, you’re ready for weighted work.
Cool Down and Recovery
After your workout, stretch your lats and chest to aid recovery. Try a doorway stretch for your chest: place your forearm on the doorframe and gently turn away. For your lats, kneel and reach your arms forward on the floor, sitting your hips back. Hold each stretch for 20–30 seconds. This helps prevent tightness and keeps you ready for your next session.
Pull-ups are a journey. Every rep you earn is a victory. Keep showing up, and the bar will feel lighter.
Have you tried this exercise? What form cues helped you the most? Drop your experience in the comments below—I read every response and update articles based on real feedback.
Medical & Editorial Review: This article was reviewed by Liam Smith, founder of Apexfito, for accuracy and safety. Content is for educational purposes and is not a substitute for professional medical advice. Consult your physician before starting any exercise or nutrition program.
Related: Australian Pull Ups