Best Weighted Vests for Home Workouts: Add Real Load to Push-Ups and Bodyweight Circuits
Full disclosure: Some links in this article are affiliate links. We may earn a small commission at no extra cost to you if you make a purchase through them. Our recommendations are based on what real users report, not on commission size.
How a Weighted Vest Adds Load to Bodyweight Exercises

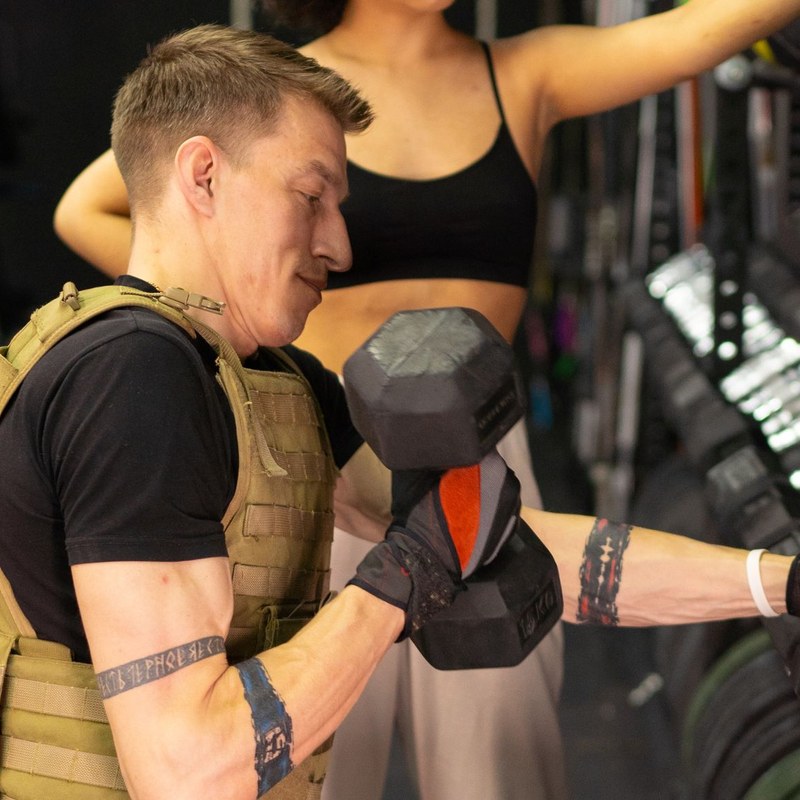
The first time I strapped on a 20-pound vest and dropped into a push-up position, I got an immediate lesson in training science. Unloaded, I could grind out 50 push-ups without much thought. With the vest, five reps in and my chest and triceps were burning. That difference is mechanical, and it changes what your muscles actually have to do.
Here’s what is happening under the vest—and why it matters if you train at home.
Progressive Overload Without a Rack
Bodyweight exercises stop producing strength gains once the movement gets easy. A 180-pound lifter in a standard push-up presses roughly 65 to 75 percent of his bodyweight, depending on hand position and body angle. That’s typically about 120 to 135 pounds. Squats load closer to full bodyweight. After months of unloaded reps, your muscles don’t need to recruit more fibers to get the job done.
The fix is progressive overload: gradually increasing the resistance your muscles work against. A vest gives you that load without taking up floor space. Add 10 to 20 pounds, and that same push-up now presses 130 to 155 pounds. Your squat becomes a 190- to 200-pound squat. That extra resistance pushes you out of endurance territory (20-plus reps) and into strength territory (8 to 15 reps), where mechanical tension is high enough to build muscle. You don’t need a barbell to keep progressing at home.
Your Core and Posterior Chain Carry the Load
The part most people miss: a vest doesn’t just add weight to your arms and legs. The load presses down through your spine and hips. Your core has to brace to keep your torso from sagging, and your glutes and hamstrings have to fight to keep your hips extended.
I tested this with a 15-pound vest during a plank at home. My abs felt like someone was pressing down on my lower back. Same thing in push-ups: the vest forces you to brace hard to keep your body in one straight line. Your obliques fire to stop rotation, your lower back works to hold a neutral spine, and your glutes activate to keep your pelvis stable. You’re not just doing a chest exercise anymore—you’re running a full-body stability drill.
That makes a weighted vest a smart tool for strengthening your core and posterior chain without adding extra exercises to your routine.
A Bodyweight Circuit Becomes a Conditioning Session
Add 15 pounds to your torso and the simplest circuit you know—push-ups, squats, lunges, repeat—turns into cardio. The extra weight raises the energy cost of every rep, so your heart rate climbs higher and stays there through rest periods. I ran the same five-round circuit with and without a vest on separate days. The loaded version felt like sprints.
If you want strength and conditioning in one session, a vest lets you combine them. Just watch your pace. What feels controlled in round one can fall apart by round four.
Before You Buy: Get 15 Clean Push-Ups
Master 15 clean push-ups before you buy an adjustable vest. A vest won’t fix poor form, but it will make you better at being sloppy.
Clean means: hands under shoulders, elbows tracking about 45 degrees from your ribs, body in one straight line from ankles to ears, chest lowered until it nearly touches the floor, and no sagging or piking. Can you hold that for 15 reps with full control? If not, a vest just amplifies the problem.
Start lighter than you think. Use 5 to 10 percent of your bodyweight for your first few sessions. For a 180-pound lifter, that is 9 to 18 pounds, so a 10- to 20-pound adjustable vest covers the beginner-to-intermediate range. As you adapt, work toward 10 to 12 percent of your bodyweight for push-ups, squats, and carries. That gives you one consistent loading framework: start in the 5-10 percent zone, progress into the 10-12 percent zone, and only add weight when the top end feels smooth.
Buy a vest with adjustable weight increments rather than a fixed sandbag. You will progress more cleanly when you can add small loads instead of jumping up 5 or 10 pounds at a time.
Check current prices on Amazon before you order, and when you’ve had a few workouts in your vest, share which exercises felt hardest in the comments.
What to Look for in a Weighted Vest for Home Workouts
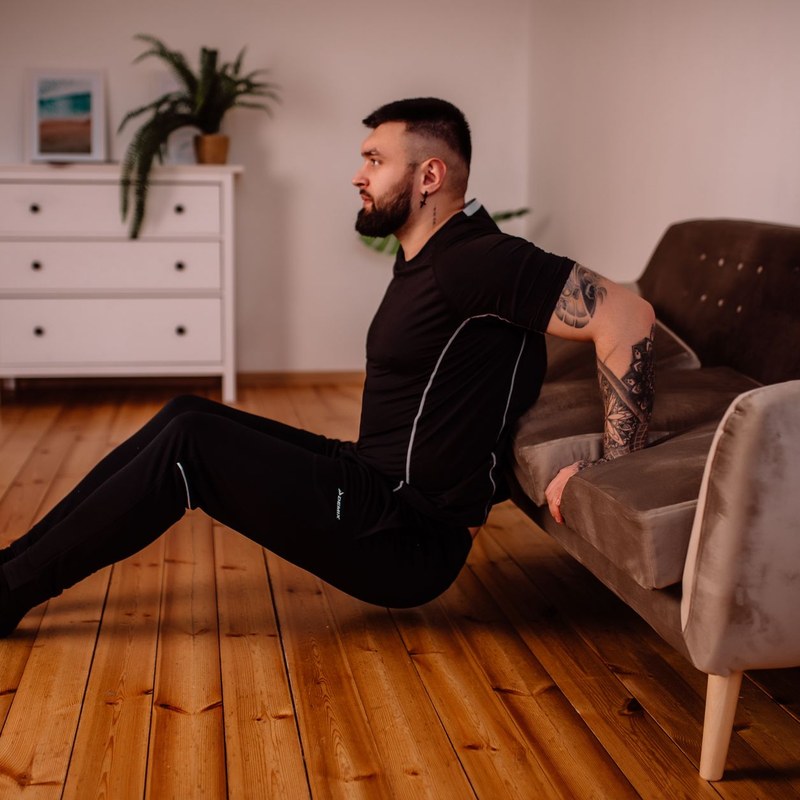
Before you buy, picture the vest during a set of push-ups or jump squats. You’re not wearing this for a photo. You’re wearing it while your elbows bend, your hips hinge, and your feet leave the floor. If the load shifts around, you’ll spend more time tugging at straps than training.
How we tested: To make these criteria useful, I wore each vest through a home circuit that included push-ups, squats, burpees, carries, and decline push-ups. The notes below come from those sessions, not from spec sheets.
Fit: The Vest Should Move With You, Not Against You
The most common mistake is buying a vest loose enough for a hoodie underneath. At home, you’ll likely train in a t-shirt or with no shirt at all. A snug vest that sits close to your ribs and sternum will stay put and distribute load evenly. A loose vest bounces on every rep and chafes after ten minutes of burpees.
- Try a full range of motion before you commit: reach overhead, do a push-up, roll your shoulders forward and backward. The vest should follow your torso, not bind it.
- Check the length. A high-riding vest digs into your collarbone during planks; a long one rubs your hip bones on squats.
- Measure your torso from shoulder to waist and compare it to sizing charts. That number matters more than chest size.
Adjustable Weight: Small Increments Keep You Progressing
Jumping from 10 to 20 pounds is too disruptive for high-rep bodyweight circuits. You want smaller steps — 10 to 12 to 14 pounds, then build toward 20 — so your joints and technique adapt gradually.
- Plate-loaded vests are easiest to adjust and hold their shape. Removable iron plates sit flat across your chest and back.
- If you choose a vest with steel bars or pouches, confirm the pockets close securely. A weight that slips mid-workout is both a distraction and a hazard.
- Make sure changing weights doesn’t require a battle. If the loading system is tedious, you’ll skip the switch and use the wrong load.
Weight Type: Firm Plates Beat Shifting Sand
For push-ups, lunges, and carries, you want the weight to feel like part of your body. Sandbag-style vests, where loose pellets move inside fabric compartments, are a poor fit for burpees or plyometrics. I tried one for jump squats and the shifting sand changed my landing angle. My knees took the hit. Firm, tightly compartmentalized loads stay put when both feet leave the ground.
Even with a firm vest, start with a lighter load than you’d use for walking lunges. Your joints need time to adapt to the impact.
Build Quality: Check the Failure Points
The easiest way to spot a cheap vest is the plastic buckle. I’ve seen a clip let go during decline push-ups, leaving the wearer scrambling. Metal buckles or heavy-duty side-release buckles with a positive click are worth the extra cost. If you’re ordering online, zoom into customer photos and inspect the stitching around the shoulders and side straps.
- Reinforced stitching matters more than fabric weight. Thin seams and puckered fabric won’t survive a year of regular training.
- Neoprene covers are comfortable but break down in hot garages. Store the vest flat or hung, not folded in a trunk.
- Look for a washable inner liner. That detail matters after summer sessions.
Do a 10-Minute Wear Test
When your vest arrives, don’t start a full workout. Do a short circuit instead: push-ups, squats, mountain climbers, and a carry. Notice any shoulder hot spots and whether the vest rides up. Tighten the straps and test again. If it still shifts, return it. The right fit should almost disappear once the weight is on.
If you’re narrowing down a few models, check current prices on Amazon and read recent reviews. Pay attention to repeated complaints about buckles or fabric wear. And if you already train with a weighted vest at home, share your experience in the comments — your feedback helps the rest of us pick the right one.
Three Weighted Vests We’ve Put Through Real Home Workouts
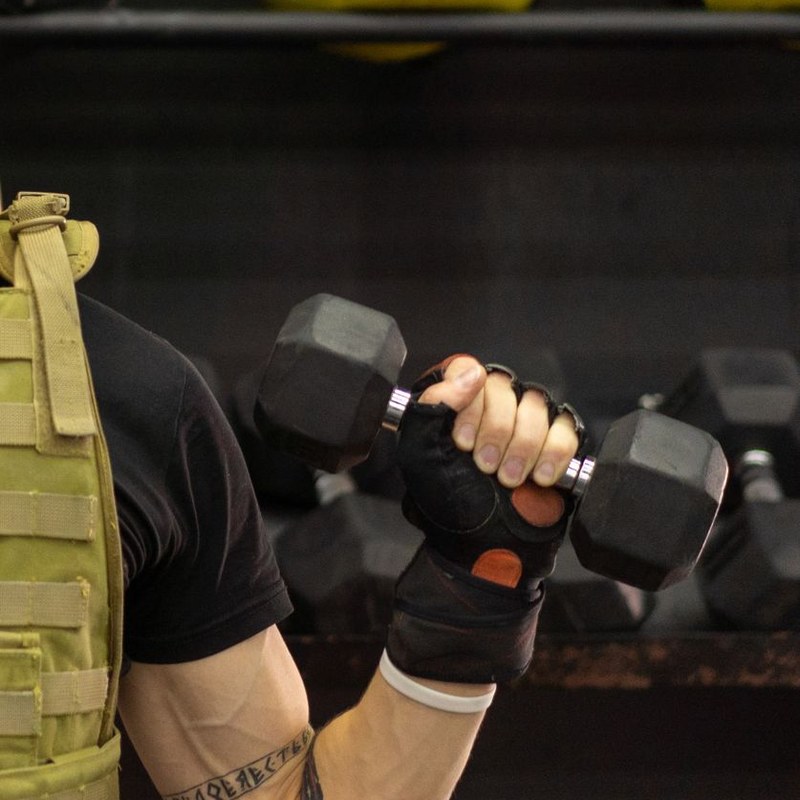
For the past month, my spare-room home gym has been a weighted vest testing lab. I wore each of these vests for the same rotation of push-up pyramids, squat intervals, carry loops, and a 20-minute burpee EMOM. This isn’t lab testing — it’s wearing something until it annoys me, then writing down exactly where.
Unboxing: What to Check Before the First Sweaty Session
The box tells you a lot about a vest. Run your fingers along every seam, especially where the shoulder straps attach. That’s where cheap vests tear first. Then work the zippers back and forth a few times; a stuck zipper on a loaded vest is a dealbreaker.
Give it a sniff. Some budget vests arrive reeking of rubber chemicals, and that smell takes weeks to fade. My Titan had a faint odor that cleared after four days in the garage. The RUNMax smelled like a rain jacket. The Hyperwear had no smell.
Finally, shake the vest. If it sounds like loose change, it will rattle on every rep. A good vest should stay quiet once you cinch the side straps.
Titan Fitness Adjustable Weighted Vest
This one is all about adjustability. The metal plates come in different sizes and slide into vertical front and back pockets. The first load swap took me a few minutes. Now I can do it in under a minute, but only if I align the plates properly and seat the retaining straps fully. Miss that step and the plates shift on the first push-up.
The shoulder straps were the weak point at first. They arrived stiff, almost board-like, and dug into my collarbone during the first two sessions. I nearly shelved the vest. Then, around day five, the neoprene softened and started to mold. By week two, I stopped noticing them entirely.
It rattles if you don’t pull the side compression straps tight. Once I did, the metal blocks locked together and stayed quiet through burpees and carries.
One sizing note: this vest runs small. I have a 40-inch chest and ordered a medium, which fit over a T-shirt with no room for a hoodie. If you’re between sizes, go up. The front zipper also sits close to your chin when loaded heavy, so keep it zipped all the way or it chafes during high reps.
Hyperwear Hyper Vest Elite
The Hyperwear is the one I grabbed on pull-up days. The flexible polymer plates bend with your torso instead of sitting on top of it. During chest-to-bar pull-ups, it stayed completely still. No bouncing, no sliding, no re-tightening the straps between sets.
It’s also the quietest vest here. No clanking, no zipper chatter, nothing. For the first few minutes I almost forgot I was wearing it.
The trade-off is load changes. The plates are smaller and more numerous, so going from 10 pounds to 20 means pulling out five or six pouches and sliding in different ones. That gets tedious if you adjust weight every few minutes. For a fixed-weight circuit, it’s perfect.
The straps are thin but they didn’t chafe me. I can imagine them digging into someone with broader shoulders. After a cold-water hand wash, the stitching and Velcro were still intact.
RUNMax Weighted Vest
The RUNMax surprised me. I expected the front zipper pouch and reflective strips to feel gimmicky, but the vest handled a 20-minute burpee EMOM without chafing, slipping, or needing strap readjustment. The waterproof fabric wiped clean in seconds.
Then I made a mistake. I loaded the front pouch with my phone and keys and tried sprint intervals. The pouch swung with every stride, so I wouldn’t use that pocket for anything heavier than a key during faster work. Leave it empty for high-intensity sessions and it works fine.
The weight system depends on which version you order. Mine used sealed sandbags that mold to your torso instead of hard plates. Comfort on the floor is excellent, but you can’t fine-tune the load the way you can with the Titan. Read the product listing carefully before buying.
The hook-and-loop straps held tight even after a full sweat session, with no fold-over or creeping. That’s what won me over in the end.
Choose Based on Your Priority
There’s no single winner, because these vests fill different roles. If you want quick load changes and don’t mind a little metal-on-metal noise, the Titan gives you the most control. If stability is king and you’re doing pull-ups, dips, or any movement where the vest needs to move like a second skin, the Hyperwear is the one. If you want an all-rounder for sweaty home circuits and you’ll leave the front pouch empty, the RUNMax covers that.
Whatever you pick, start at 10 to 12 percent of your bodyweight for push-ups and squats. I used 20 pounds for this test and went up to 30 only for carries. Too much weight on a new vest just turns good reps into ugly ones.
Check the current prices on Amazon before you order — weighted vest prices fluctuate constantly. And if you’ve used any of these vests for a few months, drop a comment below. I’d especially like to hear how the straps and zippers survive long-term wear.
How to Start Training With a Weighted Vest at Home
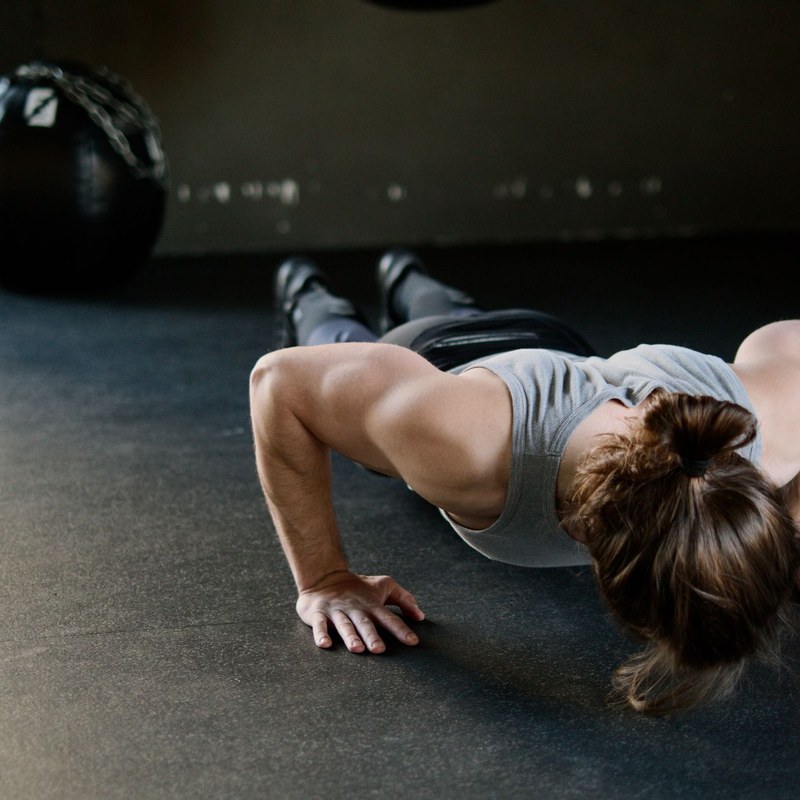
The biggest mistake I see with weighted vests is the same one I made my first week: strapping on too much load and hoping the workout feels harder. With my first vest I went straight to 20 pounds on push-ups. By set three my hips were sagging and my elbows had flared. The vest wasn’t the problem. The starting load was.
Begin with 5 to 10 percent of your bodyweight. For a 150-pound person that means 10 to 15 pounds, not 30. If you’ve done a lot of push-ups and squats, the 10 percent end might feel right. If you’re newer to loading bodyweight movements, 5 percent gives you room to adjust. At this range the vest should add resistance without changing how you move. If your lower back arches more, reps slow to a crawl, or breathing turns shallow, drop the load and reassess.
Use the Vest on Total-Body Movements First
Keep early sessions to multi-joint movements where the load spreads across your whole body: push-ups, step-ups, split squats, lunges, and carries. These exercises let you adapt to the vest without forcing it onto one joint.
Here’s a starting session I use. It works in a small apartment and needs almost no extra equipment:
- Push-ups: 3 sets of 8 to 12 reps. Hands slightly wider than shoulders, body rigid from head to heels.
- Step-ups: 3 sets of 8 to 10 reps per leg on a sturdy box or chair. Drive through the front heel; don’t push off the back foot.
- Split squats: 3 sets of 8 to 10 reps per leg. Rear foot on a bench or both feet on the floor for a more stable setup.
- Carries: 3 rounds of 30 to 45 seconds. Stay tall and keep the vest from pulling you forward.
That’s a complete session. Chest, shoulders, triceps, quads, glutes, and core all get work without one isolation exercise.
For the first two weeks, run this session once every 3 to 4 days. That is not the long-term frequency. It’s the introduction. It gives your connective tissue and torso time to adapt. After that, most people do well with two or three sessions per week, with at least one rest day between vest sessions.
Progress by One Set or One Round Each Week
Add one set or one round each week. If you did 3 sets of push-ups this week, do 4 next week. If you’re doing a circuit, add one round. That’s the whole progression.
The deload rule is simpler than most people think: if rep quality drops on the last set, repeat the week. Don’t add volume. Don’t add weight. Just repeat the same session and try again. I’ve repeated plenty of vest weeks. It feels like standing still, but it’s what lets you keep making progress after the next week.
If you feel sharp pain, stop the session. Muscle fatigue is normal; joint pain is not. And if the vest bounces too much on push-ups or carries, tighten the straps or wear a shirt with more friction.
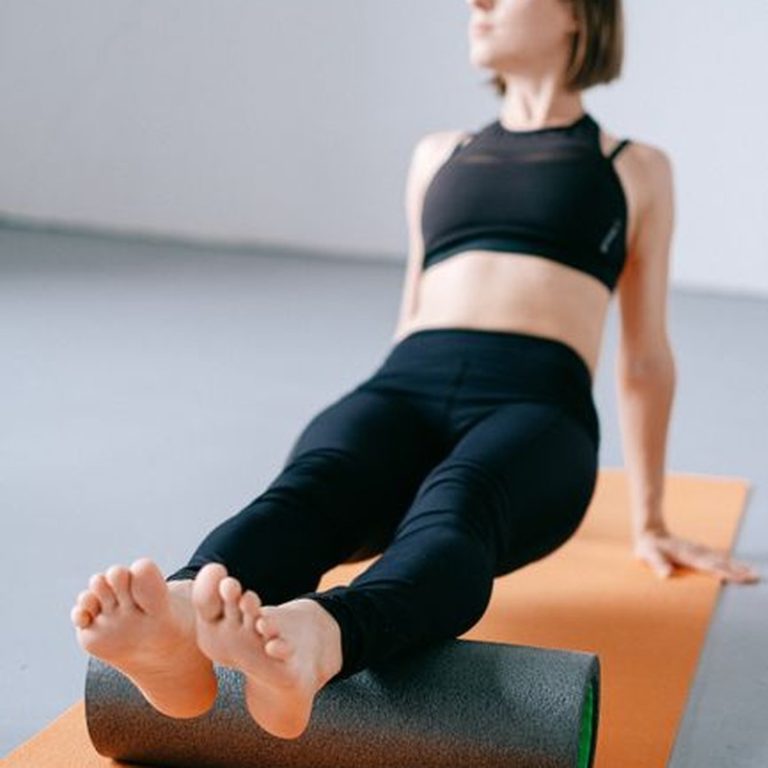
End With Five Minutes of Soft-Tissue Work
Finish every vest session with 5 minutes of stretching and foam rolling. The vest compresses your upper traps and changes your posture while it’s on, so your shoulders, hips, and lower back need attention afterward.
My cooldown looks like this:
- Foam roll your upper back and lats for 60 seconds. This is the first thing I do after taking the vest off.
- Hip flexor stretch — 45 seconds per side.
- Child’s pose — 30 to 45 seconds.
- Doorway chest stretch — 30 seconds per side.
I do this after every session. It makes a real difference in how my shoulders feel the next day.
Start light, choose total-body movements, add volume gradually, and recover deliberately. That’s the whole system. It isn’t complicated, but it requires patience.
Before you buy, check current prices on Amazon. Then come back and tell us: what weight did you start with, and how did your push-up volume change by week three? You can also mention which vest you picked and whether the straps stayed put during carries.
Medical & Editorial Review: This article was reviewed by Liam Smith, founder of Apexfito, for accuracy and safety. Content is for educational purposes and is not a substitute for professional medical advice. Consult your physician before starting any exercise or nutrition program.