How to Start Working Out When You’re Overweight: A Safe, Gentle First-Week Plan
Full disclosure: Some links in this article are affiliate links. We may earn a small commission at no extra cost to you if you make a purchase through them. Our recommendations are based on what real users report, not on commission size.
Before You Start: Talk to Your Doctor and Set a Realistic First-Week Goal
If you’ve been wondering how to start working out when you’re overweight, the answer doesn’t begin with a punishing sweat session. It begins with a simple decision to move your body again. That decision matters more than any workout in this plan. This first week is not about burning calories or losing pounds. It’s about proving to yourself that you can show up tomorrow and the day after.
So before you lace up your sneakers, talk to your doctor. If you’ve been inactive for a while, live with high blood pressure or diabetes, or take daily medication, a quick conversation can help you learn which movements to avoid, what heart-rate range is safe, and whether walking, swimming, or a mix of activities suits you best. When I finally got serious about exercise after years of doing very little, I sat in my doctor’s office and asked what I needed to watch out for. She didn’t hand me a complicated workout. She told me to keep my effort at a level where I could still hold a conversation. That simple target gave me permission to start gently.
Once you’re cleared, set one goal for this week: move your body in a comfortable way for 10 to 15 minutes each day. That might sound too small. It’s supposed to be. The plan includes five active days and two rest days. On rest days you can skip the timer and just stretch gently if you want. If you can only manage four active days, do four. If you need a rest day between active days, take it. The length of the workout matters less than the habit you’re building. A short, easy session that you repeat is more useful than a long, punishing one that makes you want to quit.
Expect some muscle stiffness, awkwardness, and maybe a little breathlessness. That doesn’t mean the workout is failing. It means your body is being asked to do something unfamiliar. The first time I tried a simple floor routine, my shoulders shook on the easiest plank variation. I felt clumsy and weak. By day five I still wasn’t graceful, but it was easier—and that told me the routine was doing its job.
You don’t need a gym or a complicated setup. Gather these basics:
- Loose clothing that doesn’t dig in or chafe.
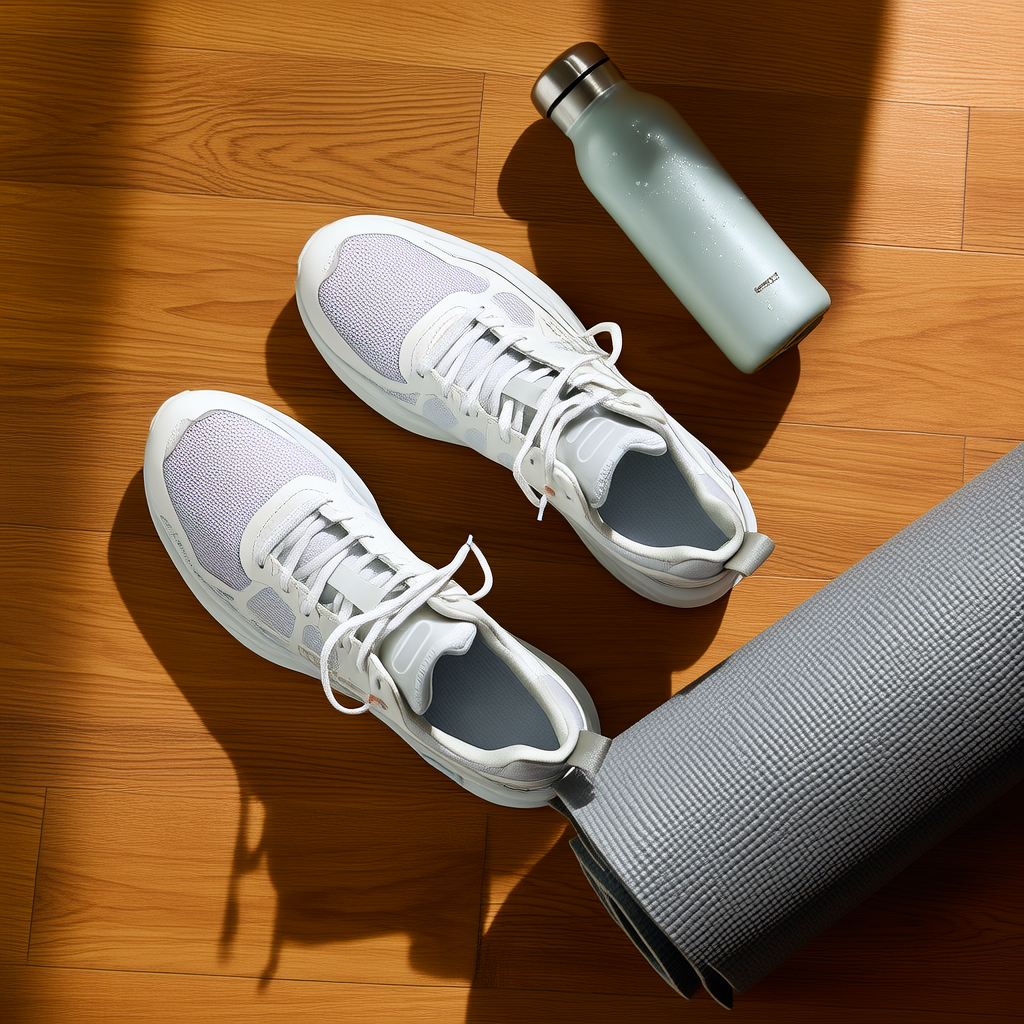
- Supportive sneakers with laces or straps you can tighten.
- A water bottle.
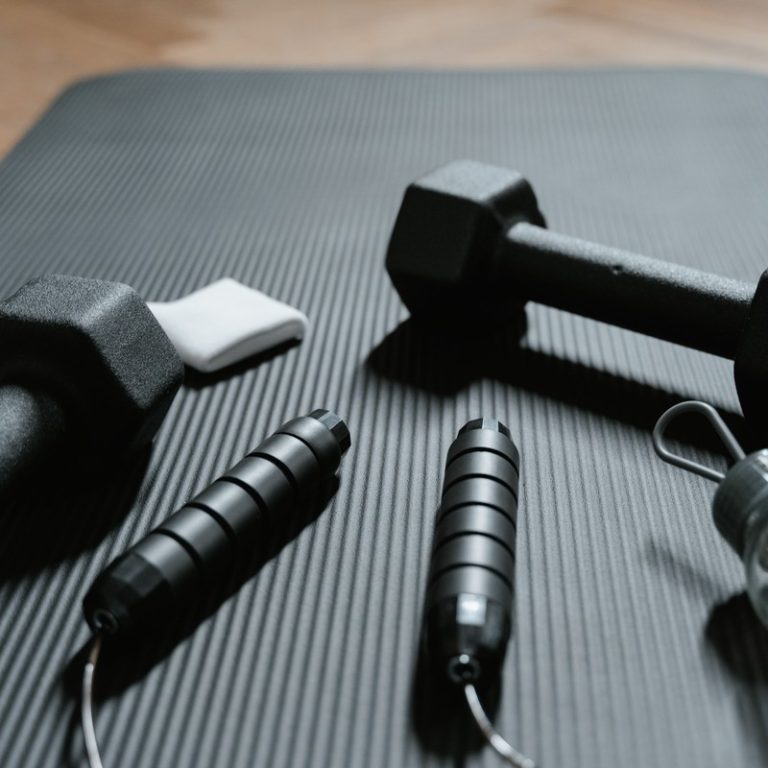
- A mat or folded towel for floor exercises.
Keep them where you’ll actually use them. I keep my sneakers by the front door and my mat in the living room because if they’re hidden in a closet, I’ll skip. You don’t need to buy expensive gear, but a mat that won’t slip and a pair of shoes that fit well will make the first week smoother.
Your only job this week is to show up for five short sessions. Some days you’ll take a walk. Other days you’ll do the gentle floor exercises later in this plan. You can even split a 15-minute session into two shorter chunks if that feels better. The day-by-day schedule comes a little further down. For now, focus on getting comfortable with the idea that you are a person who moves.
Ready when you are. After your first session, come back and tell us how it went. Your ten-minute walk might be exactly what someone else needs to read today.
Your First Week Schedule: Five Gentle Movement Days and Two Rest Days
Here is the whole week laid out. No guesswork. You have five movement days and two full rest days. I’m listing them as Day 1 through Day 7, so you can start on any day that works for your life.
One thing before the breakdown: when I say “10-minute session,” that includes the warm-up and cooldown. You are not adding six extra minutes. You are spending the first few minutes easing in and the last few minutes slowing down. It all counts.
Day 1: 10-Minute Slow Walk
Start with a walk. Put on shoes and go slowly. For the first 3 minutes, walk at an easy “just waking up” pace. For the next 4 minutes, pick up a slightly normal pace—still slow, but steady. For the last 3 minutes, ease off and let your breath settle. That’s your 10 minutes.
If the weather is bad, march in place or walk around your living room. Same idea.
Day 2: 10-Minute Seated Mobility
Sit in a sturdy chair with your feet flat. Warm up with 3 minutes of easy marching in place (you can sit or stand). Then do these three moves for about 4 minutes total:
- Shoulder circles: roll both shoulders forward 10 times, then backward 10 times.
- Ankle circles: lift one foot and circle the ankle slowly 10 times each way, then switch.
- Seated marches: sit tall and lift one knee at a time, slowly, for 20 steps.
Finish with 3 minutes of slow breathing and a gentle neck stretch. This session feels small, but it does real work for tight hips and shoulders.
Day 3: 10-Minute Strength Circuit
This is your first taste of strength work. You’ll do the simple circuit described in the next section. It uses a sturdy chair and your own body weight.
Start with 3 minutes of warm-up—marching in place works great. Then do one round of the circuit. It should take about 4 minutes. Finish with 3 minutes of cooldown, like slow marching or a standing hamstring stretch.
If the circuit says you can do two rounds, just do one today. You’re building the habit, not testing yourself.
Day 4: Rest
Rest day. No workout. This is not a “maybe” day. Rest is where your body gets accustomed to the new activity. If you want, an easy 5-minute walk or a few light stretches can help you feel less stiff, but it’s not required.
Day 5: 10-Minute Strength Circuit
Same as Day 3. Warm up for 3 minutes, do one round of the circuit from the next section, and cool down for 3 minutes. You might feel some muscle soreness today—that’s normal. Sharp pain is not. If it hurts, stop and rest.
Day 6: 12-Minute Low-Impact Cardio
This one runs a little longer. The 12 minutes include the warm-up and cooldown.
Warm up with 3 minutes of easy marching. Then do three moves in a row, spending 2 minutes on each:
- Marching in place
- Step-touch: step one foot out, bring the other foot in, then step back.
- Side steps: step sideways two steps one way, then two steps the other way.
That’s 6 minutes. Finish with 3 minutes of easy cooldown and slow breathing. Total: 12 minutes.
One round is perfect for week one. Save the optional second round for next week if you feel like it.
Day 7: Rest and Reflect
Rest day. No structured movement. Take five minutes to answer three questions in a notebook or your phone:
- Which day felt easiest?
- Which day felt hardest?
- What will you do the same next week?
This note will be your guide. You don’t need to change anything yet.
Practical Reminders
If 10 minutes feels too long, split it into two 5-minute blocks. For example, walk 5 minutes after breakfast and 5 minutes after lunch. The habit matters more than the block length.
Do not push into pain. Some soreness is fine, but sharp or lasting pain is not. Stop and rest. You can always try again tomorrow.
I remember my first week. I thought I needed to feel wrecked to make progress. Instead, I learned that finishing a session and still feeling normal was a win. That’s what you’re aiming for.
If you want a comfortable pair of walking shoes or a basic yoga mat for stretching, check current prices on Amazon before your next workout. And after your first week, come back and tell us in the comments how it went. I’d love to hear which day surprised you.
Easy Exercises That Fit a Larger Body: Form Cues and Modifications
Starting exercise at a heavier weight is different from starting at a thinner one. Your joints carry more load, your balance may not feel automatic, and your muscles have not been asked to move through their full range in a while. None of that makes exercise off-limits. It just means you need a smaller, gentler entry point.
This is the exact setup I have used with friends and family who were nervous about being seen in a gym. It happens in your living room or kitchen. Hold a chair or counter for support. No special equipment, no cardio machines, no floor work.
In your first-week plan, this circuit is the strength work. Slot it into the days your plan marks as strength days, or pick two or three non-consecutive days if you are doing this on your own. If your plan has walking on Monday, Wednesday, and Friday, put this circuit on Tuesday and Thursday, then rest or walk lightly on the weekend. Never do this circuit two days in a row. One round is plenty the first time. If a later session feels strong, do a second round then, but do not push to the point of exhaustion.
Seated warm-up: 2 minutes
Sit on a stable chair with your feet flat on the floor. Sit tall with your shoulders stacked over your hips, not rounded forward.
- March your feet slowly in place for 60 seconds.
- Roll your shoulders back 10 times.
- Stand up by pushing through both feet. Push on your thighs or armrests if you need help.
The warm-up is also a check-in. If your hips feel stiff, march slower. If you feel dizzy, stop and sit until it passes.
Standing balance: calf raises and side leg raises
When you stand for these, hold a countertop or chair back. Keep a soft bend in your knees, never locked.
Calf raises: hold the support, rise up slowly onto your toes, pause for one second, then lower with control. Do 10 reps. If 10 is too much right now, do 5 and count that as a win.
Side leg raises: keep the supporting knee soft, lift your leg out to the side about six inches, then lower slowly. Do 8 reps per side. If one side is weaker, do that side first and match the number on the other side.
Sit-to-stand: 8 to 10 slow reps
Use a stable chair that will not slide. If the chair has wheels, push it against a wall or use a kitchen chair.
Lower yourself until you just touch the seat, then press up through your heels and stand all the way up. That is one rep. Complete 8 to 10 slow reps. Use the armrests first if needed. The lowering part is where the real work happens, so do not rush it. If you can only go halfway down at first, that is still a valid rep.
Wall push-up: 6 to 8 controlled reps
Stand an arm’s length from a wall. Place your hands on the wall at shoulder height, fingers pointing up or slightly outward.
Bend your elbows and lower your chest toward the wall. Keep a straight line from your head to your heels. Press away until your arms are straight. Do 6 to 8 controlled reps.
If your shoulders feel tight, move your feet a little closer to the wall. As it gets easier across the week, step farther back. Foot position changes the difficulty more than you expect.
Modify every exercise without apology
Shorten the range of motion or reduce the reps. Your first week is about form, not intensity. A half-range sit-to-stand counts. Four clean wall push-ups count. Five calf raises on a weak side count.
You should finish each set feeling like you could do one or two more reps. Slight muscle tiredness is normal. Dizziness, sharp pain, or feeling wrecked are signs to stop and cut back next time.
If you want to make this routine more comfortable on your joints, a sturdy chair and a nonslip mat help a lot. Prices on Amazon change often, so check the current price before you buy. And after your first session, come back and leave a comment about how the sit-to-stand felt. Your experience will help the next person who is worried about starting.
How to Listen to Your Body: Pain, Breath, and Recovery Days
Your first week isn’t a test of willpower. It’s a chance to learn what your body can handle right now. Expect some muscle soreness and a slightly fast heartbeat. The real skill is telling the difference between normal discomfort and something that needs attention.
The simplest tool I give beginners is the talk-sing test. During an exercise, you should be able to speak a short sentence but not sing a full verse. Try saying, “I can hold this pace.” If those words come out without gasping, you’re in a safe zone. If you can sing the whole chorus, add a little effort. If you can’t get three words out, slow down. That pace lets you finish the workout and still look forward to the next one.
Now let’s talk about pain. That dull burn in your muscles during the last few reps? That’s normal. Soreness can also arrive a day later and peak around 24 to 48 hours after exercise. It should fade as you move. But stop your session if you feel any of these warning signs:
- Sharp pain in a joint
- Chest pain or pressure
- Dizziness
- Numbness
- Shortness of breath that feels out of proportion to the effort
Stop means stop. Don’t walk it off. Don’t do one more rep to test it. If the feeling doesn’t ease up or gets worse, get medical help.
Rest days deserve a place in this plan. I’ve had days where a casual ten-minute walk did more for tight legs than lying on the couch ever did. The two off days in this schedule aren’t empty. They’re when your muscles rebuild. Keep them active and light—a short walk, gentle stretching, or rolling your shoulders and ankles while you watch TV all count. The goal is to help your body recover, not to fit in another workout.
Before each session, do a quick recovery check. Ask yourself if you could repeat the same workout tomorrow with good control. Good control means knees stay steady, back doesn’t collapse, you can breathe through the reps, and your joints don’t complain. If the answer is no, make the next session shorter or easier. That adjustment is part of the plan, not a failure.
If you’re unsure, start with a shorter version. A fifteen-minute session at a lighter effort still moves you forward.
For this first week, comfortable shoes and a little open floor space are enough. If a mat or better shoes would help you feel more prepared, check current prices on Amazon. And after a few sessions, drop a comment about how it went. Another beginner might be reading this and wondering if they can do it. Your words could be the push they need.
After Week One: Progression, Strength and Cardio Balance, and Your Next Step
You finished the first week. That is not a small thing. It means you walked, stretched, pushed through resistance, and came back the next day. Now we need to keep that momentum without smothering it.
Week Two: Make One Small Change
The simplest way to progress is to add two or three minutes to one session, or add one extra rep per exercise. If you walked 10 minutes on Monday, go for 12. If you managed eight sit-to-stands, try nine.
That’s it.
Don’t double your workload all at once. The urge to make up for lost time is strong, especially when the scale hasn’t moved yet. But sudden jumps in volume are how beginners end up with sore knees and a dead motivation. One small increase per session keeps you consistent and gives your body time to adapt.
Strength Twice a Week, Easy Cardio Most Days
Keep the same strength circuit from Week One: sit-to-stands, wall push-ups, and calf raises. Do it twice per week. On most other days, do easy cardio. Most days means four or five times, not seven. This mix does two things at once: it protects joints by building support around them, and it creates a calorie deficit over time because you’re moving more often.
Here is a realistic skeleton for week two:
- Mon: Easy cardio (walk, bike, or swim) for the same time as last week, plus 1 minute. If Monday was 10 minutes, now do 11.
- Tue: Week One strength circuit, with one extra rep per exercise.
- Wed: Easy cardio, short and slow.
- Thu: Strength circuit again, with one extra rep per exercise.
- Fri: Easy cardio.
- Sat: A very gentle walk or full rest.
- Sun: Rest.
If Tuesday is busy, swap it. The goal is to keep strength sessions separate from cardio so you’re not exhausted before either one.
When Life Interrupts
If you miss two scheduled sessions, don’t add a makeup hour. Instead, shorten the next workout to five minutes. Walk to the mailbox. Do five wall push-ups. Just do something that keeps the chain unbroken. The habit matters more than the planned session.
I used to try to make up missed workouts by doing double next time. It never worked. It made me feel behind, and I started associating exercise with punishment. Now I keep a five-minute fallback for bad days. That small move is often enough to remind me why I showed up in the first place.
When Bodyweight Moves Get Easy
Eventually, the sit-to-stand, wall push-up, and calf raise circuit will feel less demanding. That means you’re ready for a little more. A yoga mat can make stretching or kneeling positions more comfortable, supportive shoes can help with your walking sessions, and light dumbbells can add resistance without loading your joints too fast.
Before you buy anything, check current prices on Amazon to compare options and avoid overpaying. Search for light adjustable dumbbells, a thick yoga mat, or supportive walking shoes and read a few reviews. You don’t need a full home gym. One thoughtful purchase is enough.
Your Next Step and a Request
Your next step is simple: repeat week one with the small increases above, then do that again the week after. Once that feels manageable, add another minute or another rep.
When you’ve finished your first week, come back and leave a comment about what felt easy, what felt hard, and what helped you show up. A five-day report from you could be exactly what another beginner needs to hear tonight.
You have already changed your pattern. That’s the hardest part. Now just do it one more week.
Medical & Editorial Review: This article was reviewed by Liam Smith, founder of Apexfito, for accuracy and safety. Content is for educational purposes and is not a substitute for professional medical advice. Consult your physician before starting any exercise or nutrition program.