This article is for educational purposes only and does not replace medical advice, diagnosis, or treatment.
By Liam Smith — Fitness enthusiast and founder of Apexfito. I test gear at home and share what actually works.
Leg Injury Rehab Exercises: The Three Phases of Recovery
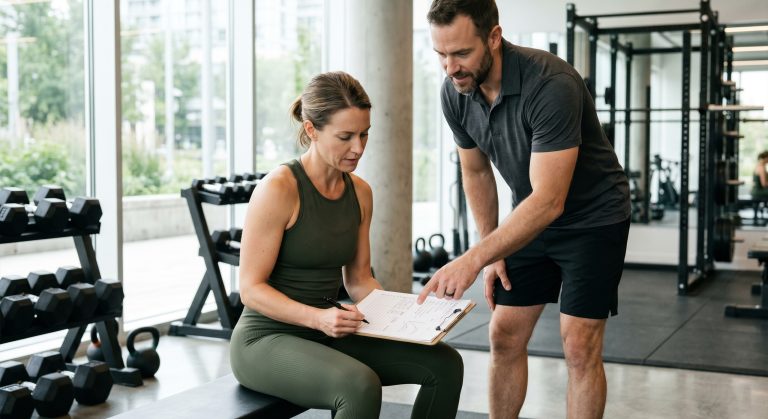
If you are looking for proven leg injury rehab exercises to rebuild strength and mobility after an injury, this science-backed roadmap will guide you through every phase. Recovering from a leg injury can feel like a long road, but breaking it into clear phases makes it manageable. Here’s the three-phase structure I use with clients, based on the latest rehab science. Harvard Health notes that sleep is critical for muscle repair and growth; skimping on sleep limits gains.
Nutrition Tip: Proper nutrition plays a vital role in recovery — your body needs the right energy balance to repair tissue effectively. Check out our guide on calorie deficit explained simply for tips on fueling your recovery without unnecessary weight gain.
Your first goal is to manage pain and inflammation. This isn’t the time to “push through” anything. Rest, ice, and gentle movement are your tools. You want to restore range of motion and prevent muscle atrophy without stressing the injured tissue.
Phase 2: Restorative (2–6 Weeks) — Rebuild the Foundation
Once pain and swelling are under control, it’s time to rebuild strength and movement control. I’ve found this phase is where most people get impatient and try to jump ahead. Don’t. Your tissues need time to adapt.
Step-ups (low step) — controlled loading through the injured leg
Bodyweight squats — focus on depth you can manage pain-free
Progress only when you can do an exercise without pain or increased swelling the next day. That’s your green light to add a few more reps or a slightly deeper range.
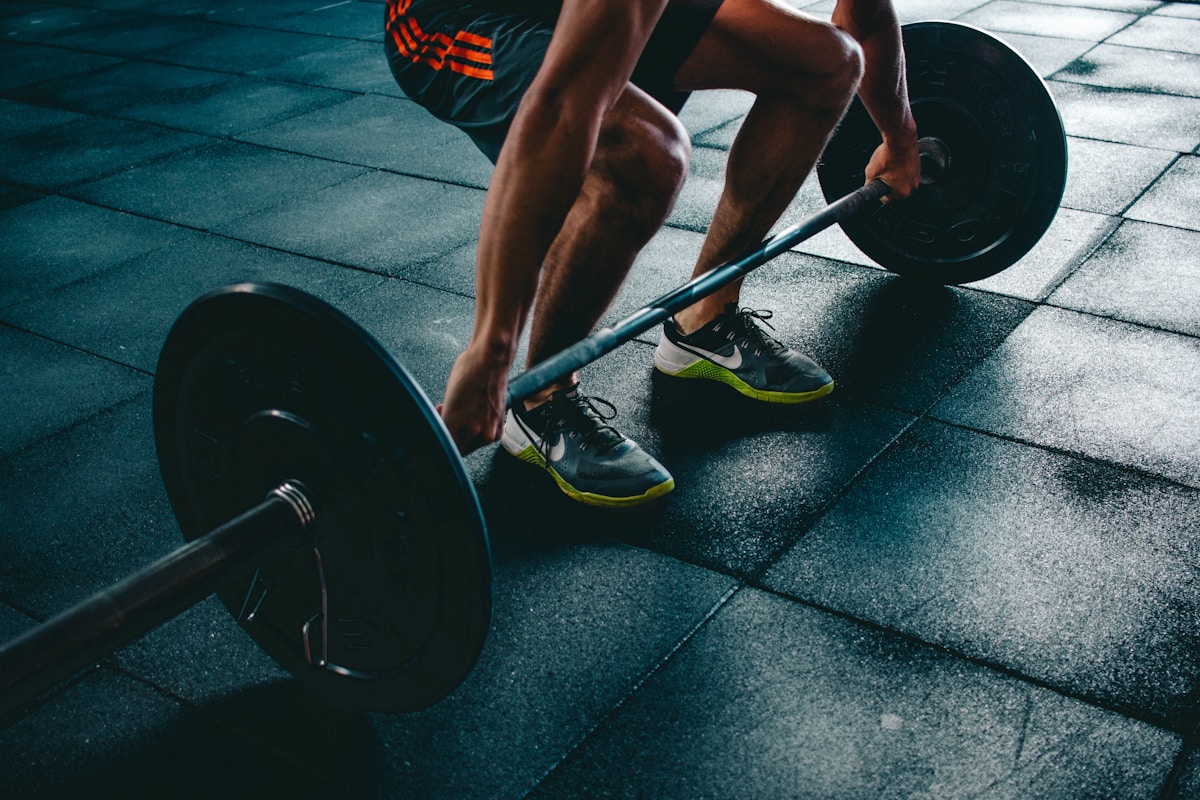
Phase 3: Functional (6–12+ Weeks) — Return to Real Life
Now you’re ready for sport- or activity-specific movements. This phase is about building confidence and preparing your leg for the demands of your actual training — whether that’s running, squatting heavy, or playing basketball.
Single-leg work — Romanian deadlifts, step-ups on a higher box
Plyometrics (only if cleared by your physio) — pogo hops, box jumps
Gradual loading — add weight to squats and deadlifts in small increments
Recovery is not linear. You might feel great for two weeks, then have a setback after a long walk or a tough workout. That’s normal. Back off for a day or two, then resume. The key is to listen to your body and adjust, not to follow a rigid calendar.
I’ve seen too many people rush through Phase 2 and end up back at square one. Take the time now, and you’ll come back stronger and more resilient than before.
Safe Exercises for Each Phase: What to Do and When
Rehab isn’t a straight line. You’ll move through three distinct phases, each with specific exercises designed to match what your tissues can handle. The key is knowing exactly what to do — and what to avoid — at each stage.
In the first days to weeks after injury, your goal is to reduce swelling, maintain some range of motion, and prevent muscle atrophy. No weight-bearing exercises that cause pain. Think of this as the “do no harm” stage.
Ankle pumps: 10–15 reps every waking hour. Point and flex your foot to keep blood flowing and reduce swelling.
Quad sets: Sit or lie with your leg straight. Tighten your front thigh muscle, hold for 5 seconds, then relax. Do 10–15 reps, several times a day. This helps wake up the muscle without moving the joint.
Heel slides: Slowly bend your knee by sliding your heel toward your butt. Go only as far as you can without pain. Repeat 10–15 reps, 2–3 times daily. If it hurts, back off.
Straight leg raises: Only attempt this if you can do a quad set without your knee buckling or lagging. Lie on your back, tighten your thigh, and lift your leg 6–12 inches. Lower slowly. If your knee drops or wobbles, skip this exercise for now.
I’ve seen people rush into weight-bearing too soon and set themselves back weeks. Respect the acute phase. Pain-free movement is your only benchmark.
Once swelling is down and you can move without sharp pain, it’s time to add controlled load. Your tissues are healing but still vulnerable — stop immediately if you feel sharp pain or joint instability.
Wall sits: Lean against a wall, slide down until your knees are at a 45-degree angle (not 90 — keep it shallow). Hold 15–30 seconds, 3 sets. Focus on keeping your weight in your heels.
Step-ups: Use a low step (4–6 inches). Step up with your injured leg, then step down. Do 3 sets of 10 reps per leg. Keep the movement slow and controlled. No bouncing.
Bodyweight squats: Go only to a partial range — about a quarter squat. Keep your chest up and knees tracking over your toes. Do 3 sets of 10 reps. If you feel grinding or sharp pain, stop.
Glute bridges: Lie on your back, knees bent, feet flat. Squeeze your glutes and lift your hips until your body forms a straight line from shoulders to knees. Hold for 2 seconds, then lower. Do 3 sets of 15 reps.
One thing I’ve noticed with clients: they often skip glute bridges because they seem too easy. Don’t. Weak glutes are a major reason people re-injure their knees and hips.
Now you’re ready for more dynamic movements. Progress volume before intensity — that means adding reps and sets before adding weight or speed. Only progress to jumping and plyometrics after clearing it with your physical therapist.
Forward lunges: Take a short stride — about half your normal lunge length. Keep your front knee aligned with your ankle. Do 3 sets of 8 reps per leg. If you feel unstable, shorten your stride.
Single-leg Romanian deadlifts: Start with bodyweight or a light dumbbell. Hinge at your hips, keeping your back flat, and lower the weight toward the floor. Do 3 sets of 8 reps per leg. This builds hamstring and glute strength, which protects your knees.
Lateral lunges: Step to the side, bending the stepping leg while keeping the other leg straight. Do 3 sets of 8 reps per side. This targets your adductors and helps with lateral stability.
Controlled jumping: Only after your PT gives the green light. Start with small, two-footed jumps in place, landing softly with bent knees. Progress to forward hops and lateral hops over a line. Do 2–3 sets of 5–8 reps.
I remember helping a client return to running after a hamstring tear. We spent three weeks just on single-leg RDLs and lateral lunges before she felt stable enough to jog. Patience paid off — she’s been injury-free for two years now.
Getting back into training after a leg injury is a balancing act. You want to push hard enough to rebuild strength, but not so hard that you end up back at square one.
The 10% rule is your safety net: increase your weekly volume — sets, reps, or time under tension — by no more than 10% as long as you’re pain-free and swelling-free.
If you did 20 total sets of leg work last week, aim for 22 this week. That’s it. And here’s a critical point: never add load and range of motion at the same time.
If you’re increasing the weight on your goblet squats, keep the depth where it is. Once that feels solid for a week or two, then you can work on going a little deeper.
Pain is your body’s way of talking to you, and you need to learn its language. Sharp pain — like a stab or a catch — means stop immediately. That’s a red light.
But if pain persists after your workout or gets worse the next day, that’s a sign you did too much. Same goes for swelling or clicking that worsens with activity.
I’ve had clients ignore that subtle increase in knee clicking, only to end up with a flare-up that set them back weeks. Don’t be that person. Back off, rest, and reassess.
This isn’t optional. Before every session, spend 5 to 10 minutes on light cardio — a stationary bike, a brisk walk, or our 7-minute morning workout works great for low-impact movement.
Follow that with dynamic stretches: leg swings, walking lunges (pain-free range only), and hip circles. Your goal is to increase blood flow and wake up the nervous system.
After your workout, cool down with gentle static stretches for your hamstrings, quads, and glutes. Hold each stretch for 20 to 30 seconds, no bouncing.
Progress isn’t about how much you can do in one session — it’s about how consistently you can train without setbacks. Stick to these principles, and you’ll build back stronger than before.
I’ve seen it happen time and again in my own training and with clients: you’re itching to get back to squats, lunges, or running after a leg injury, so you push hard, feel a twinge, and end up right back at square one. Avoiding these five common mistakes can save you weeks—or months—of frustration.
I’ve had clients who thought they could “walk it off” and ended up with chronic tendinitis. Respect the timeline: let the swelling and pain subside before you add load.
Weak glutes and a wobbly core force your knees and ankles to take extra stress. I’ve seen countless people with patellar pain who couldn’t do a proper side plank.
Include exercises like clamshells, side planks, and bird dogs early in your rehab. These moves stabilize your pelvis and reduce unwanted torque on the injured joint.
I once had a client who insisted on doing lunges through knee pain because he thought it meant he was “working hard.” He ended up with a meniscus tear.
Instead, ask yourself: does this movement feel stable and controlled? If not, regress to a less loaded version, like a step-up with a low box or a wall sit.
Recovery is a rollercoaster. Some days you’ll feel strong and pain-free; other days you’ll wake up stiff and sore for no obvious reason. That’s normal.
I’ve had weeks where I could deadlift pain-free, then a sudden twinge sent me back to bodyweight squats. The key is to adjust your plan, not abandon it.
ApexFito Editorial creates practical, evidence-based fitness content for busy adults who want clearer training guidance, realistic workout planning, and smarter gear decisions.
Our editorial approach focuses on usable fitness science, honest context, and straightforward explanations instead of hype, shortcuts, or unnecessary complexity.
You can grind in the gym all you want, but if you’re skimping on sleep, you’re leaving results on the table. Here’s the science behind how sleep drives muscle growth and fat loss.
Jump rope is one of the most efficient cardio tools you can use anywhere. We break down the science, compare it to running and cycling, and give you a practical plan to maximize calorie burn.
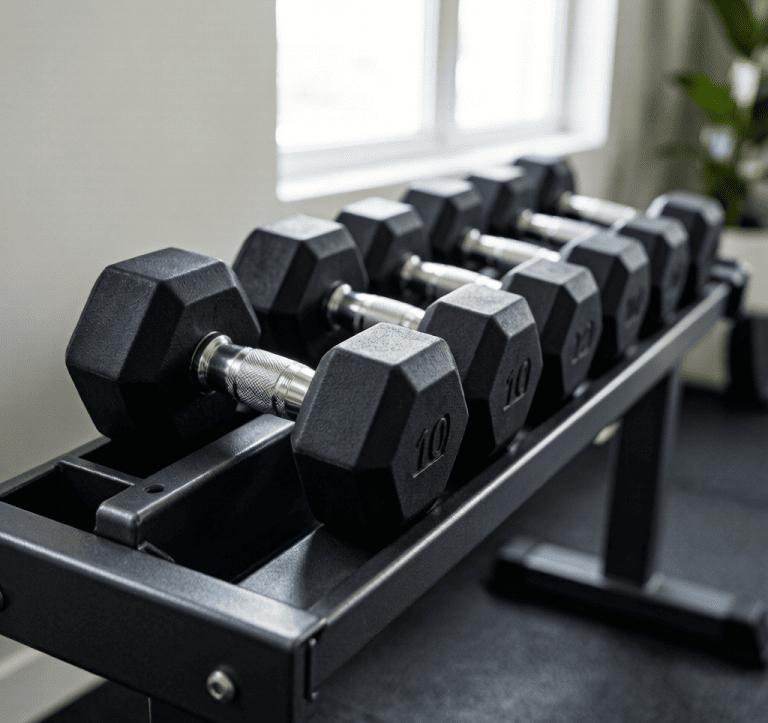
We break down the top fixed-weight dumbbell sets for home gyms, comparing rubber, neoprene, and hex styles with honest reviews and real Amazon product links.
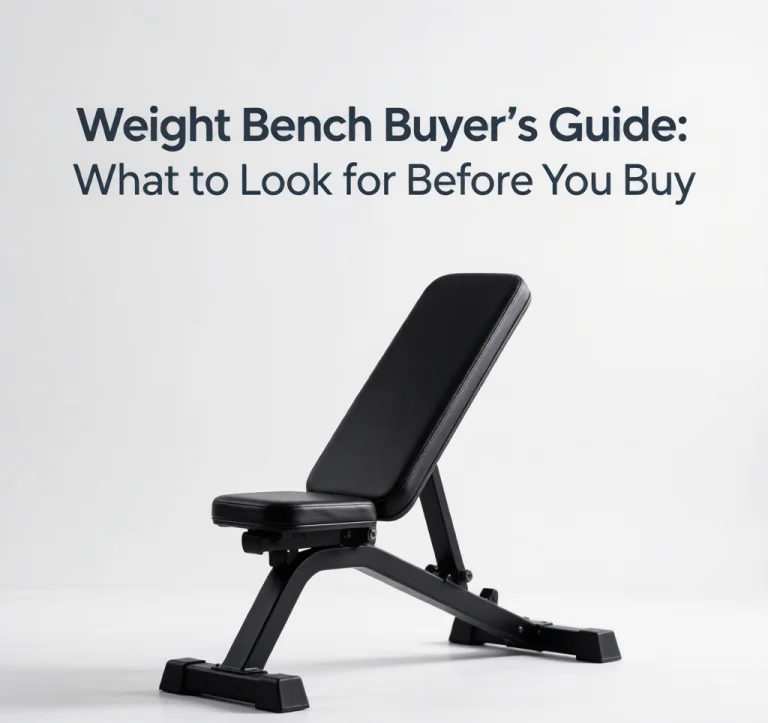
Not all weight benches are built the same. Here’s exactly what to check before you buy your first home gym bench, including stability, adjustability, and real product recommendations.
Think you need high-intensity workouts to get fit? Science says walking does more than you’d expect. Here’s how daily walks improve your health, burn fat, and build real fitness.
To provide the best experiences, we use technologies like cookies to store and/or access device information. Consenting to these technologies will allow us to process data such as browsing behavior or unique IDs on this site. Not consenting or withdrawing consent, may adversely affect certain features and functions.
Functional Always active
The technical storage or access is strictly necessary for the legitimate purpose of enabling the use of a specific service explicitly requested by the subscriber or user, or for the sole purpose of carrying out the transmission of a communication over an electronic communications network.
Preferences
The technical storage or access is necessary for the legitimate purpose of storing preferences that are not requested by the subscriber or user.
Statistics
The technical storage or access that is used exclusively for statistical purposes.The technical storage or access that is used exclusively for anonymous statistical purposes. Without a subpoena, voluntary compliance on the part of your Internet Service Provider, or additional records from a third party, information stored or retrieved for this purpose alone cannot usually be used to identify you.
Marketing
The technical storage or access is required to create user profiles to send advertising, or to track the user on a website or across several websites for similar marketing purposes.