How to Do Bulgarian Split Squats:
Full disclosure: Some links in this article are affiliate links. We may earn a small commission at no extra cost to you if you make a purchase through them. Our recommendations are based on what real users report, not on commission size.
Why the Bulgarian Split Squat Belongs in Your Leg Day
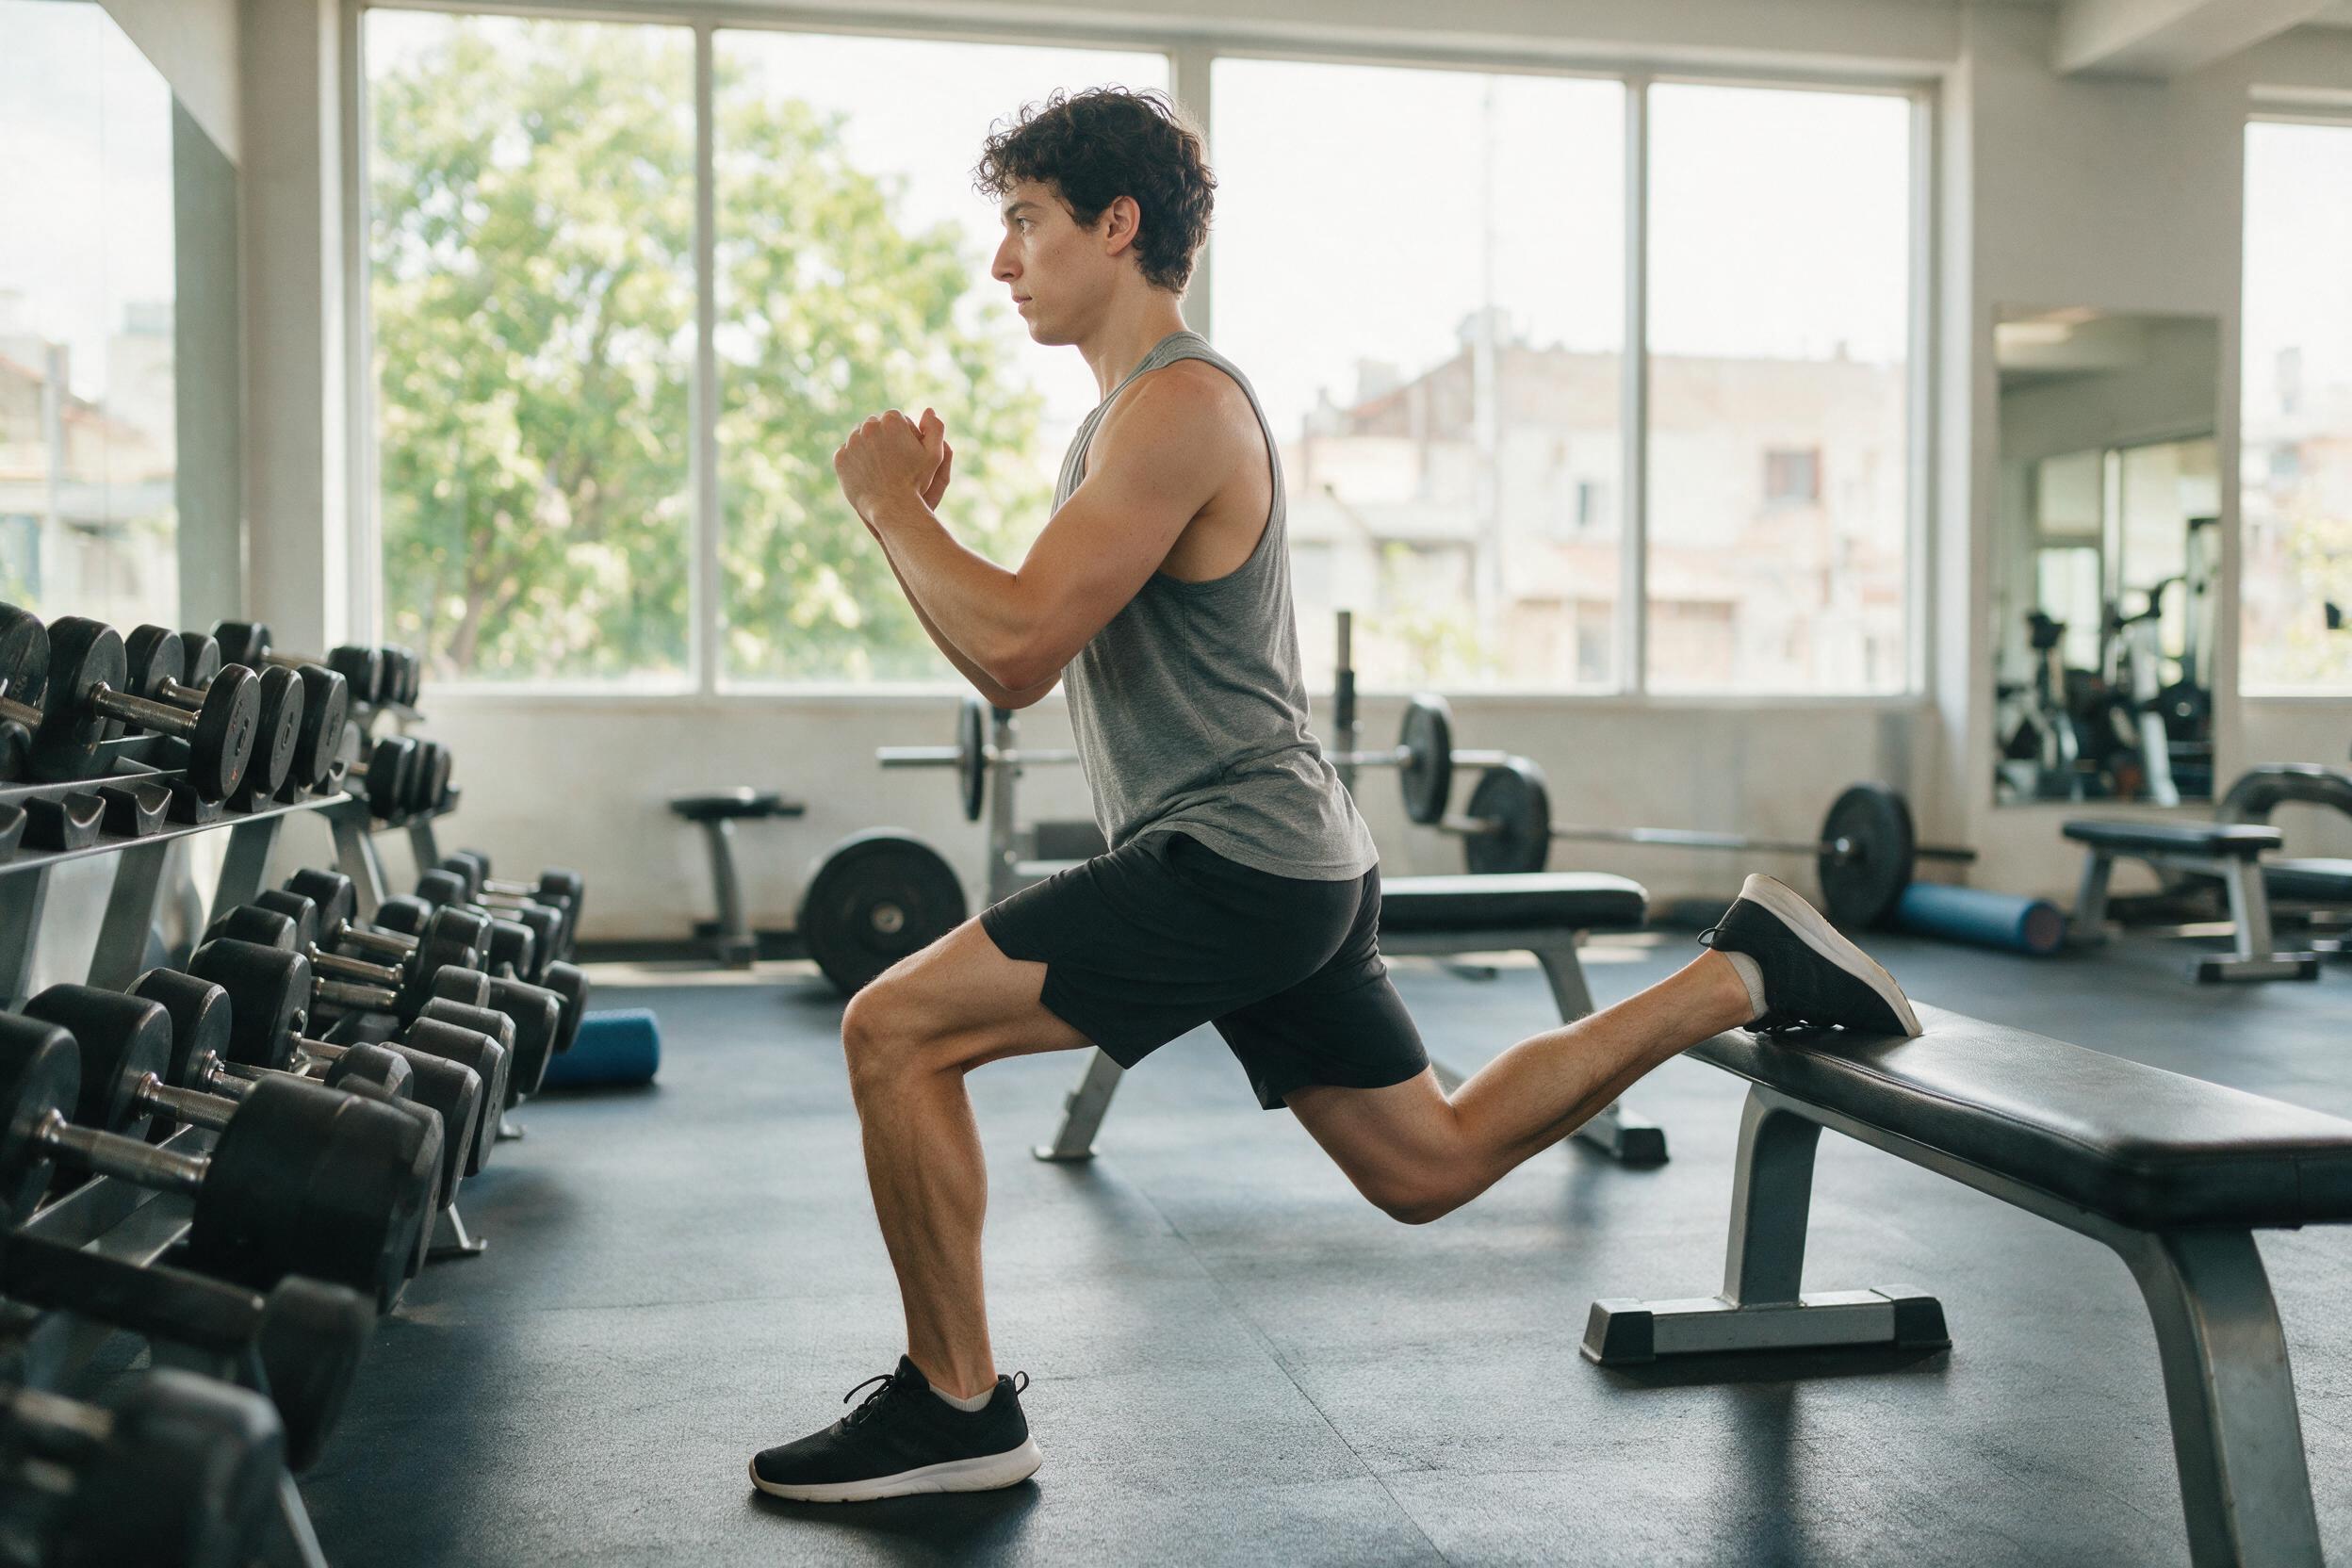

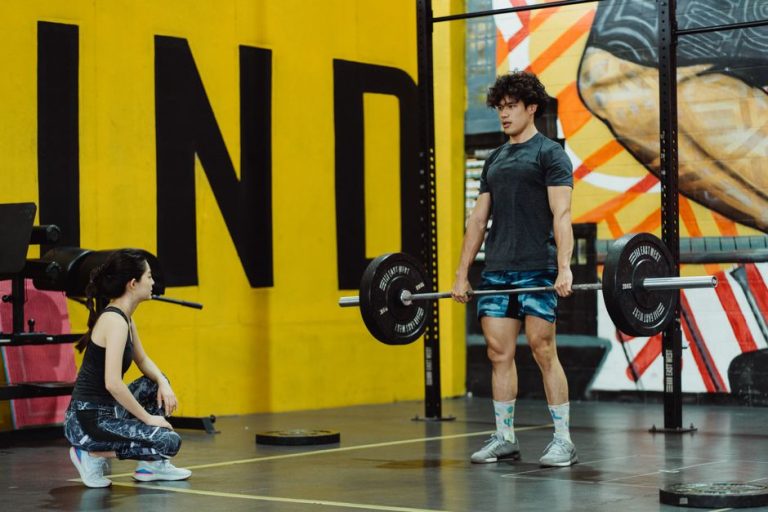
Photo by Thomas Yohei on Unsplash
Over years of coaching, I’ve found this movement invaluable for clients with lower back pain. One lifter could barely squat 185 pounds without discomfort—after six weeks of Bulgarian split squats, his back pain vanished and his squat jumped to 225. The reason is simple: this exercise places far less compressive load on the spine than barbell squats, so you can push your legs hard without worrying about your back giving out.
But the benefits go beyond back safety. The Bulgarian split squat targets your quads, glutes, and hamstrings unilaterally, meaning each leg works independently. That makes it one of the best tools for correcting strength imbalances that standard bilateral lifts can mask. If you’ve been grinding away at barbell squats and leg presses but still feel like one leg is doing more work than the other, this exercise will even things out fast.
The single-leg stance also forces your hips and core to work overtime to keep you balanced. That carries over to sports like basketball or running, and even to everyday activities like carrying groceries up stairs. And when you load up with dumbbells or a barbell, the Bulgarian split squat can pack serious mass onto your legs. I’ve coached lifters who added noticeable quad and glute size within months just by making this their primary squat variation.
Here’s a quick summary of why this exercise deserves a spot in your program:
- Corrects left-to-right strength imbalances by isolating each leg
- Reduces spinal loading, making it safer for those with back issues
- Improves hip stability and single-leg balance for better athletic performance
- Builds leg mass effectively when loaded with dumbbells or a barbell
If you’re an intermediate lifter looking to strengthen your legs and fix imbalances, the Bulgarian split squat is a practical, high-return addition to your leg day. Give it a try—you’ll feel the difference in your first session.
Setting Up: Bench Height and Foot Placement
Getting the setup right for Bulgarian split squats is the difference between a smooth, effective movement and a session where your knee feels like it’s going to pop. A bench that’s too high forces your back foot into an awkward angle, and placing your front foot too close puts all the pressure on your kneecap. Let’s fix that.
First, find a bench or box that sits just below your kneecap when you stand next to it. If it’s higher, your hip flexors will be in a compromised position, and you’ll struggle to keep your torso upright. If it’s lower, you won’t get the full range of motion. I use a standard weight bench at home, and it works perfectly. At the gym, most adjustable benches can be set to a height that works.
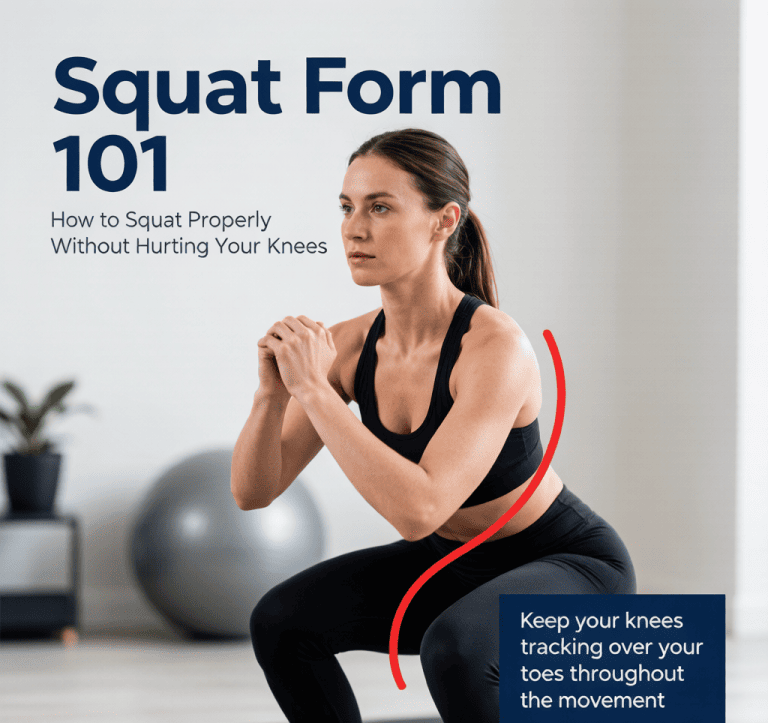
Now, stand about two feet in front of the bench, facing away from it. Place the top of your back foot on the bench, laces down. Your front foot should be far enough forward that when you lower down, your front shin stays vertical. If your knee shoots past your toes at the bottom, slide your front foot forward an inch or two. If you feel like you’re falling backward, bring it closer. This adjustment is personal — I have long legs, so I need my front foot a bit farther out than my shorter friends.
The distance between your feet also changes which muscles do the work. A closer stance (front foot closer to the bench) shifts more load to your quads. A farther stance targets your glutes and hamstrings harder. For a balanced leg day, I alternate between both. If you’re trying to fix a muscle imbalance, start with the closer stance to wake up your quads on the weaker side.
One more thing: keep your torso upright. Many people lean forward as they descend, which takes tension off the glutes and puts it on the lower back. Imagine you’re holding a glass of water on your chest. If you spill it, you’re leaning too much. At the bottom of the movement, your front shin should be vertical, and your chest should be proud. That’s the sweet spot for knee safety and glute activation.
Take a minute to adjust your setup before adding any weight. I’ve rushed this step and regretted it — a bad setup leads to a wobbly squat and a sore knee the next day. Once you find your perfect foot placement and bench height, mark it with a piece of tape on the floor for consistency. Your body will thank you.
Step-by-Step Execution: From Setup to Lockout
Let’s break down the Bulgarian split squat into three clear phases: setup, descent, and ascent. I’ve coached this movement with dozens of clients, and the difference between a solid rep and a sloppy one almost always comes down to setup details.
Phase 1: Setup
Grab a flat bench or sturdy box about knee height. Stand a couple feet in front of it, facing away. Place the top of your back foot on the bench—laces down, not the toes. Your front foot should be far enough forward that when you squat, your shin stays vertical and your knee tracks over your ankle without going past your toes. A common mistake is standing too close to the bench, which forces your front knee too far forward and shifts weight onto the back leg.
Hold a dumbbell in each hand at your sides, palms facing in. If balance is an issue, hold one dumbbell vertically at your chest with both hands—this shifts your center of gravity and makes the rep more stable. I’ve used both setups, and the single dumbbell chest hold is surprisingly effective for beginners who feel wobbly.
Phase 2: The Descent
Brace your core as if you’re about to take a punch. Then, simultaneously bend your front knee and push your hips back, lowering your back knee straight down toward the floor. Don’t let your front knee cave inward—keep it tracking over your second toe. Descend until your front thigh is parallel to the floor, or until your back knee lightly taps the ground. If you’re on carpet or a mat, a soft touch is fine. On a hard floor, stop just above.
Your torso should stay upright, not pitched forward. Think about keeping your chest proud and your shoulders back. I’ve seen lifters round their upper back as they fatigue—that’s a red flag. If you feel your lower back taking over, you’re likely leaning too far forward.
Phase 3: The Ascent
Drive through your front heel—literally push the floor away—to return to the starting position. Keep your weight on the front leg; the back leg is just for balance. Do not push off the bench with your back foot. That defeats the purpose of the single-leg load. Imagine you’re pressing the front foot through the floor, and let your glute and quad do the work.
At the top, fully extend your hip and knee, but don’t lock out your knee hard. Pause for a second, reset your balance, then repeat. I’ve found that rushing the ascent leads to sloppy reps and less muscle activation. Slow down, especially on the first few reps of each set.
One practical tip: film your first set from the side. Check if your front shin stays vertical and your back knee drops straight down. If your front knee drifts forward or your back knee swings out to the side, adjust your stance. A small tweak—like moving your front foot an inch forward—can fix both issues instantly.
Common Mistakes That Kill Results (and How to Fix Them)
Even with perfect intentions, small form errors can turn the Bulgarian split squat from a leg-building powerhouse into a lower-back strain or knee irritant. I’ve corrected these issues in countless training sessions, and the fixes are simpler than you’d think. Here are the four most common mistakes I see — and how to correct them immediately.
1. Leaning Forward: The Quad-to-Lower-Back Shift
When your chest drops toward your front knee, the tension moves from your quads and glutes to your lower back. This not only reduces the stimulus on your target muscles but also loads your spine in a compromised position.
The fix: Keep your chest proud and shoulders pulled back throughout the movement. Imagine a string pulling your sternum toward the ceiling. If you still feel your torso tipping, try performing the exercise in front of a mirror or record a set. I’ve had clients fix this in one session just by watching their own form.
2. Front Knee Caving In: ACL Stress
Letting your front knee drift inward — especially during the drive-up phase — places unnecessary stress on the ACL and medial collateral ligament. This is often a sign of weak glute medius or poor hip control.
The fix: As you push up, actively drive your front knee outward toward your pinky toe. Think about spreading the floor with your front foot. If you still struggle, reduce the weight and focus on this cue for a few sessions. A light resistance band just above your knees can also help reinforce the correct path.
3. Overusing the Back Leg: Cheating the Single-Leg Stimulus
I see this constantly: lifters push through their back foot as much as their front, turning the movement into a quasi-lunge. This defeats the purpose of isolating each leg and reduces the unilateral benefit.
The fix: Keep your back leg completely relaxed — it’s only there for balance. Your front leg should do all the work. If you feel your back foot pressing hard into the bench, you’re likely using too much weight or leaning too far forward. Drop the load and focus on a smooth, controlled descent with a powerful drive from the front heel only.
4. Rushing Through Reps with Momentum
Fast, sloppy reps rob your muscles of time under tension and shift the load to your joints and connective tissues. You’ll also lose balance more often, which can lead to injury.
The fix: Control the eccentric (lowering) phase for a full three seconds. Then drive up explosively from your front heel. This tempo — slow down, fast up — maximizes muscle activation and keeps tension where it belongs. I time my own sets with a metronome app, but counting in your head works just as well once you get the feel.
If you’re serious about building stronger, more balanced legs, these corrections will make a night-and-day difference. Check current prices on Amazon for a quality bench or dumbbells, and drop a comment below sharing your experience with this exercise — what’s your biggest challenge so far?
Programming the Bulgarian Split Squat for Strength Gains
Once your form is solid, the next step is programming this movement for real strength gains. Many lifters treat the Bulgarian split squat as an afterthought—tacking it on at the end of leg day with light weight and high reps. That works as a finisher, but if you want to get stronger, give it the respect it deserves by placing it early in your session and progressing deliberately.
Start with 3 sets of 8–10 reps per leg using a weight you can control through the full range of motion. No wobbling, no pushing off the back leg, no cutting depth short. If you can’t hit parallel with your front thigh, the weight is too heavy. Pick a dumbbell that feels challenging by rep 7 or 8—if rep 10 is easy, go heavier next time.
Progression is simple but requires patience. Add 5 pounds per week, or increase reps to 12 before adding weight. Jumping up in 10-pound increments too quickly leads to form breakdown and hip flexor strain. Stick with small jumps. If you’re using a barbell, that might mean adding 2.5-pound plates per side. Yes, it’s slow. Yes, it works.
When to reset progression: If you stall for two weeks in a row—meaning you can’t complete 8 reps with good form on your last set—drop the weight by 10% and build back up. This is a deload. I’ve seen lifters avoid deloading and end up with nagging hip pain or knee discomfort. A week of lighter work (3 sets of 10–12 with 70% of your working weight) every 4–6 weeks keeps you progressing without burning out.
Where to place it in your workout matters. If your primary goal is strength, put the Bulgarian split squat first on leg day—before squats or deadlifts. Your nervous system is fresh, your balance is better, and you can push the weight harder. I’ve done this for years and it’s made a noticeable difference in my single-leg strength. If hypertrophy is the focus, place it after squats. You’ll still get the stimulus, but the heavier compound movement will pre-fatigue your quads and glutes, forcing the split squat to work as a volume builder.
Variations change the challenge. As you get stronger, don’t just add weight—change the load position. The goblet Bulgarian split squat (holding a dumbbell against your chest) shifts more load to your quads and forces you to keep an upright torso. The front-rack version (holding a barbell in the front rack position) does the same but allows heavier loading. The barbell back squat variation is the most stable and lets you move the most weight, but it also requires more core tension to stay upright. I personally prefer the goblet version for most intermediates because it’s easier on the lower back and still allows for heavy loading.
Here’s a sample week for a strength-focused lifter:
- Day 1 (Strength focus): Bulgarian split squat (goblet or front-rack) – 3×8–10 per leg, rest 90 seconds between sets.
- Day 2 (Hypertrophy focus): Back squat – 4×6–8, then Bulgarian split squat (dumbbell) – 3×10–12 per leg, rest 60 seconds.
I’ve used this split with several clients and the results are consistent: better balance, fewer knee issues, and noticeable growth in the quads and glutes. If you’re doing this at home with just a bench and dumbbells, you can still progress by using a heavier dumbbell or adding a slow eccentric (lower for 3–4 seconds).
One more thing: don’t neglect the back leg. I’ve seen lifters develop a significant strength imbalance because they always start with their stronger leg. Alternate which leg goes first each workout. If you’re doing 3 sets, do 2 sets with the weaker leg first and 1 with the stronger leg. Over a few months, that gap will shrink.
Now go try it. Check current prices on Amazon for adjustable dumbbells or a good bench if you’re setting up a home gym. And drop a comment below—what’s your favorite variation and how have you programmed it? I’d love to hear what’s worked for you.
Medical & Editorial Review: This article was reviewed by Liam Smith, founder of Apexfito, for accuracy and safety. Content is for educational purposes and is not a substitute for professional medical advice. Consult your physician before starting any exercise or nutrition program.