Progressive Overload Explained:
Full disclosure: Some links in this article are affiliate links. We may earn a small commission at no extra cost to you if you make a purchase through them. Our recommendations are based on what real users report, not on commission size.
What Is Progressive Overload and Why It Matters
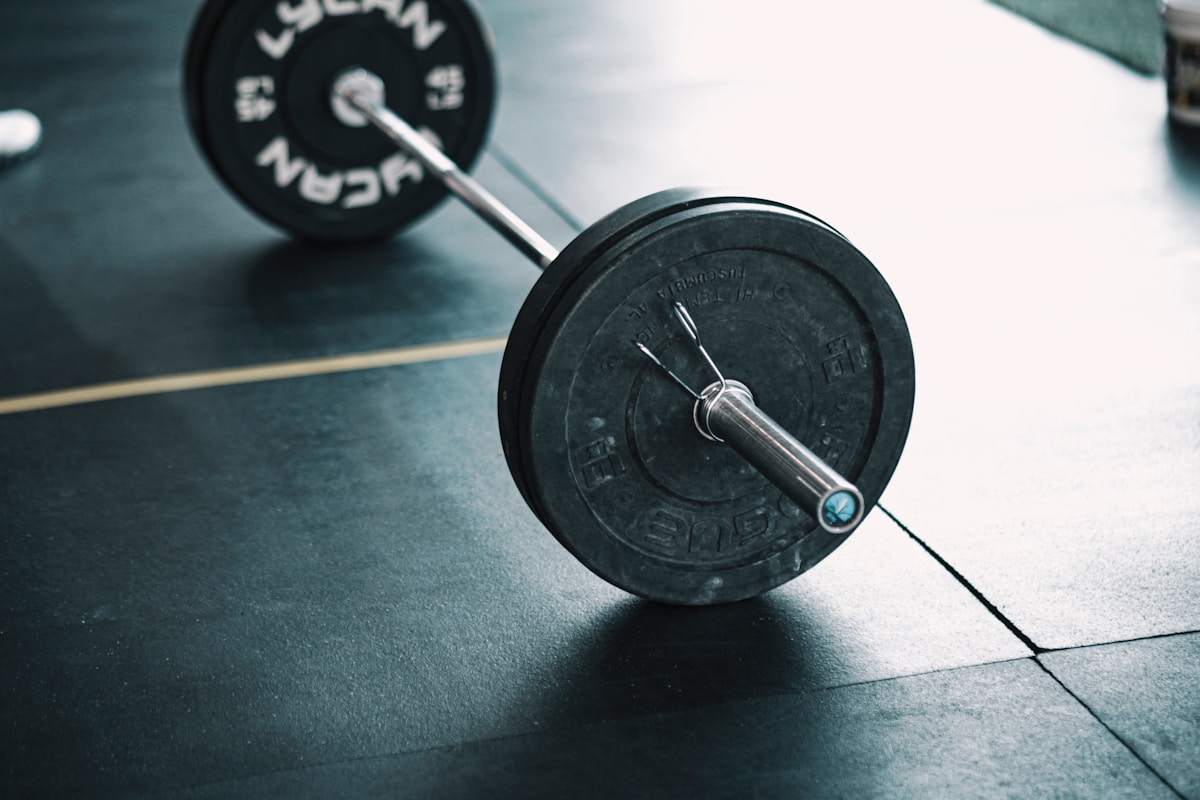
Photo by Eduardo Cano Photo Co. on Unsplash
Progressive overload is the single most important principle in strength training. It simply means gradually increasing the demands you place on your muscles over time. Without that increase, your body has zero reason to adapt—no new muscle, no extra strength. You just maintain what you already have.
I’ve seen this play out countless times. Someone hits a new PR on their deadlift, feels great, then shows up the next week and pulls the exact same weight for the exact same reps. A month later, they’re still pulling the same weight. That’s a plateau, and the fix is almost always progressive overload.
The science behind it is straightforward. Your muscles experience stress during training, and in response, they repair and grow stronger to handle that stress again. This is the SAID principle—Specific Adaptation to Imposed Demands. If you impose a heavier load or more volume, your body adapts specifically to that demand. If you don’t increase the demand, adaptation stops.
But here’s the practical part: you don’t need to make huge jumps. Small, consistent increases work best. Aim for 2–5% more weight on the bar, or 1–2 extra reps per set, each week. That might look like adding 5 pounds to your squat or doing one more rep on your bench press. Over a few months, those small steps compound into serious progress.
I once coached a lifter who was stuck at 185 pounds on the bench press for six weeks. We added 2.5 pounds every session. Ten weeks later, he hit 225. It wasn’t sexy, but it worked. That’s the power of progressive overload—it’s boring, consistent, and effective.
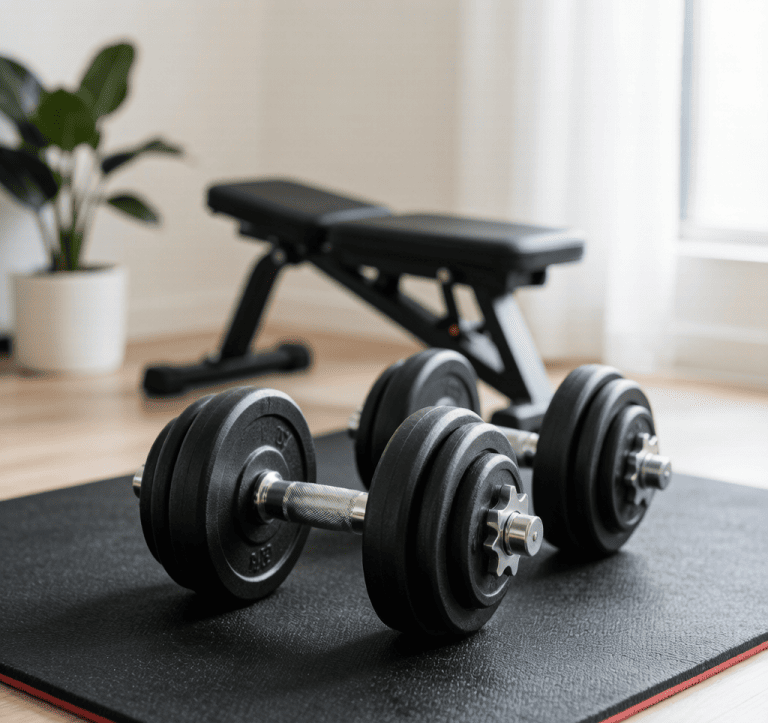
Check current prices on Amazon for adjustable dumbbells or a weight bench to set up your own progressive overload system at home. And if you’ve used this method to break through a plateau, share your experience in the comments below.
The 4 Proven Ways to Apply Progressive Overload
You’ve been grinding, but the scale isn’t moving and the bar feels just as heavy as last month. That’s the plateau—and it’s where most people quit. But here’s the thing: your body adapts fast. If you keep doing the same workout with the same weights, reps, and rest, you’ll stop growing. Progressive overload is the antidote. It’s not complicated, but it requires a system. Here are the four proven methods to keep your strength climbing.
1. Add Weight (The Classic)
This is the most direct way to overload. More weight = more mechanical tension = more muscle and strength. The trick is knowing how much to add. For upper body lifts like bench press or overhead press, aim for 5 to 10 pound jumps. For lower body lifts like squats and deadlifts, go for 10 to 15 pounds. Using micro-plates (2.5 lb) on upper body days lets you progress without stalling. If you’re at a commercial gym, just grab the next pair of dumbbells or add a 5 lb plate each side. Don’t rush—if you can’t complete your target reps with good form, you added too much. Drop back down and try again next week.
2. Add Reps (When the Weight Won’t Budge)
Some weeks, that 5 lb jump feels impossible. That’s when you add reps instead. If you’re stuck at 135 lb on bench for 8 reps, push for 9 or 10 reps next session. Once you hit 10 or 12 clean reps, you’re ready to bump the weight. This method works well for bodyweight moves like chin-ups—when you can’t add weight, just grind out one more rep each workout. The key is to track your reps. Write them down. If you did 8 last week, aim for 9 this week. That one extra rep is progress.
3. Add Sets (More Volume, More Gains)
Volume—total sets per muscle group per week—is a primary driver of hypertrophy and strength. Going from 3 sets to 4 sets of an exercise can spark new growth without changing the weight or reps. When your deadlift stalls, try adding a fourth back-off set at 80% of your working weight. Within three weeks, your top set may move up. Start by adding one set to your main lift for two to three weeks. If you’re already doing 4 sets, try 5. Just watch your recovery—if you feel beat up, drop back to 4 sets and focus on intensity.
4. Decrease Rest Time (Density Overload)
Cutting rest between sets increases training density—that’s the amount of work you pack into a given time—and metabolic stress. If you normally rest 90 seconds between squat sets, drop to 60 seconds. Your muscles have less time to recover, so they have to work harder. This method is especially useful for accessories and isolation work. Try it on bicep curls and lateral raises to get a nasty pump without adding weight. The downside: it can compromise performance on heavy compound lifts. So use this on your secondary exercises, not your main strength work. Start by shaving 15 to 30 seconds off your rest periods and see how you feel.
Pick one method and apply it for two to three weeks. If you stall, switch to another. Consistent overload over time is what drives progress—not any single technique. Now go check current prices on Amazon for a set of micro-plates or a good training log, and drop a comment below about which method you’re trying this week.
Common Mistakes That Stall Your Progress
You’ve been grinding in the gym, adding weight to the bar, but somehow your strength gains have flatlined. It’s frustrating, and it’s also incredibly common. The problem isn’t that progressive overload doesn’t work — it’s that most people apply it wrong. Here are the biggest mistakes I see (and have made myself) that kill progress.
Mistake #1: Adding Too Much Weight Too Fast
Walking into the gym and slapping 10 pounds on the bar feels productive. But if your form breaks down on the first rep, you’re not getting stronger — you’re begging for an injury. Your nervous system and connective tissues adapt slower than your muscles. Jumping weight too quickly overloads your joints and technique, not your strength.
Stick to small, controlled increases. For upper body lifts, aim for 2.5 to 5 pounds per week. For lower body, 5 to 10 pounds is usually safe. If your gym doesn’t have microplates, buy a set of 1.25-pound plates — they’re cheap and let you progress without sacrificing form.
Mistake #2: Not Tracking Your Workouts
I used to rely on memory. Bad idea. Without a log, you’re guessing whether you actually lifted more than last week. Research suggests that people who track their training see better strength gains — not because the notebook is magic, but because you can see exactly what worked and what didn’t.
Use a simple app or a physical notebook. Record the exercise, weight, sets, and reps. After each session, check if you beat your previous numbers. If you didn’t, ask why — maybe you were tired, or you need to adjust your warm-up. Tracking turns guesswork into data.
Mistake #3: Skipping Deload Weeks
Pushing hard every session sounds dedicated, but it’s a fast track to burnout. Your central nervous system accumulates fatigue, and without a lighter week, your performance drops, motivation tanks, and you risk overtraining. Research on periodization shows that planned deloads every 4–6 weeks improve long-term strength gains. However, the optimal frequency can vary — some lifters benefit from a deload every 3 weeks, while others can push to 8 weeks before needing a break. Listen to your body: if your reps are stalling, sleep quality is dropping, or you feel constantly sore, it’s time for a lighter week.
Plan a deload week where you drop the weight to about 60–70% of your working sets and cut volume by half. You’ll come back stronger, not weaker. I schedule mine every fifth week — it’s non-negotiable.
Mistake #4: Focusing Only on Weight
Progressive overload isn’t just about adding plates. You can also add reps, increase sets, or slow down the tempo. If you’re stuck on a lift, try adding one rep per set each week for a month before increasing weight. Or do an extra set. Or pause at the bottom of each rep for two seconds. These variables drive muscle growth and strength without the risk of dumping a heavy bar on your chest.
For example, if you’re benching 185 for 3 sets of 5, aim for 3 sets of 6 next week. Once you hit 3 sets of 8, add 5 pounds and drop back to 3 sets of 5. That’s double progression — and it works.
Putting It All Together
Check your ego at the door. Track every session. Schedule a deload. And remember that adding a rep is still progress. If you’re serious about breaking through a plateau, start by fixing these four mistakes. Then check current prices on Amazon for microplates or a simple training log — and drop a comment below sharing your experience. What mistake held you back the longest?
Your 4-Week Progressive Overload Plan to Break Through a Plateau
You’ve been grinding, but the weights aren’t moving. The scale on the bar hasn’t budged in weeks, and motivation is starting to crack. I’ve been there — stuck at the same deadlift for what felt like forever. The fix is a structured, science-backed plan that forces your muscles to adapt again. This plan is designed for 3 to 4 training days per week, using a full-body or upper/lower split. Here’s exactly what to do for the next four weeks.
Week 1: Push Reps, Not Weight
Stay at the same weight you’re stuck on. Your goal: add two extra reps to every set. If you’ve been doing 3 sets of 8 at 185 pounds on bench, fight for 10 reps on each set. This increases time under tension and metabolic stress — two proven drivers of hypertrophy and strength gains.
If you hit those extra reps on all sets, you’re ready to add weight next week. If you fail on the last set, repeat this week. No shame in that. Progress isn’t linear.
Week 2: Add Volume With an Extra Set
Now you’re lifting slightly heavier — maybe 5 to 10 pounds more than your plateau weight. But instead of pushing reps, add one more set to each main lift. If you were doing 3 sets of squats, do 4. This extra volume sparks adaptation without the fatigue of maxing out.
I’ve used this with clients who were stuck on overhead press for months. One extra set per session, and within two weeks they were pressing more than ever. Volume is a powerful lever.
Week 3: Cut Rest, Increase Density
Keep the same weight and sets from Week 2, but shorten your rest between sets by 15 to 20 seconds. If you rested 90 seconds, now rest 70. This makes each set more demanding — your muscles have to work harder to recover and produce force.
Density training like this improves work capacity and challenges your nervous system to recruit more muscle fibers. Don’t be surprised if the last few reps feel brutal. That’s the point.
Week 4: Deload and Test
Drop your working weight by 40 to 50 percent. Focus on perfect form — bracing, bar path, controlled eccentrics. This isn’t a wasted week. It’s strategic recovery. Your central nervous system needs a break, and your joints will thank you.
After the deload, test your max on the main lifts. Most people find they can lift 5 to 10 percent more than before the plateau. I’ve seen it happen dozens of times. Research supports that planned deloads reduce accumulated fatigue and allow for supercompensation, where performance rebounds above baseline.
Drop a comment below: what plateau are you breaking through right now?
Medical & Editorial Review: This article was reviewed by Liam Smith, founder of Apexfito, for accuracy and safety. Content is for educational purposes and is not a substitute for professional medical advice. Consult your physician before starting any exercise or nutrition program.