How to Deadlift With Dumbbells: Step-by-Step Form Guide for Home Lifters
Full disclosure: Some links in this article are affiliate links. We may earn a small commission at no extra cost to you if you make a purchase through them. Our recommendations are based on what real users report, not on commission size.
Why Dumbbell Deadlifts Work for Home Lifters
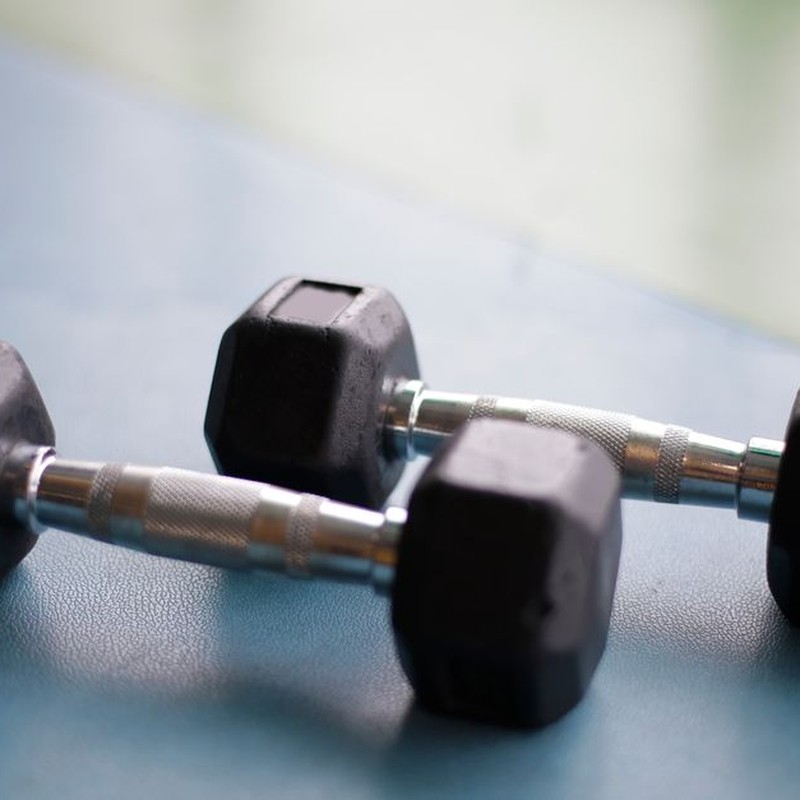
You don’t need a barbell to get the benefits of a deadlift. At home, a pair of dumbbells can teach you the same hip-hinge pattern while keeping the setup simple. I’ve used this approach with clients who had no rack, no plates, and less than two square feet of open floor. It works.
Dumbbells do more than save space. Here’s what they change:
- No bar, plates, or rack required. One adjustable pair is enough.
- The neutral grip, palms facing each other, can allow a more upright torso, which many lifters find easier on the lower back.
- You can use a light pair while you drill the movement. That lowers the risk of injury during early practice.
- You control the range of motion. Need to stop at knee height? You can. Want to lower all the way to the floor? Also fine.
That last point matters more than most people think. With a barbell loaded with 45-pound plates, the bar starts around your mid-shin, so your depth is partly determined by the plate diameter. With dumbbells, you decide exactly how far to lower the weight. That means you can choose a shorter range while you master the hinge, then progress to a longer one as your mobility and confidence improve. If you’re shopping for a pair, check current prices on Amazon first, since adjustable dumbbells vary a lot in cost.
I like to start home lifters with light-to-moderate dumbbells, something they can handle for 10 clean reps. For many beginners, that’s 10 to 20 pounds. The goal is to feel the hinge, not to hit a number. Set your feet shoulder-width apart, and let your hips push straight back as the dumbbells travel down your thighs. If your lower back starts to round, that’s a sign to use a lighter weight or shorten the range further.
Once you’ve done a few sets, come back and share your experience in the comments. I’d like to know if this setup felt as good at home as it has in my garage.
Setting Up: Load the Dumbbells and Brace Your Core
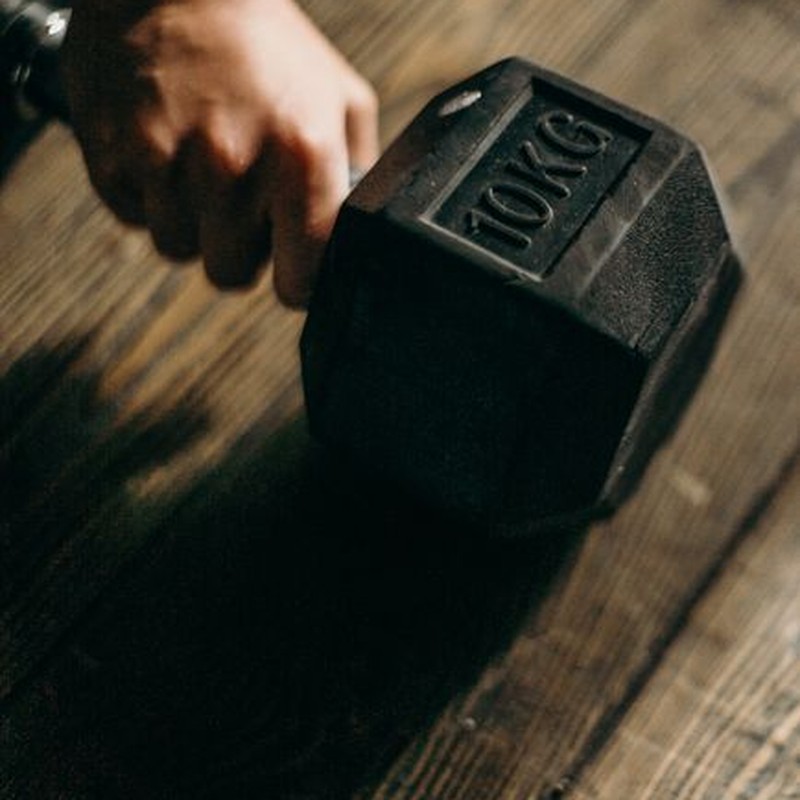
Setup decides how the rest of the lift goes. At home, it’s tempting to skip this part and grab the weights — nobody’s watching. I’ve done it, and my lower back always lets me know. Take the extra few seconds.
Start by standing with your feet hip-width apart. Toes can point straight ahead or slightly out. Let the dumbbells hang at arm’s length so they rest against the front of your thighs. That contact point is your guide. Keep the dumbbells touching your legs as you set up, and don’t let them drift forward toward your shins. If they swing away, pull them back until they’re snug against your thighs.
- Set your hips. Push your hips back like you’re closing a car door with your butt. Let your knees soften only as much as needed to reach the handles. This is a hinge, not a squat. If your knees shoot forward or your lower back rounds, you’ve gone too deep.
- Pull slack from your shoulders. Squeeze your armpits tight, as if you’re holding a thick book between your elbows and ribs. That drops your shoulder blades down and back, switches on your lats, and pulls the slack out of the handles before the weight moves.
- Brace your core. Breathe into your belly, then tense your abs like you’re about to take a light punch to the stomach. Hold that pressure throughout the rep. Keep your neck neutral by looking at a spot on the floor about six feet ahead.
If you’re still finding your setup, practice with a very light weight or an unloaded dumbbell handle. I did a full session with nothing but the starting position once, and it felt boring. But it fixed my hinge in a way no video cue could. You should feel your hamstrings lengthen, not your spine round.
If the setup feels unstable, the load is probably too heavy. Your shoulders will creep up and your lower back will try to take over. Drop to a lighter pair until you can hit this position without thinking.
Once you’ve got that, you’re ready for the actual deadlift. And if you need a reliable set of dumbbells for your home setup, check the current prices on Amazon. Then let us know in the comments which weight you started with.
Step-by-Step Technique: The Hinge Sequence
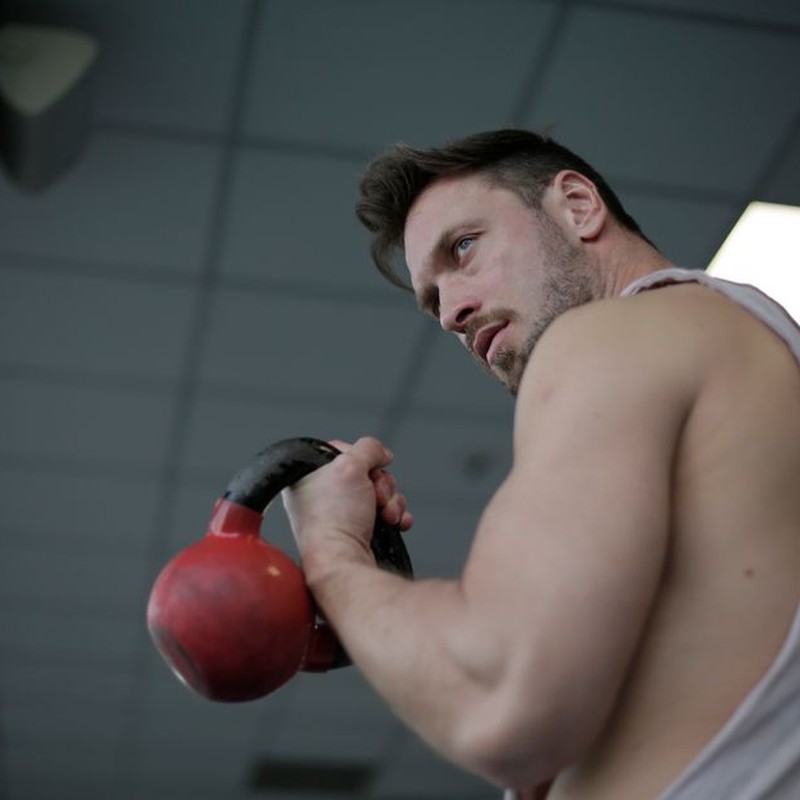
The dumbbell deadlift looks simple, but the hinge sequence has a rhythm. Get the rhythm right and the weight moves almost by itself. Get it wrong and everything turns into a lower-back strain. Here’s the exact sequence I walk every beginner through.
The Setup: Dumbbells, Feet, and a Flat Back
Stand over the dumbbells with your feet about hip-width apart. Point your toes forward, or angle them out slightly if that feels more natural for your hips. Put the dumbbells next to your shins, close enough that your arms hang straight down from your shoulders. A quick check: if your wrist lines up directly over the handle, you’re in the right spot.
Take an extra second to adjust the dumbbells before every set. I’ve done this with hundreds of clients. When the weights sit too far forward, your back reaches and your lower back takes over. Too close, and the dumbbells bump your toes. The fix is simple.
Now hinge down. Push your hips back like you’re shutting a drawer with your butt. Let the knees bend a little, but don’t sink into a squat. Your shins should stay mostly vertical, and your back should be flat, not curled or overarched. Look at the floor a few feet ahead. Your spine should be long from your tailbone to your head.
Before you grab the handles, set your back. Squeeze your armpits down like you’re holding tennis balls between your arms and ribs. This turns on your lats and stops the dumbbells from swinging forward when you start. Take a breath into your belly and hold it. Pull the slack out of the handles by pressing down through your hands. You aren’t moving the weight yet — you’re just removing the looseness in your arms.
The Pull, the Lockout, and the Lower
Start the pull by pushing your feet into the floor. That cue, push the floor away, is the most useful one I know. Imagine your feet pressing a platform down while your hips and shoulders rise together. Your back angle stays the same for the first inches. If your hips shoot up first or your knees dive forward, you’ve turned a hinge into a squat or a stiff-legged deadlift.
Don’t yank with your arms. Your arms are just ropes, and the force comes from your legs and hips. As the dumbbells leave the floor, keep them close. Let them glide along your shins and thighs. The farther the weight travels from your center line, the harder your lower back has to work.
Once the dumbbells pass your knees, drive your hips forward and stand tall. Squeeze your glutes and quads at the top, and think about pushing your hip bones toward the ceiling. The dumbbells should rest against the front of your thighs. Keep your core braced and your shoulders back and down. Don’t lean backward — that turns the finish into a lower-back extension and adds stress without any benefit. With dumbbells, you can ease into lockout, so pause for a beat before lowering.
On the way down, do the opposite of what feels natural. Beginners bend their knees first and turn the lowering into a squat, which shoves the dumbbells out in front. Instead, send your hips back first while your knees stay slightly bent. Keep your back tall and let the weights travel down along your thighs. Once the dumbbells pass your knees, bend them more and guide the weights back to the floor. Count to three on the way down if you rush. Touch the handles down with control, then reset your setup before the next rep. A full reset is not wasted time — it’s where good reps come from.
Quick-Reference Cue Box
- Push the floor away; don’t pull the dumbbells up.
- Keep the dumbbells close enough to brush your thighs.
- Send the hips back before the knees bend on the way down.
- Reset the setup after every rep.
Film one set from the side and compare your start and finish positions. Most beginners catch a hips-first issue or a shoulder drift right away and fix it in one or two sessions. I remember the session I finally felt the hinge in my hamstrings instead of my lower back. It came from slowing down and pushing the floor away, not from trying to pull harder.
Sore hamstrings the next day mean you’re hinging. Sore lower back is a warning. If your lower back is complaining, lower the weight, shorten the range of motion, and practice the hip hinge with bodyweight for another week before adding heavier dumbbells.
Need dumbbells that won’t roll around on the floor while you learn this? Check a few sets on Amazon and compare prices before you buy. And let me know in the comments which cue clicked for you — or which one still feels awkward. That’s the one to work on next.
Common Form Mistakes and How to Fix Them
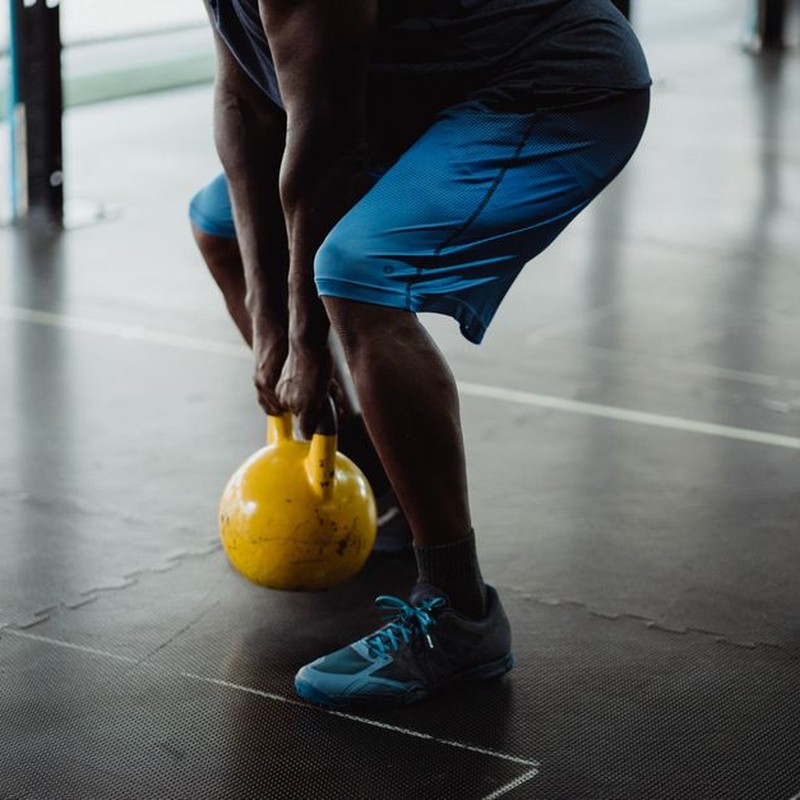
Fixing your form is the single best investment you can make in the dumbbell deadlift. At home, you don’t have a coach standing next to you, ready to catch a rounding back or a sudden yank from the arms. You have to find those errors yourself. I’ve coached friends through dumbbell deadlifts in my garage, and these four mistakes show up constantly. Each one has a fix you can apply on your very next rep.
1. Your Lower Back Rounds at the Bottom
As the dumbbells drop below your knees, the weight often pulls your chest toward the floor and your lower back curls. This usually happens on the last few reps when your hamstrings are tired. A rounded lower back turns the deadlift into a loaded spinal flexion exercise, which puts repeated stress on the discs.
Fix it by resetting. If you feel a curve, stand up to neutralize your spine. Then push your chest down toward the floor while keeping your back flat, and press your hips back further. The chest-down cue can sound like a rounded back, but it isn’t. Your torso is angled, but your lower back stays neutral. If you can’t hold that angle without rounding, reduce the weight. If your current pair is too heavy, check current prices on Amazon for a lighter set before your next session.
2. You Yank the Weights With Your Arms
Your arms are hooks. They connect your hands to your shoulders and transfer force, but they don’t lift the weight. If you yank the dumbbells with your biceps or shoulders, you’re doing a bent-over row instead of a hip hinge. The weight may come up, but your glutes and hamstrings barely work.
Fix it by remembering that your legs and hips do all the pulling. Push the floor away with your feet and drive your hips forward. Keep your arms long and relaxed. A cue that works for me is to imagine the dumbbells are tied to your hips; if your hips move, the weights move. Squeeze your lats before you pull to lock your shoulders in place.
3. The Dumbbells Drift Forward of Your Shins
Once the weights leave contact with your legs, they drift forward. That puts the load in front of your center of gravity, and your lower back has to support everything. It also throws off your balance.
Fix it by keeping the dumbbells brushing your thighs and shins for the entire movement. As you lower, slide them down your legs. As you stand, let them ride back up. If you’re wearing shorts, you’ll feel the metal against your skin. If you see a gap, reset and pull the weights back into your legs.
4. You Lean Too Far Back at the Top
The deadlift ends in a neutral standing position. Leaning back at the top might feel like a strong glute squeeze, but it compresses your lumbar spine and takes tension off the muscles you’re trying to train. Overextending also makes the next rep harder because you’re out of position.
Fix it by standing tall without leaning back. When your hips and knees lock out, your shoulders, hips, and ankles should line up. Squeeze your glutes, but keep your ribs down and your stomach braced. If you catch yourself leaning backward, lighten the load and practice stopping at that neutral spot.
Before your next session, record one set from the side. Prop your phone against a dumbbell or a water bottle and film a few reps. Watch the video in slow motion. I caught my own back rounding this way and corrected it within two minutes. If you’re not sure which mistake you’re making, film yourself today.
After you try these fixes, share your experience in the comments. Which mistake shows up in your own training?
Adding the Dumbbell Deadlift to Your Workout
Once you can hinge with a neutral spine and feel your hamstrings load, you’re ready to put the dumbbell deadlift into a simple routine. You don’t need a complicated program to see progress. You need consistent practice, sensible weights, and a clear rule for when to add load.
Start with 3 sets of 8 to 10 reps. Choose a weight that leaves two or three reps in reserve on your last set. In plain terms, you should finish the third set feeling like you could have done two or three more clean reps, not like you just survived a max-out. That cushion keeps your form honest while still challenging the muscles.
Rest 60 to 90 seconds between sets. For the first set, rehearse the hinge with a very light dumbbell, light enough that you’re focused on mechanics rather than effort. Even if you’re tempted to load up, that warm-up set helps your brain and body sync up before the working sets begin.
How to Progress Safely
Add weight only when you can hit every rep with a neutral spine and no hip shift. If your dumbbells have changeable plates, the “5 pounds per side” approach usually means adding 2.5 pounds to each dumbbell. If you’re using fixed dumbbells and the next jump is a 5-pound increase per dumbbell, that works too. The goal is a modest total increase, not a big leap that messes with your form.
I’ve seen lifters rush this and end up rounding their lower back or leaning to one side as the dumbbells get heavier. That hip shift is a red flag. If one side of your pelvis drops or rotates, the weight is too heavy or your setup is off. Drop back to a lighter pair and film a set from the front to check yourself.
When I started doing these at home, I kept a cheap pair of 20-pound dumbbells by my desk and ran through a few reps every couple of hours. That wasn’t my main training, but it made the movement pattern feel automatic. When I finally stepped up to 30s, my form stayed put because the hinge was already drilled in.
A Simple Way to Slot It In
If you’re training full body twice a week, put the dumbbell deadlift as the second or third exercise, after your main squat pattern and before any lunges or single-leg work. Here’s a straightforward structure:
- Set 1: light warm-up, 6 reps, focus on the hip hinge
- Sets 2 and 3: working weight, 8 to 10 reps, leaving 2-3 reps in reserve
- Rest: 60 to 90 seconds between all sets
Stick with that for three to four weeks before changing anything. Most beginners can stay on this frequency without overthinking. If you’re doing a dedicated lower body day, you can bump the reps to 10 or 12, but keep the same reserve rule.
The Equipment Question
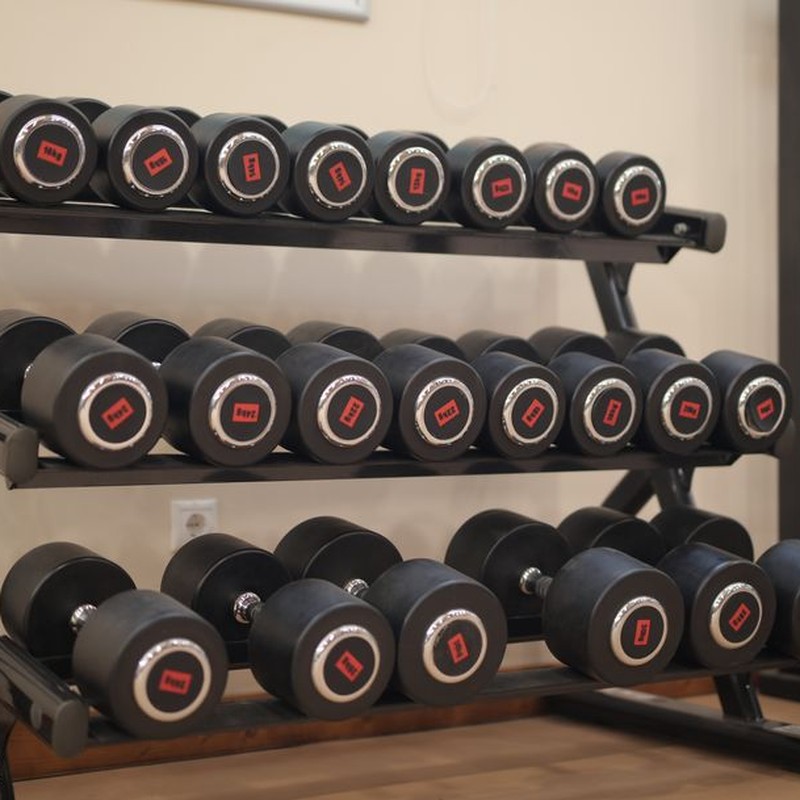
You don’t need a fancy setup to do these well. A pair of hex dumbbells works fine, and they won’t roll around when you set them down. If your floor is hard, a cheap exercise mat can protect both the dumbbells and your floor.
If you need your own pair, check current dumbbell prices on Amazon to see what fits your budget. Prices vary by poundage and brand, so a quick look before you commit will keep your spending reasonable. Once you’ve tried the dumbbell deadlift a few times, you’ll know whether it clicks for you. I’ve had friends who could never get comfortable with a barbell actually love the freedom of holding dumbbells at their sides. It feels less intimidating and easier to correct on your own.
Try it this week and see how your lower back and hamstrings feel the next day. If you hit a snag or find a setup that works especially well, tell us about it in the comments. Your experience will help other home lifters figure out what works in real homes, with real floors and real schedules.
Medical & Editorial Review: This article was reviewed by Liam Smith, founder of Apexfito, for accuracy and safety. Content is for educational purposes and is not a substitute for professional medical advice. Consult your physician before starting any exercise or nutrition program.
Related: Romanian Deadlift Form Guide