The Essential Home Gym Equipment List: What Beginners Actually Need (and What to Skip)
Measure Your Space, Protect the Floor, and Set Up for Safety
Before you buy a single dumbbell, take a weekend to prepare the room. Flooring and airflow are unglamorous, but they decide whether your home gym gets used or ignored. I have trained in spare bedrooms, garages, and a cramped basement corner, and the setup matters more than the brand of rack.
You do not need a dedicated room. A 6×8-foot area is enough for a bench, dumbbells, and a few other essentials. If you later add a rack and barbell, the same footprint can work as long as the ceiling is at least 8 feet. Measure that ceiling before ordering anything. A low ceiling turns a simple overhead press into a frustrating exercise.
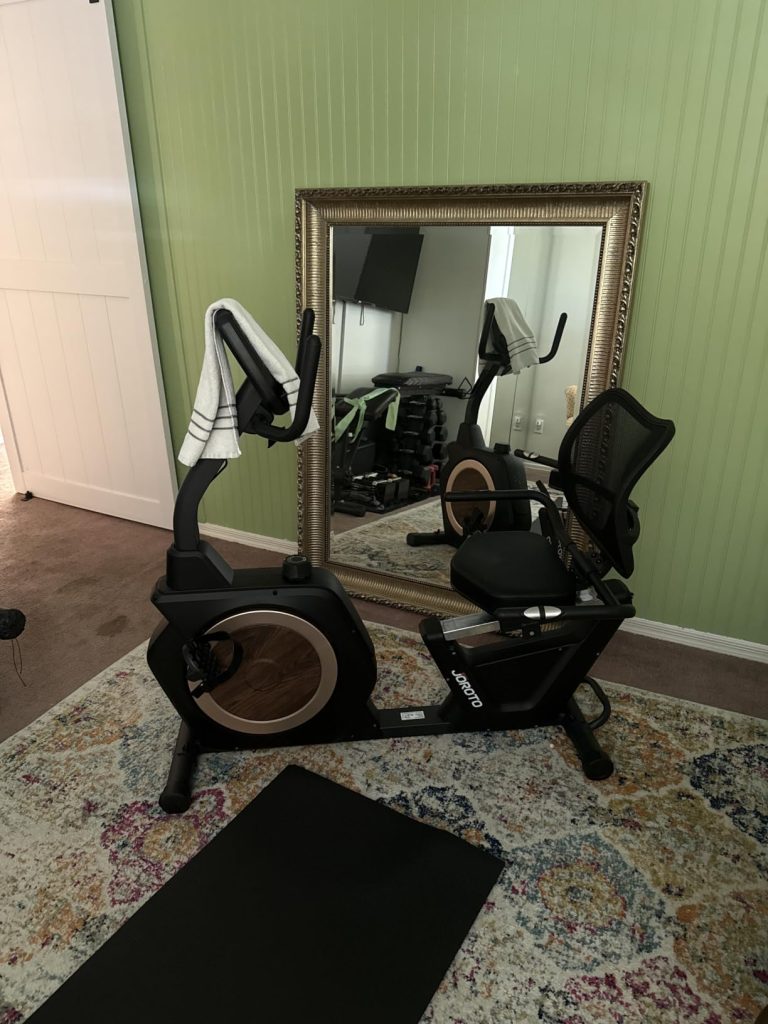
Clear the space of boxes, bikes, and random furniture. Sweep the floor. Make sure you can step away from your working weight without tripping. Set up a mirror or a phone stand for checking form. A fan or a small air circulator matters more than you expect; basements and garages get stale fast.
Your first equipment purchase should be flooring. Rubber floor tiles around 3/8-inch thick or horse stall mats handle dropped weights and protect the subfloor. They also give you traction for deadlifts and squats. I used 3/4-inch stall mats in my garage for years, and they took every mistake I made. Rubber tiles are easier to lay down and look cleaner, but stall mats are cheaper per square foot and just as tough if you can handle the rubber smell for a few weeks.
Skip foam interlocking mats. They tear, slide, and compress under heavier weights. They are fine for stretching or light bodyweight work, but not for a home gym that will see a loaded barbell or even a heavy set of dumbbells. You will end up replacing them within a year.
Test your floor before you commit. Drop a heavy dumbbell or kettlebell from knee height, or just jump off the floor and land hard. If the floor bounces or feels springy, add a sheet of plywood under the rubber. Plywood spreads the load and stops the bounce. In an upstairs room with floor joists, this is not optional. If you already have a barbell, you can do the same test with a loaded bar later, but for now a dumbbell or your own body weight is enough to reveal a problem.
Your first dollar should go under your feet, not into a fancy piece of equipment. Get the floor sorted, and the rest of your setup will feel more solid and safer.
Build a Two-Arm Setup: Adjustable Dumbbells, a Bench, and a Pull-Up Bar
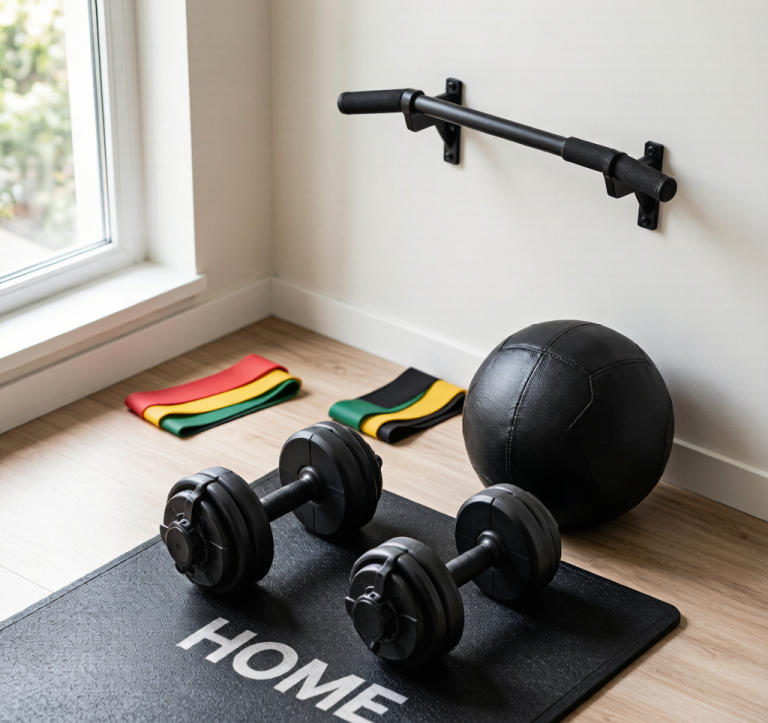
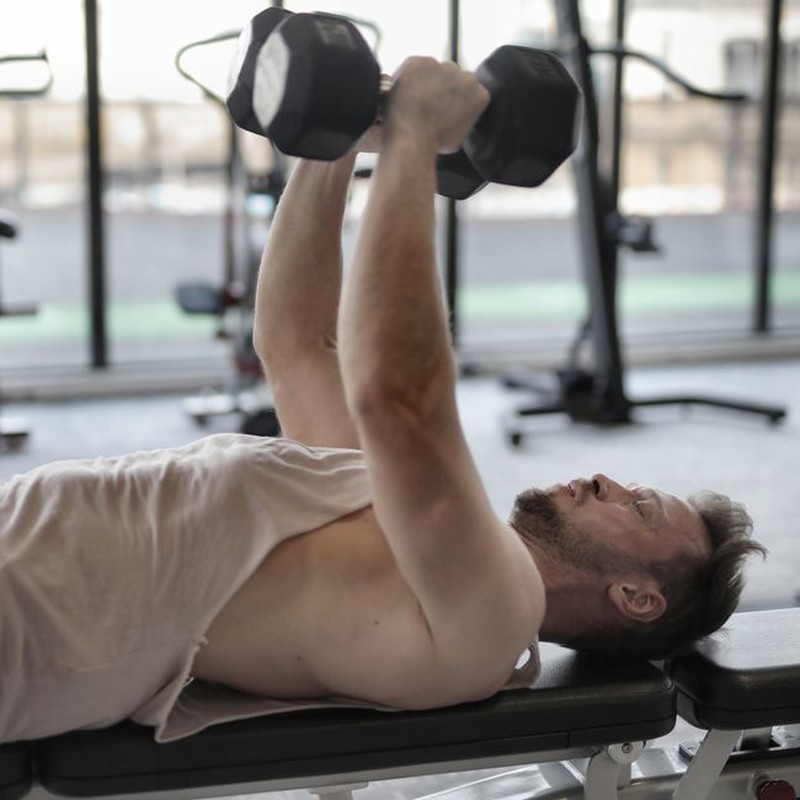
By “two-arm” I mean a dumbbell-first setup. You buy one pair of adjustable dumbbells, one adjustable bench, and one doorway pull-up bar. Almost every big movement you do with that trio — pressing, rowing, squatting, lunging, curling, overhead work — is two-sided, so both arms and both legs get equal work at the same time. It is the most variety per square foot and per dollar that I know of.
I still do single-arm rows, single-arm dumbbell presses, and suitcase carries when I want to fix a left-right imbalance or add some anti-rotation work. But those are extras. The backbone of this setup is symmetrical. And because you train both sides at once, you do not waste energy stabilizing a heavy dumbbell while one side works by itself.
If you are starting from zero, buy in this order: adjustable dumbbells first, bench second, pull-up bar as soon as you can mount one. Then add resistance bands and maybe a kettlebell if you end up wanting variety.
Adjustable Dumbbells: The Workhorse
For years I collected fixed dumbbells one pair at a time. My garage had a rack of rusting rubber-coated hexes from 10 through 50 lb. The day I switched to a 5-50 lb adjustable pair, I gave away about 200 lb of iron because the adjustables did the same job in a tenth of the space.
The exact mechanism matters. Spin-lock dumbbells are cheap and simple: unscrew the handle, slide plates on, tighten. That gets old when you are changing weight every set. Dial-style sets like the Bowflex SelectTech 552 are faster; their range is 5 to 52.5 lb per hand, not 10-50 as some older listings say. Cradle-style sets with a tray are also fast, though they take up more room than two dumbbells on a stand.
For most beginners, a 5-50 lb pair covers rows, presses, squats, lunges, curls, and overhead work. A 50-lb dumbbell is enough for strict overhead pressing for a lot of 150- to 200-lb lifters, and it is more than enough for lateral raises and curls. If you are a bigger, stronger beginner, you may outgrow the top end for pressing and squatting sooner, but the same pair still works for goblet squats, split squats, and carries.
When you buy, do three checks. First, give the dumbbell a hard shake at arm’s length. If the plates rattle, that looseness will feel terrible at lockout and can make pressing unstable. Second, make sure the base is flat. Round-edge designs rock when you set them down between sets. Third, look at the handle. Smooth metal gets slippery; knurled or rubber-coated handles stay put when you sweat.
The Bench: Don’t Buy a Flat One
I bought a flat bench first because it was $80 cheaper than the adjustable model. Within a few weeks I wanted a backrest for seated shoulder presses and incline work. I ended up giving the flat bench to my brother-in-law and buying an adjustable one anyway. That $80 savings turned into waste.
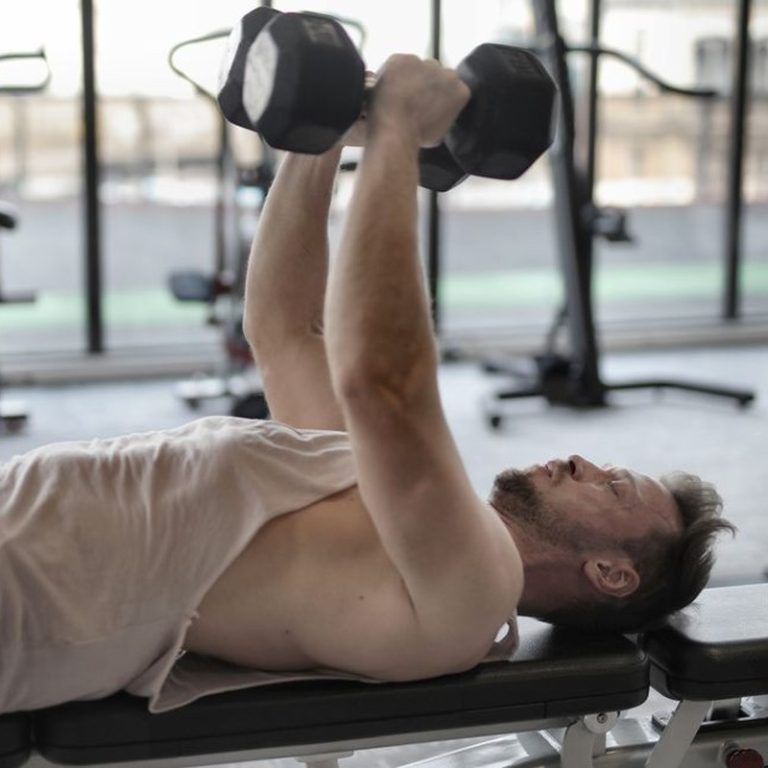
Get an adjustable bench with a true 90-degree backrest and a fully flat position. The 90-degree setting is key for seated dumbbell presses: a backrest that stops at 75 or 80 degrees leaves your lower back fighting for support while your delts try to press.
Other details to check:
- Rated capacity. A bench rated to at least 600 lb gives you plenty of margin for a 200-lb lifter pressing 50-lb dumbbells. You do not need a 1,000-lb competition bench.
- Frame stability. Push down hard on the seat and backrest before you buy. The frame should not twist or lift off the floor.
- Footprint. A non-folding adjustable bench takes about 4 by 2 feet. If space is tight, a folding model with a positive hinge lock can work in a closet.
One warning: cheap adjustable benches often have a gap where the seat meets the backrest. That gap is fine for pressing, but it can dig into your lower back during glute bridges and hip thrusts. Look for a bench where the padding stays close at the hinge.
Doorway Pull-Up Bar: The Missing Upper-Back Piece
Dumbbells hit your lats with rows, but they do not train vertical pulling the same way. A doorway pull-up bar costs about $30 and adds that movement without needing a rack.
Installation matters more than the bar itself. Screw the bar into the studs on both sides of the doorframe. Do not anchor it in drywall. I have seen bars that hook over the top of a door jamb with padding. They can work if you are light and do not swing, but they can dent the jamb and pull out of a hollow frame. A bar that mounts into wood with lag bolts has not moved a millimeter in my house in two years.
Look for a wide, slightly textured grip. Some bars come with foam padding, but foam rips after a year and gets sticky in humid weather. Bare knurled metal is better, and a little chalk helps on heavy sets.
If a full pull-up is still out of reach, hang a resistance band from the bar, put a knee or foot in the loop, and use it to take off some of your weight. Start with the thickest band that lets you do 5-8 controlled reps. As you get stronger, use a thinner band or remove it entirely.
Resistance Bands: Cheap, Useful, and Hard to Replace
Buy a set of resistance bands with handles. A pack with three or four bands of different thicknesses costs around $25-40. They are not just a warm-up tool; they create constant tension for mobility drills, shoulder prehab, and assisted pull-ups.
The biggest payoff for me was band-assisted pull-ups. I hooked a loop over the bar, stepped into it, and let it lift some of my weight. That made the progression from zero pull-ups to one full rep smooth instead of frustrating.
I also use bands for face pulls, pull-aparts, shoulder rotations, and triceps pushdowns. Keep them out of direct sunlight; latex bands degrade and turn sticky if left in a sunny garage.
What About a Kettlebell Instead?
If you are choosing between a kettlebell and adjustable dumbbells for your first purchase, go with dumbbells unless you are committed to learning kettlebell-specific movements like the swing, clean, and press. Dumbbells give you a wider variety of exercises. A kettlebell is better for conditioning and carries, but a single bell is rough for strict overhead pressing progressions and useless for bilateral curls.
If you do want a kettlebell, buy one with a flat base and a handle that fits your hands comfortably. For most beginners, I would suggest a 35-lb bell for women and a 53-lb bell for men, then learn the movements from a coach or a reputable video series. Adjust the size down if you are lighter or new to resistance training; go heavier only if you already press and deadlift regularly.
I own both. When I want to build muscle, I reach for the dumbbells. The kettlebell gets used for warm-ups, swings, and carries.
Start With These Three, Then Adjust
Buy one pair of 5-50 lb adjustable dumbbells first. Use them for two weeks before adding anything else. Add the bench when you want a backrest for pressing. Add the pull-up bar as soon as you can mount it safely. Then add resistance bands and, only if you really want one, a kettlebell.
Before you buy, check current prices on Amazon. Adjustable dumbbell prices swing wildly, and the two-arm setup often goes on sale as a package with a bench. Catching a deal makes the decision easier.
If you have built a home gym with this kind of two-arm setup, let me know in the comments what you would add or skip. What did you learn the hard way?
Cardio Equipment: Buy the Cheapest Version That Gets You Sweating
Here’s where home gym budgets go sideways. You walk into a showroom, test a treadmill with all the screens, and suddenly a $2,000 machine seems reasonable. A month later it’s holding laundry. I’ve seen it happen more times than I can count. The problem isn’t the equipment. It’s the way we pick it. We buy for the body we want, not for the workout we’ll actually do.
A jump rope fixes that. It costs less than $25, fits in a drawer, and hits your calves, shoulders, and lungs harder than most cardio machines. You don’t need a fancy rope. A basic speed rope with ball bearings works fine for a beginner. I bought one for $12 years ago and still use it for 20-minute intervals when I don’t feel like leaving the house.
Size your first rope the boring-but-smart way: stand on the midpoint of the cable and pull the handles up. They should reach your armpits. If they’re way above that, you’ll trip over the slack; if they’re at your chest, the rope is too short and you’ll hunch. Start with small bounces and tuck your elbows. The rhythm comes faster than you’d think.
Now, what about treadmills, spin bikes, ellipticals? They’re not bad machines. They’re just overpriced for most home setups. A treadmill or stationary bike makes sense only if you already exercise regularly and live somewhere with brutal winters or summer heat that keeps you indoors. If you’re currently walking three times a week and enjoying it, a treadmill won’t turn you into a runner. You need a plan, not a machine. When I built my first home gym, I skipped cardio equipment entirely. I did bodyweight circuits in my living room and walk-jog intervals outside. That worked until I moved somewhere with real winters. Then I started shopping used.
If you do decide a machine is the right call, buy used. This isn’t a moral stance; it’s financial survival. People sell barely-used treadmills and spin bikes for a fraction of retail because these machines gather dust. My neighbor bought a $1,200 treadmill two years ago and sold it for $250 after about eight uses. You can find similar deals. Arrange a viewing, bring a friend if you can, and test the machine before you pay. Listen for strange noises, check the belt for wear, and inspect the frame for rust. Ask about the seller’s history. If they say “I bought it for a New Year’s resolution and then stopped,” that’s a good sign for your wallet.
You also don’t need a fancy interval timer or a programming subscription. Your phone has a stopwatch. Try this: set it for 40 seconds, go as hard as you can, then rest for 20. Repeat for 10 rounds. That’s 10 minutes and you’ll be soaked. I do this with a jump rope, medicine ball slams, or bodyweight squats. Want a simple intensity check? Try to say more than a few words without gasping. If you can’t, you’re in the right zone.
Rowers are the one “premium” buy I get asked about most. A rowing machine is a phenomenal total-body workout. It works your legs, back, arms, and core, and it’s far easier on your joints than running. But a lot of beginners buy one, use it for a week, and never touch the handle again. Rowing demands technique. If you’re jerking the chain with your back and skipping the leg drive, you won’t feel the satisfying burn—you’ll feel sore in the wrong places and quit. That doesn’t mean don’t buy one. If you already row, or you’re training for a 2K test, a used Concept2 can be a fantastic addition. But if you’re buying one because it looks like the ultimate full-body machine, ask yourself whether you’ve stuck with any form of cardio for the past three months.
The final point is simple: home cardio doesn’t require a big machine. Grab a jump rope, use your phone as a timer, and if you must bring home something heavy, buy it used and test it first. For the price of one month of gym fees, you can have everything you need to sweat. Before you buy anything, check current prices on Amazon for a basic speed rope, and search used machines in your area. If you’ve built a cardio setup that works for you—or made a mistake you want to warn others about—share it in the comments. That’s how beginners avoid spending $2,000 on a laundry rack.
What to Skip and the Smartest Way to Add Gear Over Time
Starting a home gym is one of the easiest ways to spend money before you have actually worked out. I know because I did it wrong. I bought a cheap multi-gym tower, cleared out my garage, and used it maybe three times before I gave up. The cables ran on a narrow path, the seat wobbled, and the whole thing felt like it was made from folded aluminum. That mistake cost me a few hundred dollars and most of my early enthusiasm.
You do not need everything at once, and you definitely do not need the stuff that fills the suggested items sidebar on Amazon. Let’s separate the waste from the keepers.
Skip This: Overpriced Accessories
Wrist wraps, lifting belts, and knee sleeves look like the uniform of a serious lifter. For the first six months of general fitness, they add very little. Your stabilizer muscles need to work without a brace, and a belt will not make a 40-pound dumbbell press feel better. When I was starting, I bought a cheap belt and wore it for a few weeks. It did nothing except teach me to push my stomach against it. I stopped using it.
There is a real exception. If you already have a knee issue, a sleeve can add warmth and confidence on lunges and step-ups. If you have had lower-back trouble, a belt can help you brace while you learn proper technique. And if you progress fast, you might need supports sooner than someone who trains light. The point is to buy them when your situation calls for it, not because a product page says you need them.
App-connected gadgets are the easiest skip. I tested a smart jump rope that counted reps on my phone. The rope worked fine, but the app was terrible, and I could have just counted. Save that money for pieces you will use every session.
Skip This: A Barbell and Plates at the Start
A barbell setup is expensive before you account for floor space. A decent bar costs $200, bumper plates run another $300 to $400, and then you need a rack with safety pins. You are at $1,000 before the bench and mats. That is a heavy buy for someone who has not built the habit yet.
Adjustable dumbbells cover most beginner strength work. I used a pair of Bowflex SelectTechs for over two years. They take up one corner of a room, switch from 10 to 50 pounds in a second, and handle presses, rows, split squats, lunges, and carries. If you are just starting out, that is your whole strength routine.
Skip This: Ten-Piece Home Gym Systems
Anything marketed as a complete home gym station or a 10-in-1 power tower should make you pause. These machines look like they do everything, but most of them are one cable stack with different handles. Two friends bought different brands. One sold his after six months, and the other uses only the pull-up bar. The cables wear out, the movement paths feel fixed, and you will end up staring at a $500 coat rack in the corner.
Buy Gear in This Order
This order keeps you training while you add pieces, without a big upfront hit. I have built a home gym twice, and this sequence still holds.
- Stall mats first. Two 4-by-6-foot rubber stall mats cost about $60 to $80 each at a farm supply store. They protect your floor, dampen sound, and give you a place for push-ups, dumbbell circuits, and jump rope. Buy them before anything else.
- Adjustable dumbbells second. This is your main strength tool. Bowflex SelectTechs remain popular, but the plastic dials can break if you drop them. PowerBlock’s block style uses steel plates, though changing weights takes a little longer. A good pair runs roughly $300 to $450. That sounds like a lot, but it replaces a whole rack of dumbbells.
- Adjustable bench third. A flat bench is useful, but an adjustable one opens up incline pressing and a dozen other movements. Do not buy the $60 special. I did, and the padding flattened out within a few months. Look for a wide base and a dense pad. Expect to pay $150 to $250.
- Pull-up bar and bands fourth. A doorway bar works well if you rent. A wall-mounted bar is better if you own your space and can hit the studs. Bands add warm-up work, assisted pull-ups, and extra tension on push-ups. A set of three bands covers most of it.
- Jump rope and timer last. This is the cheapest block. Get a lightweight speed rope with a steel cable, not the plastic-beaded kind that kinks, and a small interval timer. A phone timer works, but a dedicated timer stops you from scrolling between rounds.
Stick to that order and you will have a complete setup for around $700 to $1,000 if you buy new. That is not the $500 fantasy some articles promise. If that number feels steep, start smaller: stall mats and a pair of adjustable dumbbells. Skip the bench until you are doing more than floor presses and bodyweight rows. Or begin with a doorway pull-up bar and a set of bands for under $100, then add dumbbells once you are consistent.
Add a barbell only when you hit a plateau. That usually happens after six to twelve months of consistent training. Your adjustable dumbbells will start to feel light on the bench press or deadlift, and you will notice that adding small weight jumps gets harder. That is your signal. Not before.
Keep it simple. That five-piece setup will carry you through your first year. It is enough to build strength, improve conditioning, and prove you will show up. When you need more, your training will tell you, and that is the cleanest signal to spend money.
Before you commit, compare current prices on a few brands. Prices on Amazon change often, and the same model can be listed by several sellers. I found my foldable bench for $120 on Amazon while a big-box store was charging $150. Read recent reviews, especially the 3-star ones, and scan the questions section for real-world issues like shipping damage or poor return policies.
If you have already built a home gym, share your list and your experience in the comments. Your space, budget, and routine will help someone else avoid the multi-gym mistake I made. Tell us what you skipped, what you bought early, and what you wish you had waited on.
Disclosure: A few product links in this guide are affiliate links. If you buy through one, I may earn a small commission at no extra cost to you. That does not change what I recommend, and it helps keep the site running.