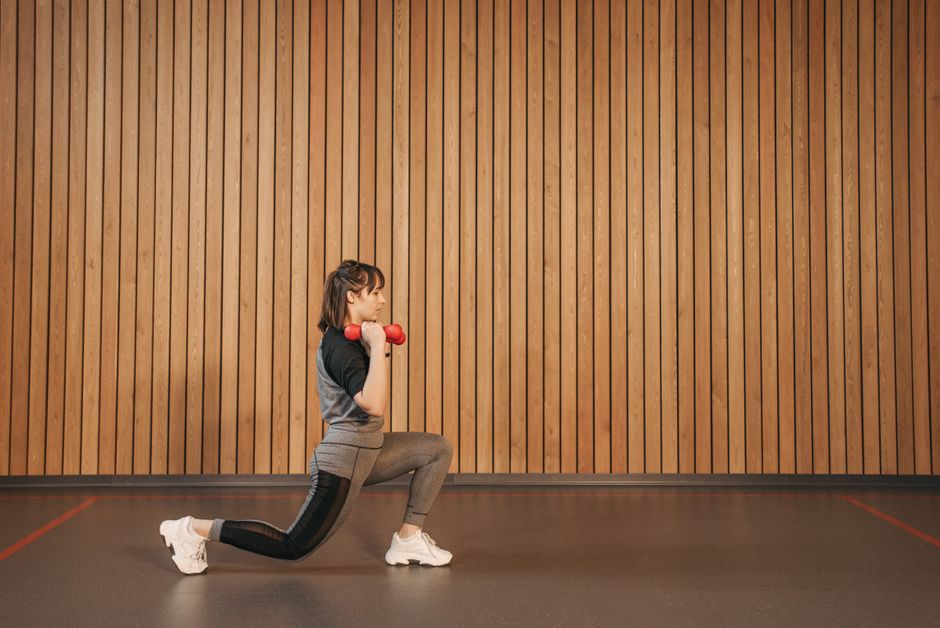
How to Do Dumbbell Lunges:
Full disclosure: Some links in this article are affiliate links. We may earn a small commission at no extra cost to you if you make a purchase through them. Our recommendations are based on what real users report, not on commission size.
Why Dumbbell Lunges Belong in Your Leg Routine
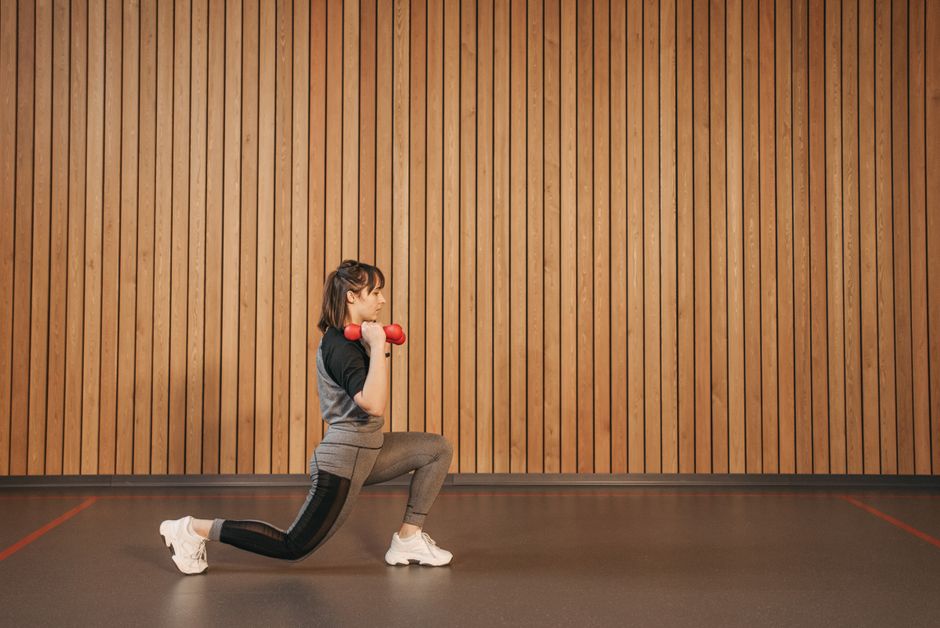
When I started lifting, I lived under the squat rack. I thought barbell squats were the only ticket to strong legs. But after a few months, I noticed my left leg felt weaker—my right side always took over. A coach suggested dumbbell lunges, and that changed everything.
Lunges force each leg to work independently. That means if your left side is slacking, it has to catch up. Barbell squats can mask those imbalances because your stronger leg can compensate. With lunges, there’s no hiding. Over time, you build balanced strength and reduce injury risk.
Here’s a quick look at what dumbbell lunges give you:
- Unilateral strength that fixes muscle imbalances
- Full lower-body activation: quads, glutes, hamstrings, and calves
- Core engagement from stabilizing in a split stance
- Better balance and coordination that carries over to daily activities
- Easy load adjustment—just pick up the dumbbells and go
Another advantage is the freedom to adjust your stance. Take a long stride and you’ll feel it more in your glutes; a short stride shifts the work to your quads. When I started, I did bodyweight lunges first, then added 10-pound dumbbells. That gradual approach made them way less intimidating than loading a barbell.
And here’s the part that kept me coming back: lunges mimic real-life movements. Every time you walk up stairs, pick something off the floor, or stand up from a chair, you’re doing a lunge-like motion. Strengthening that pattern makes everyday tasks feel smoother and more stable. If your knees have ever wobbled on a staircase, lunges can shore that up.
All you need is a pair of dumbbells and enough floor space to step forward. Give them a try for a few weeks, and I think you’ll see why lunges earned a permanent spot in my leg day.
Setting Up for Success: Dumbbell Choice and Starting Position
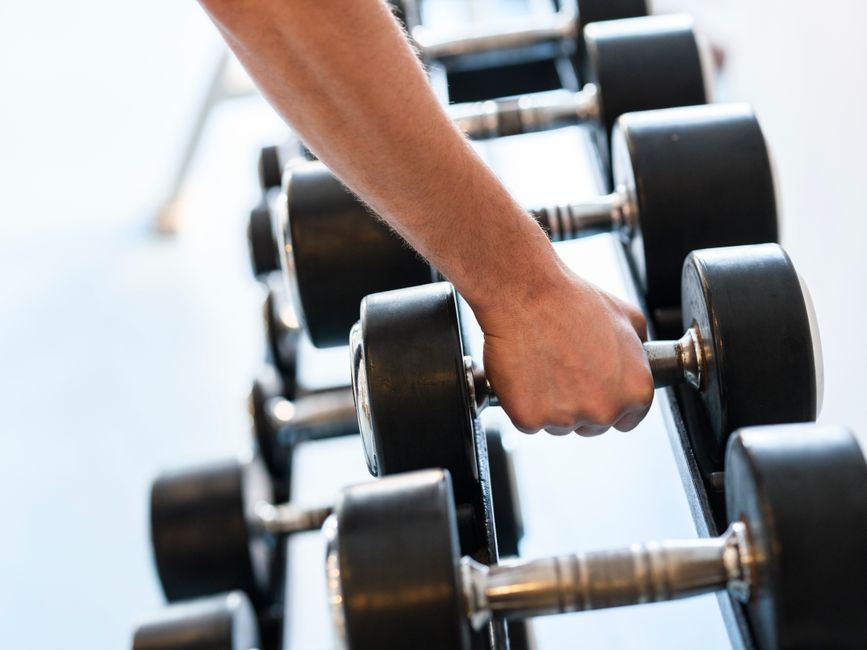
Before you step into your first lunge, let’s get the weight and your stance dialed in. Pick a dumbbell you can control for 10 reps on each leg. For most beginners, that means 10 to 15 pounds per hand. I started with 10s and wished I’d gone lighter — my legs were shaky by rep six.
Use this quick test: hold the dumbbells at your sides, arms straight, and do a bodyweight lunge. If you feel stable, try 10 reps on one leg. If your form stays tight, that weight works. If you’re swinging or struggling to stand back up, drop down 5 pounds.
Grab a dumbbell in each hand and let your arms hang straight down, palms facing your thighs. Keep your shoulders relaxed — not hunched up by your ears. Your arms should stay still throughout the movement. I’ve seen people swing the weights forward for momentum, but that takes work away from your legs and messes with balance.
Stand with your feet hip-width apart, toes forward. Roll your shoulders back and down, like you’re pinching a pencil between your shoulder blades. Brace your core by taking a deep breath and tightening your stomach muscles — pretend someone’s about to punch you in the gut.
Find a spot on the wall in front of you, about eye level. Stare at it through the whole set. This simple trick keeps your head from bobbing forward or looking down at your feet. I used to watch my feet constantly, and it made me sway. Once I locked onto a point, my balance improved immediately.
Spend a few seconds in this starting position before each rep. Reset your posture, check your grip, and breathe. It sounds small, but it makes every lunge more deliberate. Once you’re set, you’re ready to move into the lunge itself. But first, double-check that weight — if you’re unsure, go lighter. You can always increase later.
The Step-by-Step Dumbbell Lunge Technique
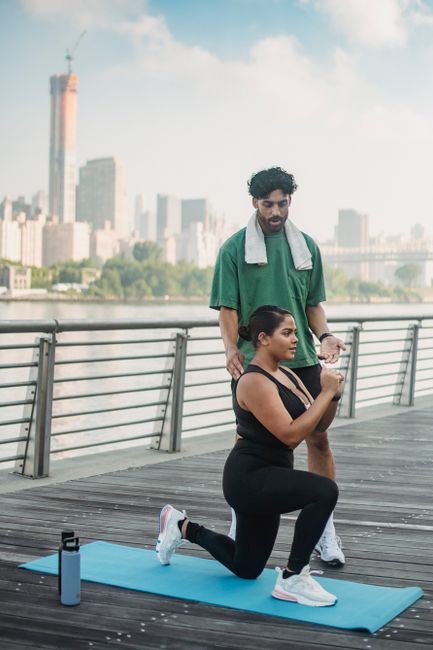
Now that you’re set up with dumbbells and a stable stance, let’s walk through the lunge movement one phase at a time. I’ve coached dozens of beginners through this, and the biggest difference comes from nailing the setup before you ever bend a knee.
1. Take a Controlled Step Forward
Start with your feet hip-width apart. Step forward with one foot — about two to three feet in front of you. Your step length matters: too short and your front knee will jam forward; too long and you’ll strain your hip. Aim for a distance where your front shin is nearly vertical when you lunge down. Land heel-first, with your front foot flat and your back foot on the ball so your heel lifts naturally. Keep your toes pointed straight ahead.
2. Lower Your Back Knee Toward the Floor
Bend both knees at the same time. Your front knee should track over your second toe — never let it cave inward. Your back knee drops until it hovers just above the floor. Both knees should form roughly 90-degree angles. You should feel this in your glutes and quads, not in your joints. Quick test: your front knee should not travel past your toes. If it does, lengthen your step next time.
3. Keep Your Torso Upright
This is where most beginners accidentally fold forward. Imagine a string pulling your chest toward the ceiling — that keeps your spine tall and your shoulders back. Your core stays braced, your gaze is forward, not down at your feet. If you catch yourself leaning, pause and reset.
4. Push Through Your Front Heel to Stand Back Up
Drive your front foot into the floor and extend your knee and hip. Exhale as you push up. That exhale engages your core and makes the movement feel more stable.
One thing I’ve noticed: people rush the descent. Slow it down. Inhale as you lower, exhale as you push. That controlled breathing pattern keeps your core tight and your balance steady.
Once you’re standing, you can either complete all reps on one leg before switching, or alternate with each step. For beginners, I recommend sticking with one leg at a time — it helps you focus on form without the extra coordination.
Common Form Mistakes and How to Fix Them
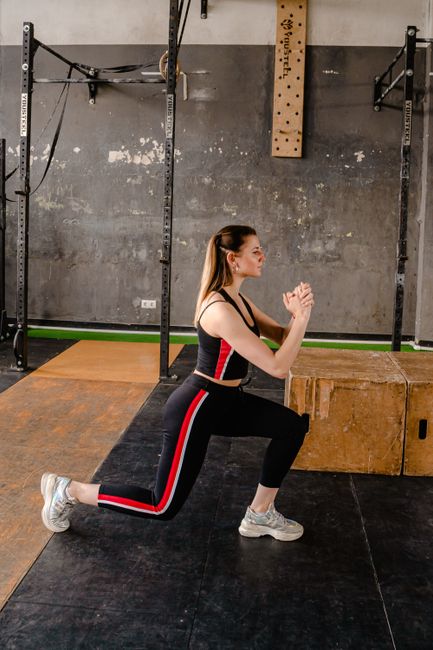
Even with the best intentions, a few form slip-ups can creep into your lunges. That’s normal. The most important step is catching them early and making small adjustments. Here are the four mistakes I see most often with beginners, plus simple fixes that work.
Mistake: Knee Caves Inward
When the front knee drifts toward the midline, it puts unwanted stress on the knee joint and reduces glute activation. This usually happens because the hip adductors (inner thighs) are overworking or the glutes aren’t firing properly.
Fix: Before you step, set your feet hip-width apart and squeeze your glutes briefly to wake them up. As you lunge, consciously push your front knee out to align with your second toe — not straight ahead, but slightly outward. If that feels unnatural, practice bodyweight lunges in front of a mirror until the movement pattern sticks.
Mistake: Stepping Too Short or Too Long
Step too short and your front knee will jut past your toes, loading the patella. Step too long and you’ll overstretch your hip flexors and lose balance. I’ve tried both ends and neither feels stable.
Fix: Aim for a step length where your front shin is nearly vertical at the bottom of the lunge. Your front knee should bend to about 90 degrees, and your back knee should hover an inch off the floor. Adjust your step until it feels solid — not wobbly or stretched. Practice a few reps without dumbbells to dial in the distance.
Mistake: Torso Leans Forward
If your chest drops toward your front thigh, you’re shifting weight forward and turning the lunge into a half-bent-over squat. This robs your glutes and hamstrings of work and can strain your lower back.
Fix: Before you descend, squeeze your shoulder blades together and keep your chin parallel to the floor. Imagine a string pulling the crown of your head toward the ceiling. Throughout the movement, keep your chest proud and core tight. If you catch yourself leaning, reset and take a shorter step.
Mistake: Back Knee Slams Into the Floor
Dropping your back knee hard into the ground is a sign you’re moving too fast or your step is too short. It jars the joint and makes it harder to push back up smoothly.
Fix: Lower your body with control on the way down, stopping just before your back knee touches the floor. If it does touch, your front step is likely too short — extend it a bit. A good cue is to think about pressing the front foot through the floor as you rise, not bouncing off the back knee.
How to Progress and Add Dumbbell Lunges to Your Workouts
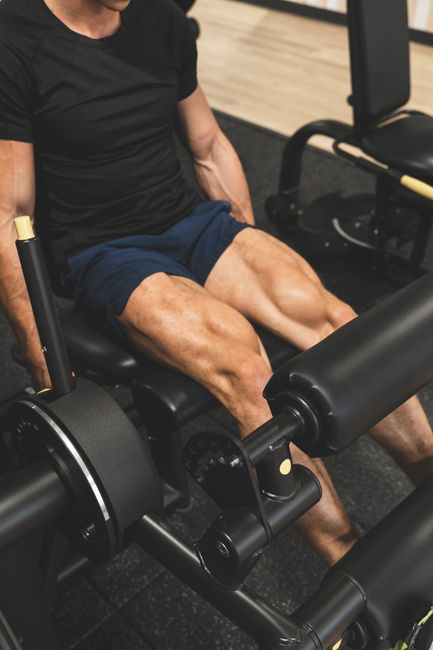
Once you’ve nailed the basic dumbbell lunge — meaning you can hit 3 sets of 10 reps per leg with solid form — it’s time to turn up the difficulty. The most straightforward way is to add 5 pounds per hand. I’ve used this small jump myself and it keeps your technique honest while gradually building strength. Don’t rush the jump; if your knees start wandering or your torso leans forward, drop back to the old weight for another week.
If forward lunges ever bug your front knee, swap to reverse lunges. Step backward instead of forward. Your front shin stays more vertical, which takes pressure off the knee joint. It’s still a killer quad and glute builder — I actually prefer them on days my knees feel a little cranky. Try 3×8 to start and see how it feels.
After stationary lunges feel easy, weave in walking lunges. These add a balance and coordination challenge because you’re moving forward with every rep. Clear a hallway or open space. Take a long step, lower into the lunge, then bring your back foot forward into the next lunge. My first attempt was wobbly — I nearly tripped over my own feet. But within a week it became second nature. Keep your chest up and core braced.
For programming, place dumbbell lunges after your main compound lifts like squats or deadlifts. Your legs are already warmed up, and lunges work as an excellent accessory. Or use them as a finisher: grab a weight you can manage for 3 sets of 12 per leg. Your quads and glutes will feel it, and you’ll finish the session in 10 minutes. A quick mini-workout could look like this: squat 3×5, then dumbbell lunge 3×8 per leg, then walking lunge 2×10 steps. That’s a solid leg day without overcomplicating it.
Beginners often forget about rest and recovery. Lunges hammer your quads, glutes, hamstrings, and even your core. Give yourself at least 48 hours before training legs again. If you’re sore, a light walk or some hip flexor stretches helps. Pushing through heavy soreness usually backfires.
To grab your own dumbbells, check current prices on Amazon for a simple adjustable set. And drop a comment below — tell us how lunges have changed your leg strength or stability. I love reading what works for other people.
Related Reading
Medical & Editorial Review: This article was reviewed by Liam Smith, founder of Apexfito, for accuracy and safety. Content is for educational purposes and is not a substitute for professional medical advice. Consult your physician before starting any exercise or nutrition program.





One Comment