How to Do the Perfect Farmers Carry: Benefits, Form, and a Beginner Workout
Full disclosure: Some links in this article are affiliate links. We may earn a small commission at no extra cost to you if you make a purchase through them. Our recommendations are based on what real users report, not on commission size.
The Farmers Carry: What It Works and Who Should Use It
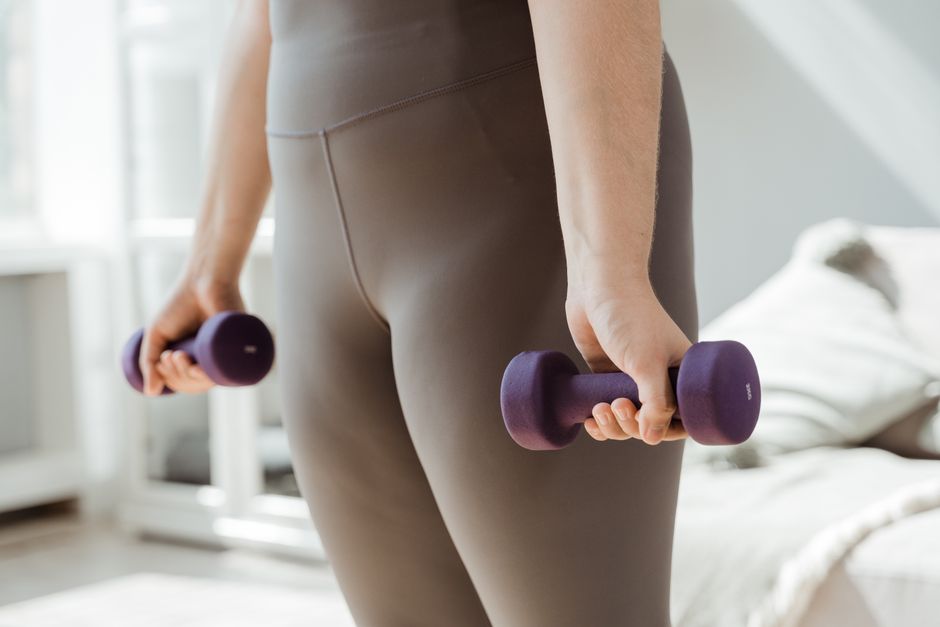
If you’ve ever seen someone walking around a gym holding a heavy dumbbell in each hand, that’s the farmers carry. It looks almost too simple to be an exercise. You pick up the load, stand tall, and walk. That’s the whole movement. But there’s a reason this one shows up in strongman competitions and physical therapy clinics alike.
The farmers carry is a loaded carry. Your grip has to hold on, your shoulders have to stay stable, and your core has to brace like you’re about to take a punch. When you walk with weight in both hands, your body has to fight the urge to lean, twist, or drop your chest. That makes it one of the most practical strength exercises you can do.
People often file it under grip strength, and it is excellent for that. But it also hits your shoulders, traps, upper back, and core. Think about everything that has to switch on just to keep your torso tall while you move. The muscles along your spine lock in, your abs brace, and your shoulder blades pull down. It’s a full-body stability drill disguised as a walk.
I first tried the farmers carry years ago after a lower-back complaint. My physical therapist didn’t have me doing crunches or back extensions. She had me carry a pair of moderately heavy kettlebells around the clinic for a few minutes. The carry forced me to stand tall while under load, and that taught my core how to work in a real-world position—standing upright, not lying on a mat.
Here’s what the farmers carry works:
- Grip and forearms: Your hands, fingers, and forearms do constant work just to keep the weights from slipping.
- Core and trunk: Your abs and lower back stay braced to stop your spine from collapsing forward or sideways.
- Shoulders and upper back: Your traps, delts, and rhomboids work to keep your shoulder blades stable and your chest open.
- Posture and balance: Every step challenges your ability to maintain a tall, centered position over your feet.
Because it’s so simple to set up, the farmers carry is a good choice for beginners. You don’t need to learn how to clean a barbell or balance a weight overhead. If you can walk, you can do it. That doesn’t mean it’s easy—carrying heavy weight for distance demands effort and focus—but there’s almost no skill barrier to entry.
The farmer walk benefits also show up outside the gym. Carrying groceries, lugging a suitcase through an airport, moving boxes, or bringing a child up the stairs all involve the same pattern. The stronger your grip and trunk are, the less those daily tasks wear you out. I noticed this after a few months of doing carries twice a week: thirty minutes of hauling gear into my car used to leave my back tight, and now it feels like nothing.
Who should use it? Honestly, almost anyone. If you’re new to strength training, the farmers carry builds a solid foundation of posture and grip. If you’re an experienced lifter, it fixes weaknesses that can hold back deadlifts and squats. If you’re older, it helps you keep the balance and upright posture needed for everyday independence. The main requirement is that you can hold a weight and walk without sharp pain. If that’s you, give it a try.
One practical note before you start: the weight should be heavy enough that you feel your grip and core working, but not so heavy that your form falls apart after a few steps. For a beginner, that might be a 20- or 30-pound dumbbell in each hand. The goal is to move smoothly with your ribs down and shoulders back. We’ll go over exact technique and common mistakes in the next parts of this guide.
How to Set Up for the Farmers Carry
If you skip the setup, the farmers carry will punish you. I learned this the hard way: I grabbed a pair of 40-pound dumbbells, stood up too fast, and spent the next walk fighting to keep my shoulders level. The walk itself is simple, but the first five seconds decide whether you build grip and core strength or just jam up your neck and lower back.
Choose a Weight You Can Hold for 30 Seconds
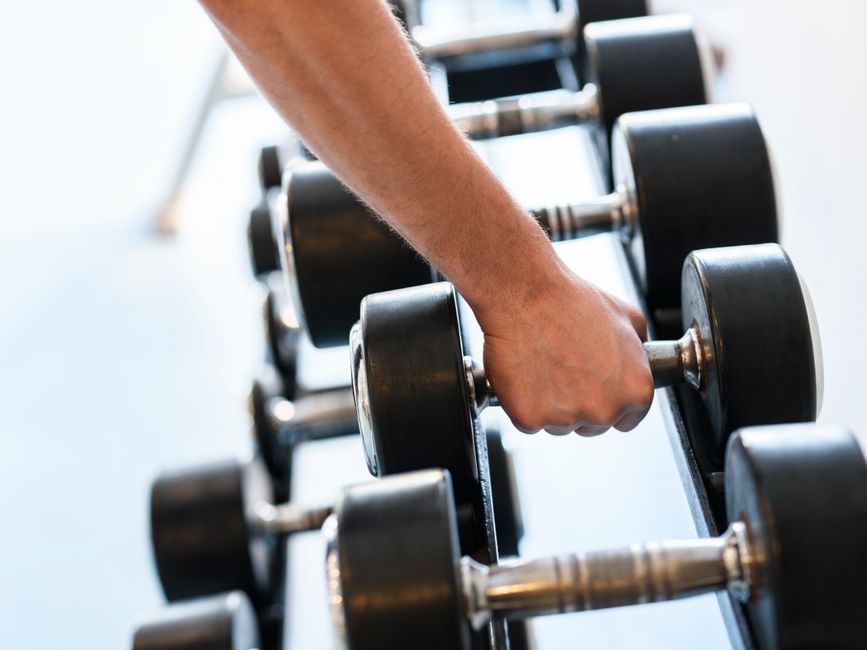
Grab a pair of dumbbells or kettlebells and stand next to them. For most beginners, 20 to 30 pounds per hand is a smart starting point. That might feel too easy for your legs, but grip and core control are the limiting factors here, and they take time to catch up.
Here’s a test that tells you if you’re in the right range: lift the weights to your sides and stand perfectly still for 30 seconds. If your fingers start to unlock before the time is up, go lighter. If you can hold the handles without your shoulders inching toward your ears, add five pounds next time.
When I tried this test at home with 25s, I could hold them just fine, but the 30s made my traps fire up after 20 seconds. I switched to 25s and worked on my brace instead of fighting the load.
Position Your Feet Before You Reach Down
Stand with your feet hip-width apart, toes pointing forward. Place the handles just outside your ankles. Too wide and your hips will feel unstable. Too narrow and your feet will bump into the weights as you walk.
Roll your shoulders back once, then push your hips back like you’re sitting into a chair. Let your knees bend naturally. Stop when your hands reach the handle level. Your torso stays tight, chest lifted, eyes looking ahead, not down at the floor.
Grab the Handles and Stand Up
Reach down and grab both handles at the same time. Squeeze them like you’re trying to crush a can of soda. Keep your wrists neutral — no bending them forward or back. If your wrist is bent, the weight pulls on the joint instead of your fingers and forearms.
Now drive through your whole foot and stand up. The legs do the work. Don’t yank the weights up with your arms, and don’t round your back as you rise. You’re not trying to deadlift a new max; you’re just getting to standing with the weights held at your sides.
Set Your Grip and Keep the Weights Close
Once you’re standing, let the dumbbells or kettlebells rest along the sides of your body. They should hang naturally, not float out in front of your thighs. If they drift forward, you’ll pull on your shoulders and tense your neck, and the walk will feel twice as hard.
Set your grip one more time before moving. Your palms face each other. Shoulders are down, not shrugged up. I tell beginners to do a quick shrug check: lift your shoulders up to your ears, then drop them down hard. That’s the position you want to hold while walking.
Brace Before You Take a Step
Before you move, take a breath into your belly, not your chest. Tighten your core like you’re about to take a light poke to the ribs. Keep that tightness as you start walking. You should be able to talk in short phrases, but if you can throw your voice across the room, you’ve relaxed too much.
If you’re doing this for the first time, the mirror check is optional but useful: set up in front of one once to check your shoulders and wrist angle. You don’t need a mirror every session. After a couple of sets, you’ll know what neutral feels like.
Once you’ve found a weight that passes the 30-second test, set up every step the same way: feet hip-width apart, hinge back, grab, stand, brace, walk. And if you’re shopping for dumbbells or kettlebells, check current prices on Amazon to see what fits your budget. When you try this setup, let me know how it works in the comments — I read every one.
Farmers Carry Form Cues: Step by Step

The farmers carry looks simple from across the gym. You grab two heavy objects, stand up, and walk. The trouble starts when you actually try it. The first time I loaded up a pair of kettlebells and walked down my driveway, I expected my arms to give out. They didn’t. My low back did, and my hips swung all over the place. The fix wasn’t more strength. It was better form. Once I locked in these cues, the carry started working my grip and core the way it should.
Work through these checkpoints in order. Don’t worry about speed or distance until every step feels solid.
Set up tall before you move
Stand between the handles with your feet hip-width apart. Hinge down by pushing your hips back, keep your chest proud, and grab the grips. Before you stand up, squeeze the handles hard enough that your knuckles turn white. That grip tension travels up your arms and reminds your lats to switch on.
Stand up by driving through your legs, not by yanking with your arms. Once you’re up, let your arms hang long. Pull your shoulder blades down and slightly back, then let them relax. Many lifters over-squeeze their upper traps. You want a tall neck and relaxed shoulders, not a shrug under the load.
Take short, controlled steps
This is the part most people mess up. They stride out as if they’re power walking, which makes the hips take over. When your hips sway, the weights swing, and your lower back has to fight to keep everything in line.
- Land your foot directly beneath your body rather than reaching far forward.
- Aim for natural, quick steps, like walking on ice in boots, not marching.
- Keep your toes pointed forward. Turnouts to the side put a twist in your hips.
Pin the weights to your sides
Your arms should hang straight, and the weights should stay within an inch or two of your legs. The moment the dumbbells drift forward, your lower back takes over and your core gets a free pass. Imagine carrying two full grocery bags from the trunk to the kitchen. You wouldn’t hold them out in front; you’d pin them close and move carefully.
Pick a spot at eye level
Choose a mark on the wall — a clock, an exit sign, a crack in the drywall. Keep your eyes on that spot while you walk. Dropping your chin rounds your entire spine and makes the load feel twenty pounds heavier. If you have to look down to avoid a plate on the floor, stop, reset, and look up.
Breathe in rhythm
Beginners often hold their breath without noticing it. That turns a movement drill into an isometric hold. Breathe in for two steps, then out for two steps. Match the exhale to a soft brace, not a grunt. If your breathing gets choppy, slow down and shorten your steps.
Use the tall cue
If you want one simple cue to remember on your next walk, think tall. Tall spine, tall neck, tall hips, and relaxed shoulders beneath the handles. I say this to myself every few steps, especially when my grip starts to tire. It fixes about 80 percent of form breakdowns before they happen. If you feel the weights start to swing, go back to that tall cue and shorten your steps before you lose your brace.
Start with a weight that lets you hold the carry for thirty seconds with good posture. If you can’t keep the weight pinned or your breathing turns ragged, it’s too heavy for this drill.
When you turn around, don’t pivot on your toes while swinging the weights. Stop, take small adjustment steps, and face the other direction before you walk again.
Try this at home with whatever you have. I used two gallon jugs of water in a pinch and the mechanics carried over just fine.
If you need a pair of kettlebells or dumbbells for your next workout, check current prices on Amazon and see what fits your budget. Then come back and tell me in the comments how your first farmers carry went — especially if your low back gave out the way mine did.
Common Farmers Carry Mistakes and How to Fix Them
As soon as the handles get heavy, little form breakdowns sneak in. Most come from chasing shortcuts. Here are the four I see most with beginner clients, and the cues that actually clear them up.
1. Shrugged Shoulders Under Pressure
The heavier the load, the louder the voice in your head says hike your shoulders toward your ears. That turns the carry into an upper-trap squeeze and leaves your grip and core doing the job lazy. Fix it by pulling your shoulder blades down toward your back pockets, like you’re holding a tennis ball behind each armpit. I picture the weights clipped to my sides, not dangling from my shoulders.
Keep your arms long. A shrug shortens the whole lever and wastes energy before you’ve taken a step. Packed shoulders give your grip a stable base and keep your neck from tightening up after a few trips.
2. Leaning Back With Your Chest Stuck Out
If your ribs flare forward and your lower back arches when the weight climbs, your pelvis is drifting. The brace isn’t holding. Tuck your ribs down like you’re making space between your ribcage and hipbones disappear. Squeeze your glutes lightly, just enough to feel your pelvis settle beneath your torso.
I tried this cue for the first time during a heavy single-arm carry and my lower back felt different immediately. It stopped being a lean and became a full-body brace.
3. Grip Exhaustion Before Your Legs or Back Feel Taxed
When your fingers start peeling off the handle after a few steps, you’re probably gripping at max effort the entire time. That’s a straight ticket to forearm burnout. Instead, set your grip around 85 percent and use a squeeze wave. Squeeze firmly for two steps, ease slightly for the next two, then repeat. The handle shouldn’t move between your fingers, and the firm part should feel strong, not desperate.
Think of it like the relaxed hands you see on a long-distance run. Runners aren’t clenching their fists; they keep their hands loose so the arms stay efficient. The same idea applies to your grip—you’re saving the hard squeeze for when you need it.
4. Breath and Head Position
We covered breath-holding and chin drops in the last section, so I won’t repeat the full checklist. One reminder: use a two-step inhale and a two-step exhale, and if you can’t get out a short sentence while moving, the weight is too heavy. Lower it until your breathing stays steady. Your posture will follow.
Clean these up and the carry starts to feel like a full-body stability test instead of a hand-only ordeal. Try it with your dumbbells or kettlebells, check current prices on Amazon, and come back to comment on which cue made the biggest difference for your carry.
A Simple Farmers Carry Workout to Get You Started
You’ve got the technique down. Now here’s a straightforward protocol I use with beginners who want to build grip and core stability without turning this into a complicated program.
Warm-Up Carry
Start with one light carry over 20 feet. This is a rehearsal, not a workout. Pick a weight you can hold with your shoulders packed, ribs down, and chest tall. Walk to the 20-foot mark, pause, and walk back. Rest about 60 seconds before the real work.
The Main Workout: 4 Rounds
Find a straight, open lane that lets you walk 30 to 40 feet without bumping into anything. If your space is tight, use time instead. Both approaches give your grip and core continuous work.
- Walk 30 to 40 feet, pause, reset your shoulders, and walk back. That’s one round.
- Do 4 total rounds.
- If space is tight, carry for 20 to 30 seconds per round instead of measuring distance.
- Rest 90 seconds between rounds.
- Pause at each turnaround only long enough to reset your shoulders and brace your core again.
That pause matters more than you think. It keeps you from swinging the weights or muscling your way through a sloppy turn. Walk back the same way you walked out: tight grip, tall chest, short even steps.
If your lower back starts to round or your shoulders creep up, set the weights down. Reset your grip and your ribs, then try the next round with a little less load.
How to Progress Without Stalling
Adding weight every session sounds great until your wrists bend and your lower back starts to sway. The slower path works better.
Add 5 to 10 pounds per hand only after you can hold perfect posture on every rep of the previous weight. Keep the distance the same. Once you finish all 4 rounds with clean form at your current weight, bump the distance to 50 feet.
This is how the farmers carry works as a strength move. You don’t chase heavy numbers until the weights feel unsafe to hold. You build a stubborn grip and a core that knows how to stay tight.
How Often to Train It
You don’t need a dedicated farmers carry day. Slot it into your warm-up, or put it at the end of a strength session. Don’t hammer it every day. Two or three sessions per week give your grip time to recover. I have had better results with that frequency than with heavy carries five days a week.
Write down the weight and distance every time. I keep a small notebook and jot down something like 40 lbs per hand, 40 feet, 4 rounds. Last rep felt solid. That one line tells me exactly where to start next session. Small weekly improvements add up fast.
Try this workout once and notice how your grip feels the next day. When you test it, share your numbers in the comments. If you need a pair of adjustable dumbbells or kettlebells, check current prices on Amazon before you buy so you know what you’re working with. A simple pair of kettlebells works fine for this move, and adjustable dumbbells make it easy to bump up the load in small steps.
Medical & Editorial Review: This article was reviewed by Liam Smith, founder of Apexfito, for accuracy and safety. Content is for educational purposes and is not a substitute for professional medical advice. Consult your physician before starting any exercise or nutrition program.